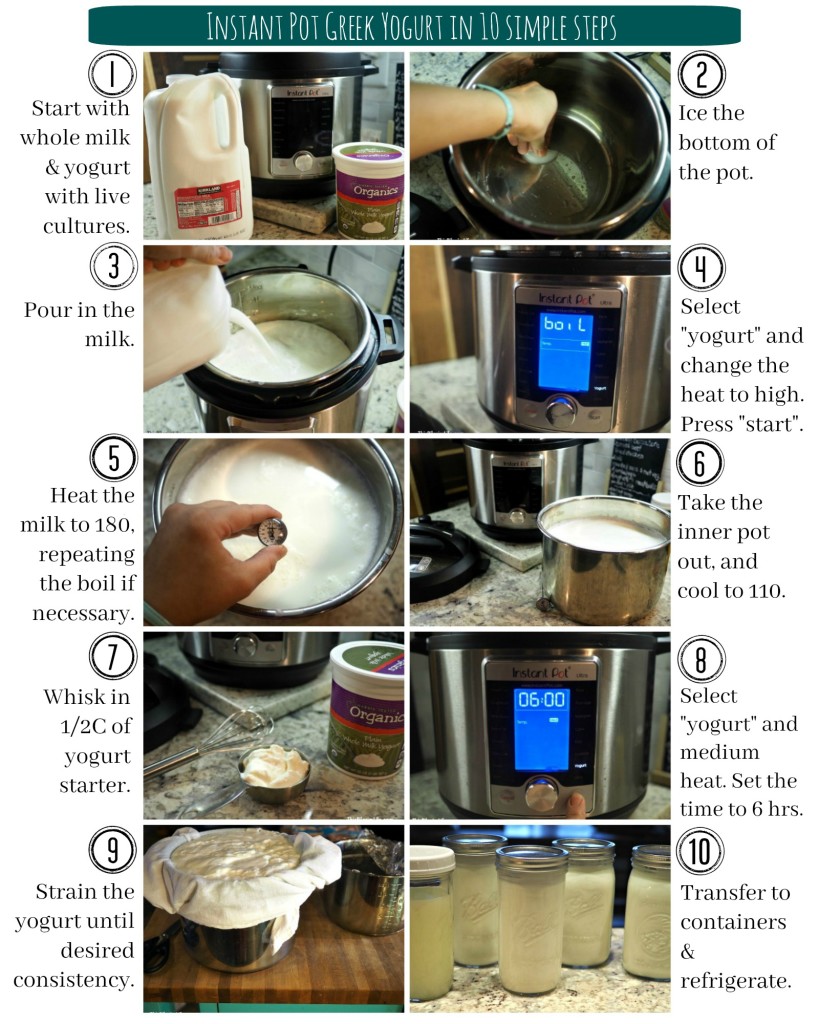
Making yogurt in your Instant Pot can be done in 10 simple steps! Find out how and print out a free infographic for quick reference!
The links below may be affiliate links, meaning I earn a small compensation at no extra cost to you. See my full disclosure policy here.
If you have an Instant Pot but haven’t made yogurt yet, you’re missing out! And since I don’t want you to suffer from FOMO, I have written out how to make yogurt in ten simple steps to get you on board with one of the best uses for your Instant Pot.
Really, it’d be too hard to pick one best use. Easy soup? Quick dinners? Freezer meals? Creme brûlée in thirty minutes? I’m not sure, but homemade yogurt is definitely up there.
I used to make yogurt in my crockpot, but I have been converted to making it in the Instant Pot. It’s faster, and I’m pretty sure it’s thicker and better too. Which means I no longer have any uses for my crockpot!
Homemade yogurt is a MUST-HAVE in our home. And not just because we like to eat it with fruit and honey for breakfast and snacks. We use it for soooo much. (Which is why I never sweeten or flavor our yogurt before eating it).
The MANY Uses of Homemade Yogurt!
- eat it with fruit & honey, granola, or homemade jam
- make yogurt parfaits in small mason jars for picnics
- use it for the BEST EVER homemade ranch dressing
- use it as a substitute for sour cream with nachos, tacos, and burritos
- use it for baking muffins, cornbread, etc.
- put it in smoothies to make them creamier & more filling
- dollop it on honey carrot soup, chicken salsa soup, and more
Not only is homemade yogurt incredibly versatile, it’s also a great way to save money. Depending on how much you strain it, you can get 2-4 quarts of yogurt from a gallon of milk. (2 quarts: very thick yogurt. 4 quarts: no straining at all). So that’s an average of three quarts of yogurt for just about $3! Plus, you can use the whey that is made from straining for a variety of uses in your kitchen too.
PRINT A FREE PDF VERSION OF THIS INFOGRAPHIC!! (Change the print scale to 125% for full page printing).
Necessary Equipment ::
- Instant Pot with yogurt function (DUO or ULTRA)
- dedicated yogurt ring (recommended)
- thermometer
- straining gear (yogurt strainers or pot & colander work well)
- extra inner pot (very helpful if you want to use your Instant Pot during the process while the yogurt is cooling/chilling)
- mason jars or other storage containers
Instant Pot Yogurt in 10 Simple Steps
1. Start with a gallon of whole milk and a small amount of yogurt starter.
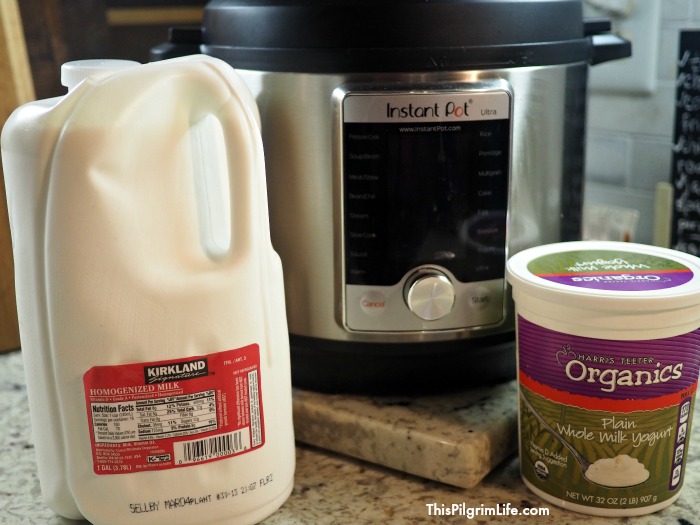
Whole milk is best for creamy yogurt, but you can also use a milk with a lower percentage of fat. (We prefer whole milk for drinking too). When selecting your starter yogurt, you want to look for a plain yogurt with multiple live cultures. (Look for this on the ingredient label on the back of the package).
2. Ice the bottom of the pot.
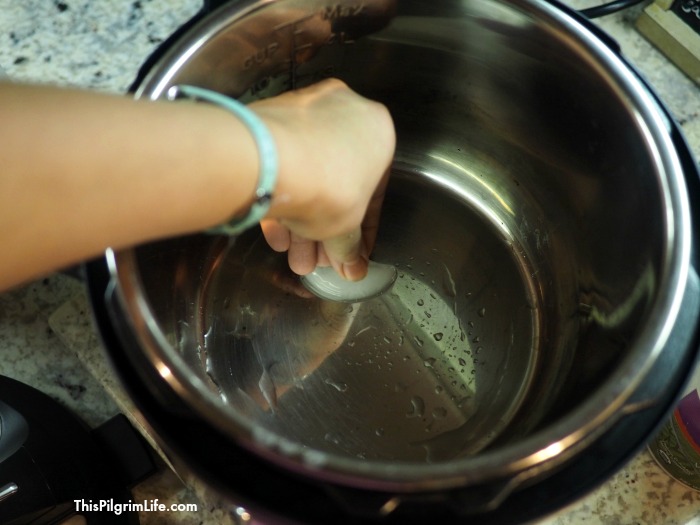
Rub an ice cube across the entire bottom of the inner pot. This helps to prevent any milk from sticking or scorching on the bottom of the pot while the milk heats.
3. Pour in the gallon of milk.
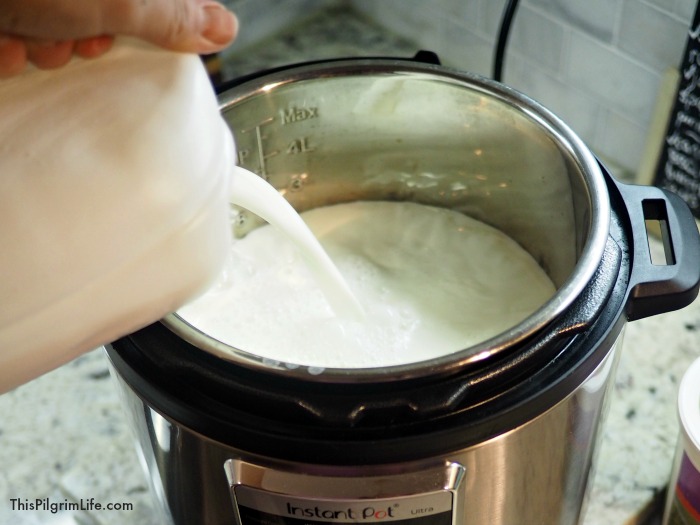
4. Select “yogurt” and change the heat to high. Press “start”.
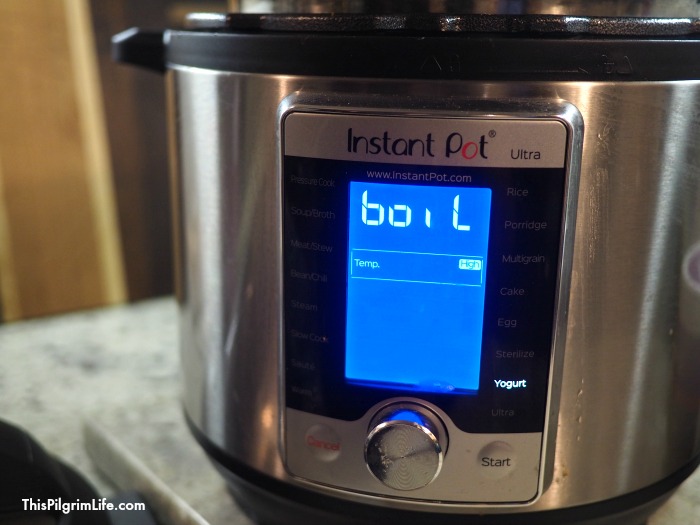
Choose the yogurt setting on your Instant Pot. Use the “adjust” button on a DUO or the wheel on the ULTRA to change the heat to high. Press “start”. Your pot should read “boil”. This process can take about 30-45 minutes. When the pot finishes the boil cycle, the screen will read “yogt”.
This “boil” process helps to achieve a better (thicker) consistency in your yogurt and is important for killing any bad bacteria in your milk.
5. Heat the milk to 180, repeating the boil if necessary.
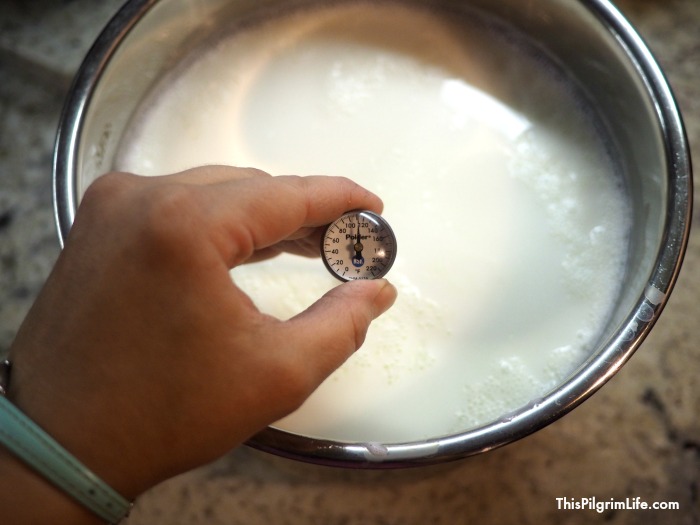 (Don’t mind the temperature on the thermometer! I didn’t have a picture of the milk reading 180, but you get the idea.)
Take the temperature of the milk. It should read 180°. If it has not reached 180°, you can repeat the boil process again, or turn the pot on “saute”. If you choose to do “saute”, keep a closer watch on the milk and stir it gently occasionally without touching the bottom of the pot to make sure it does not overheat.
6. Take the inner pot out, and cool to 110°.
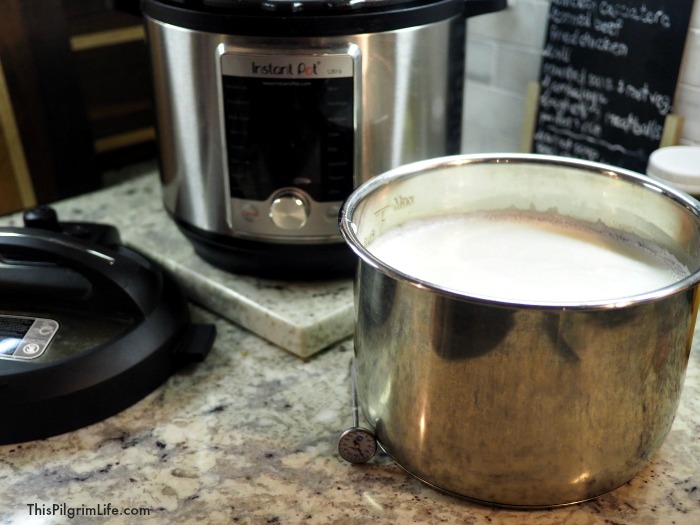
Take the inner pot out of the Instant Pot so the milk can cool to 110°. You can just set the pot on the counter to cool. This can take 45-60 minutes. Alternately, you can set the inner pot in a bowl of ice to speed the cooling process.
Use a thermometer to take the temperature because this temperature is VERY important. It can mean the difference between thick yogurt or a pot of runny yogurt.
7. Whisk in 1/2C of yogurt starter.
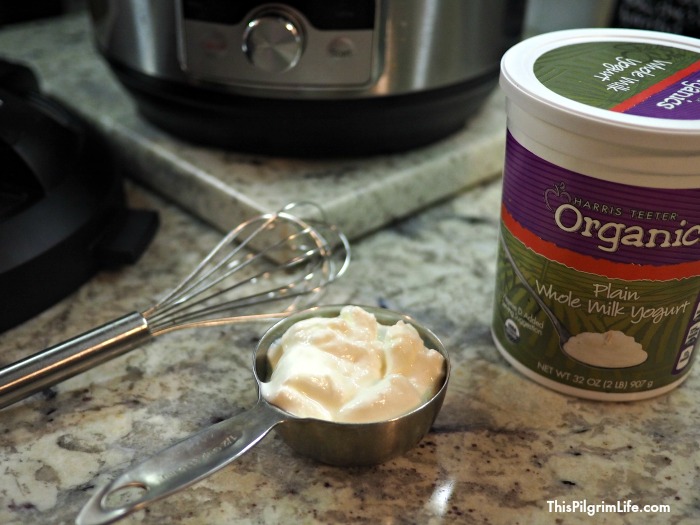
Whisk in 1/2C of yogurt starter. For best results, use starter at room temperature, measure out a cup of the warm milk into a small bowl, and whisk together the starter and the warm milk together before pouring back into the inner pot.
8. Select “yogurt” and medium heat. Set the time to 6 hours.
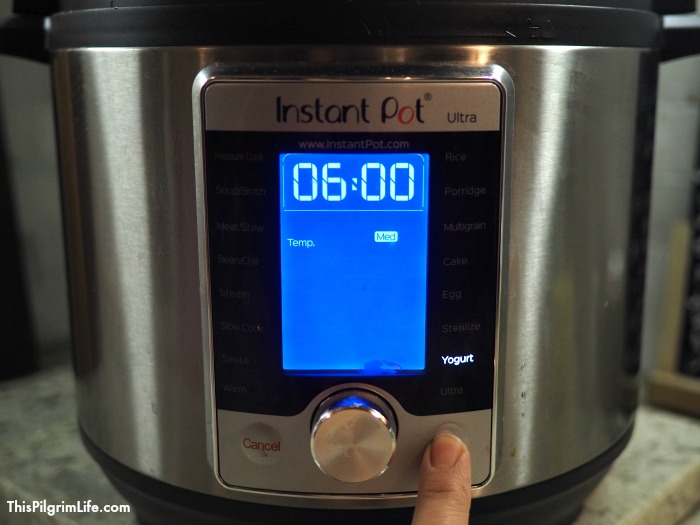
Select “yogurt” again on your Instant Pot, this time changing the heat back to medium (if necessary). Six to eight hours is a typical range for incubating yogurt. The longer the incubation time, the more tangy the yogurt. You can try different times and figure out your own personal preference.
TIP :: Buy a colored sealing ring to use only for yogurt making to prevent your yogurt from taking on the scent of other foods you cook in your Instant Pot.
9. Strain the yogurt until desired consistency.
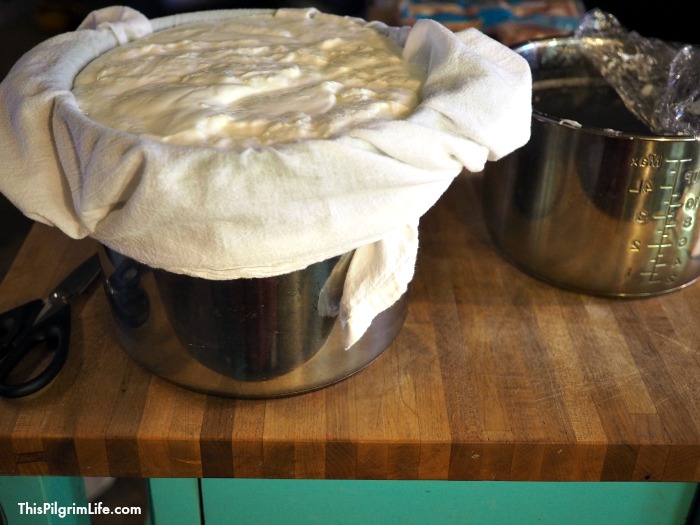
While you already have yogurt, if you want a thicker, Greek-like, consistency, you will need to strain it. There are different methods for doing this. You can use a dedicated yogurt strainer (you would need two for a gallon of yogurt), coffee filters, or paper towels.
I like to use a stockpot with a colander set in it. I line the colander with a flour sack towel and then pour in the yogurt. The flour sack rinses easily and I can wash it for future use.
TIP :: After your yogurt finishes incubating and before straining, place your inner pot directly in your refrigerator to chill for 3 or so hours. This helps the yogurt to thicken more, resulting in more yogurt and less whey when you strain it.
10. Transfer to containers and refrigerate.

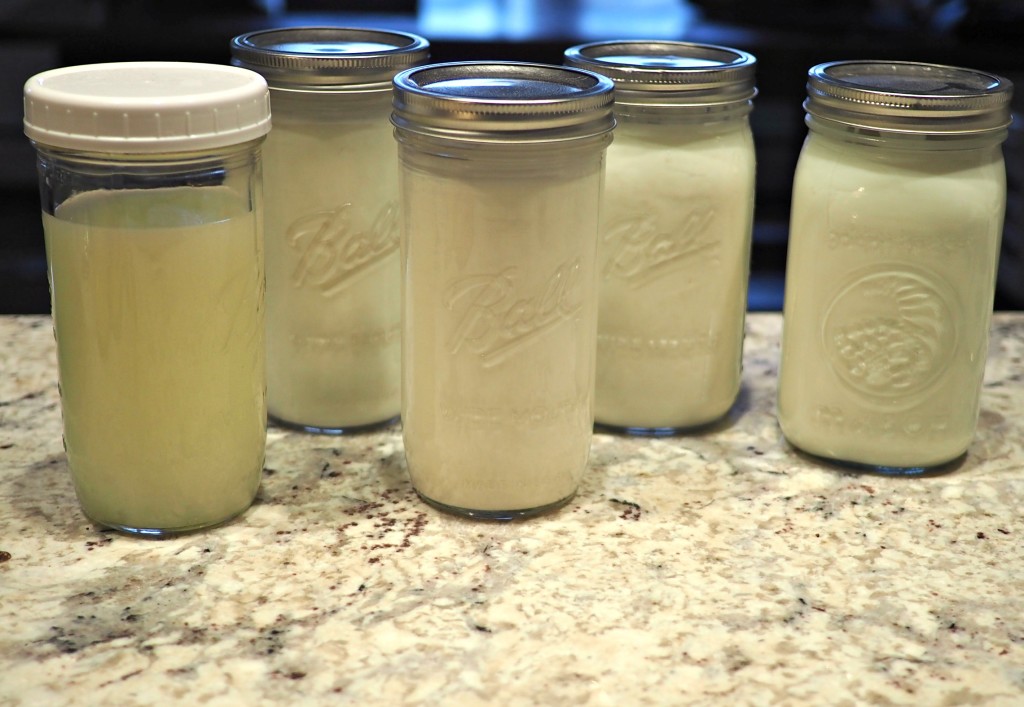
Transfer your strained yogurt into containers and store in the refrigerator. I like using quart sized mason jars.
Store the whey (the liquid byproduct from straining the yogurt) in the refrigerator as well. You can add it to smoothies, use it as a substitute for milk in baking, and more.

This was the creamiest most delicious yogurt, absolutely wonderful. I’ve actually never had homemade yogurt before. The yogurt that this recipe makes reminded me of yogurt I’d had a long time ago but I couldn’t quite remember what it was, then a few hours later it hit me…Breyers! Breyers used to make fruit on the bottom yogurt and this was exactly what their yogurt tasted like. They stopped making it back in 2011, but it doesn’t matter because I can make this recipe and it’s just as good! My kids liked it with a spoonful of good jam.
How long can this be stored in the refrigerator? Do you ever freeze yours in the mason jars and how? Thanks!
I love this post – thank you for all of the amazing info! Do you mind sharing a link of what flour sack towel you’d recommend? Could I use a plain white kitchen/dish drying towel?
I want to add vanilla extract to this recipe. How much do I put in?
The yogurt turned out perfect!!! This was an easy recipe to follow (infographic super helpful). Due to timing, after step #8, I refrigerated (overnight) before straining or transfer to containers. My family has already enjoyed “Yogurt with Honey” and “Homemade Ranch Dip”! Thank you for taking the angst out of making IP yogurt! This recipe is truly life changing for my family.