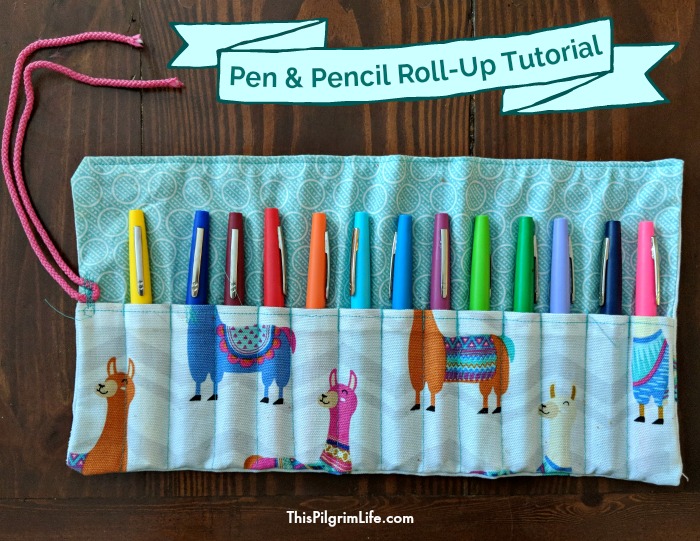
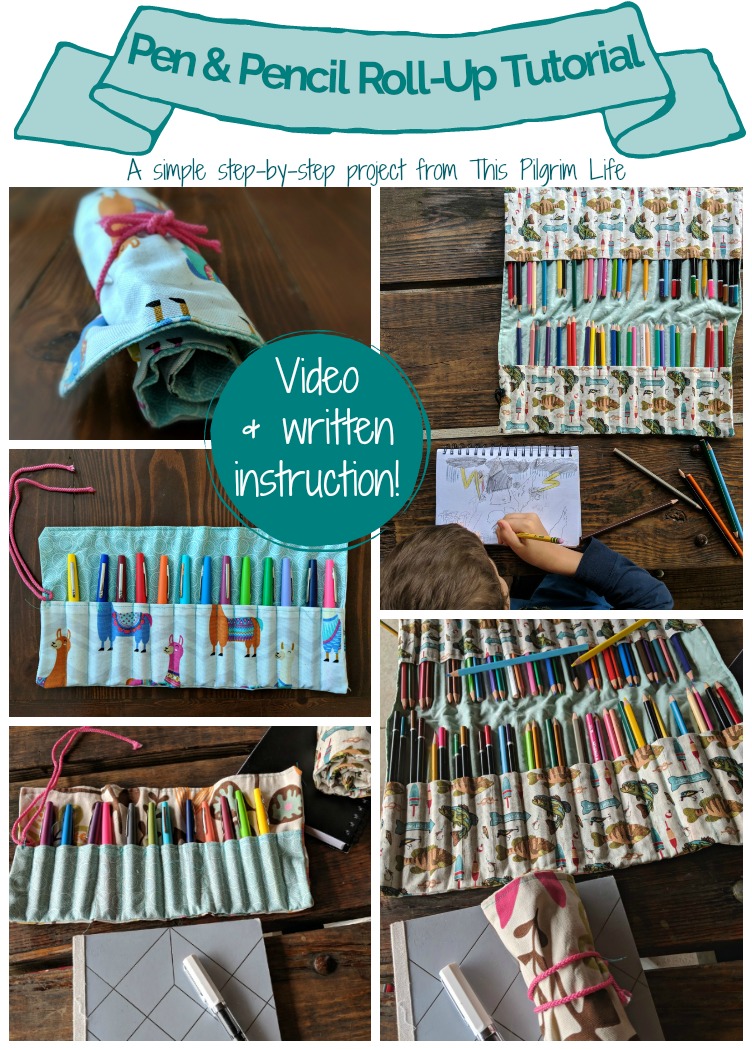
Keep pens, colored pencils, and crayons organized and easy to use with a fun pencil roll up! Find both video and written instructions for this simple sewing project.
The links below may be affiliate links, meaning I earn a small compensation at no extra cost to you. See my full disclosure policy here.
I live with a bunch of pen hoarders and pen snobs. Considering how much time we all spend writing and drawing, it’s no wonder that everyone has their own strong preferences.
My kids draw ALL.THE.TIME. There are literally boxes filled to the brim of sketchbooks packed with quick doodles and elaborate sketches.
Pro Tip :: If your kids love drawing too, buy them sketchbooks. Write their names and the date at the front of the book and let them fill the pages with their drawings. They get to draw, and you are not left with stacks of loose papers that you feel guilty for throwing out, but are too messy to keep around. They can also serve as keepsakes when the kids are older.
Pen & Pencil Roll Up Tutorial
Back to the roll-ups. They are really helping to simplify and organize life right now, which to a mom of multiple small children, is all I could ask for. When all the pens and all the colored pencils stay contained in one place, it’s much easier to grab a roll-up and toss it in a bag to go with us to church or co-op or out to eat.
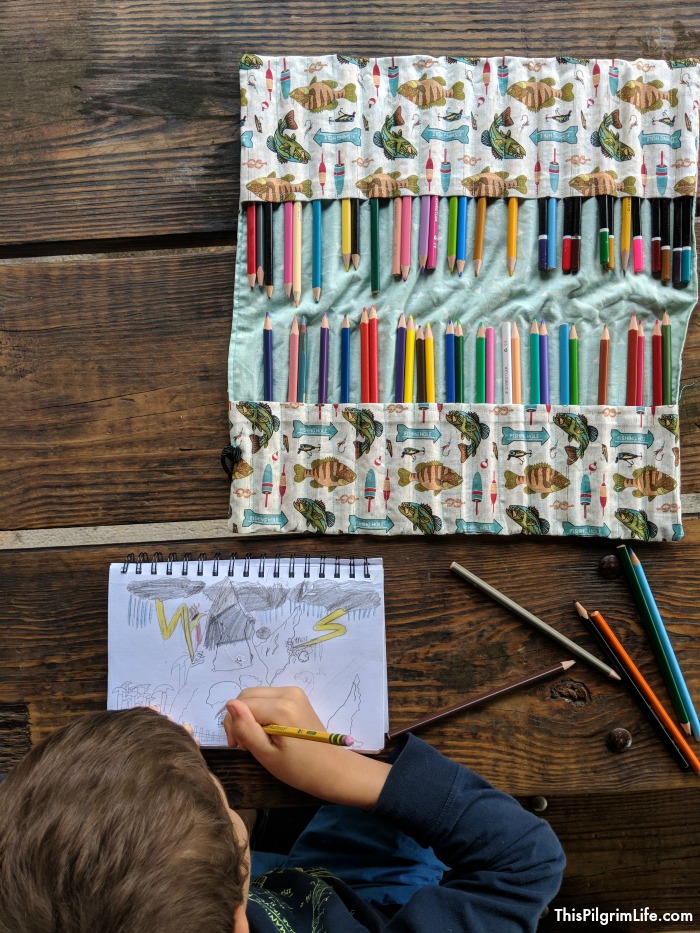
The roll-ups are also super useful for the kids to see what they have and get what they need. I LOVE the colored pencil roll-up. We previously had been keeping the colored pencils in the box they came in. This might have been fine for older children, but the pencils were constantly getting knocked out of the trays and were not the easiest to clean up.
I wouldn’t go so far as to say the roll-ups are life changing, but they are at least very helpful in preventing pens from getting lost and making it easier to clean up. And I’m very thankful for that.
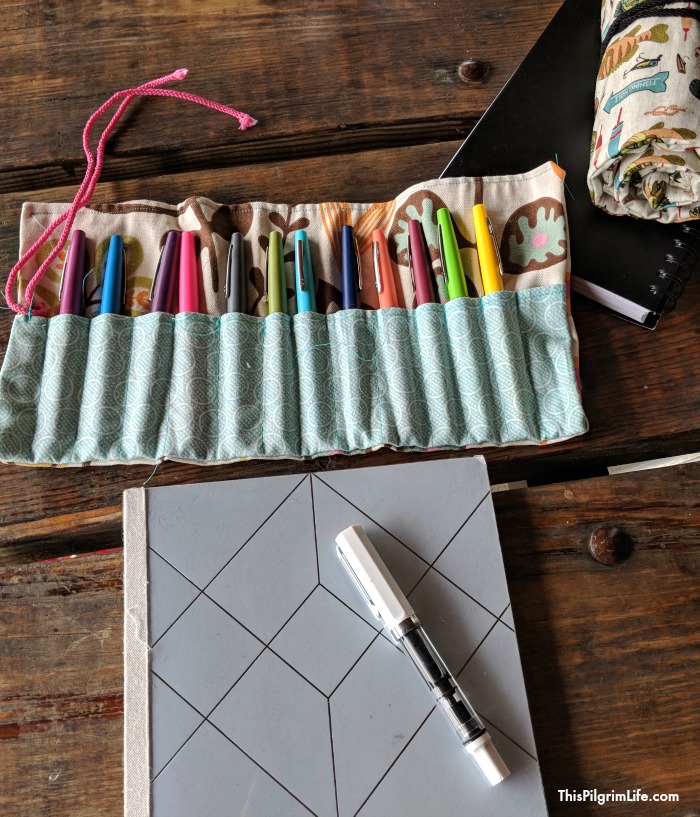
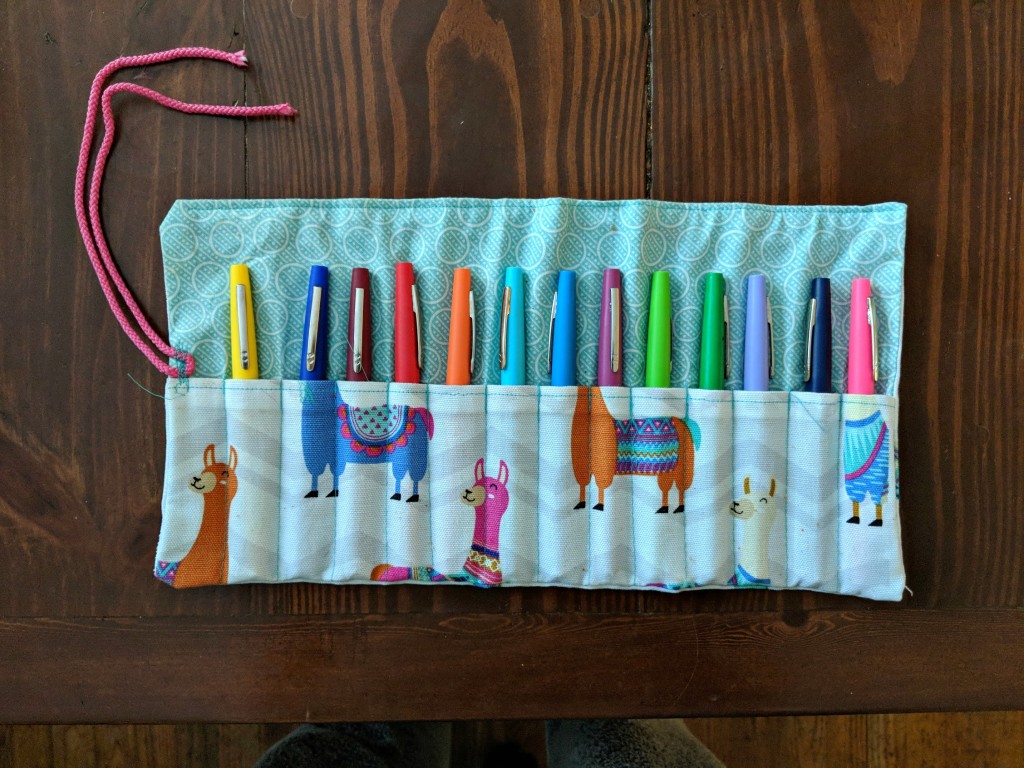
I made a roll-up for a dozen Paper Mate flair tip pens— some of our favorite pens– for my kids, and one for my pens. (Hands off kids!) I also made a double roll-up for our colored pencils.
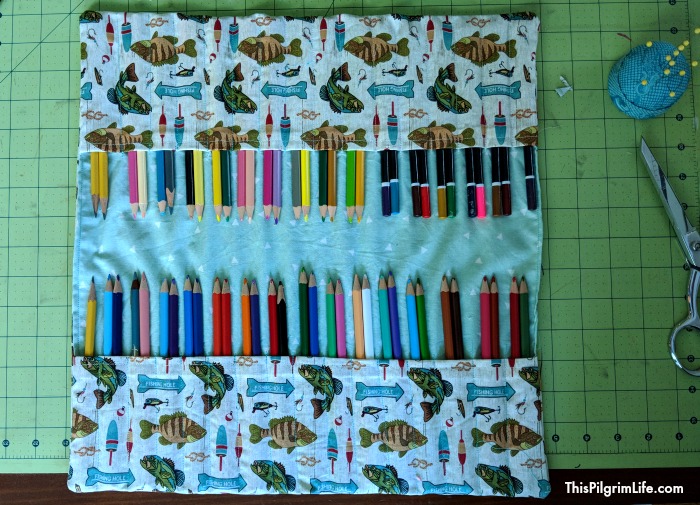
TO MAKE A DOUBLE ROLL-UP, cut the main roll-up pieces to be 15″ x 16″, and cut two pocket pieces instead of just one. Follow the steps below, repeating the steps for the pocket for each pocket.
Keep reading for easy written instructions, or watch a step-by-step instructional video on YouTube. If you aren’t already subscribed to This Pilgrim Life on YouTube, I’d love to have you join me there too!
https://youtu.be/J6VYb5cCsno
Materials Needed:
- 1/4yd of fabric for the outer fabric
- 1/4yd of fabric for the inner fabric
- 20″ of cording or ribbon
- colored pens
- colored pencils
Steps:
- Cut a 15″ x 8″ rectangle from both the inner and the outer fabric. Cut a smaller 15″ x 5″ rectangle from the pocket fabric.
- Fold and press one long edge of the pocket fabric in towards the wrong side about 3/8″ twice, creating a finished edge. Sew down that long edge to hold the hem in place.
- Set the main inner piece down, then place the pocket piece on top so the sides and bottom edges are flush. Pin in place, then baste stitch around the sides and bottom edges to hold the pocket piece in place.
- Create the divisions in the pocket piece by placing a pin 1.5″ from both sides, and then placing a pin every inch in the middle. (This measurement works well for pens, but if you were using a thicker or thinner writing utensil, you might need to adjust the width of the divisions. Just place a couple of pins in and test before sewing).
- Sew a line where you placed each pin, backstitching a couple of times at the top of each division for added durability.
- Place the outer piece on top of the inner piece with the pocket, right sides together lining up the short and long sides. Pin in place. Sew around the perimeter of the roll-up, leaving a 3″ opening at the top for turning.
- Clip the corners, then turn the roll-up right side out through the opening you left.
- Press the roll-up, then topstitch down the top edge to close the opening.
- Cut a piece of cording 20 inches. Fold in half, and attach the folded end of the cording to one short edge by sewing back and forth over it a few times.
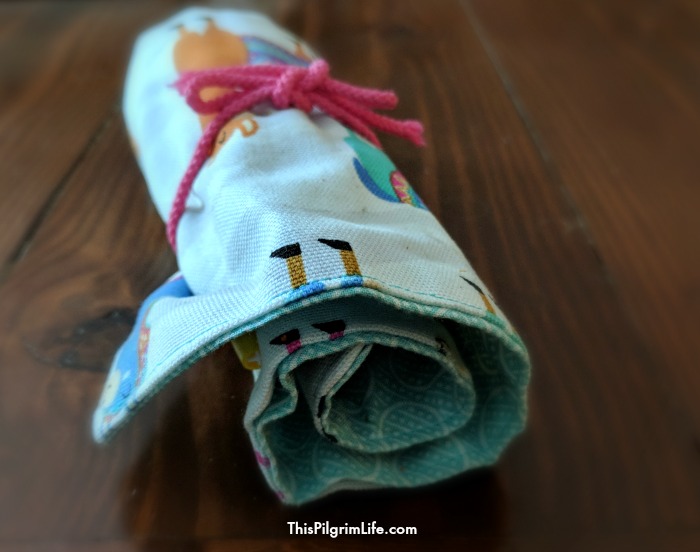
- Fill with pens or pencils, roll up, and tie in place. Enjoy more organization and get creative!
Sharing is caring! Don’t forget to pin and share. Thank you!
Just made this tonight as my first ever sewing project – it was super easy and the instructions were great! Thank you 🙂