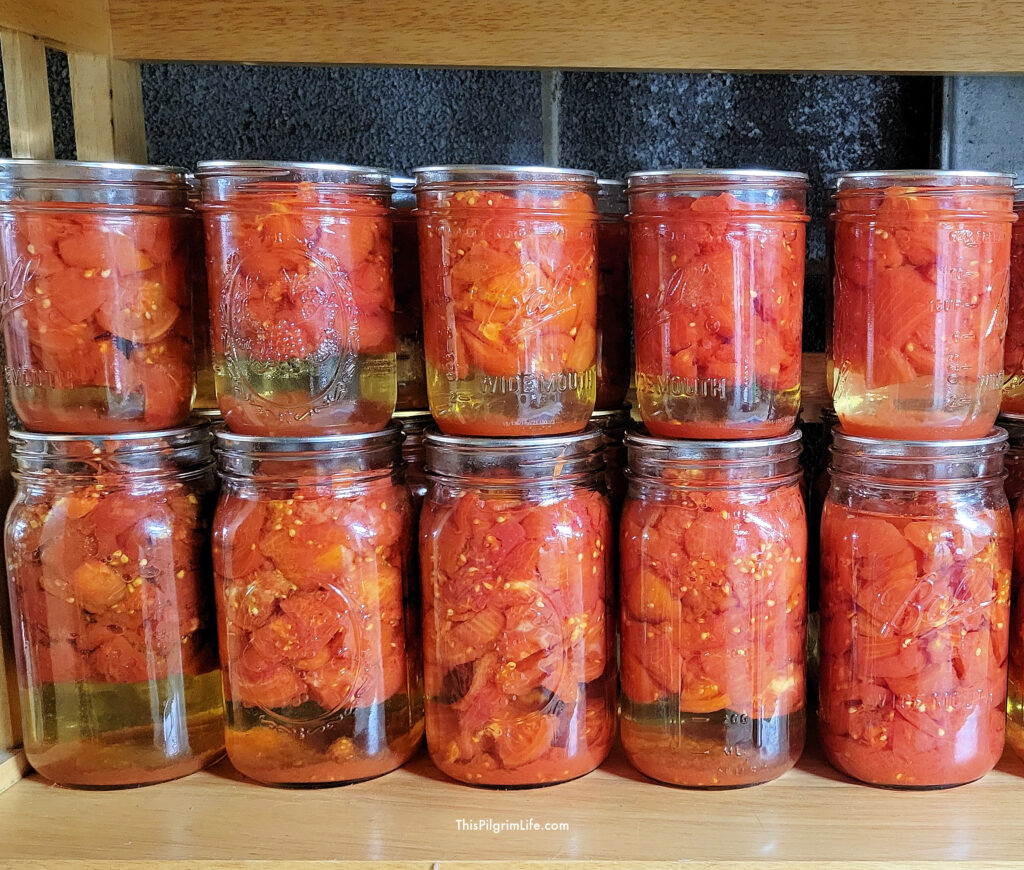
Canning diced tomatoes is a simple, basic way to preserve summer tomatoes at their peak of tastiness to enjoy the rest of the year! Here’s how to can tomatoes in ten, easy-to-follow steps, with a free printable reference sheet to walk you through the process.
The links below may be affiliate links, meaning I earn a small compensation at no extra cost to you. See my full disclosure policy here.
Years before I was overrun with tomatoes from my own garden, I was buying boxes of “seconds” at the farmer’s market– tomatoes that were blemished, a little bruised, or otherwise not exactly perfect, and yet perfect for canning.
Canning diced tomatoes is entry-level canning. Anyone can do it with just a handful of basic supplies. It’s on the messier side, but it’s not complicated and the reward is a pantry full of flavorful fruit that can’t be matched in the winter months.
Tomatoes provide, in their essence, an opportunity to appreciate the moment. All year, there are tasteless imitation tomatoes at the supermarket. In midsummer, we eat the first tomatoes of the season sprinkled with salt and pepper, shoved into the mouth with juice running down our arms. They are precious, and every fruit is devoured. By the end of the summer, tomatoes are so plentiful, it is hard to imagine a time without them. If only all of those tomatoes could be saved– think of how delicious they will be in January! So I scramble to preserve them, but in the end, the first freeze gets that last of them and it is time to embrace the fall.
Alana Chernila, The Homemade Pantry
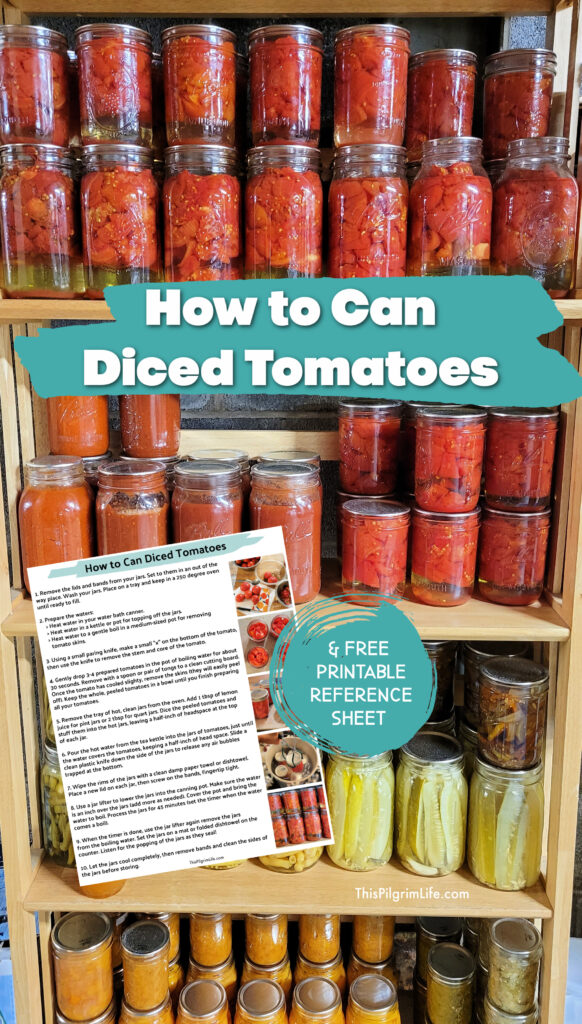
How to Can Diced Tomatoes
When selecting tomatoes for canning, I find that smaller, denser tomatoes are best because they tend to hold up best after boiling and not break down completely.
Again, the farmer’s market is a great place to find boxes of tomatoes for canning. Talk to the farmers and ask about getting a box reserved for canning. They are usually less expensive than the tomatoes set out for selling.
Five quick facts about canning:
- You need jars in good condition. They don’t have to be new, but they cannot have any cracks or chips.
- Lids cannot be reused*. You need to buy new lids each time you can, but you can reuse bands. Sometimes it’s easier to find new boxes of jars, than it is to find new boxes of lids right now. (*there are reusable lids if you want to check them out)
- It is important to preserve the cleanliness and sterilization of what you are working with while canning. Wash your jars and keep them hot until you’re ready to fill them. Don’t touch the rims or inside of the jars while filling. Use only clean tools when you’re preparing the filling.
- Canning is not an opportunity for experimentation. Follow directions and stick to reliable recipes to ensure food safety. If you do those things, you can relax and enjoy the process.
- Generally, if you are 1,000 to 3,000 feet above sea level, you need to add 5 minutes to your processing time; 3,001 to 6,000 feet above sea level, add 10 minutes; and if you are 6,001 to 8,000 feet above sea level, add 15 minutes.
The first few times you can anything, it will of course feel new and take longer as you figure out what you’re doing. But, as with anything, it does get easier and you get faster.
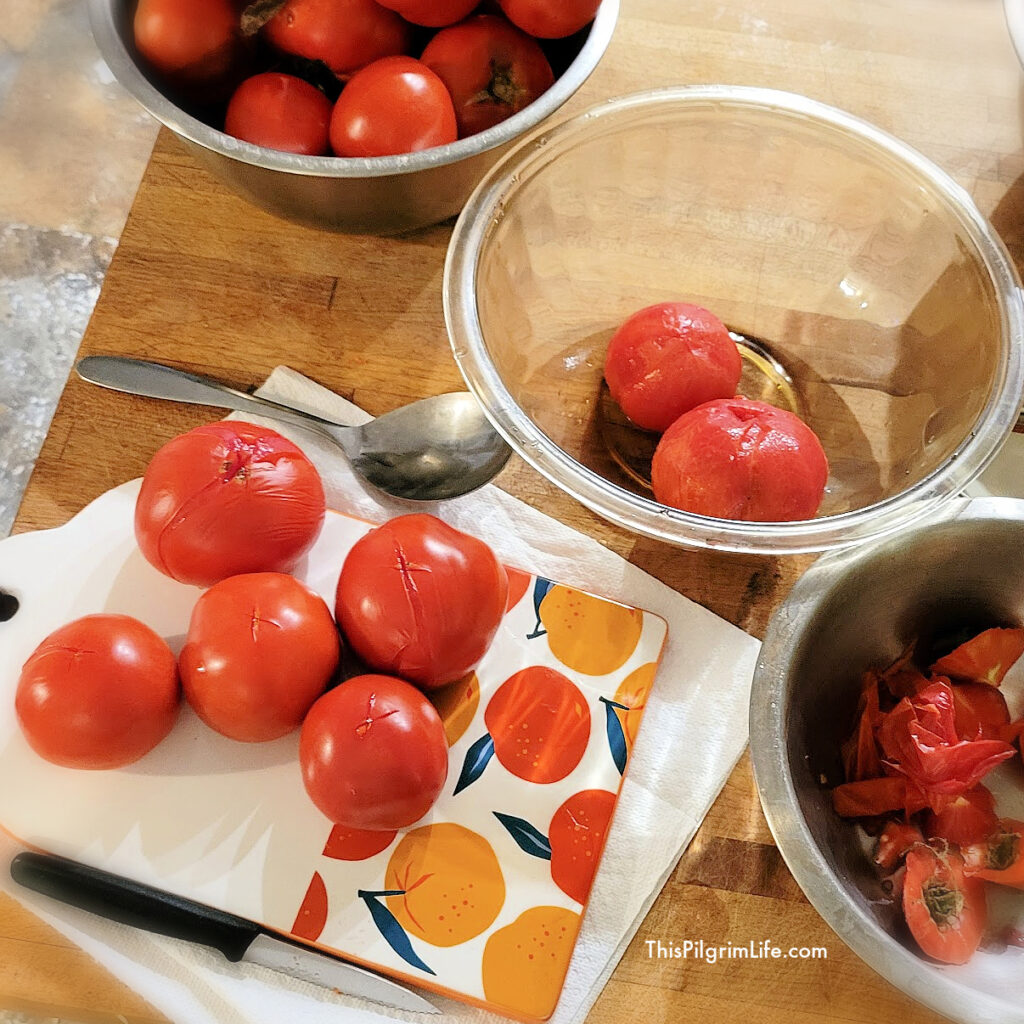
Tomatoes tend to be messy, especially once they’re peeled, so be sure to put down a towel or baking sheet under your cutting board to collect the run-off juices. Also, use a bowl just for collecting the “trash”– cores, peels, etc. The more you can have what you need ready to go within reach, the easier the process will be.
A water bath canner and canning tools are not expensive, and once you learn the basic process, you will be able to can diced or whole fruits, jams, pickles, relish, and more!
Recommended Supplies ::
- Water Bath Canner
- Canning Essentials Kit
- Victorinox Paring Knives
- Ball mason jars
- Homemade Pantry cookbook
- Modern Homestead beginner’s guide to water bath canning for more information
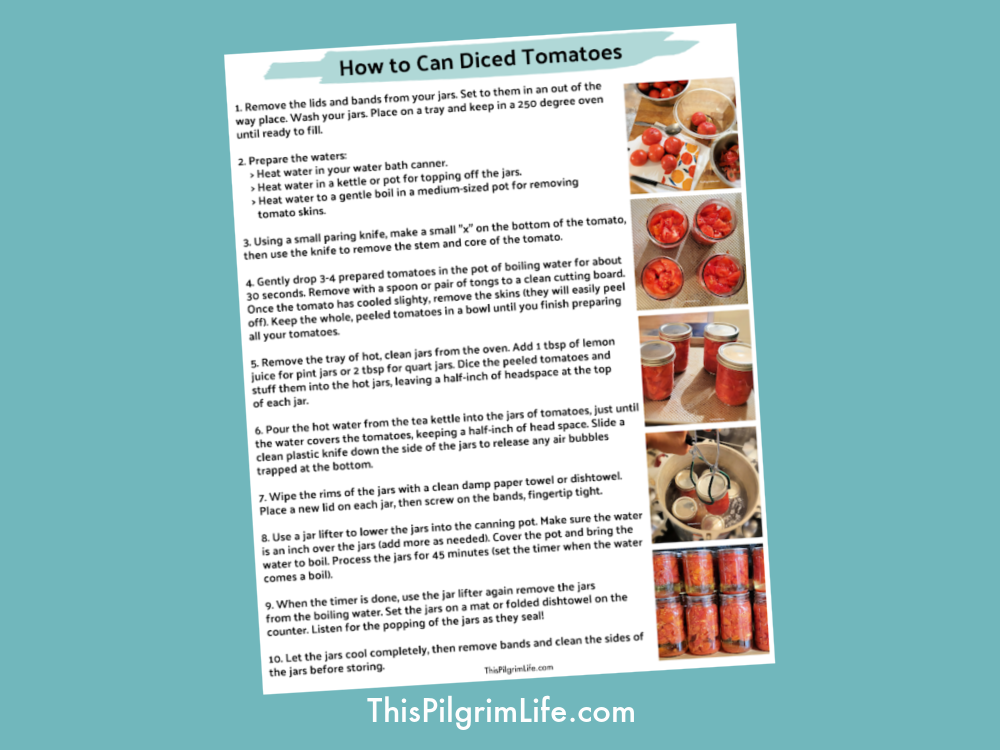
Printable reference sheet ::
Print out the reference sheet when it’s time to can. Your phone will be spared the mess, and you can throw it away after you’re done.
I also filmed a quick 30-second overview of the process on Instagram if you want to check it out here!
More tomato and preserving posts ::
- How I’m Processing A Bounty of Garden Tomatoes, Plus A Free Freezer Inventory
- Putting Up A Garden Harvest: Tips, Recipes, & Resources (Part 1)
- 50+ Fresh Summer Vegetable Recipes & Resources

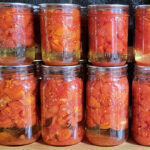
How to Can Diced Tomatoes
- Cook Time: 45 minutes
- Total Time: 45 minutes
- Yield: 8 pts 1x
- Method: water bath canning
Description
Canning diced tomatoes is a simple, basic way to preserve summer tomatoes at their peak of tastiness to enjoy the rest of the year! Here’s how to can tomatoes in ten, easy-to-follow steps.
Ingredients
- 7 lbs small-medium, firm tomatoes
- 1/2 cup lemon juice
- 4 qt jars or 8 pt jars
- new canning lids
- canning equipment
Instructions
1. Remove the lids and bands from your jars. Set to them in an out of the way place. Wash your jars. Place on a tray and keep in a 250 degree oven until ready to fill.
2. Prepare the waters:
> Heat water in your water bath canner.
> Heat water in a kettle or pot for topping off the jars.
> Heat water to a gentle boil in a medium-sized pot for removing
tomato skins.
3. Using a small paring knife, make a small “x” on the bottom of the tomato, then use the knife to remove the stem and core of the tomato.
4. Gently drop 3-4 prepared tomatoes in the pot of boiling water for about 30 seconds. Remove with a spoon or pair of tongs to a clean cutting board. Once the tomato has cooled slighty, remove the skins (they will easily peel off). Keep the whole, peeled tomatoes in a bowl until you finish preparing all your tomatoes.
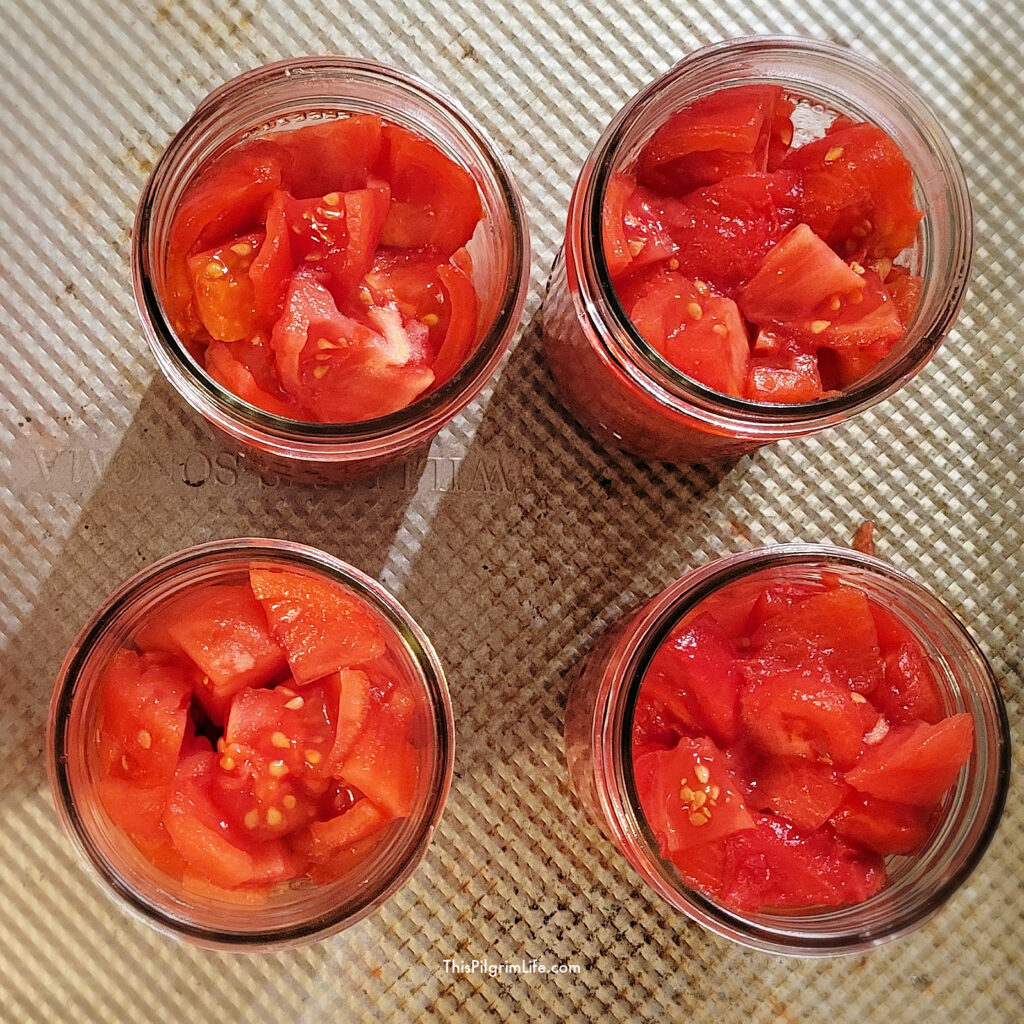
5. Remove the tray of hot, clean jars from the oven. Add 1 tbsp of lemon juice for pint jars or 2 tbsp for quart jars. Dice the peeled tomatoes and
stuff them into the hot jars, leaving a half-inch of headspace at the top
of each jar.
6. Pour the hot water from the tea kettle into the jars of tomatoes, just until the water covers the tomatoes, keeping a half-inch of head space. Slide a clean plastic knife down the side of the jars to release any air bubbles trapped at the bottom.
7. Wipe the rims of the jars with a clean damp paper towel or dishtowel.
Place a new lid on each jar, then screw on the bands, fingertip tight.
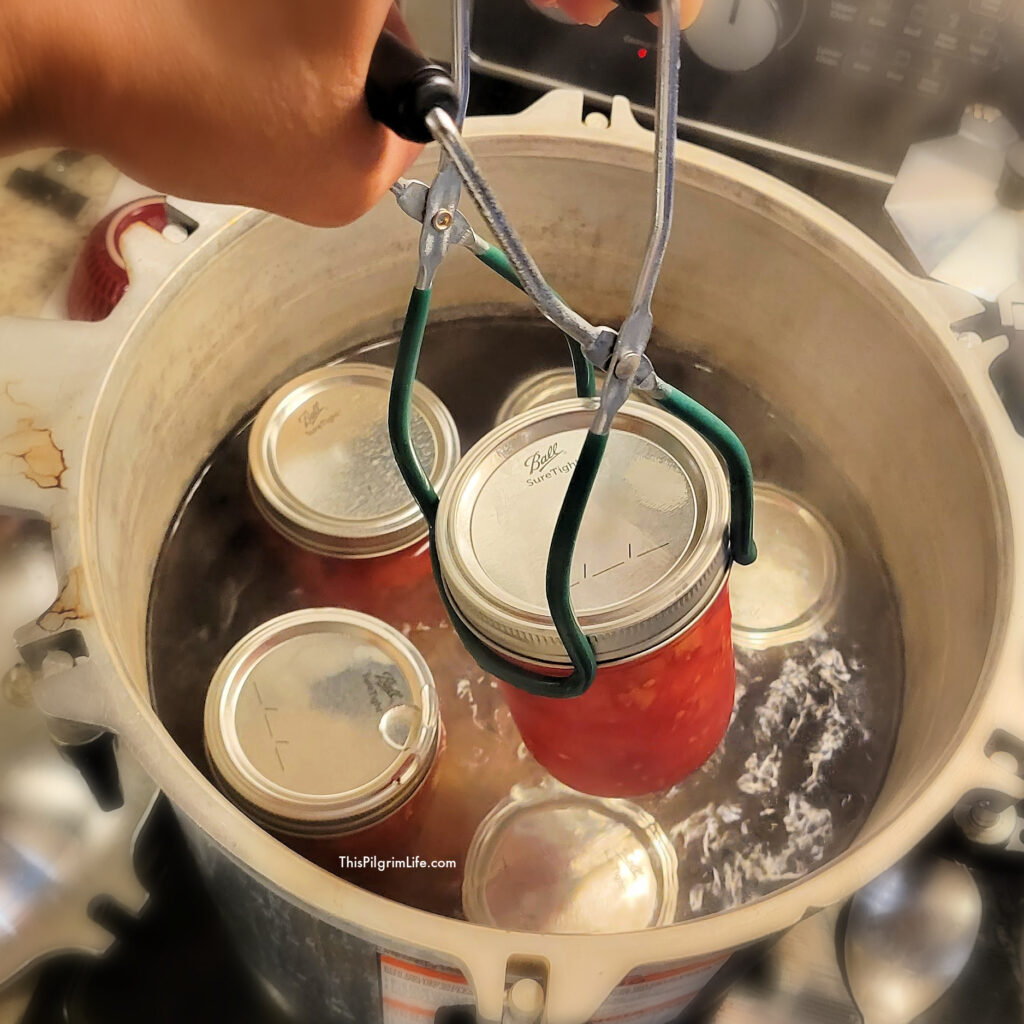
8. Use a jar lifter to lower the jars into the canning pot. Make sure the water is an inch over the jars (add more as needed). Cover the pot and bring the water to boil. Process the jars for 45 minutes (set the timer when the water comes a boil).
9. When the timer is done, use the jar lifter again remove the jars
from the boiling water. Set the jars on a mat or folded dishtowel on the counter. Listen for the popping of the jars as they seal!
10. Let the jars cool completely, then remove bands and clean the sides of the jars before storing.
Sharing is caring! Don’t forget to pin and share. Thank you!
Wao, Super amazing Tips I got from you.
★★★★★
With prices being so crazy right now this article is a life saver 🙂 I’ll just have to wait for the summer to come to give it a try! thanks for the pro tips
You are so awesome to make this for us! Thank you!