Make your own traveler’s journal with this simple traveler’s journal tutorial, and find tips and resources for using your notebooks!
The links below may be affiliate links, meaning I earn a small compensation at no extra cost to you. See my full disclosure policy here.
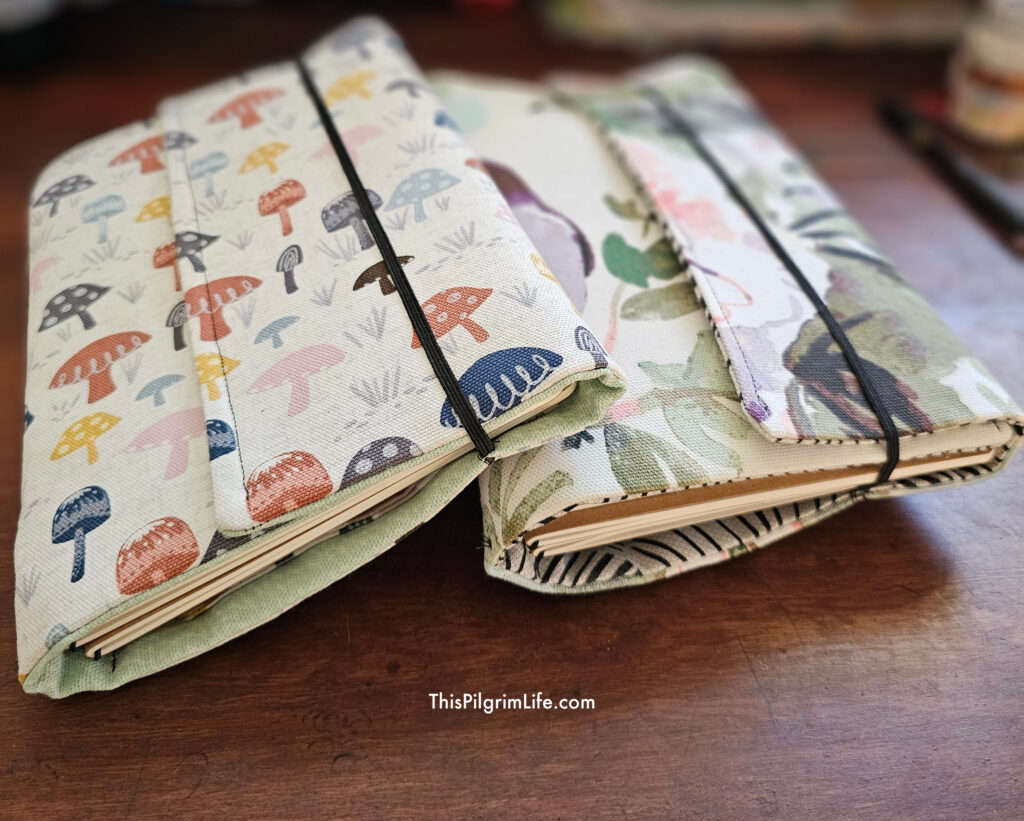
My traveler’s journal is my never-leave-home-without planner. It is literally my brain on paper and I use it constantly to keep track of so many areas of my life. After keeping a bullet journal for years, I was so happy to discover traveler’s journals that would allow me to keep different “subjects” in separate notebooks… all in one planner.
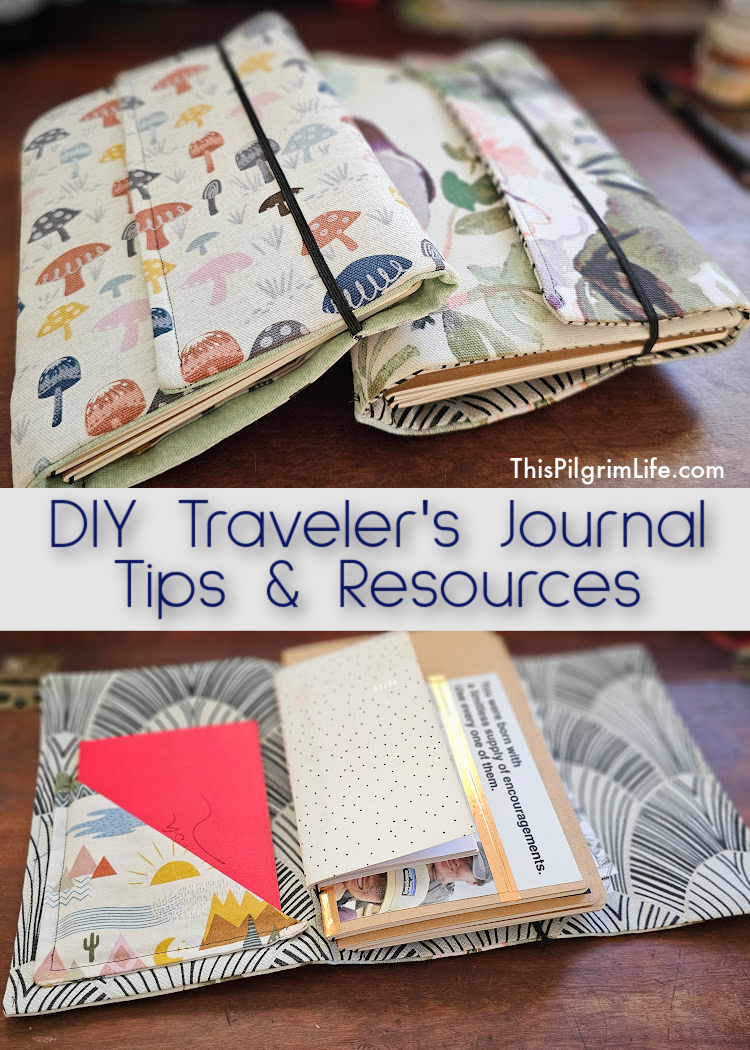
I have four notebooks in my traveler’s journal– one for HOME & FAMILY, one for HOMESCHOOL & COMMUNITY, one for WORK, and one for PERSONAL & COMMONPLACE. I also have switched to a two-year calendar in my traveler’s journal, rather than always writing the calendar pages in my notebooks myself. (Though some especially busy months, I will still create my own calendar pages).
After shopping around for traveler’s journals online, I decided to make my own cover for two reasons–
- Most of the quality options I found were expensive or had a long wait to receive the product
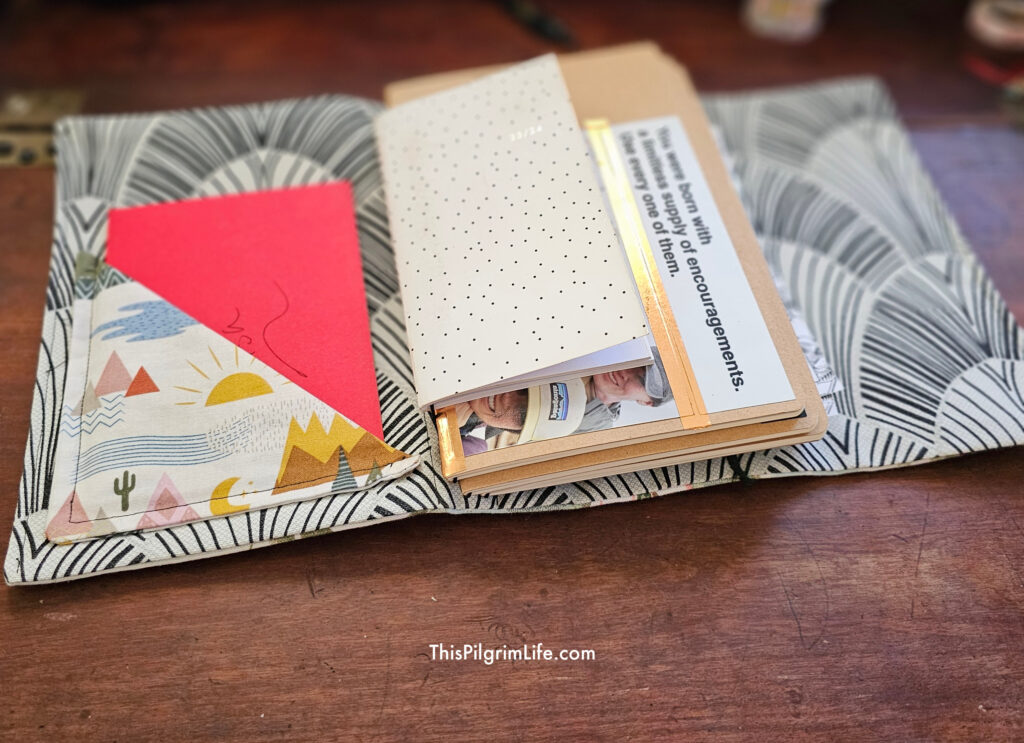
- I wanted my traveler’s journal to include pockets for little papers and pens
I made my first traveler’s journal cover 2 years ago and loooooved it. After 2 years of wear, however, it was time for a new cover, so I made a new one this past week to start the new year fresh and shiny.
You can find a full, printable tutorial to make your own traveler’s journal in my Etsy shop. Only basic sewing skills are needed and the cost of materials is small, especially if you can pull from a fabric stash.
Why a Traveler’s Journal?
- It’s completely customizable. You can use it however you like, add whatever flair you like, embellish it with doodles or stickers or journaling supplies.
- It’s refillable so can be used year after year. The great thing about a traveler’s journal is that when a notebook is full or irrelevant, you can simply take it out and slip a new one in. This is great if you like to have a fresh start at the new year too (I definitely do!)
- It’s inexpensive. The cost of notebooks is small, and besides that all you really need is a pen. Making your own is very reasonable too.
- It fits individual preferences & needs. You can add three notebooks or five. Make one dedicated to drawing comics or nature journaling. Make a gratitude or memory journal. Or, like I have promised my kids, use them in homeschool for narrations, spelling, math, timelines, etc.
- It’s the perfect size to tuck in a bag and carry with you. My traveler’s journal comes with me everywhere. I love that it’s not full-size or fun-size. It fits in almost all of my purses/bags that I use on a regular basis.
- It can be filled with blank, ruled, or printed notebooks. I prefer blank notebooks over ruled, but you can use either one. You can also purchase notebooks for traveler’s journals that are printed and ready to go. (I like Juniper Grove for these).
- It’s perfect for people who want a little more organization/options for bullet journaling. Don’t want to put everything into one journal? That’s what the traveler’s journal is for. This helps not only to distinguish subjects between notebooks, but also means they will last longer.
DIY Traveler’s Journal
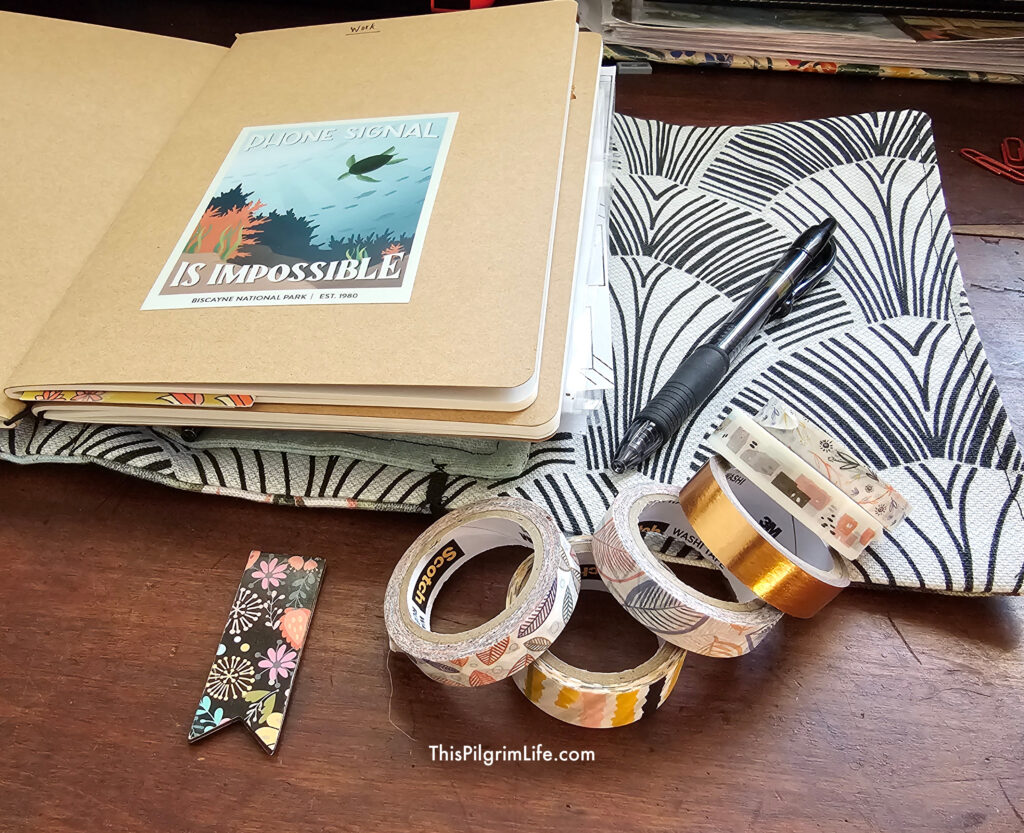
Recommended supplies for Traveler’s Journals ::
- Etsy Sewing Tutorial to make your own
- Moleskin cashier journals — lined
- Moleskin cashier journals — blank
- Blank notebooks bulk
- Juniper Grove journal inserts (really great options here)
- Pilot G2 Gel Pen (Favorite pens!)
- washi tape
- Magnetic Bookmarks
- Post-It notes in all sizes
- Noted Post-Its (these are so helpful)
- Leather journal cover (I just figured I would add this one if you wanted to completely skip sewing and buy a cover. Ha!)
Filling the pages ::
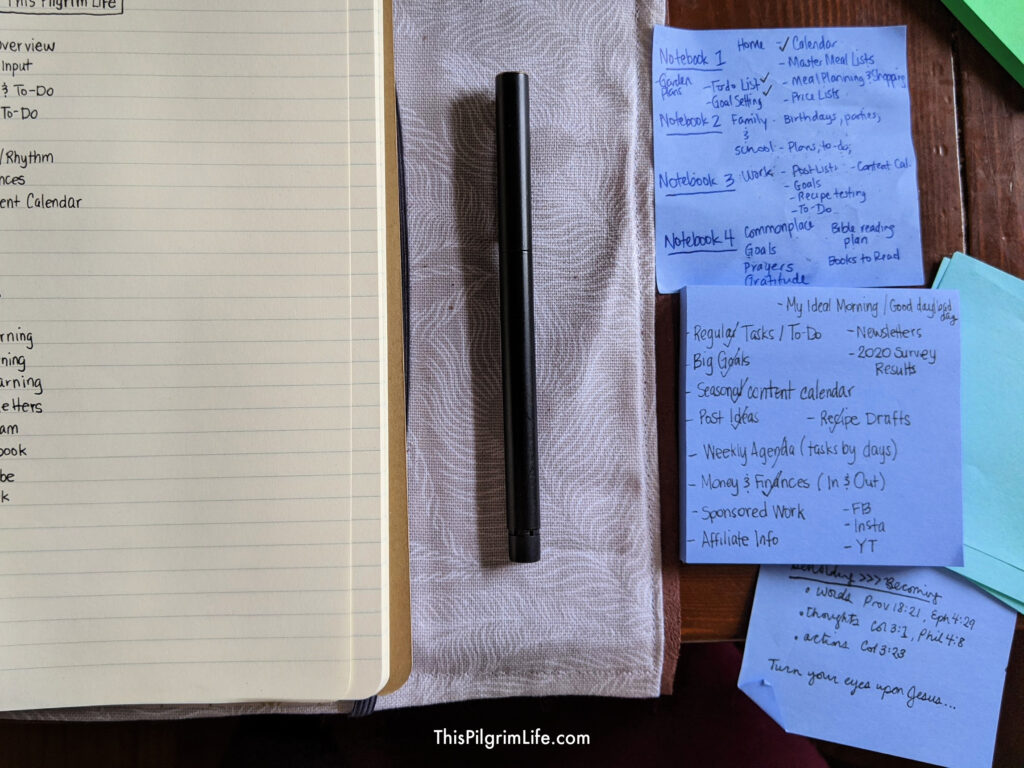
Putting the first marks on the pages can seem really overwhelming, so I have found that making a plan on loose paper or post-its helps me to figure out exactly what I want to use each notebook for, what specific pages I want in each notebook, and then of course, the order that they are included.
After I get the page numbers in, I can use my notes to create a table of contents for each notebook.
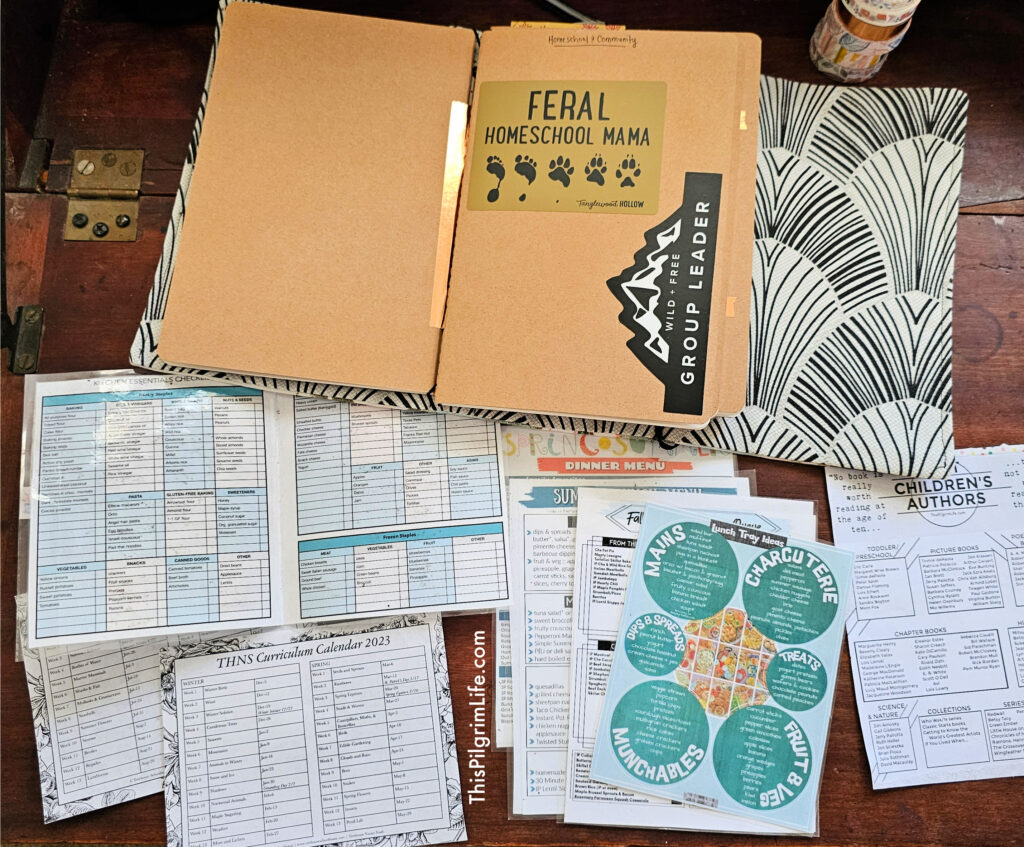
In addition to writing in my own lists and charts and such, I also like to print off resources that I reference often at 50% and tape them into my notebooks. You can do this with any kind of checklist, printable, calendar, etc that you like to use. Here are some of my favorites that are available for free on my site:
- Kitchen Essentials Checklist
- Freezer Inventory
- Seasonal Menus (Fall & Winter, Summer Lunch, Summer Dinner)
- Everyday Menus (Frugal Dinner Ideas, Adventure Day Menu, Lunch Tray Ideas)
- Best Kids’ Book Authors
- Treehouse Schoolhouse Nature Study Seasonal Calendars
- Reading Lists & Plans
- Seasonal Reset Questions
I hope this been helpful. Remember that even though there are some incredibly beautiful traveler’s journals and bullet journals online, ultimately the purpose is that your journal will add value to YOUR life. In other words, as long as it works for you and helps you, it doesn’t have to look any certain way.
Sharing is caring! Don’t forget to pin and share. Thank you!
hey Lisa, thanks for sharing the vlog, I appreciate it
Hi Lisa thanks for sharing this blog, this is very inspiring.
Where do you source your cover leather?
Hello! I have used multiple moleskin notebooks to keep life organized for many years and never thought of keeping them all together in one binder. What a great idea!! Did you write the post about how you set up your bullet journal and your favorite tools? I would really like to read that!
I shared a video tour on Instagram. You can find the video on my saved IGTV videos (@thispilgrimlife)
Oh my, this is sooo awesome, Lisa! I love it!! It looks fabulous to me, but I love that you say that things don’t have to be perfect all the time to do their job, I feel the same! If everything I did had to look perfect, I would definitely make nothing. Haha!