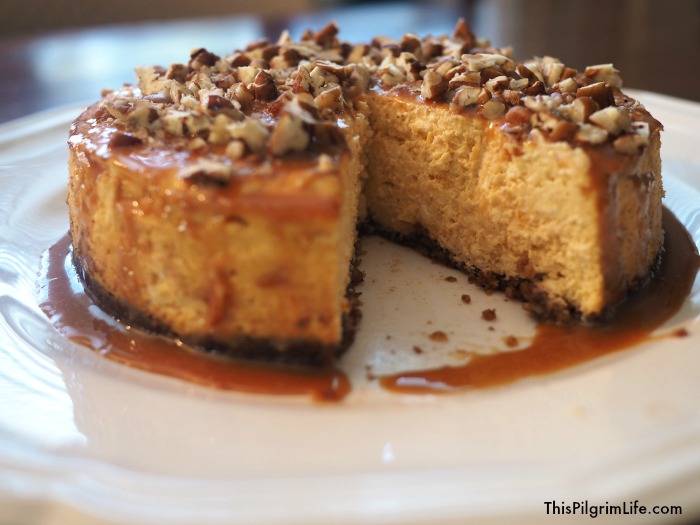
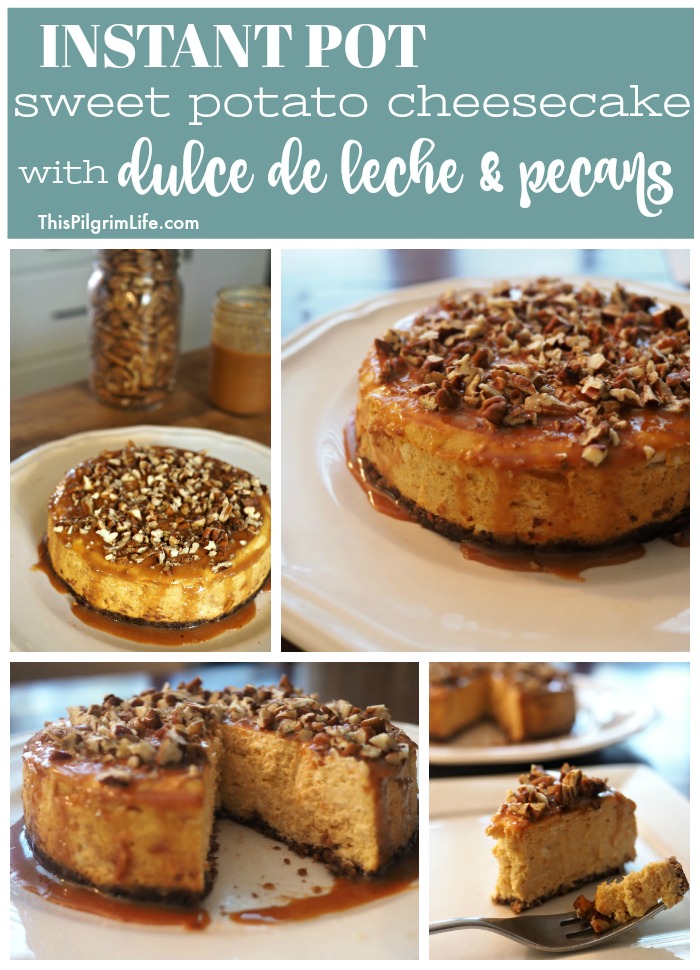
Decadent holiday desserts take on a new twist with this sweet potato cheesecake! Easy to make, quick to cook in the Instant Pot, and hard to resist!
The links below may also be affiliate links, meaning I earn a small commission at no extra cost to you. I appreciate your support of this site!
Let’s continue the week of Instant Pot holiday recipes with this recipe for sweet potato cheesecake. It’s a cheesecake worthy of the holiday season, while still keeping the gluten-free crust and naturally-sweetened filling of my first Instant Pot cheesecake. I opted to make a sweet potato version because, honestly, I love whenever I get to put a vegetable in a dessert (like these double dark chocolate pumpkin cookies), and also because sweet potato pie is one of my husband’s favorites.
The cheesecake itself is delicious, but the dulce de leche and chopped pecans truly take it to a new level. Basically, I am a fan of any occasion that requires me to make a batch of the sweet milk good stuff. (Did you know you can skip the canned milk and just make it in your Instant Pot with just milk and sugar? Yep. Easy).
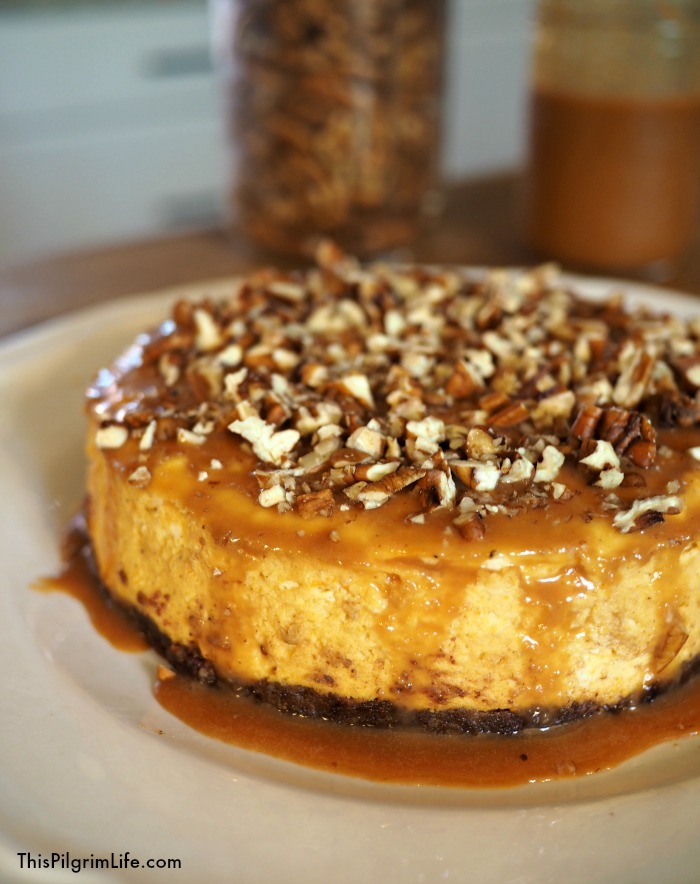
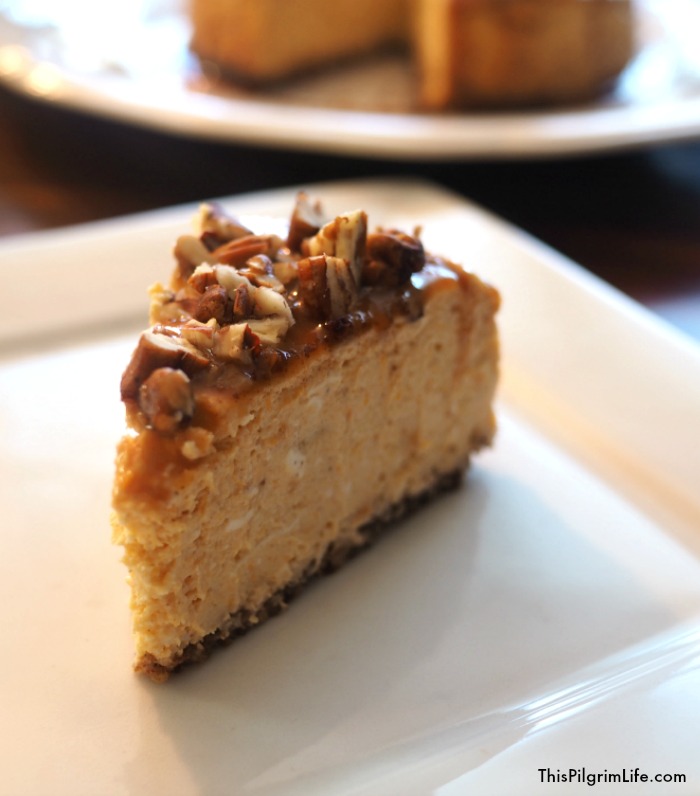
It’s simple to see why cheesecakes have been such a craze in the Instant Pot world. Once you get the basics down, it is remarkably easy to make a delicious cheesecake. In fact, I’ve made so many cheesecakes in the past few months that my son informed us the other day that visiting The Cheesecake Factory would not be necessary because mommy makes all the cheesecakes we need.
I call that a mom win.
The most important things to remember when making Instant Pot cheesecakes are:
- ALWAYS use room temperature ingredients. Just do it. No exceptions.
- Add the eggs last and mix gently.
- Don’t rush the cooling process. A couple hours on the counter BEFORE going in the refrigerator are a must for your cheesecake to set up properly.
Those are the basics, but if this is your first Instant Pot cheesecake, I suggest reading the tips on this cheesecake recipe first. Cheesecake can be finicky, but doesn’t have to be difficult if you follow the steps!
Instant Pot Sweet Potato Cheesecake
Besides taking out your ingredients with plenty of time for them to come to room temperature, the prep for this cheesecake is minimal. Make a batch of dulce de leche a day or two before. And cook a smallish sweet potato about thirty minutes to an hour before you’re ready to get started. (It only has to cook for 8 minutes on high pressure, but you want to give it time to cool to room temperature too).
Equipment Needed:
- Instant Pot or similar electric pressure cooker
- 7″ springform pan
- extra sealing ring reserved for sweet items (optional, but recommeded)
- food processor (I have this one) or alternative chopper for crust
- stand mixer
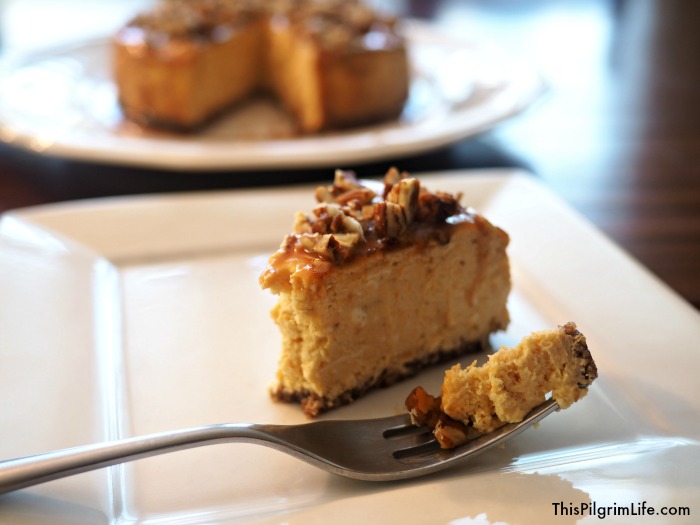

Instant Pot Sweet Potato Cheesecake with Dulce de Leche and Pecans
- Prep Time: 20 minutes
- Cook Time: 35 minutes
- Total Time: 55 minutes
- Yield: 6-8 servings 1x
- Category: Dessert
- Method: pressure cooker
Ingredients
Crust:
- 2/3 C pecan halves
- 4 pitted dates
- pinch of salt
- 1 Tbsp unsalted butter (if using salted, leave out the additional salt)
Filling:
- 1 C mashed sweet potato, about 1 medium sweet potato
- 16oz cream cheese, room temperature
- 1/3 C maple syrup, room temperature
- 1 tsp vanilla extract
- 2 eggs, room temperature
- 1 tsp chai spice blend (see notes)
Topping:
- dulce de leche (see notes)
- 1/3 C chopped pecans
Instructions
Cook the sweet potato:
- Add a cup of water to the bottom of your Instant Pot, and set the trivet inside. Slice the sweet potato in half and place, skin side down, on the trivet. Cook for 8 minutes on high pressure. Scoop out the sweet potato and mash when finished cooking.
Make the crust:
- In a the bowl of a food processor, blend the pecans, dates, and salt together for about 30 seconds until the pecans and dates are broken up into very small pieces. Add the butter and pulse 2 to 3 times until the butter is incorporated.
Alternately, if you do not have a food processor, use a blender or knife to finely chop the dates and pecans. Transfer to a bowl and use a fork to mix in the butter. (Your crust may have bigger pieces if you do this method). - Transfer the pecan/date mixture to the bottom of a springform pan and use the back of a spatula to gently press out the mixture evenly across the bottom of the pan and out to the sides.
- Place the springform pan in the freezer until your filling is ready, about 15 minutes.
Make the Filling:
- Add the cream cheese and mashed sweet potato to the bowl of a stand mixer. Set a timer for 1 minute and turn the mixer on medium. Mix the cream cheese and sweet potato together, scraping down the sides of the bowl once.
- Add the maple syrup, spice blend, and vanilla to the bowl. Mix for another minute on medium-low. Turn off the mixer when the timer goes off and scrape the sides of the bowl again. Mix once more for thirty seconds to a minute if your ingredients are not yet well-incorporated.
- Set the timer for thirty seconds one more time, turn the mixer on low, and add the eggs one at a time. After about thirty seconds, the eggs should be incorporated in the cream cheese mixture. If there are still any streaks of yellow, simply give the filling a stir with your spatula.
Fill & Cook the Cheesecake:
- Take the springform pan out of the freezer and pour the cheesecake filling into the pan. Gently tap the cheesecake on the counter to bring up any air bubbles. Pop the bubbles with the tip of a toothpick or small knife.
- Cover the springform pan with a paper towel, and then a piece of foil. Press the foil down over the sides of the pan to hold the paper towel in place.
- Pour a cup of water in the bottom of your Instant Pot, place in a trivet, and then set the springform pan on top of the trivet. Cover the Instant Pot, select MANUAL, and set the cooking time for 35 minutes on high pressure.
- When the cheesecake has cooked for 35 minutes, let the pressure release naturally. Once the pin has dropped and the pressure is released, you can take off the lid and carefully take out the cheesecake. Set the pan on the counter and remove the foil and paper towel. Use the paper towel to gently soak up any moisture on top of the cheesecake.
- Let the cheesecake rest on the counter or a cooling rack for 10 minutes. After ten minutes, run a knife around the edges of the cheesecake and then release and remove the wall of the springform pan. Leave the cheesecake cool completely on the counter for 1-2 hours before refrigerating.
- Refrigerate the cheesecake for at least 4 hours before slicing.
Top Cheesecake:
- Spread the dulce de leche across the top of the cheesecake with a spatula, letting some of it drip down the sides. Evenly distribute the chopped pecans on the dulce de leche.
Notes
Chai Spice Blend: I found this blend at a local spice store. You can also use pumpkin pie spice, or recreate your own chai spice blend:
- 1 tsp ground cinnamon
- 1/4 tsp each: ground ginger, ground cardamon, all-spice
- 1/8 tsp ground black pepper
To make dulce de leche in your Instant Pot, you can make it with just sugar and milk, or with a can of sweetened condensed milk.
Sharing is caring! Help support this blog by pinning and sharing. Thank you!

More Holiday Real-Food Recipes ::
- 25 Ways to Make Your Instant Pot Shine This Holiday
- Pumpkin Pie Creme Brûlée (Instant Pot recipe)
- Sweet Barbecue Meatballs (Instant Pot recipe)
- Crockpot Holiday Punch
- Easy Holiday Trash
- Make-Ahead Cinnamon Rolls for a Crowd
- Healthier Green Bean Casserole (Instant Pot recipe)
- Best Old Fashioned Pound Cake
- Best Classic Apple Pie (Ever!)
Want even more Instant Pot recipes and tips???
Click here for more Instant Pot recipes.
Sign up for the weekly newsletter to get new recipes, DIY projects, and encouragement right in your inbox!
Like This Pilgrim Life on Facebook to catch live cooking videos, new recipes, and much more!
I don’t have an Instapot, can I bake this in the oven? If yes, what would be the temperature & how long?
I made this cheesecake for Thanksgiving it was wonderful. Really easy to make I subsituded pumpkin for the sweet potatoes only because that is what I had and waa using it up. Not to sweet but everyone raved about it. Thanks for the great recipes Lisa!
★★★★★