The Instant Pot cheesecake got a makeover! The amazingly quick and easy cheesecake is gluten-free, naturally sweetened, made with less fat, and is seriously delicious! 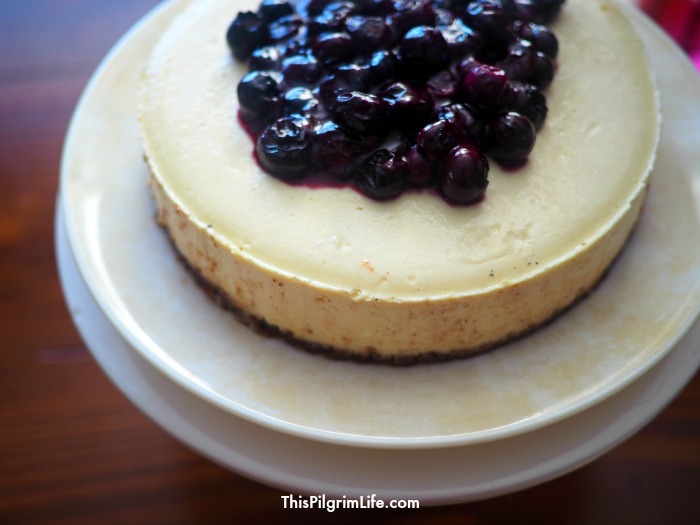 The links below may also be affiliate links, meaning I earn a small commission at no extra cost to you. I appreciate your support of this site!
Before last week, I had made 2, maybe 3, cheesecakes in my life. I had reliable recipes, but the process always seemed a bit overwhelming and I would typically opt for another dessert instead. I have now made many more cheesecakes in my Instant Pot. And I’m here to tell you, it is sooooo much easier!
There are lots of cheesecake recipes out there, but I wanted to give the Instant Pot cheesecake a little makeover. How could I make a delicious cheesecake, but leave out all refined sugar? How could I make it so that all my gluten-free friends could enjoy it too? (Not to mention the fact that I NEVER have graham crackers on hand and typically avoid recipes that require a special trip to the store).
Then, just because I could, I wanted to see if I could use less fat cream cheese and still achieve that rich, decadent quality of a good cheesecake. All the grueling hard work of eating so many cheesecakes paid off. I did it for you, I promise.
I now have another quick and easy dessert recipe for my Instant Pot which uses whole ingredients and natural sweeteners. Because life is just better with dessert, y’all.
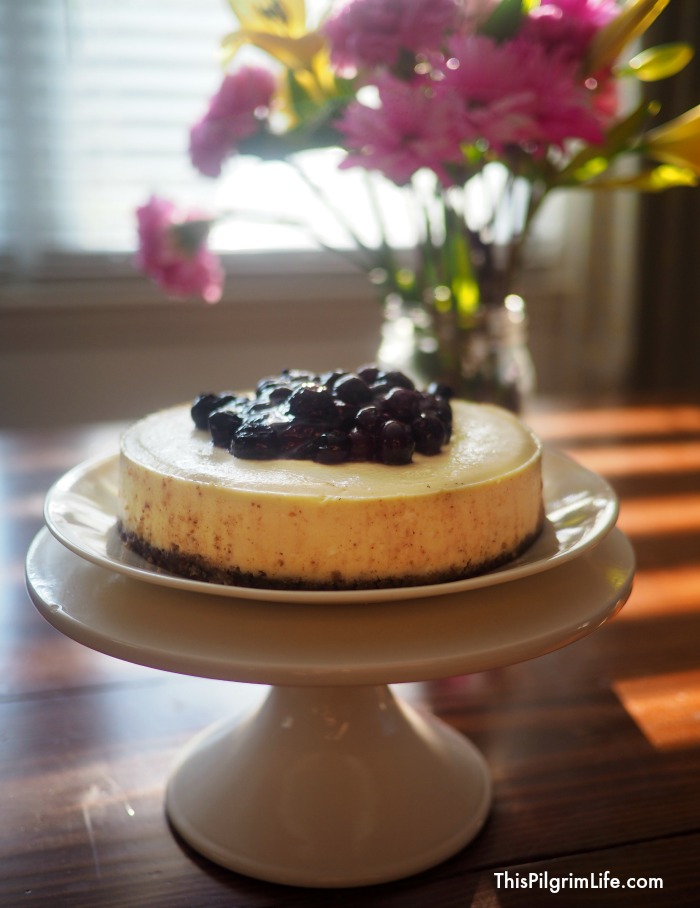
Read this first!
Cheesecakes can be somewhat persnickety, so I’m going to throw a handful of tips at you that you’re going to want to heed. I did a lot of reading up on what makes a successful cheesecake, a lot of testing in the kitchen, and this is what you need to know…
- 1. Always use room temperature ingredients. This is important. Pull your cream cheese and yogurt and eggs out with plenty of time for them to come to room temperature. This will help your cheesecake to be smoother and prevent you from over mixing the filling. It will also keep your eggs from clumping when you add them to the cheesecake mixture.
- 2. DON’T OVERMIX. The process of making the cheesecake filling should take no more than five minutes. Seriously. Mixing the filling too long will result in a wonky cheesecake with the potential of having scrambled eggs on top. I used a timer each time I turned on my mixer to make sure I was not mixing anything too long just because I wasn’t paying attention. (Times are in the recipe). A general rule of thumb when it comes to cheesecakes is: Less mixing = denser cheesecake. More mixing = creamier cheesecake. (Thank you Pressure Cooker Recipes for that tip).
- 3. Release the air bubbles. Immediately after you pour in the filling, tap the pan gently on the counter to release any air bubbles. Use a toothpick or the point of a knife to pop the bubbles.
- 4. Cover the cheesecake before cooking. Use both a paper towel and a piece of foil to cover the top of the springform pan. The paper towel will help to absorb excess moisture that would collect on the top of the cheesecake, and it can be used after the cooking time to gently soak up any additional moisture.
- 5. Use a fresh sealing ring. Twice before making cheesecake recently I cooked either a roast chicken or barbecue pork in the Instant Pot. Neither is a flavor I want to pass on to my cheesecakes. Invest in extra sealing rings so that you can reserve one or two for desserts. Totally worth it.
- 6. After the cheesecake cooks… Let the pressure release naturally from the Instant Pot, and then carefully remove the springform pan. Take off the foil and paper towel layer and gently soak up any excess moisture. At this point, you want to let the cheesecake rest for 10-15 minutes before releasing the outer wall of the springform pan. After 10-15 minutes, use a knife to run along the edges of the pan to separate the cheesecake from the pan, and then release the latch on the side wall. Letting the cheesecake cool without the wall can help to prevent cracks in your cheesecake.
- 7. Don’t rush the next part. The success of your cheesecake is still up in the air, to a degree. The waiting is a VERY important part and one that shouldn’t be rushed. Let the cheesecake cool completely on the counter before placing it in the refrigerator (one to two hours). Your cheesecake will continue to cook and this time will help the middle of the cheesecake to further set up. After your cheesecake is cooled, you may place it in the refrigerator. But you still must wait! Give the cheesecake AT LEAST four hours in the refrigerator, though more time is better for an amazing cheesecake. If possible, it’s best to make the cheesecake a day ahead of time to give it plenty of time to chill.
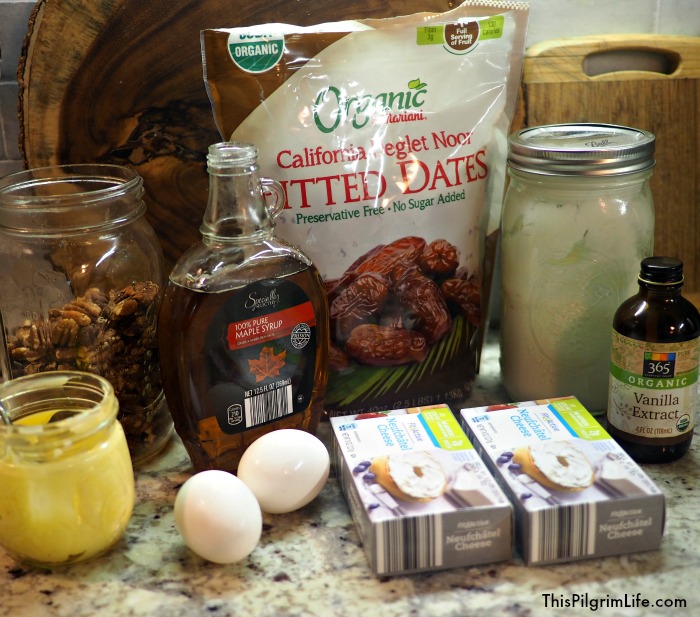
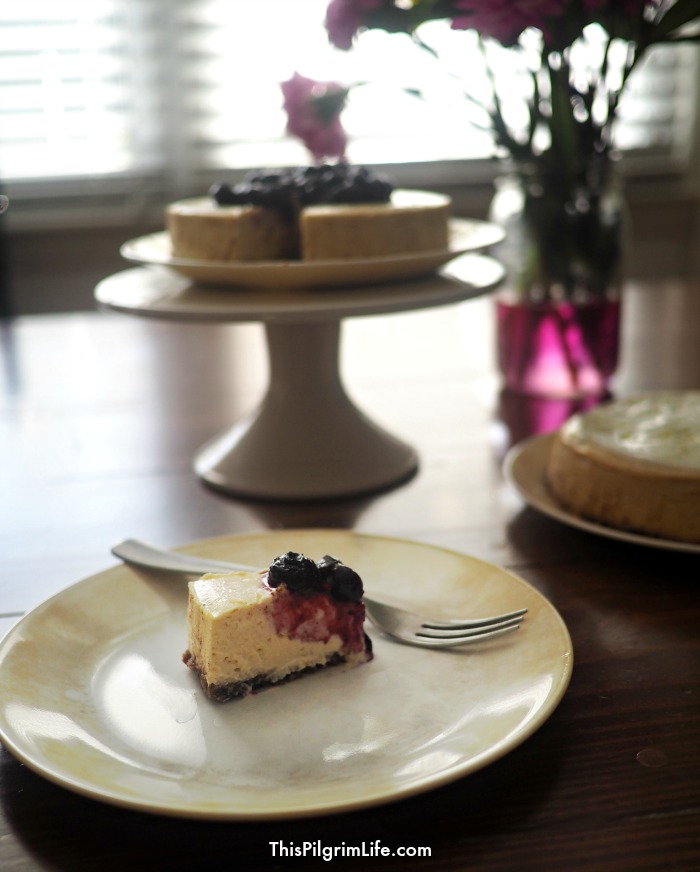
Supplies you will need:
Must-Have:
- Instant Pot or other electric pressure cooker
- springform pan (I use a 7″ pan. A lot of people like the 6″ pan from Fat Daddio.)
- rack to fit inside your Instant Pot
Very Helpful:
- extra sealing rings
- food processor (makes preparing the crust SUPER easy)
- stand mixer
Instant Pot Cheesecake Makeover :: Gluten-Free, Naturally Sweetened, & Less Fat!
- Prep Time: 20 minutes
- Cook Time: 30 minutes
- Total Time: 50 minutes
- Yield: 6-8 servings 1x
- Category: Dessert
- Method: Pressure Cooker
Description
The Instant Pot cheesecake got a makeover! The amazingly quick and easy cheesecake is gluten-free, naturally sweetened, made with less fat, and is seriously delicious!
Ingredients
Crust:
- 2/3 C pecan halves
- 4 pitted dates
- pinch of salt
- 1 Tbsp unsalted butter (if using salted, leave out the additional salt)
Filling:
- 16oz neufchâtel cheese (1/3 less fat cream cheese)
- 1/4 C plain Greek yogurt
- 1/3 C maple syrup
- 2 tsp vanilla extract
- 2 eggs
Blueberry topping:
- 1 C fresh blueberries
- 1 Tbsp butter
- 1 Tbsp maple syrup
Citrus Topping:
- 1/4 C plain Greek yogurt
- 1 tsp lemon juice
- 1 tsp lemon zest
- 1 Tbsp maple syrup
Instructions
Make the crust:
1. In a the bowl of a food processor, blend the pecans, dates, and salt together for about 30 seconds until the pecans and dates are broken up into very small pieces. Add the butter and pulse 2 to 3 times until the butter is incorporated.
Alternately, if you do not have a food processor, use a blender or knife to finely chop the dates and pecans. Transfer to a bowl and use a fork to mix in the butter. (Your crust may have bigger pieces if you do this method).
2. Transfer the pecan/date mixture to the bottom of a springform pan and use the back of a spatula to gently press out the mixture evenly across the bottom of the pan and out to the sides.
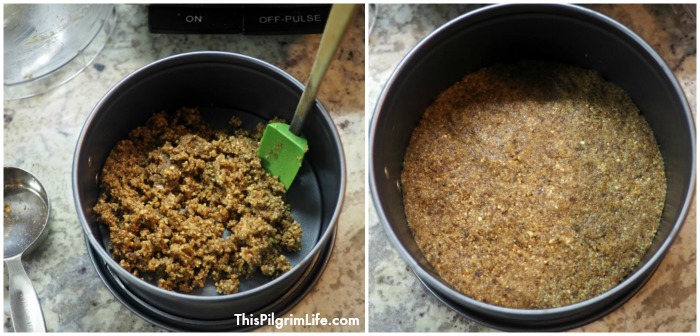
3. Place the springform pan in the freezer until your filling is ready, about 15 minutes.
Make the filling:
- Add the cream cheese to the bowl of a stand mixer. Set a timer for 1 minute and turn the mixer on low. While the cream cheese is mixing, add the yogurt, syrup, and vanilla to the bowl. Turn off the mixer when the timer goes off and scrape the sides of the bowl.
- Turn the mixer on medium-low and mix again, this time for thirty seconds.
- Set the timer for thirty seconds one more time, turn the mixer back on low, and add the eggs one at a time. After about thirty seconds, the eggs should be incorporated in the cream cheese mixture. If there are still any streaks of yellow, simply give the filling a quick stir with your spatula.
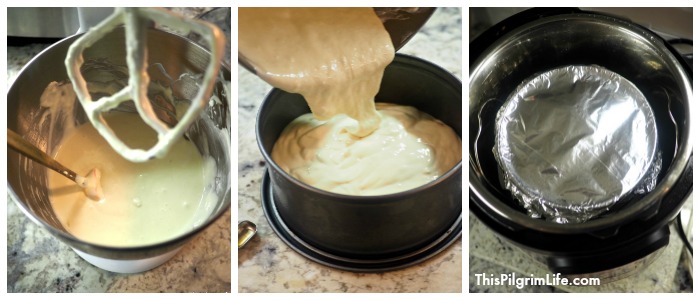
Fill and Cook the Cheesecake
- Take the springform pan out of the freezer and pour the cream cheese filling into the pan. Gently tap the cheesecake on the counter to bring up any air bubbles. Pop the bubbles with the tip of a toothpick or small knife.
- Cover the springform pan with a paper towel, and then a piece of foil. Press the foil down over the sides of the pan to hold the paper towel in place.
- Pour a cup of water in the bottom of your Instant Pot, place in a trivet, and then set the springform pan on top of the trivet. Cover the Instant Pot, select MANUAL, and set the cooking time for 30 minutes on high pressure.
- When the cheesecake has cooked for 30 minutes, let the pressure release naturally. Once the pin has dropped and the pressure is released, you can take off the lid and carefully take out the cheesecake. Set the pan on the counter and remove the foil and paper towel. Use the paper towel to gently soak up any moisture on top of the cheesecake.
- Let the cheesecake rest on the counter or a cooling rack for 10 minutes. After ten minutes, run a knife around the edges of the cheesecake and then release and remove the wall of the springform pan. Leave the cheesecake cool completely on the counter for 1-2 hours before refrigerating.
- Refrigerate the cheesecake for at least 4 hours before slicing.
Prepare the topping:
Blueberry Topping:
- Melt 1 tablespoon butter in a small saucepan over medium heat. Stir in 1 cup of blueberries and 1 tablespoon of maple syrup. Reduce the heat to low and cook for 2-3 minutes. Remove from heat and cool completely before topping your cheesecake.
Citrus Topping:
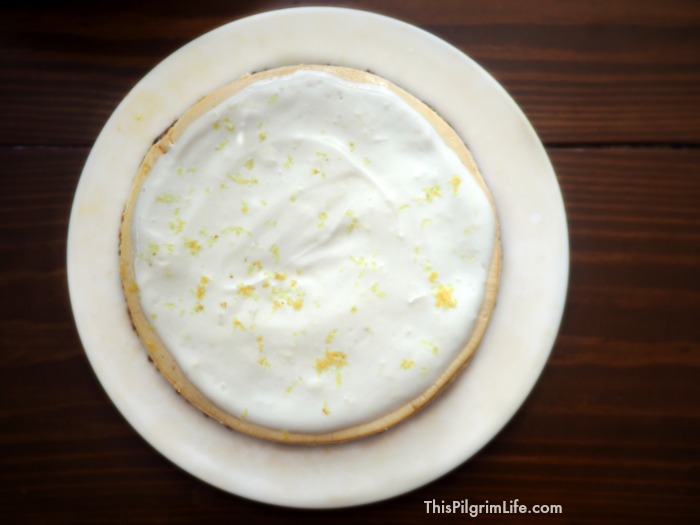
- Stir together the yogurt, lemon juice and zest, and maple syrup. Pour on top of cheesecake and spread evenly across with a spatula. Optional: sprinkle a little extra zest on top. Tip: make the citrus topping and add to cheesecake before you are ready to serve. Refrigerate the topping for best results.
Notes
- I use a 7″ springform pan for my cheesecakes. If you want to use a 6″ pan, try adding a few minutes to the cooking time since your cheesecake will be slightly thicker.
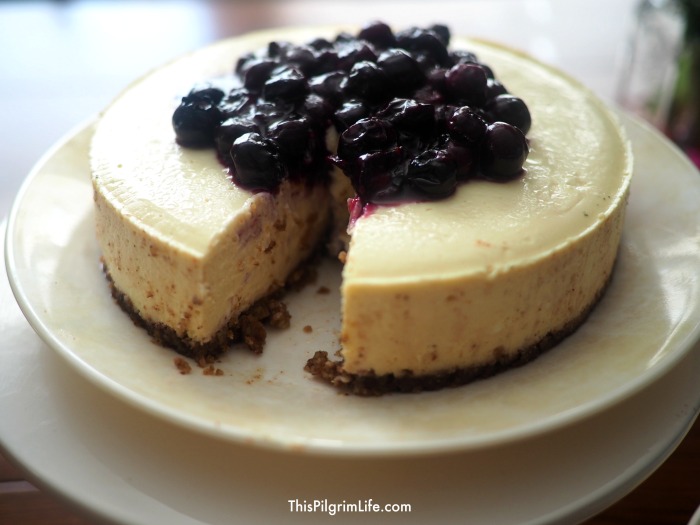
- You will know that the cheesecake is done because the center of the cheesecake will be set–not runny. A little jiggle is normal as the cheesecake will continue to set up as it cools.
- This recipe does not need lemon juice. The tartness of the yogurt is sufficient and when I tested it with lemon juice, the cheesecake was too tart.
Don’t forget to pin and share this post!
Pinning and sharing really help to support this blog so I can keep making cooking videos and developing tasty new recipes! Thanks! 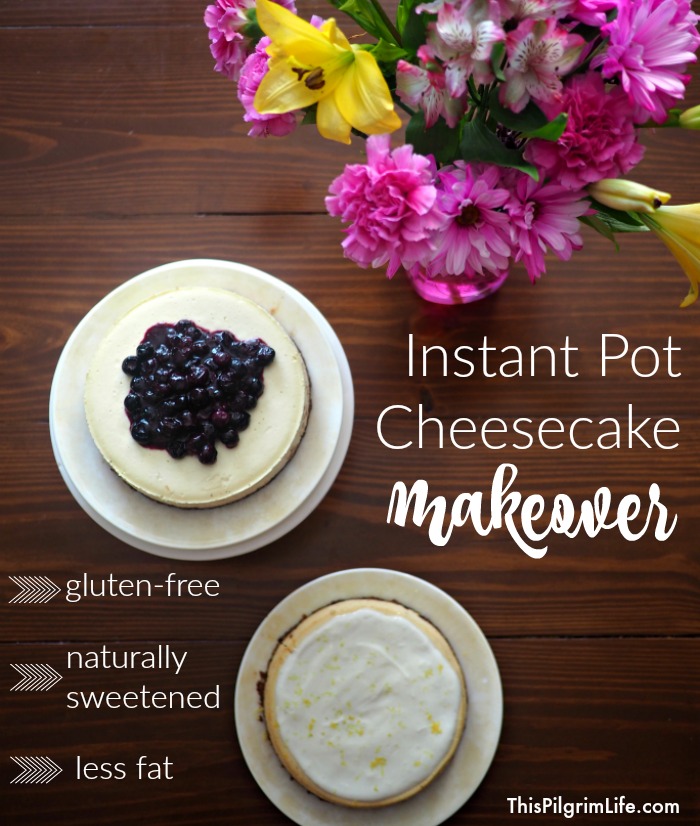


I chose your recipe as my first attempt at an Instant Pot gluten-free cheesecake because I had most of the ingredients on hand. I didn’t have Greek yogurt so I strained plain whole milk yogurt. I didn’t have dates so I used pitted prunes. The cheesecake is on my counter resting and it couldn’t look any more perfect. I already tasted the crust mix and tasted the bit of filling that remained inside of the wall of the springform pan. Wow is this gonna be good. Instructions were perfect.
★★★★★
This recipe is easy to follow and absolutely delicious!! I made this on Saturday for Easter dessert and we are loving having a slice as we go through the rest of our Easter leftovers!! Thank you for posting this recipe, it will definitely be added to our rotation.
★★★★★
I enjoyed this cheesecake. It was nice and light. I used Greek cream cheese, I’m not sure if that is the same type as the recipe called for or not, but it was good. 🙂
★★★★★
Loved it!
★★★★★
Sounds and looks fabulous! Thanks!
I am saving this recipe to try it!! All i need is a spring form pan to make it…lol