
DIY Travel Buddies
On-the-Road Series:
DIY Travel Buddy

I’ve already mentioned that May is a big month for traveling in our family.
This week I am off visiting friends and family in South Carolina and Georgia. Since this is my first trip traveling solo with three children, I tried to do as much ahead of time as possible to make the trips easier on everyone. I will be sharing more of the things I try to do in preparation for traveling, but for today, I will share a simple tutorial for a snake travel buddy.
These snakes became a fun surprise on the morning of our trip and they doubled as neck pillows for the drive.
If you are new to sewing but have a desire for a quick and easy project to learn on, this would be a good fit! And if you’re a sewing pro, then you can fly though these simple steps to make a summer drive a little more comfortable and fun.
Snake Travel Buddy
Needed Materials
- Long pieces of fabric scraps (cotton, fleece, or knit would be fine…I used all three!)
- Red felt
- Thread
- googly eyes or additional felt for eyes
- Poly-Fil stuffing

Step 1
Cut 2 pieces of fabric, 5″x 54″.
*Or if you do not have scraps that long, you can cut 4 pieces 5″ x 27.5″ (2 for the top of the snake, 2 for the bottom).
Cut out a piece of red felt, 1″ x 2″. Cut the rectangle to make a forked tongue.

Step 2
*If you cut out 4 shorter pieces, take the two top pieces and lay them right sides together. Sew along one of the short sides. Press the seam open. Repeat for the bottom pieces if necessary. Now you should have one long piece, 5″ x 54″.

 (Please excuse my dirty ironing board cover…too busy sewing other projects!)
Step 3
Lay the two long pieces, (top and bottom), right sides together and pin along the sides. (Tip: If you put your pins in with the sharp end facing the direction you will feed the fabric through the sewing machine, it is easier to pull them out as you sew).

At one end, mark a pointed end with pins for the snake’s tail. Leave a 1/2 inch at the end between the point and the end of the fabric.

At the other end, use a piece of chalk or a fabric marker to draw a diamond shape for the snake’s head. Leave a 1/2 border around the snake’s head.
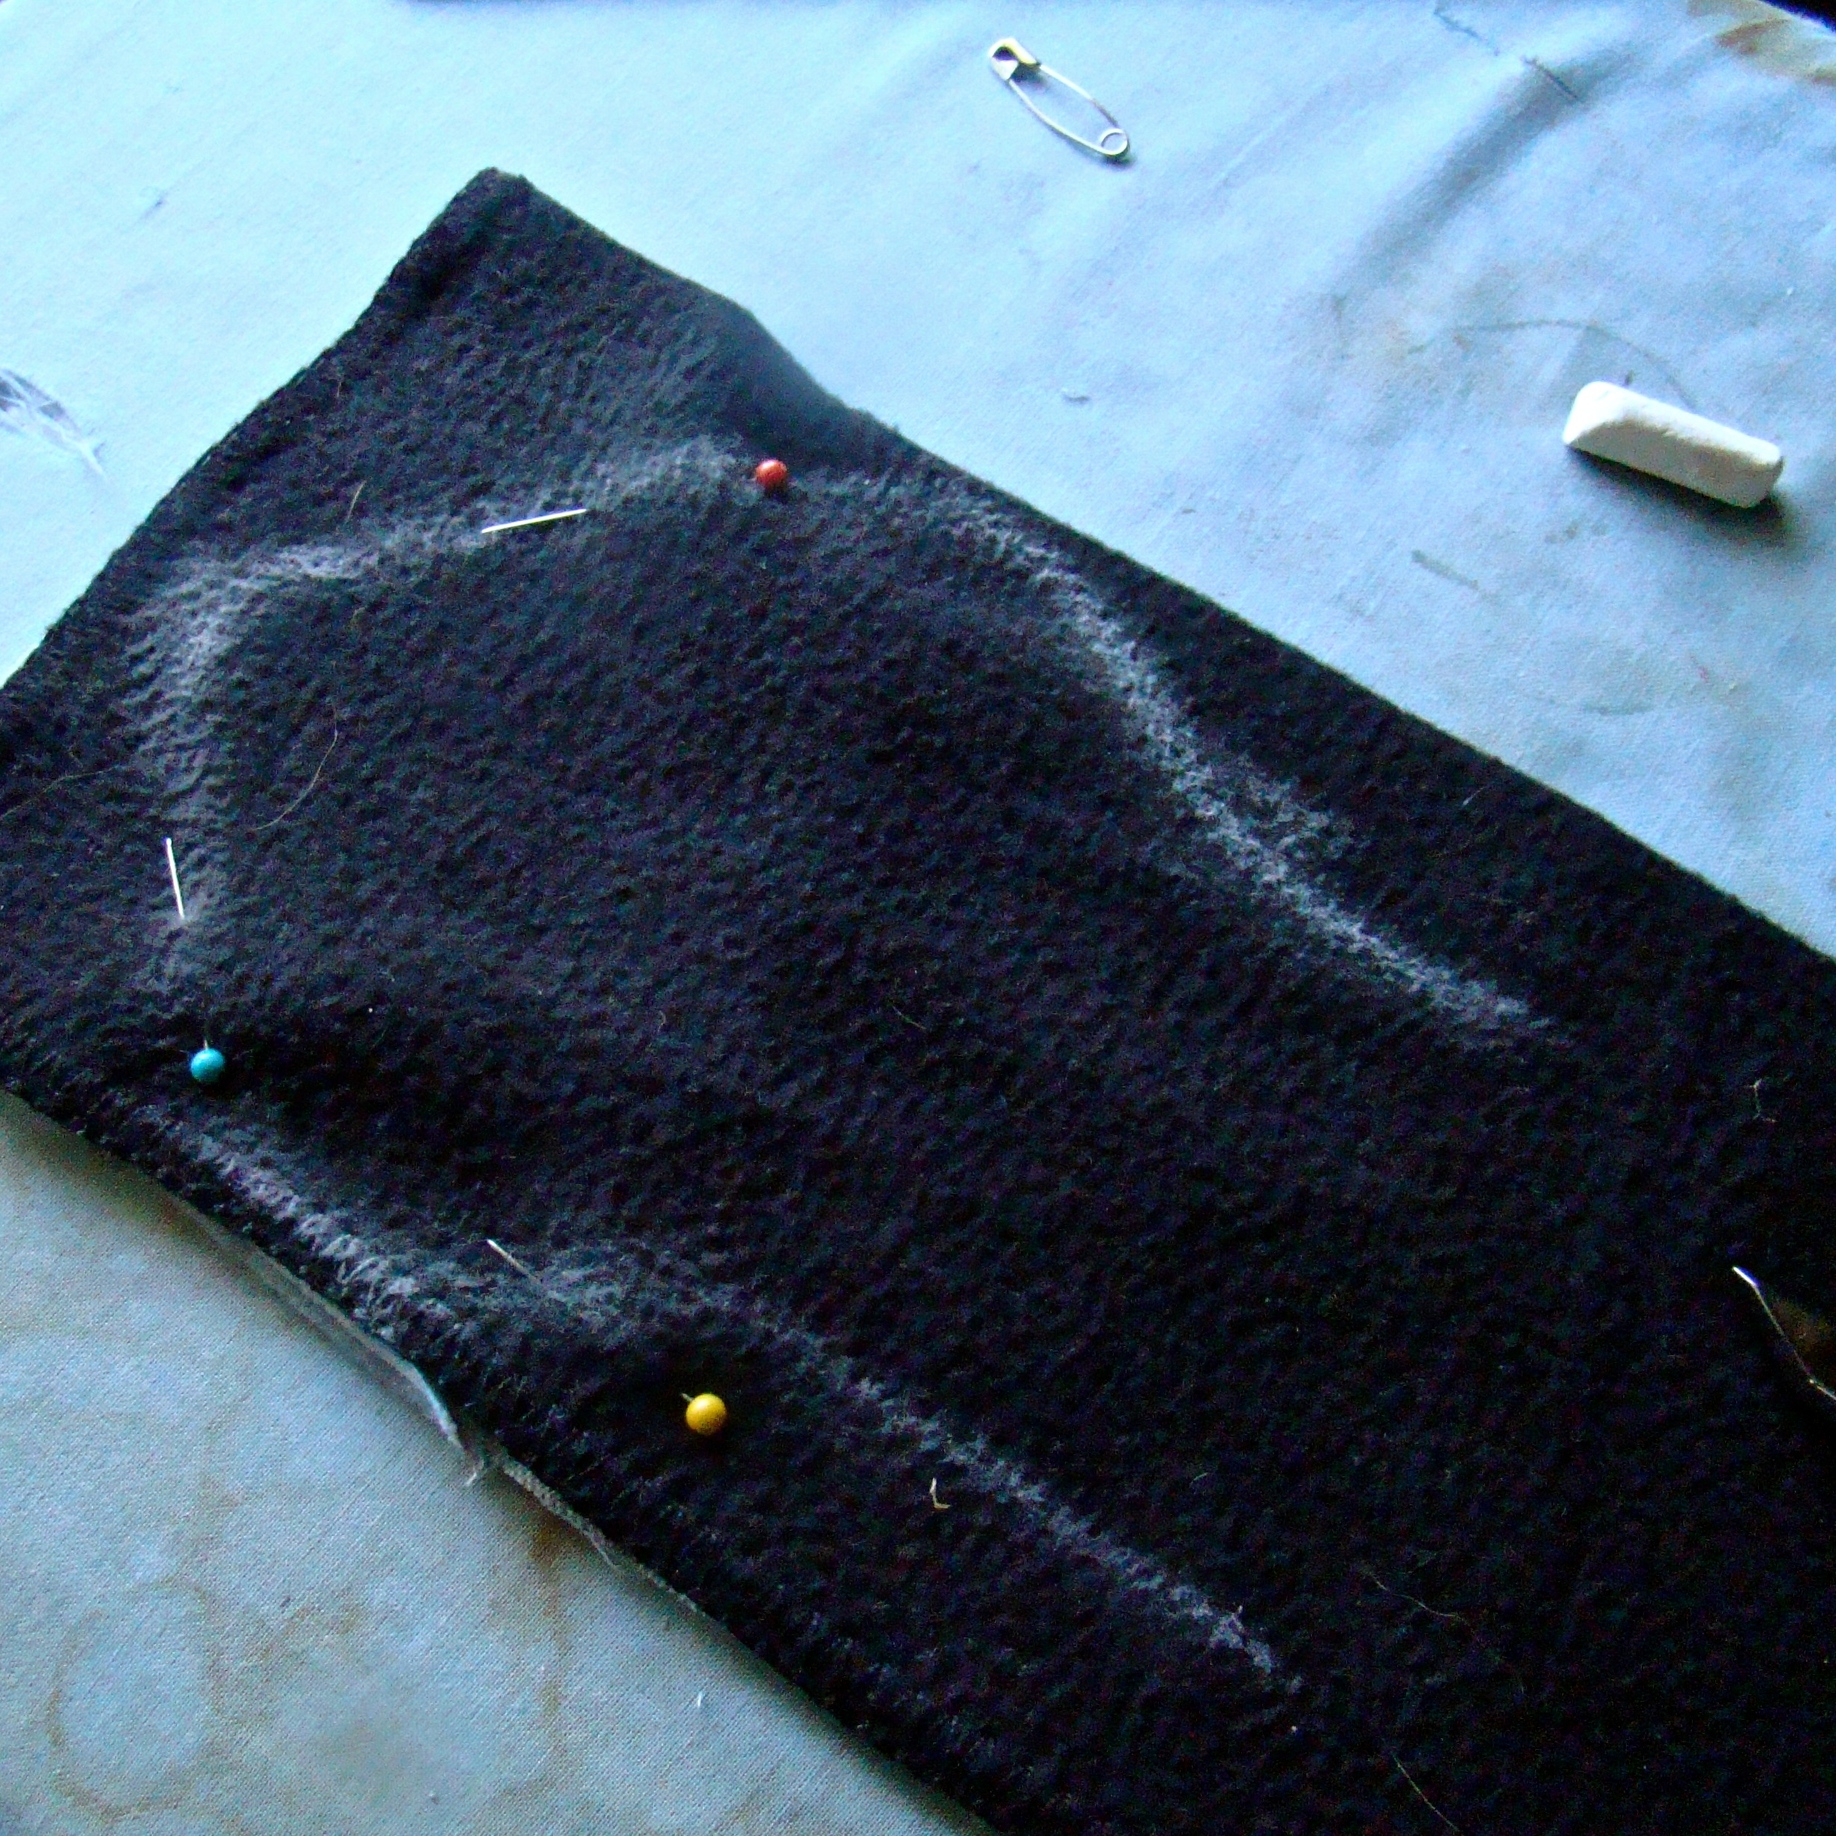
Sandwich the tongue in between the two layers of fabric at the mouth end of the snake. Point the forked end of the tongue towards the middle of the snake. Hold the tongue in place with a pin.


Step 5
Sew along the sides of the snake with a 3/4 inch seam, starting on one of the long sides of the snake in the middle. (A 3/4 inch seam will seem like a large seam, but it will give space to make the snake’s head wider than its body).
Follow the pins and chalk markings to sew around the head and tail, slowing down and feeding the fabric through carefully.
Leave a 4 inch opening in the middle of the snake for turning it out.


Step 6
Trim seams to 1/2 inch along the snake’s body.

Clip the curve around the snake’s head. (Cut slits into the fabric, almost to the seam, and perpendicular to the seam). This will help the curve to round out nicely when you turn it right-side out.

Step 7
Turn the snake right side out through the opening. Use a pencil or chopstick to poke out the tail to a point.

Step 8
Stuff the Poly-Fil stuffing through the opening in the snake. Add stuffing until the snake is completely filled and firm.
Hand-stitch the opening closed with a blindstitch.
Use a hot glue gun to attach the googly eyes on the snake’s face.

(These snakes aren’t completely filled at this point. I had to make a run for more stuffing!)
Step 9
Give your snakes names and let your kids cuddle up with them on your next car trip!
Our green snake is a boa constrictor and the blue one is a blue racer.

What is one of your favorite travel tips for long car rides with kids?
Just found this. I’m going to make with my grandkids this week!
thank for posting!
Katrina
Wow, this looks interesting. I think I can do this too in my next travels with my kids. Thanks for sharing!
Thanks April! I hope it makes your travels a little more smooth and that your kids enjoy them. My kids are still playing with their and asking for new “species” of snakes. 🙂