***Giveaway Closed***
We were thrilled to find out that our third child was a girl. All of us, our two sons included, were hoping for a little sister to dote on– and, of course, we haven’t been disappointed.
Our little girl is equal parts sweet and loving, and feisty and stubborn. She keeps me on my toes and is introducing me to all kinds of new waters in motherhood. Like, a child who pulls out all her hair??!! What is that about?
Thankfully, the hair pulling has stopped. Now we wait for the hair to come back in, eagerly hoping her curls return.
We gave my daughter her first baby doll last Christmas, along with a thrifted and painted cradle and a doll quilt to match her own (handmade gifts for the win!) Since that day, she has hardly spent a moment without her baby tucked under her arm.
Seeing the differences between my daughter and my sons is a lot a fun. Yes, she enjoys LEGOs and tackling her brothers and general mayhem just like her brothers. But there’s no mistaking that she is also a little lady, interested in babies, clothing, and purses to keep up with her goodies.
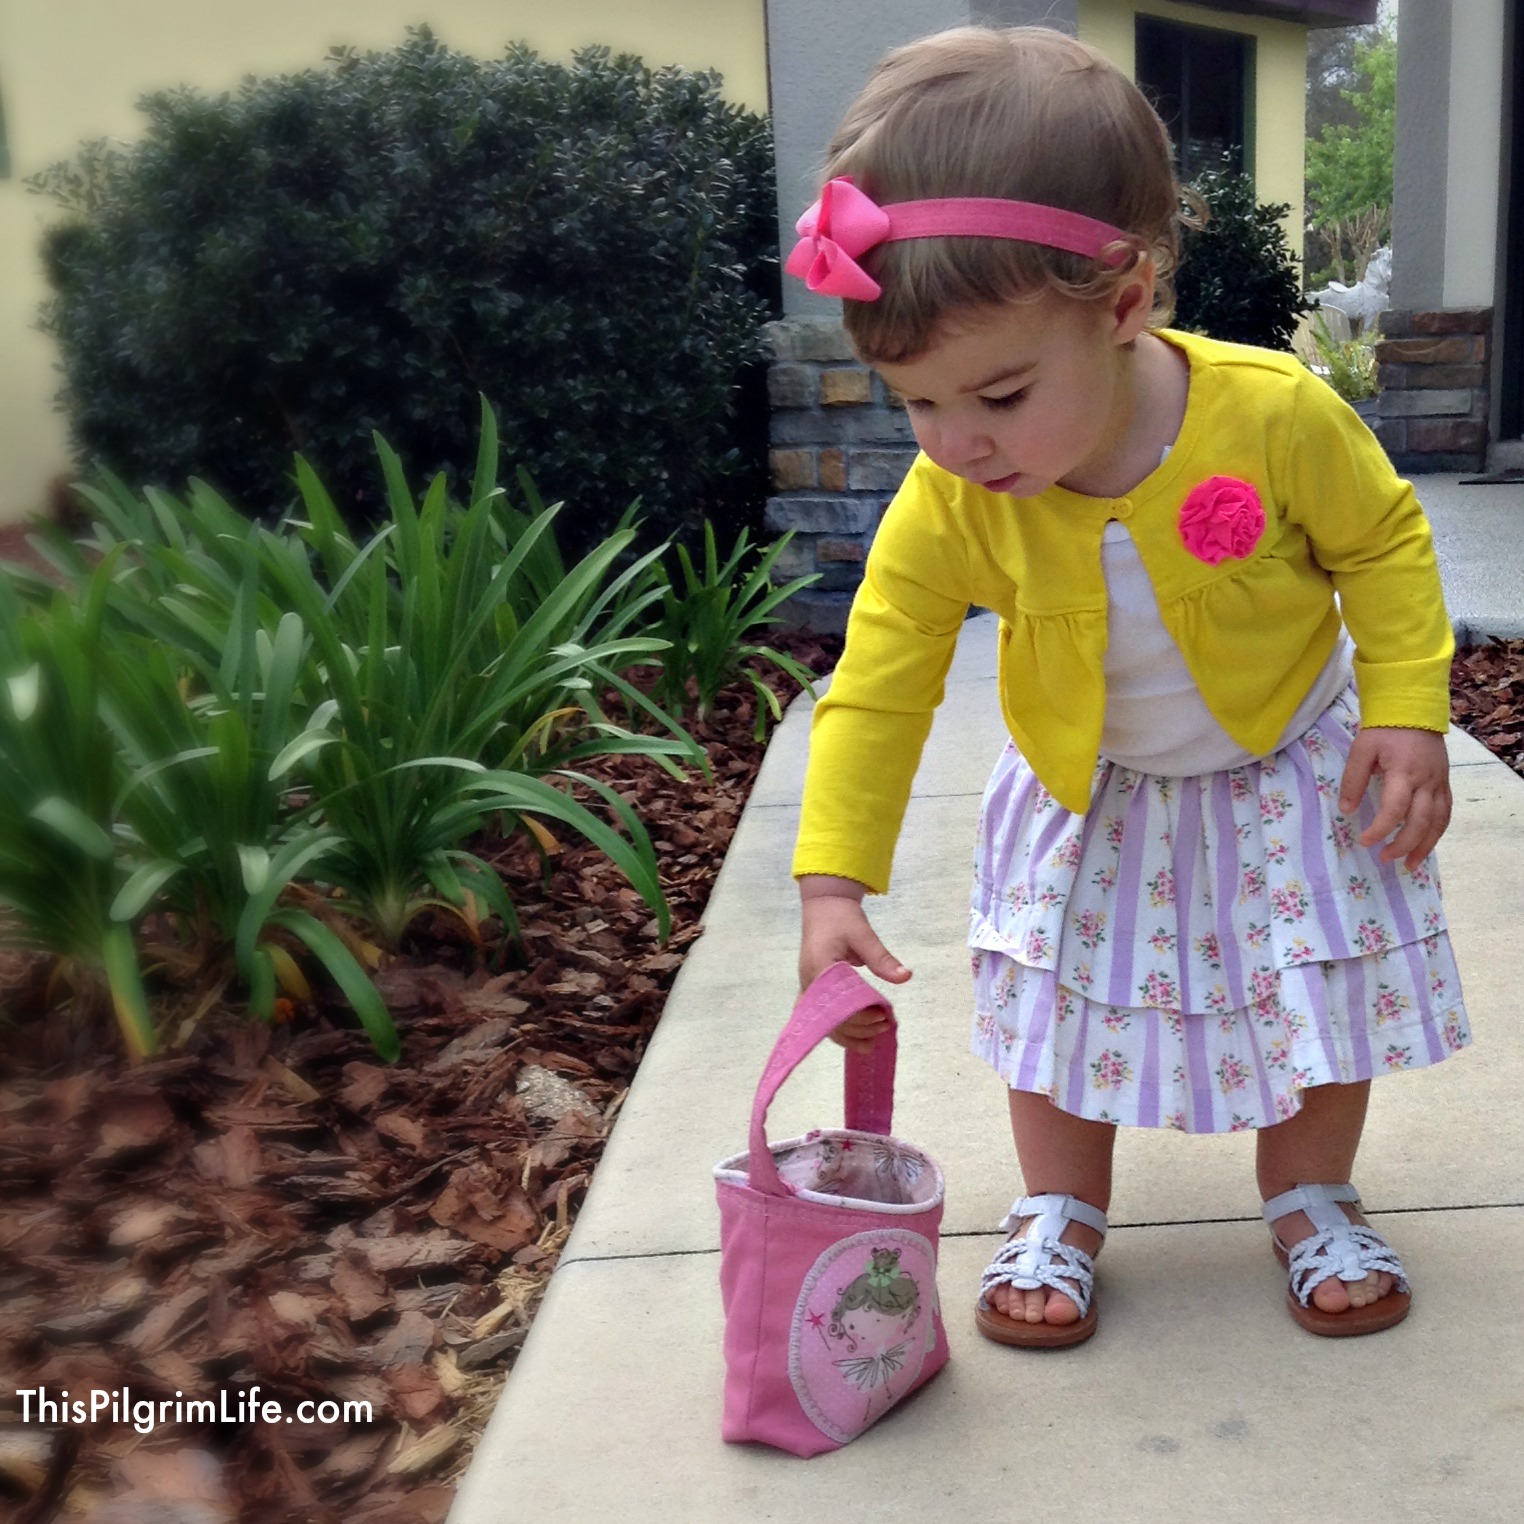
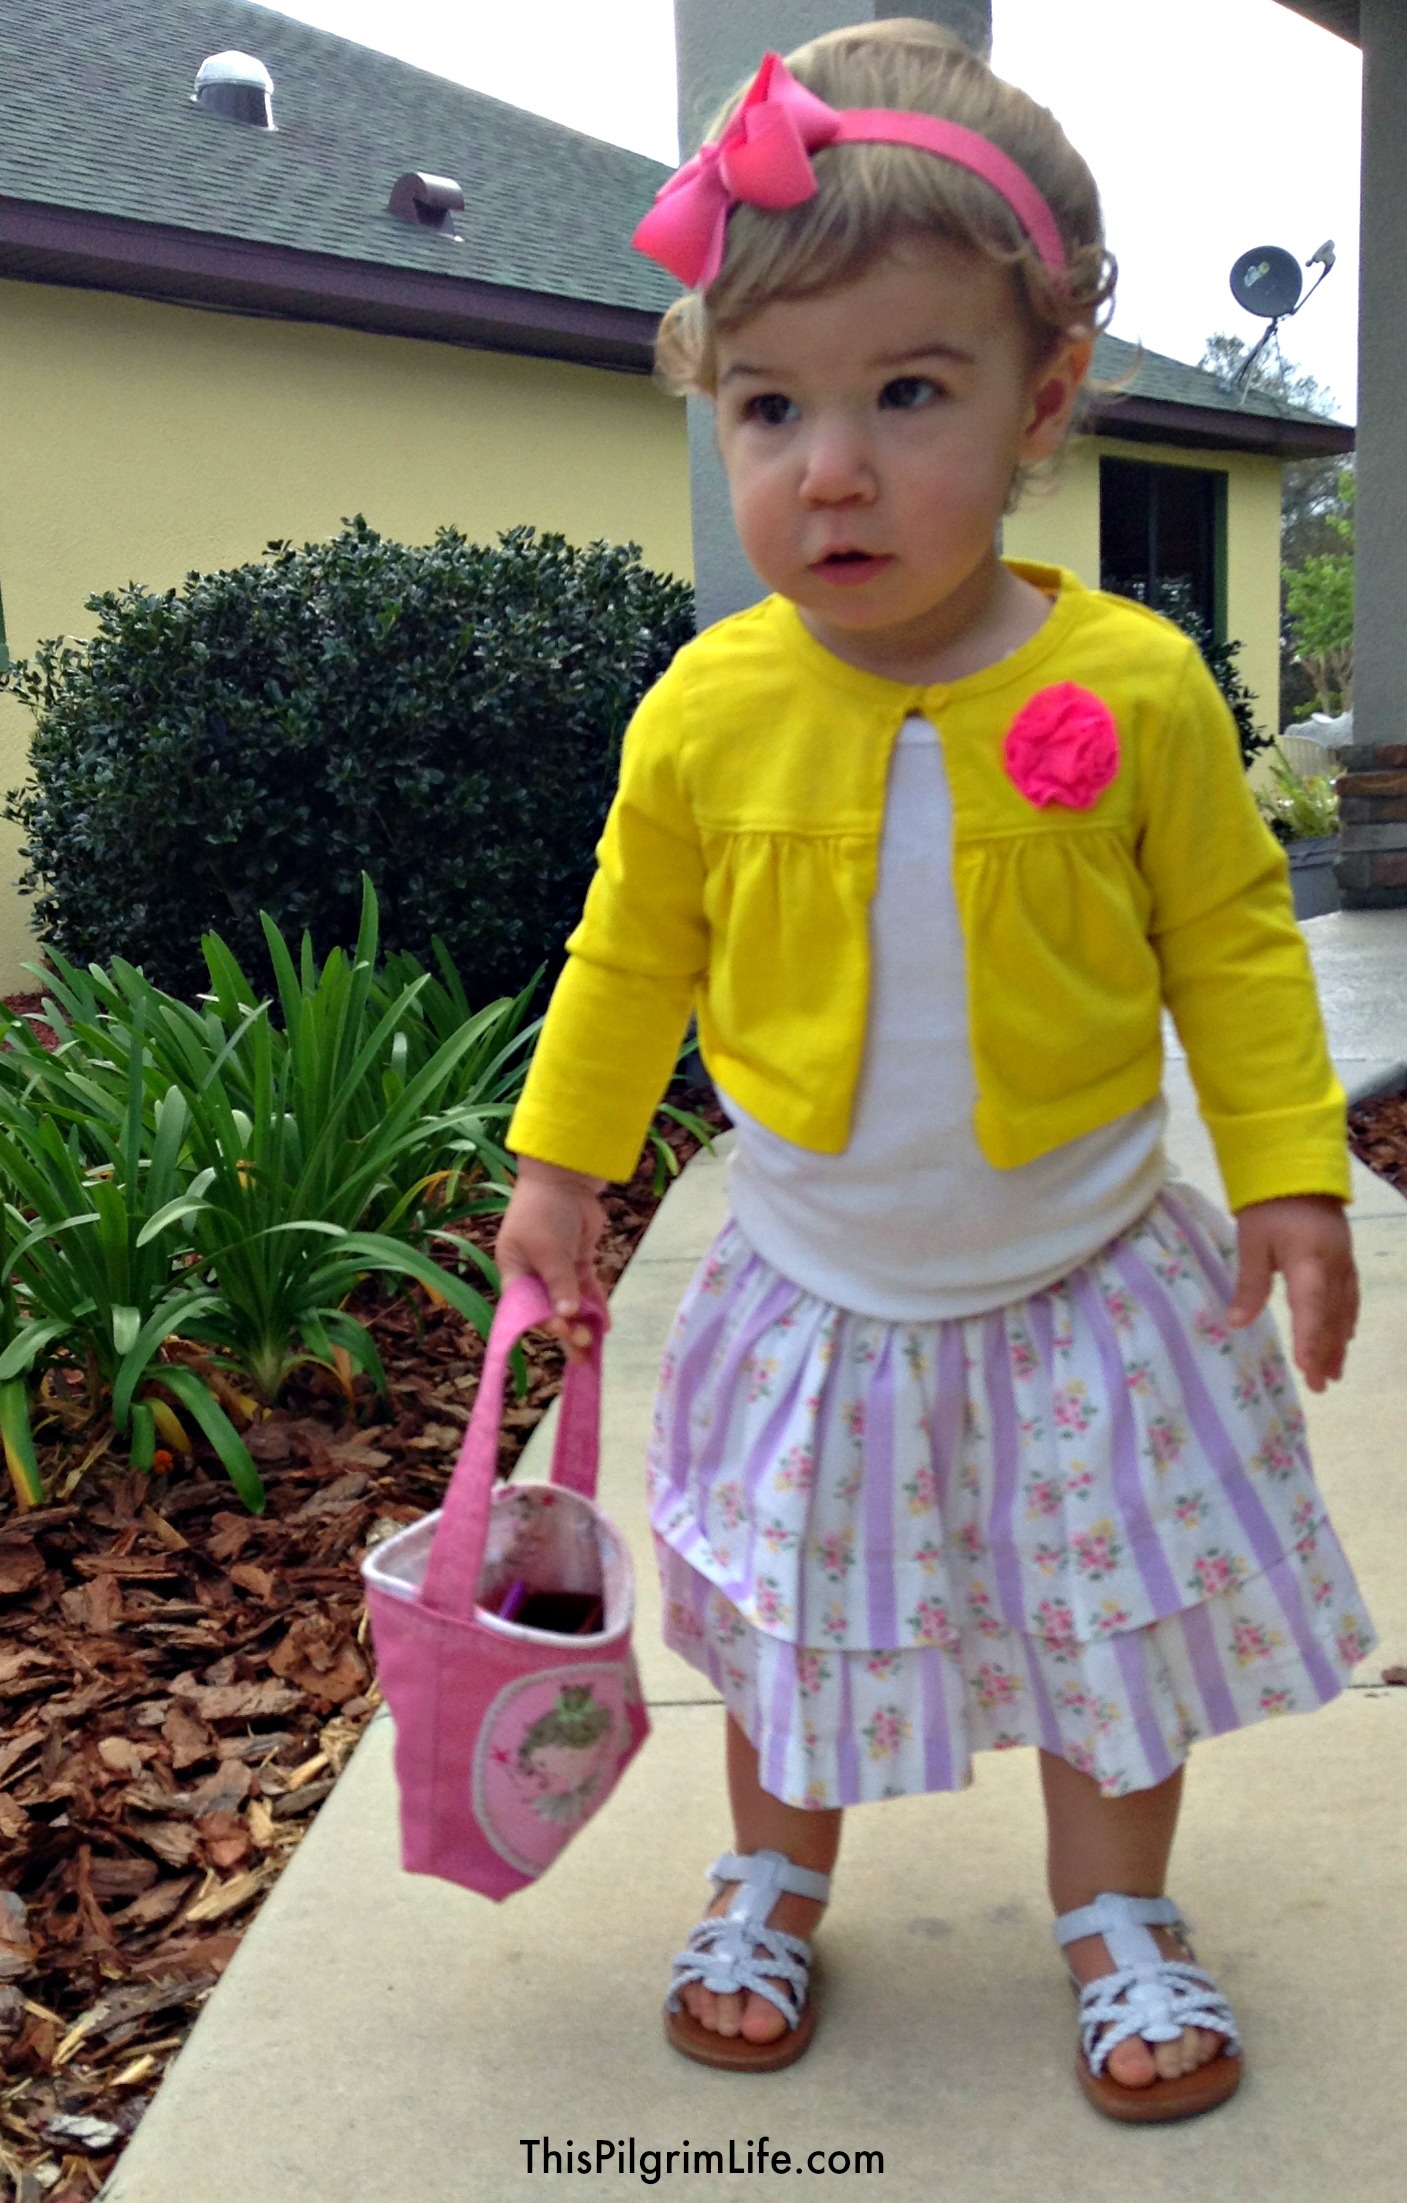
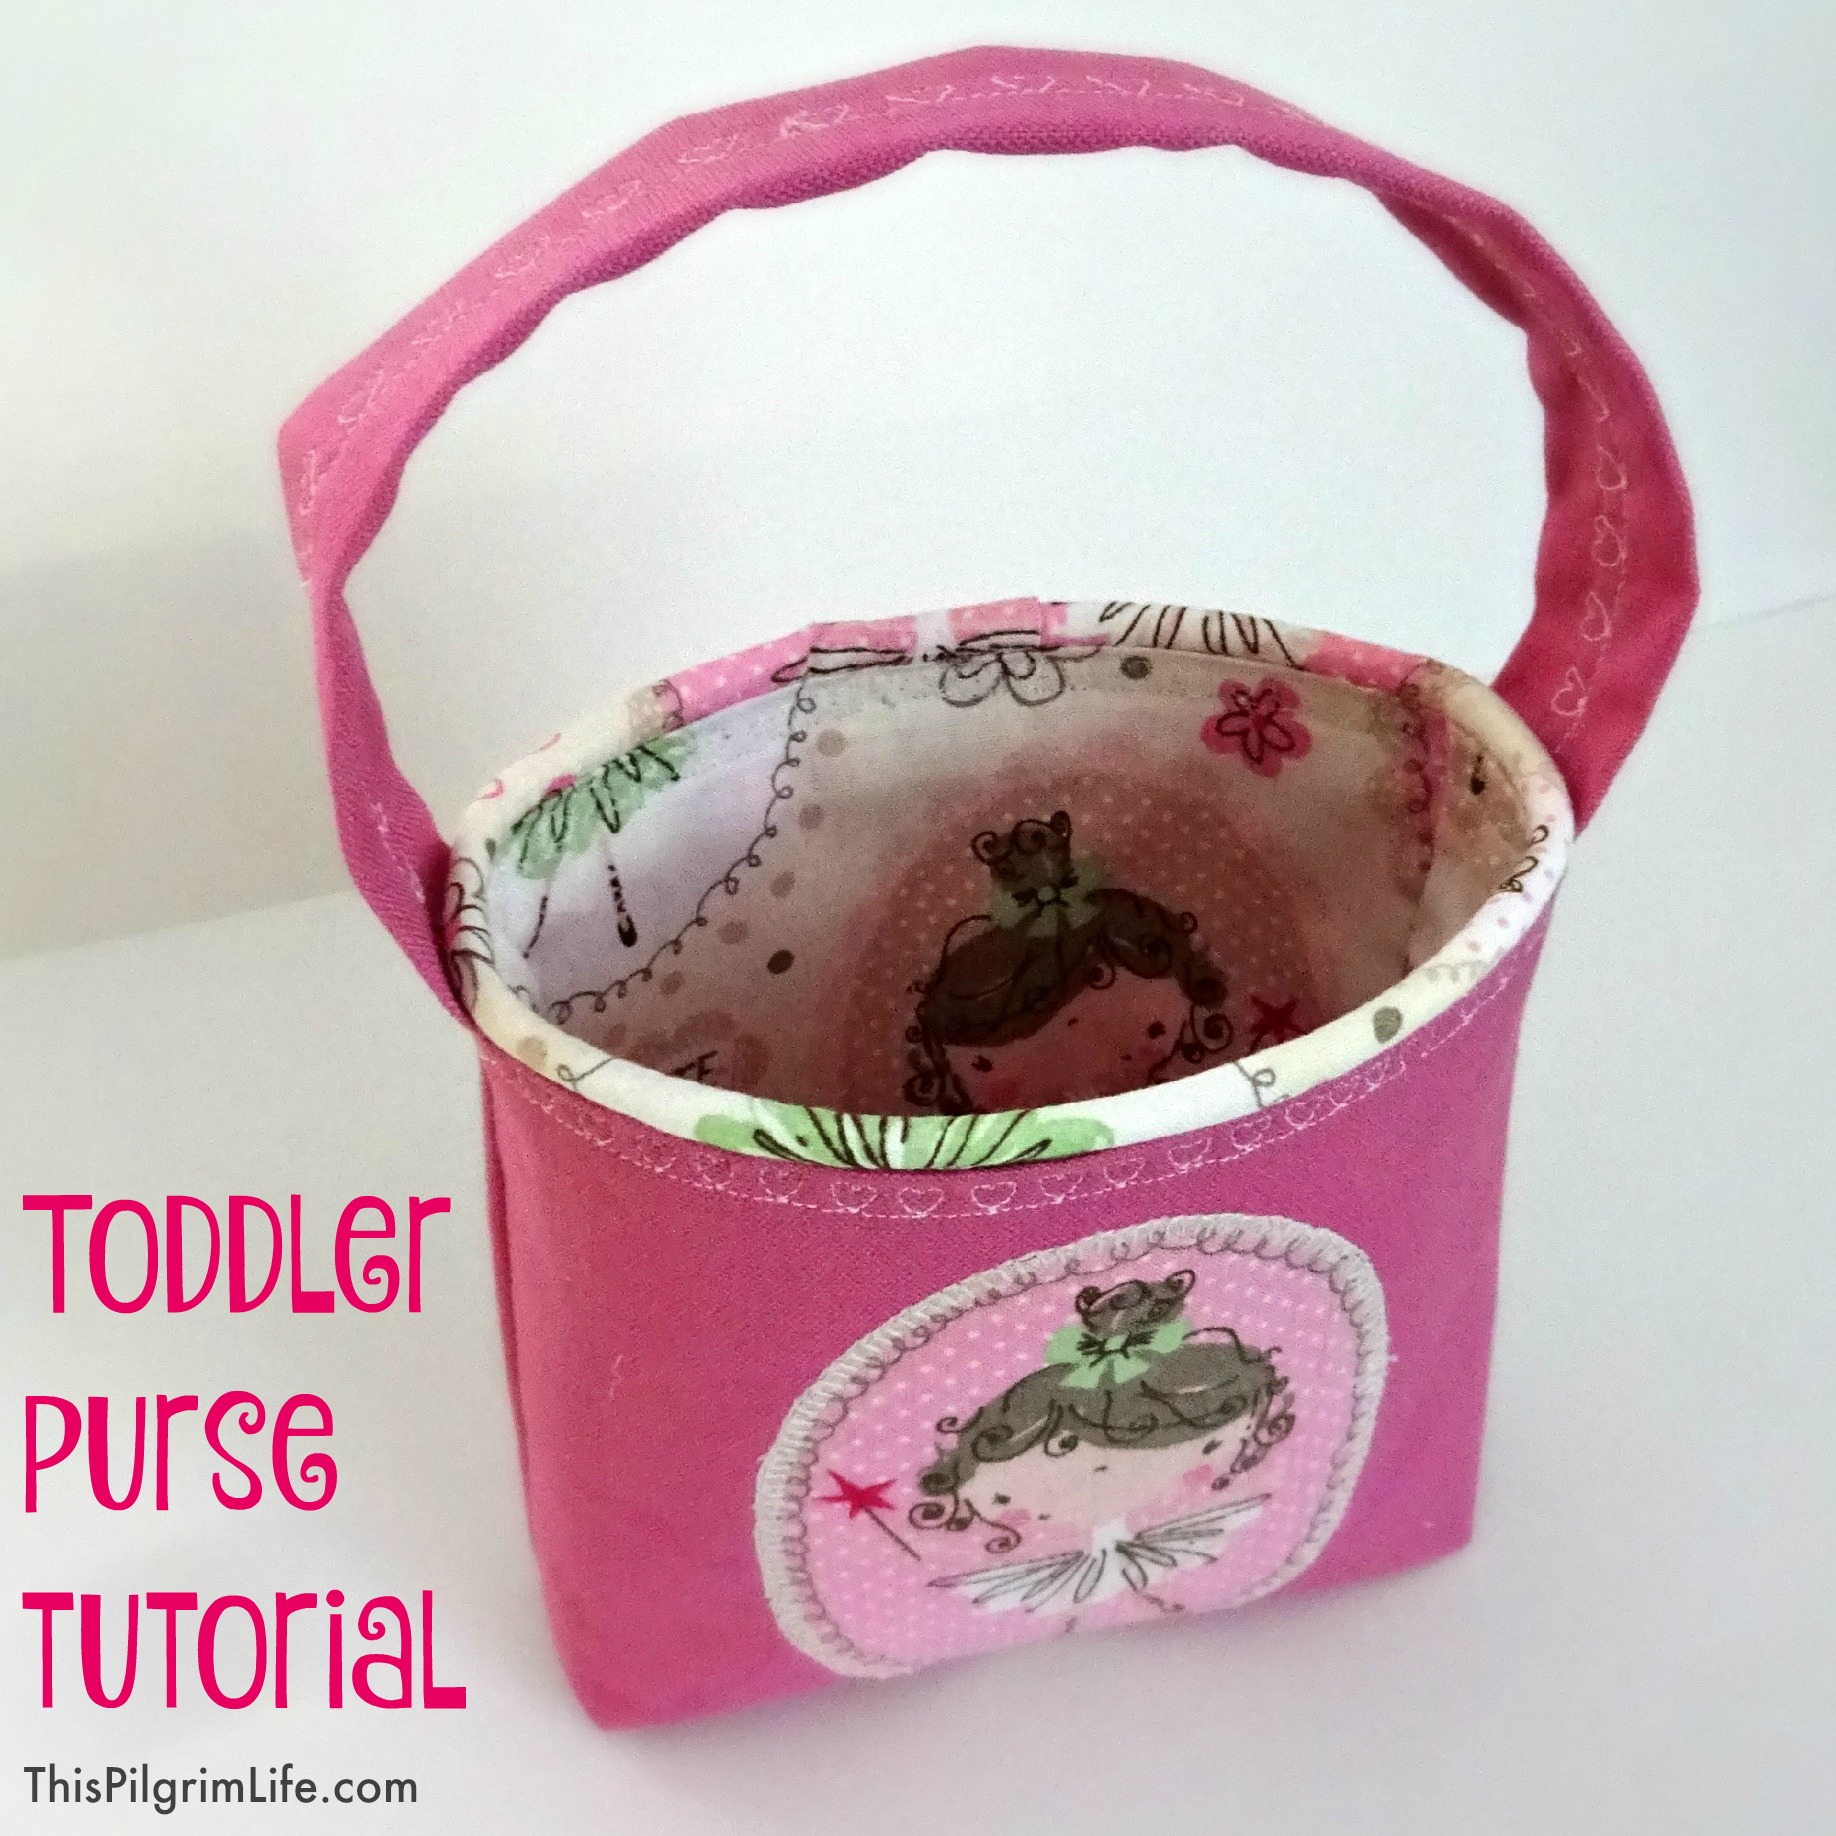
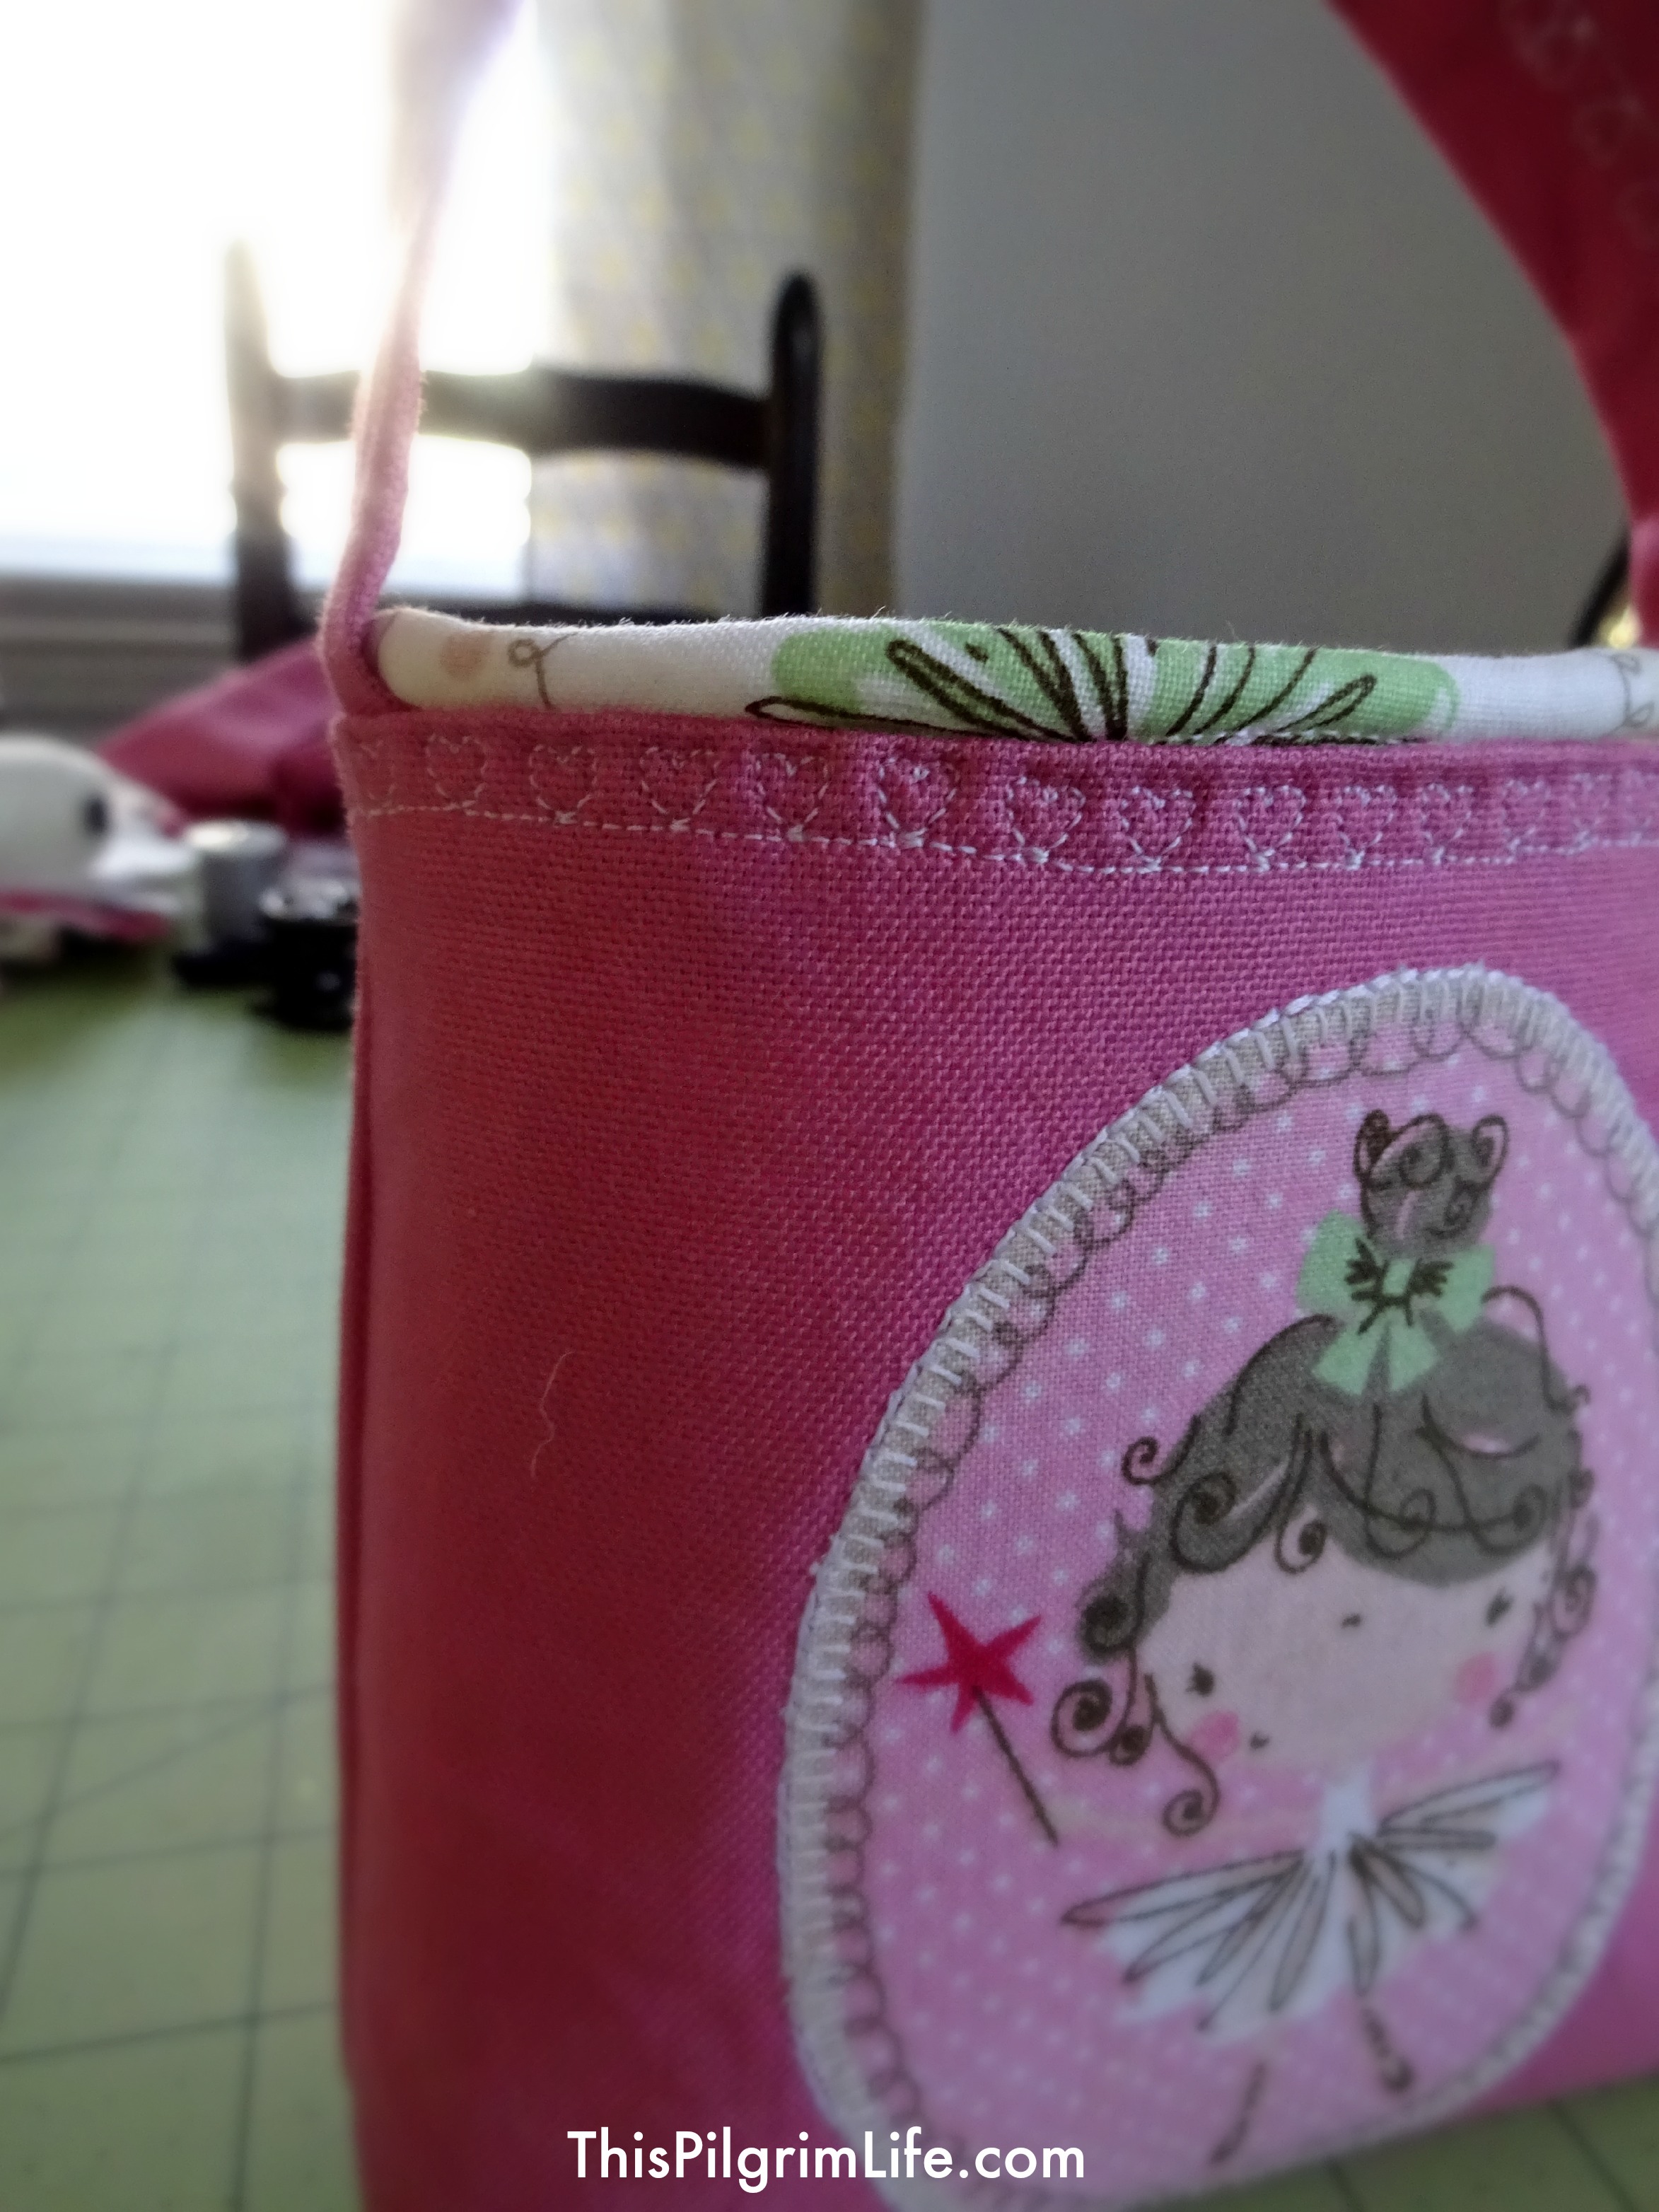
I made her this simple purse when she was about 15 months old. I made it to keep its shape so it would be easy for her to put items in and take them out again. I also left off any kind of button/zipper/closure for even more ease of use.
This toddler purse is a quick project and is a great project for beginning sewers. Inexpensive and easy to make, it makes a great gift for any little girls on your gift list!
And to add to the Christmas cheer, (I know it’s early still, but my excitement can no longer be contained), I am giving away at least one toddler purse AND a quilted doll blanket!
Keep reading to see the easy tutorial and be sure to enter the giveaway at the bottom of the post!
Toddler Purse Tutorial
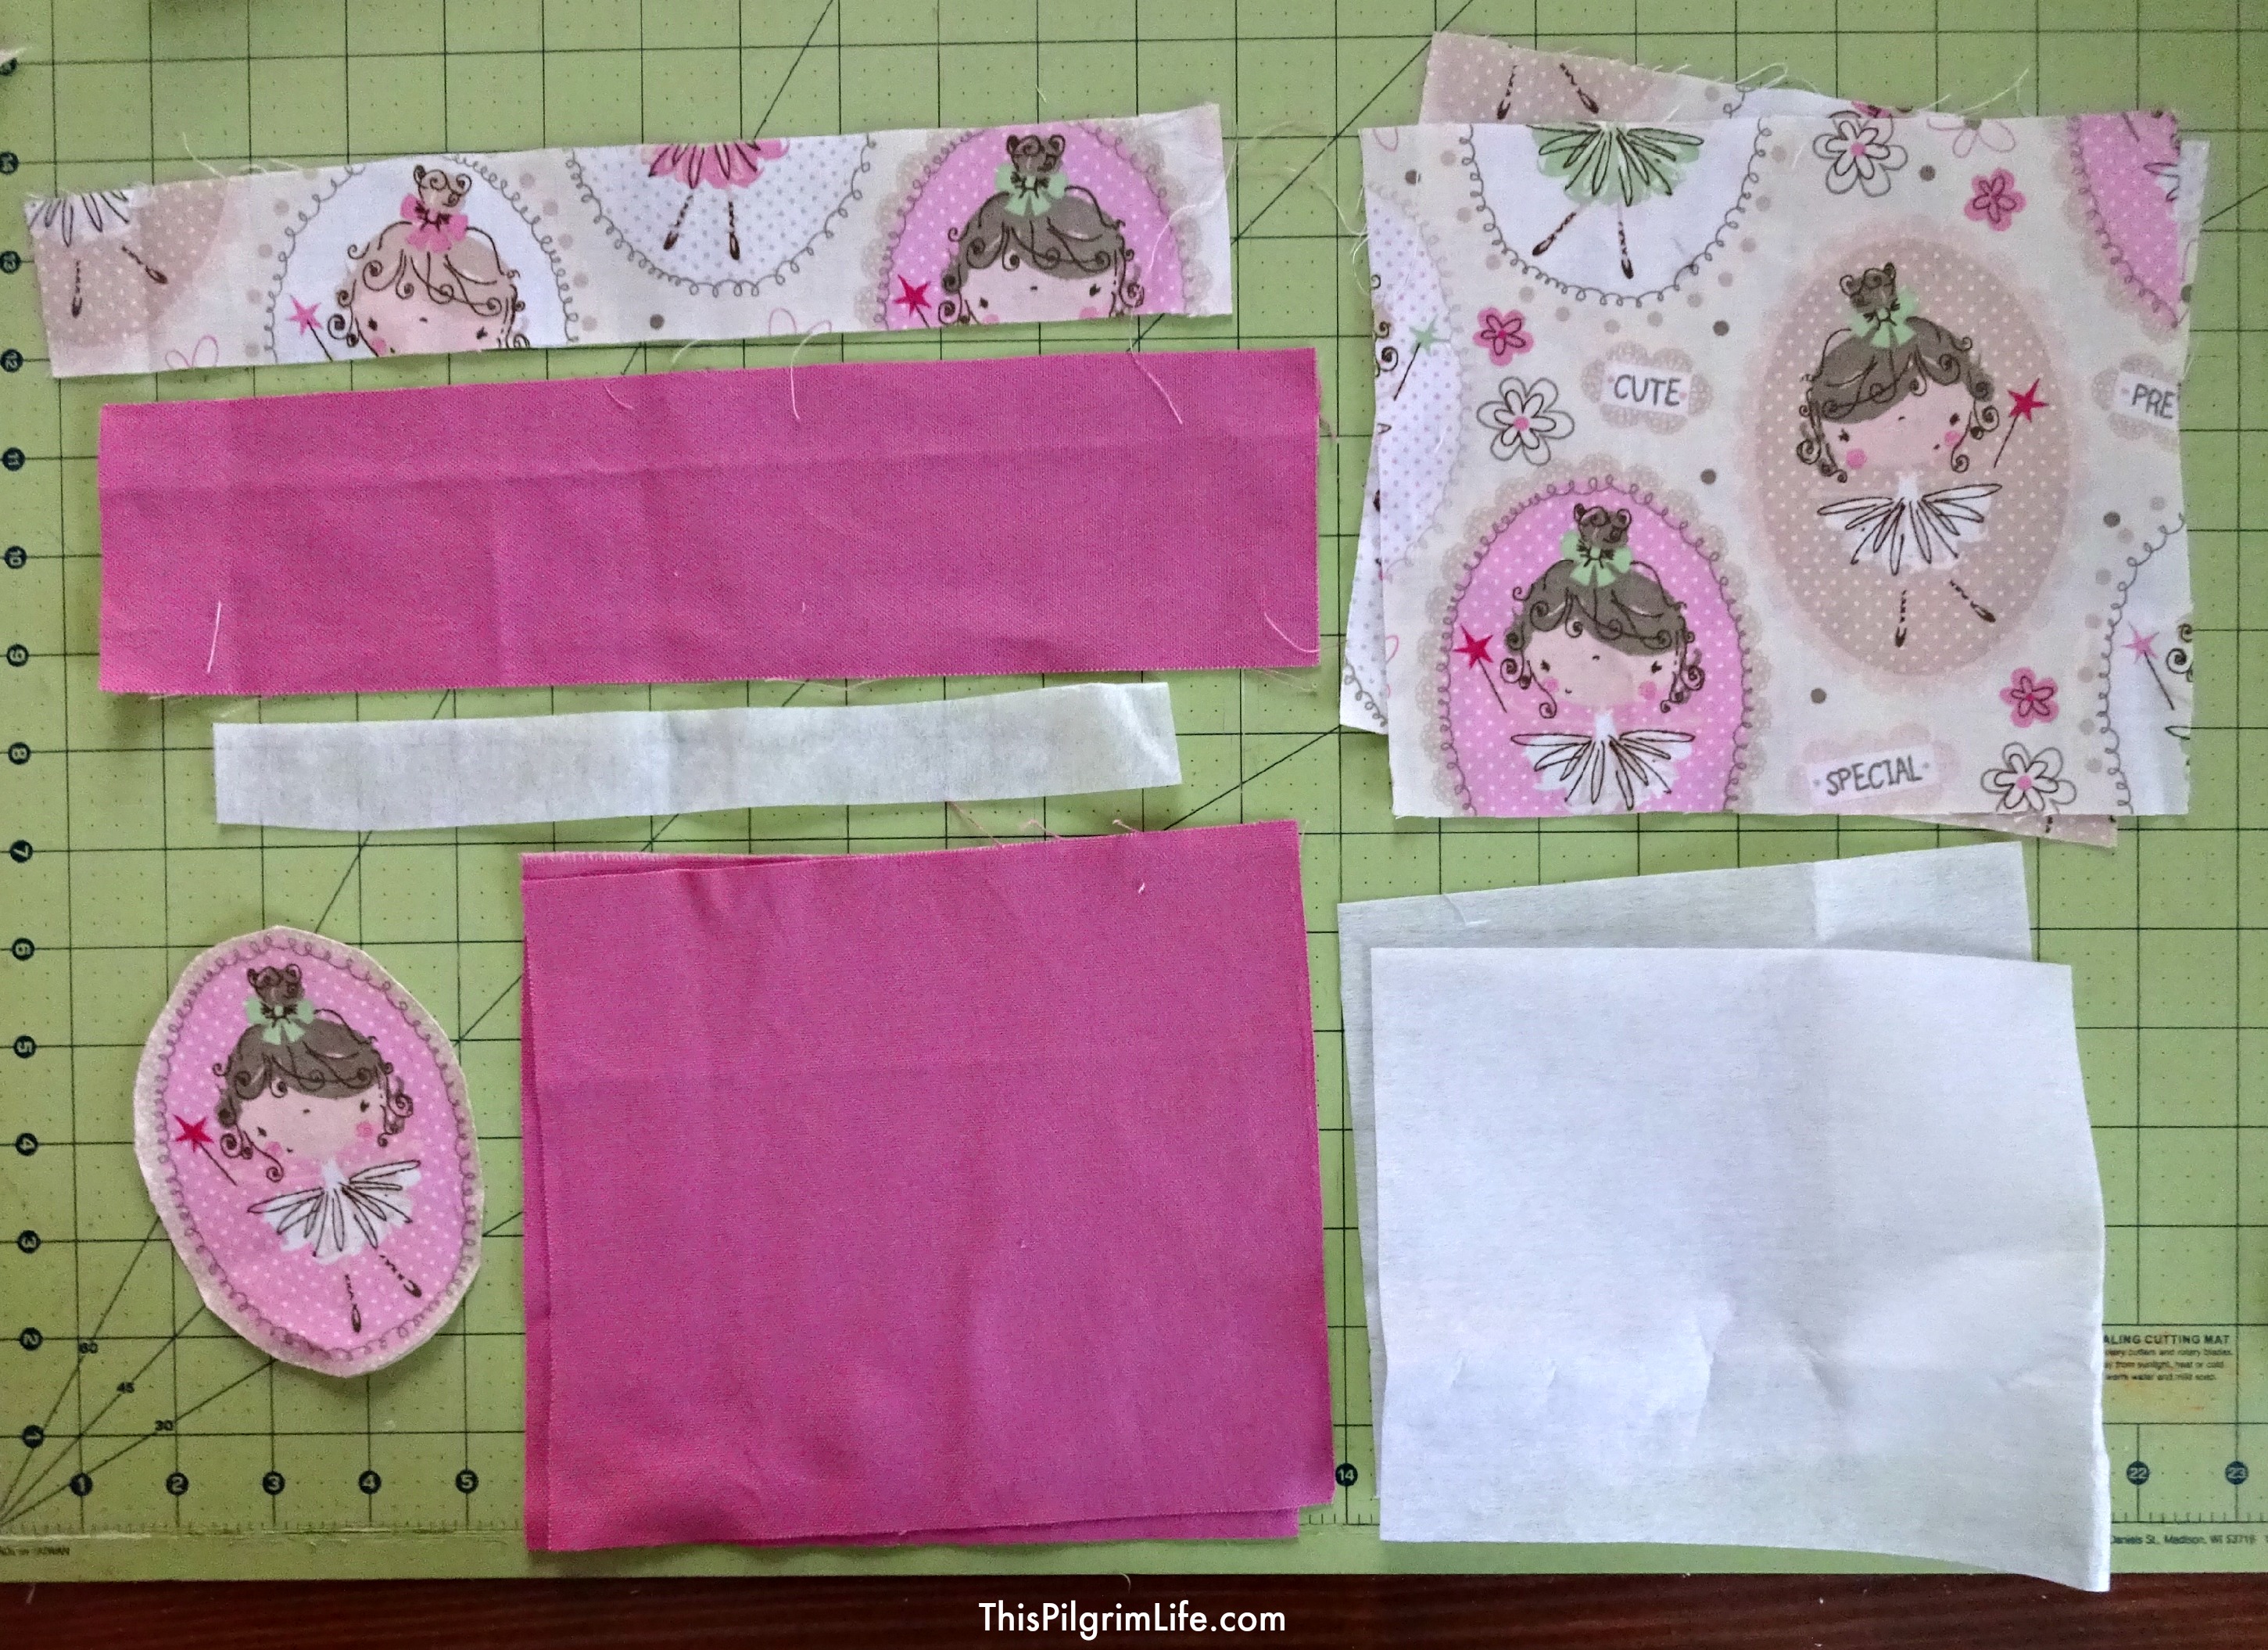
Materials Needed
- Mid-weight fabric scraps (for the exterior and strap)
- Light-weigh fabric scraps (for the lining and piping)
- Mid-weight interfacing
- Cording
- Coordinating thread
- Wonder-Under
Method
1.Cut the pieces.
- (2) 8″x 7″ pieces from the exterior fabric — main body pieces
- (2) 8″x 7″ pieces from the lining fabric — lining body pieces
- (2) 7″ x 6″ pieces from the interfacing — for the main body pieces
- (1) 13″ x 3″ piece from the exterior fabric — strap piece
- (1) 11″ x 1″ piece from the interfacing — for the strap piece
- (1) 16″ x 2″ piece from the lining — to make the piping
- (1) 14″ piece of cording — to make the piping
- fabric and Wonder-Under for the appliqué
2. Make the appliqué.
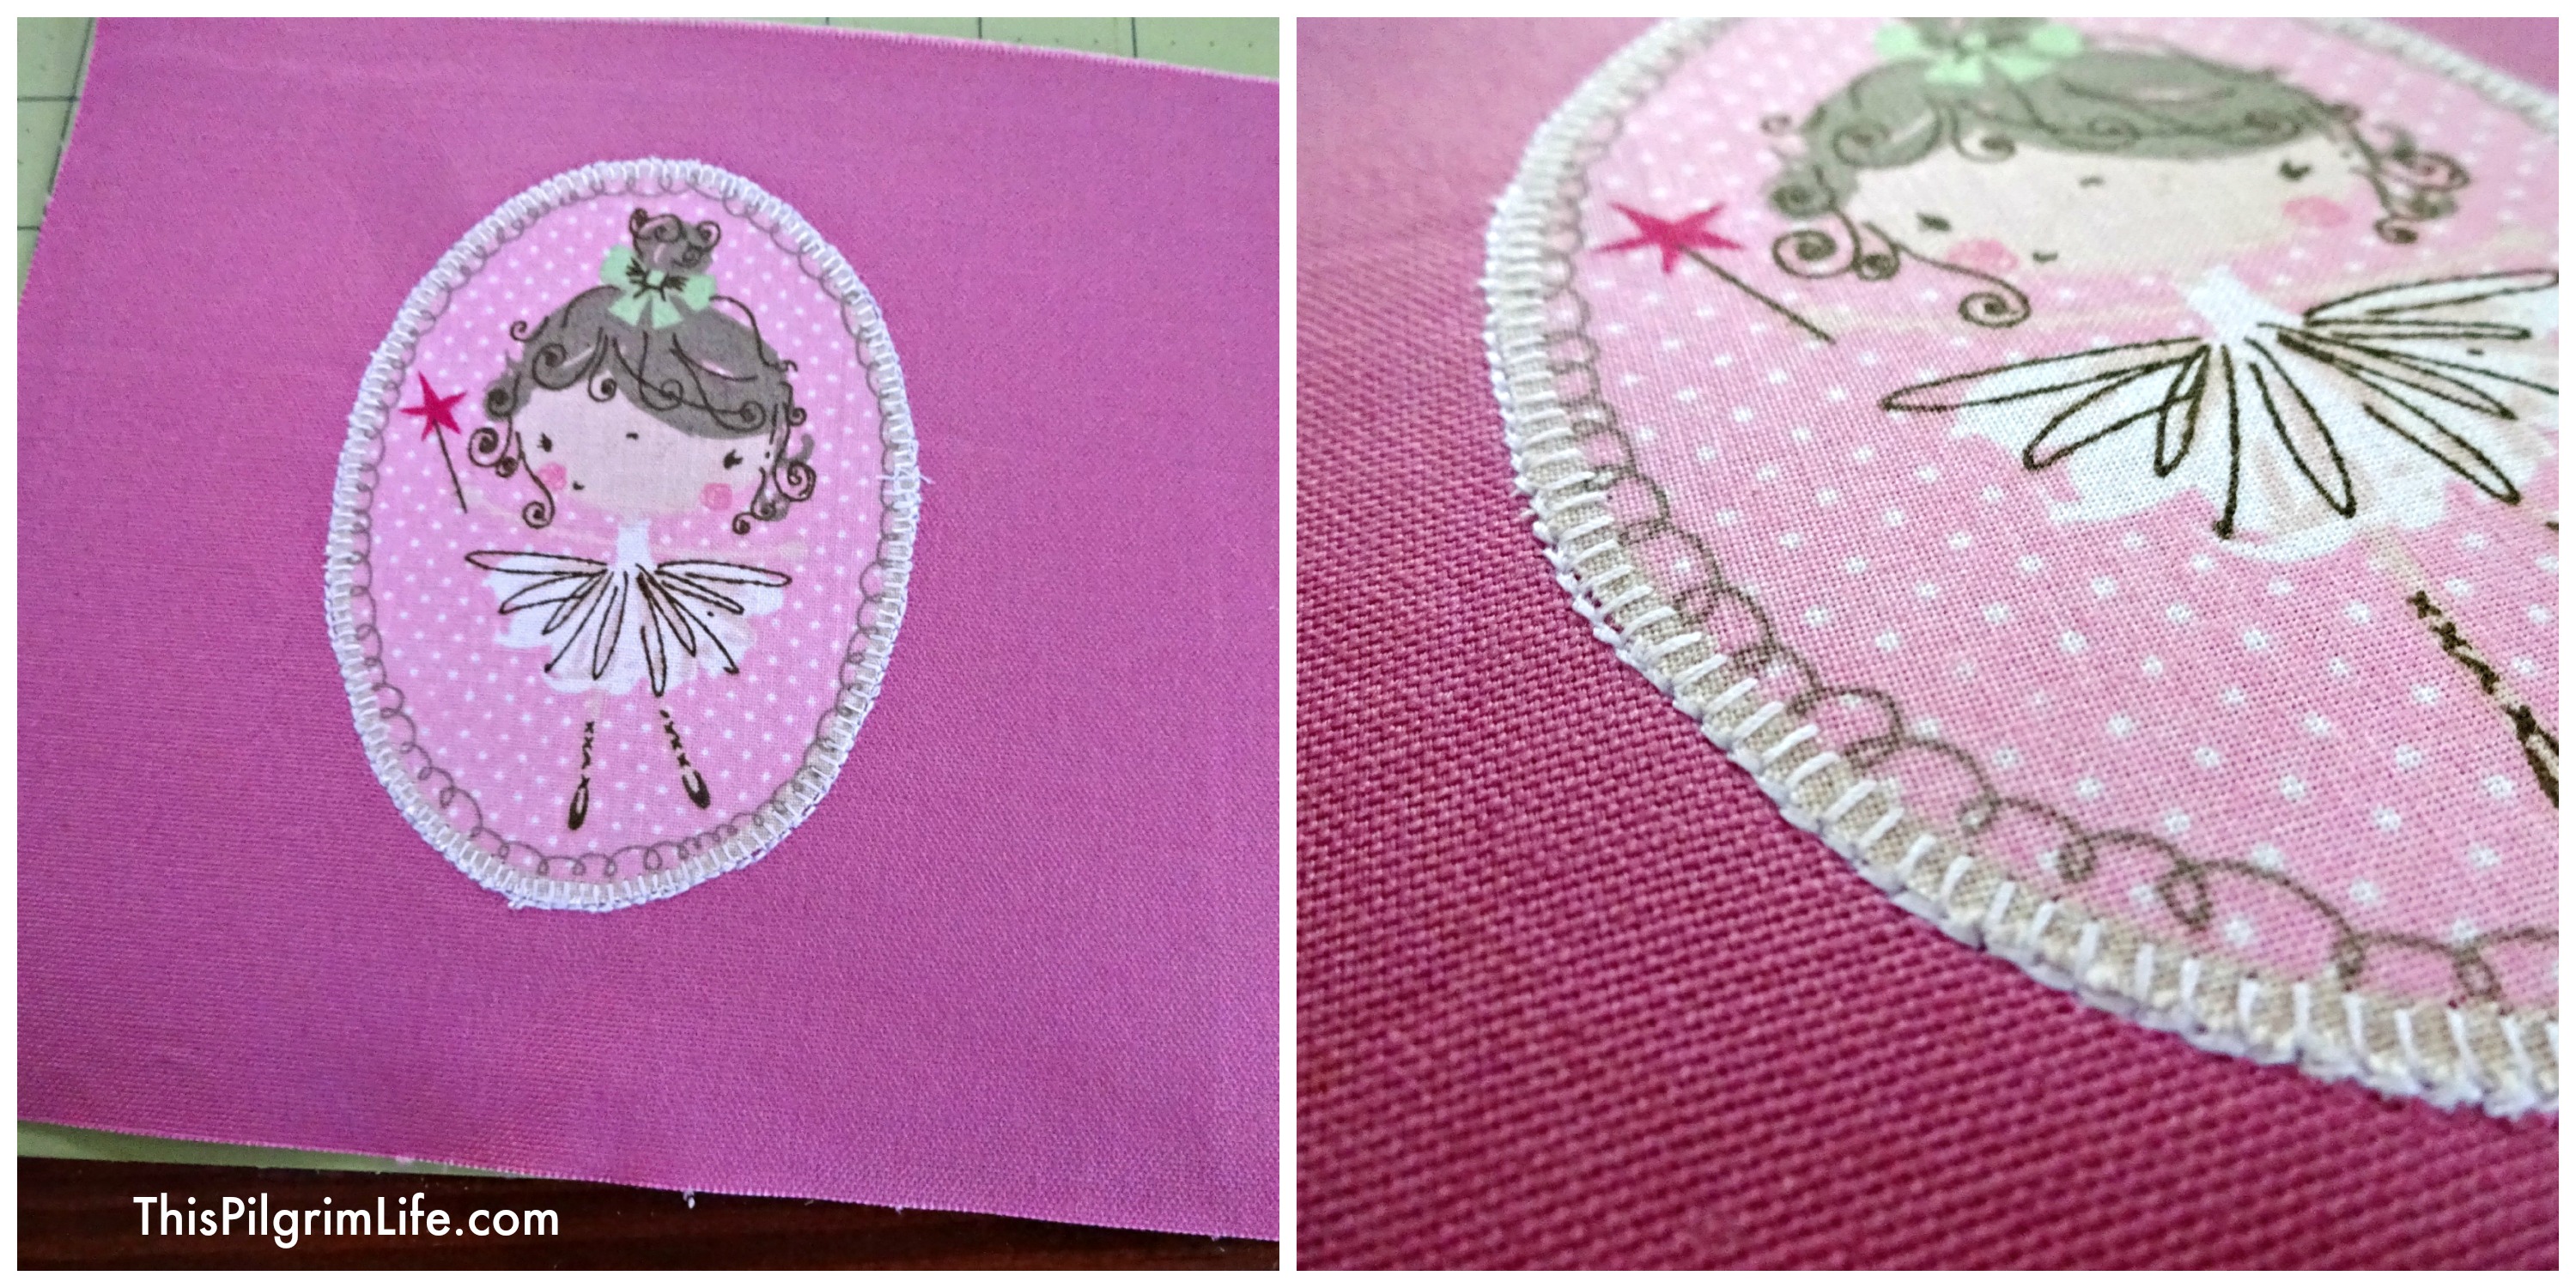
Cut out the appliqué and iron a piece of Wonder-Under to the wrong side of the fabric. Remove the backing from the Wonder-Under and place the appliqué on one of the main body pieces. Iron the appliqué to adhere it to the main body piece.
Blanket-stitch or satin stitch around the edge of the appliqué.
3. Attach interfacing to body pieces.
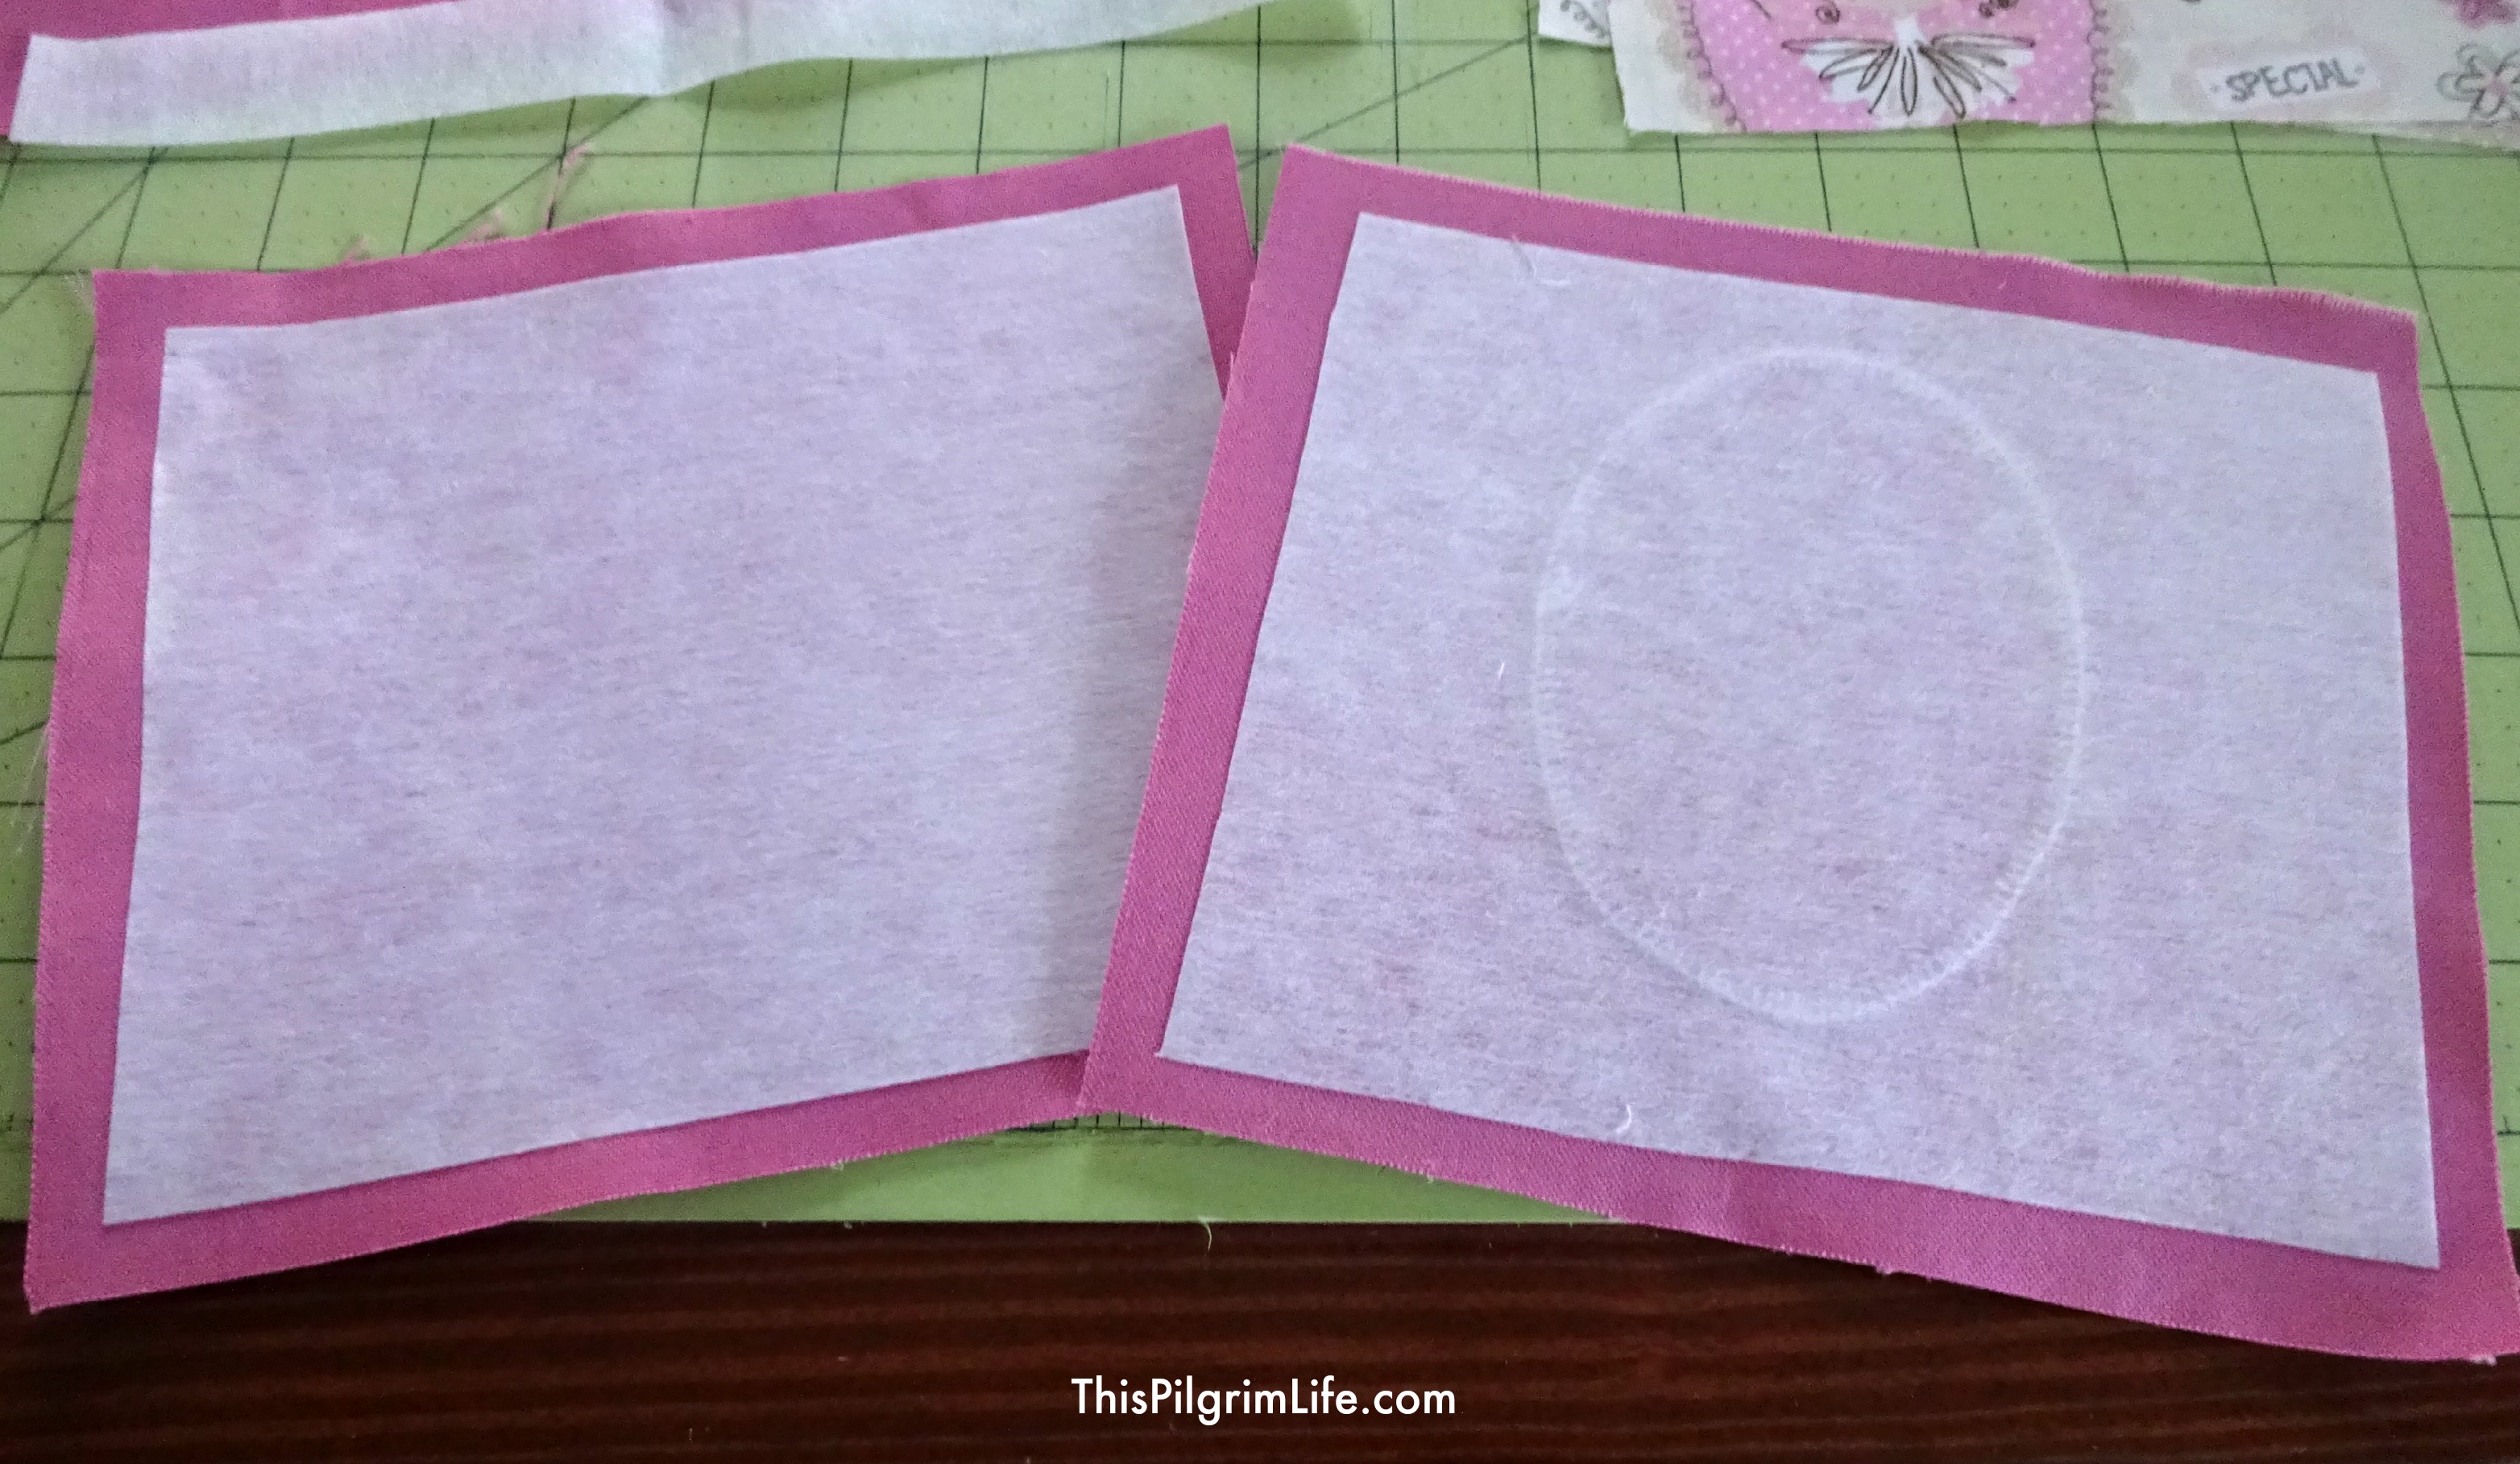
Iron the body interfacing pieces onto the wrong sides of both the exterior main body pieces, leaving a one-inch border around the perimeter.
4. Sew the body of the bag.
Place the exterior main body pieces wrong sides together. Sew around three sides with a half-inch seam, leaving one 7″ inch side open for the top of the purse.
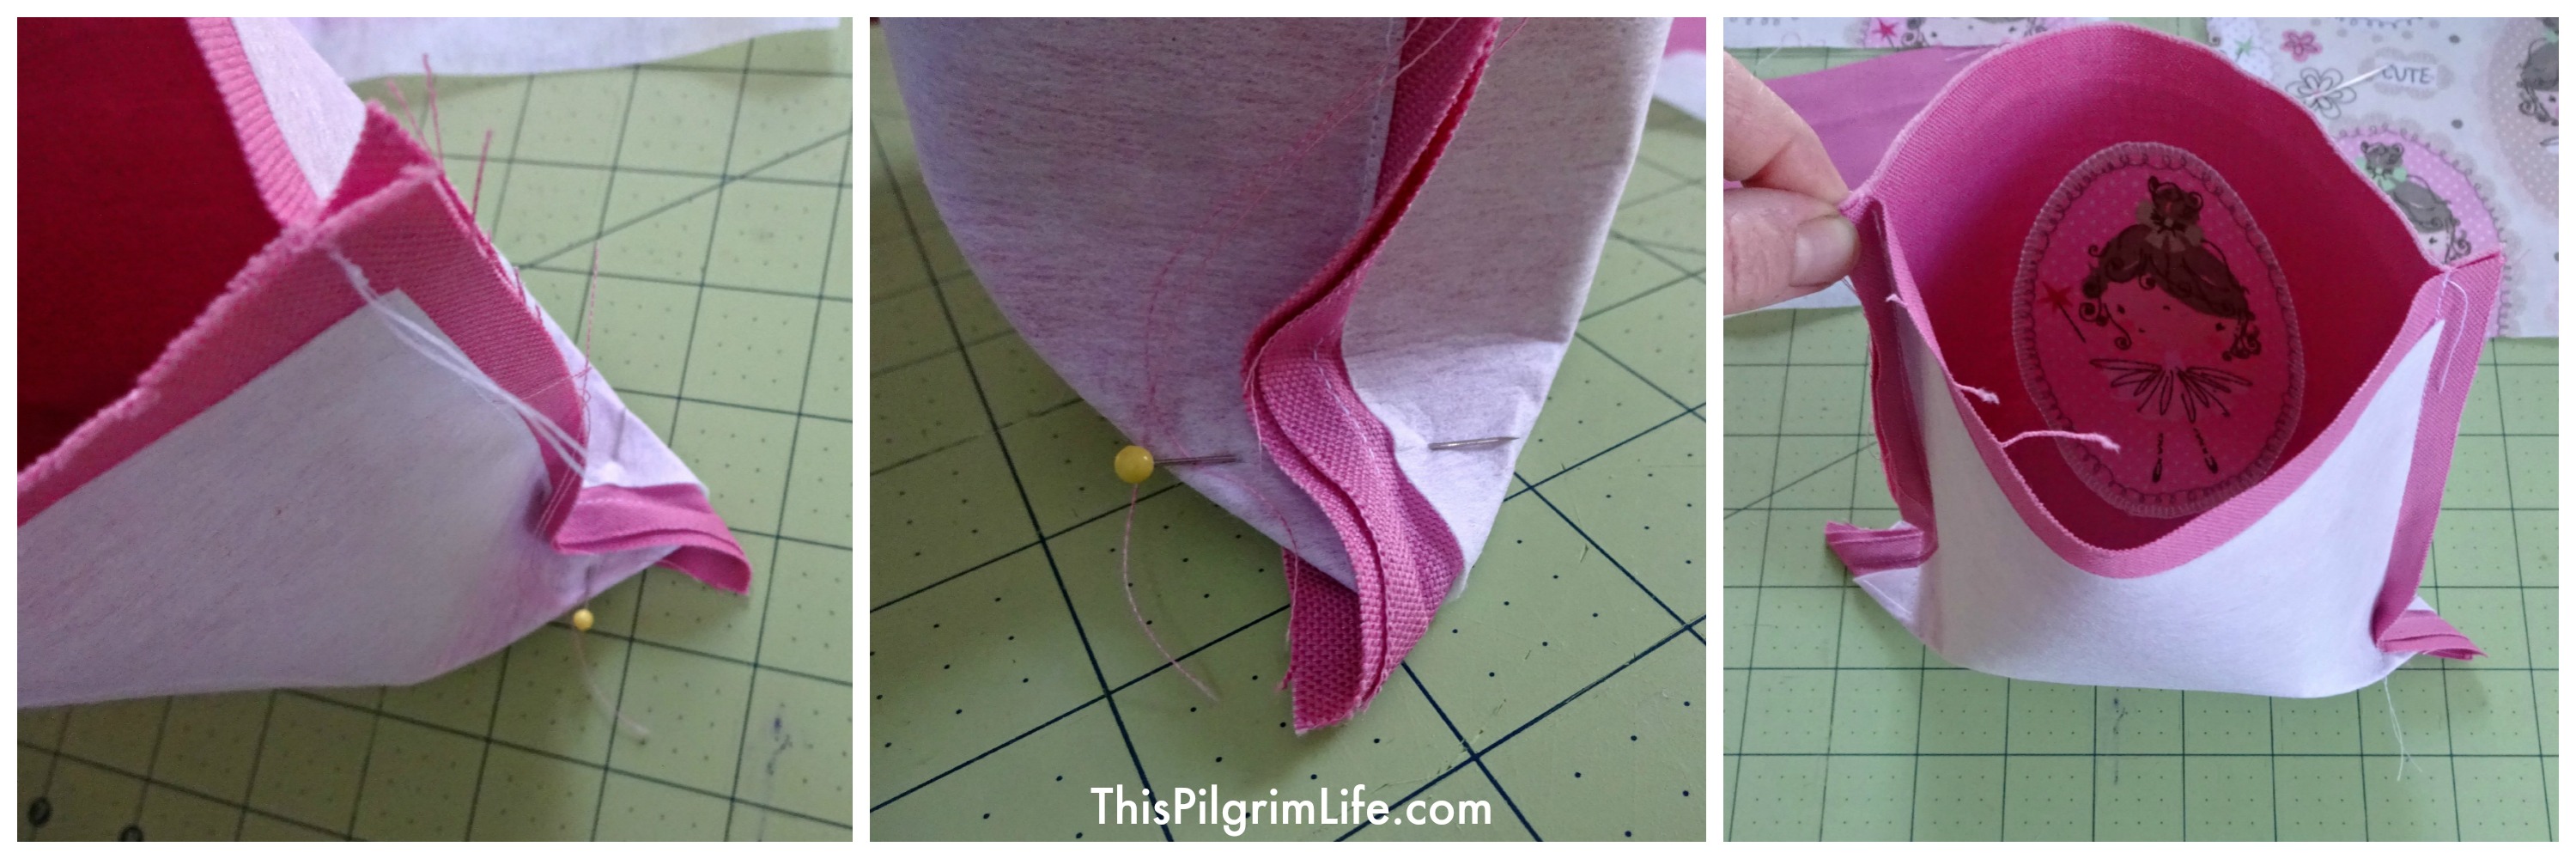
Box the bottom corners of the bag: Bring the side-seam and the bottom seam together on one side. Sew across making a triangle, one inch from the corner. (See pictures below).
Repeat the two steps above to make the lining of the purse, sewing around the lining with a 5/8″ seam instead of a 1/2″ seam.
Turn the exterior body of the purse right side out.
5. Finish the main body pieces.
Fold the top edge of the exterior body of the purse down 3/8″ and press. Fold the top edge of the lining of the purse down 3/8″ and press.
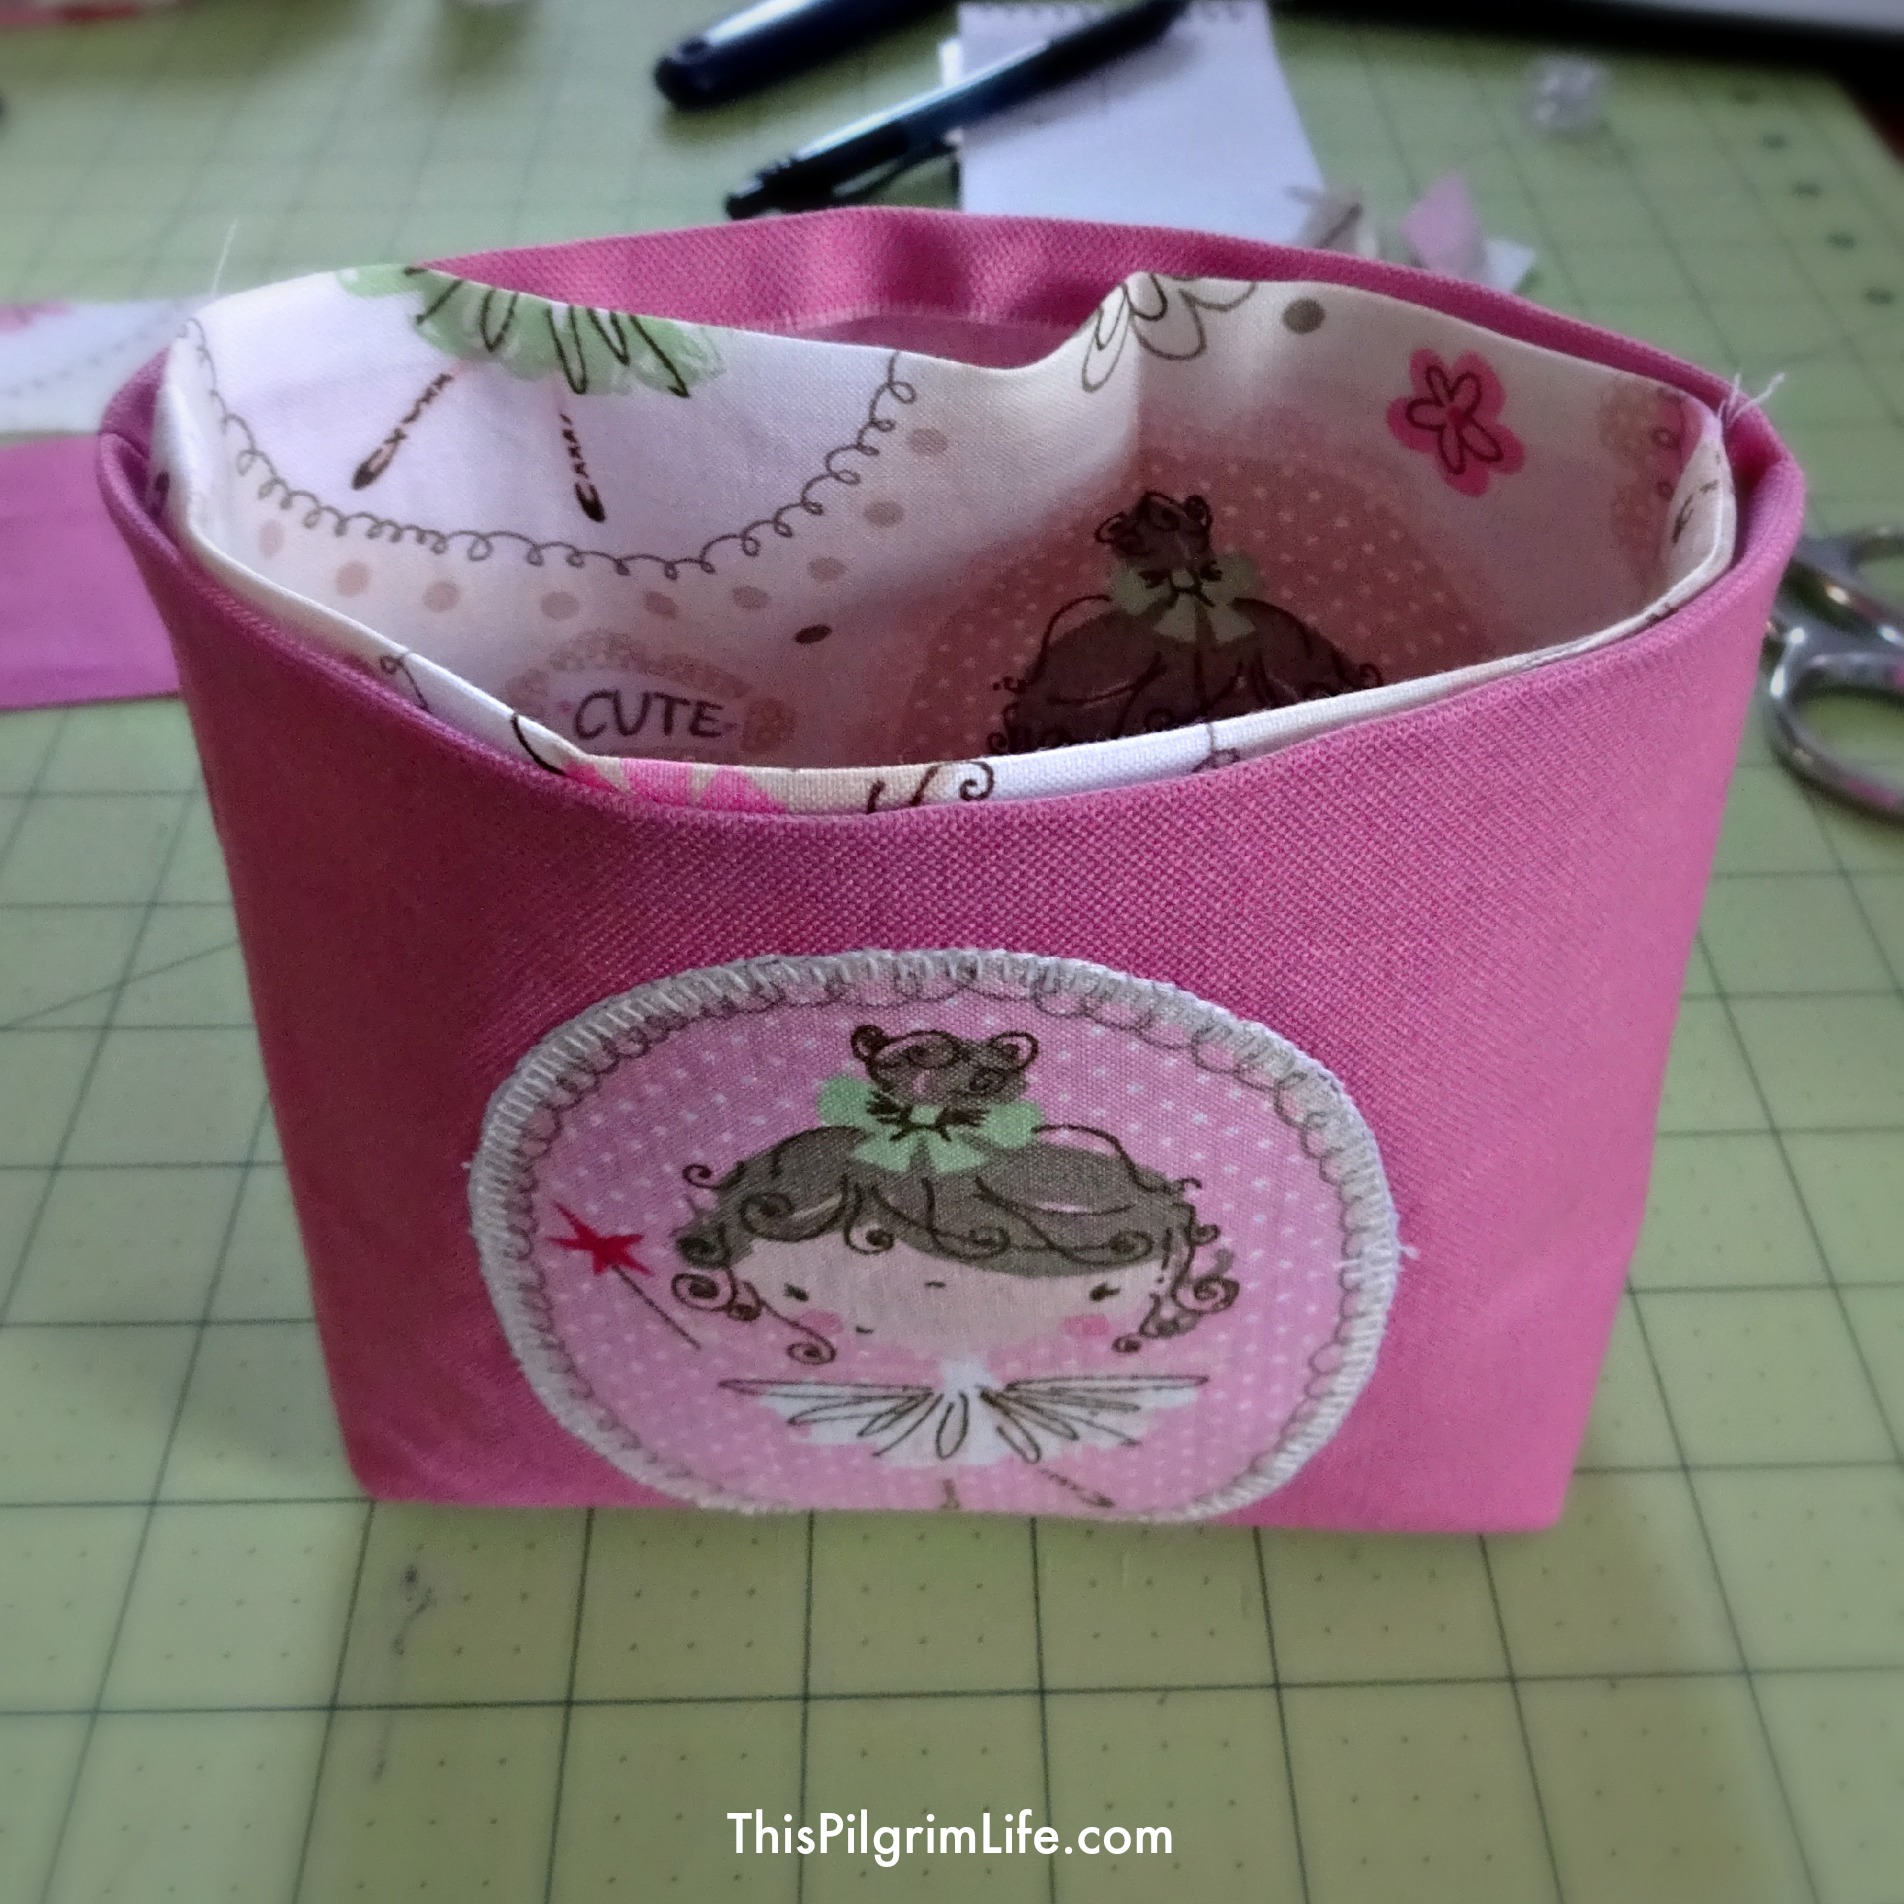
Tuck the lining down into the exterior body of the purse, pressing the lining down so that the top edges line up.
6. Make the piping.
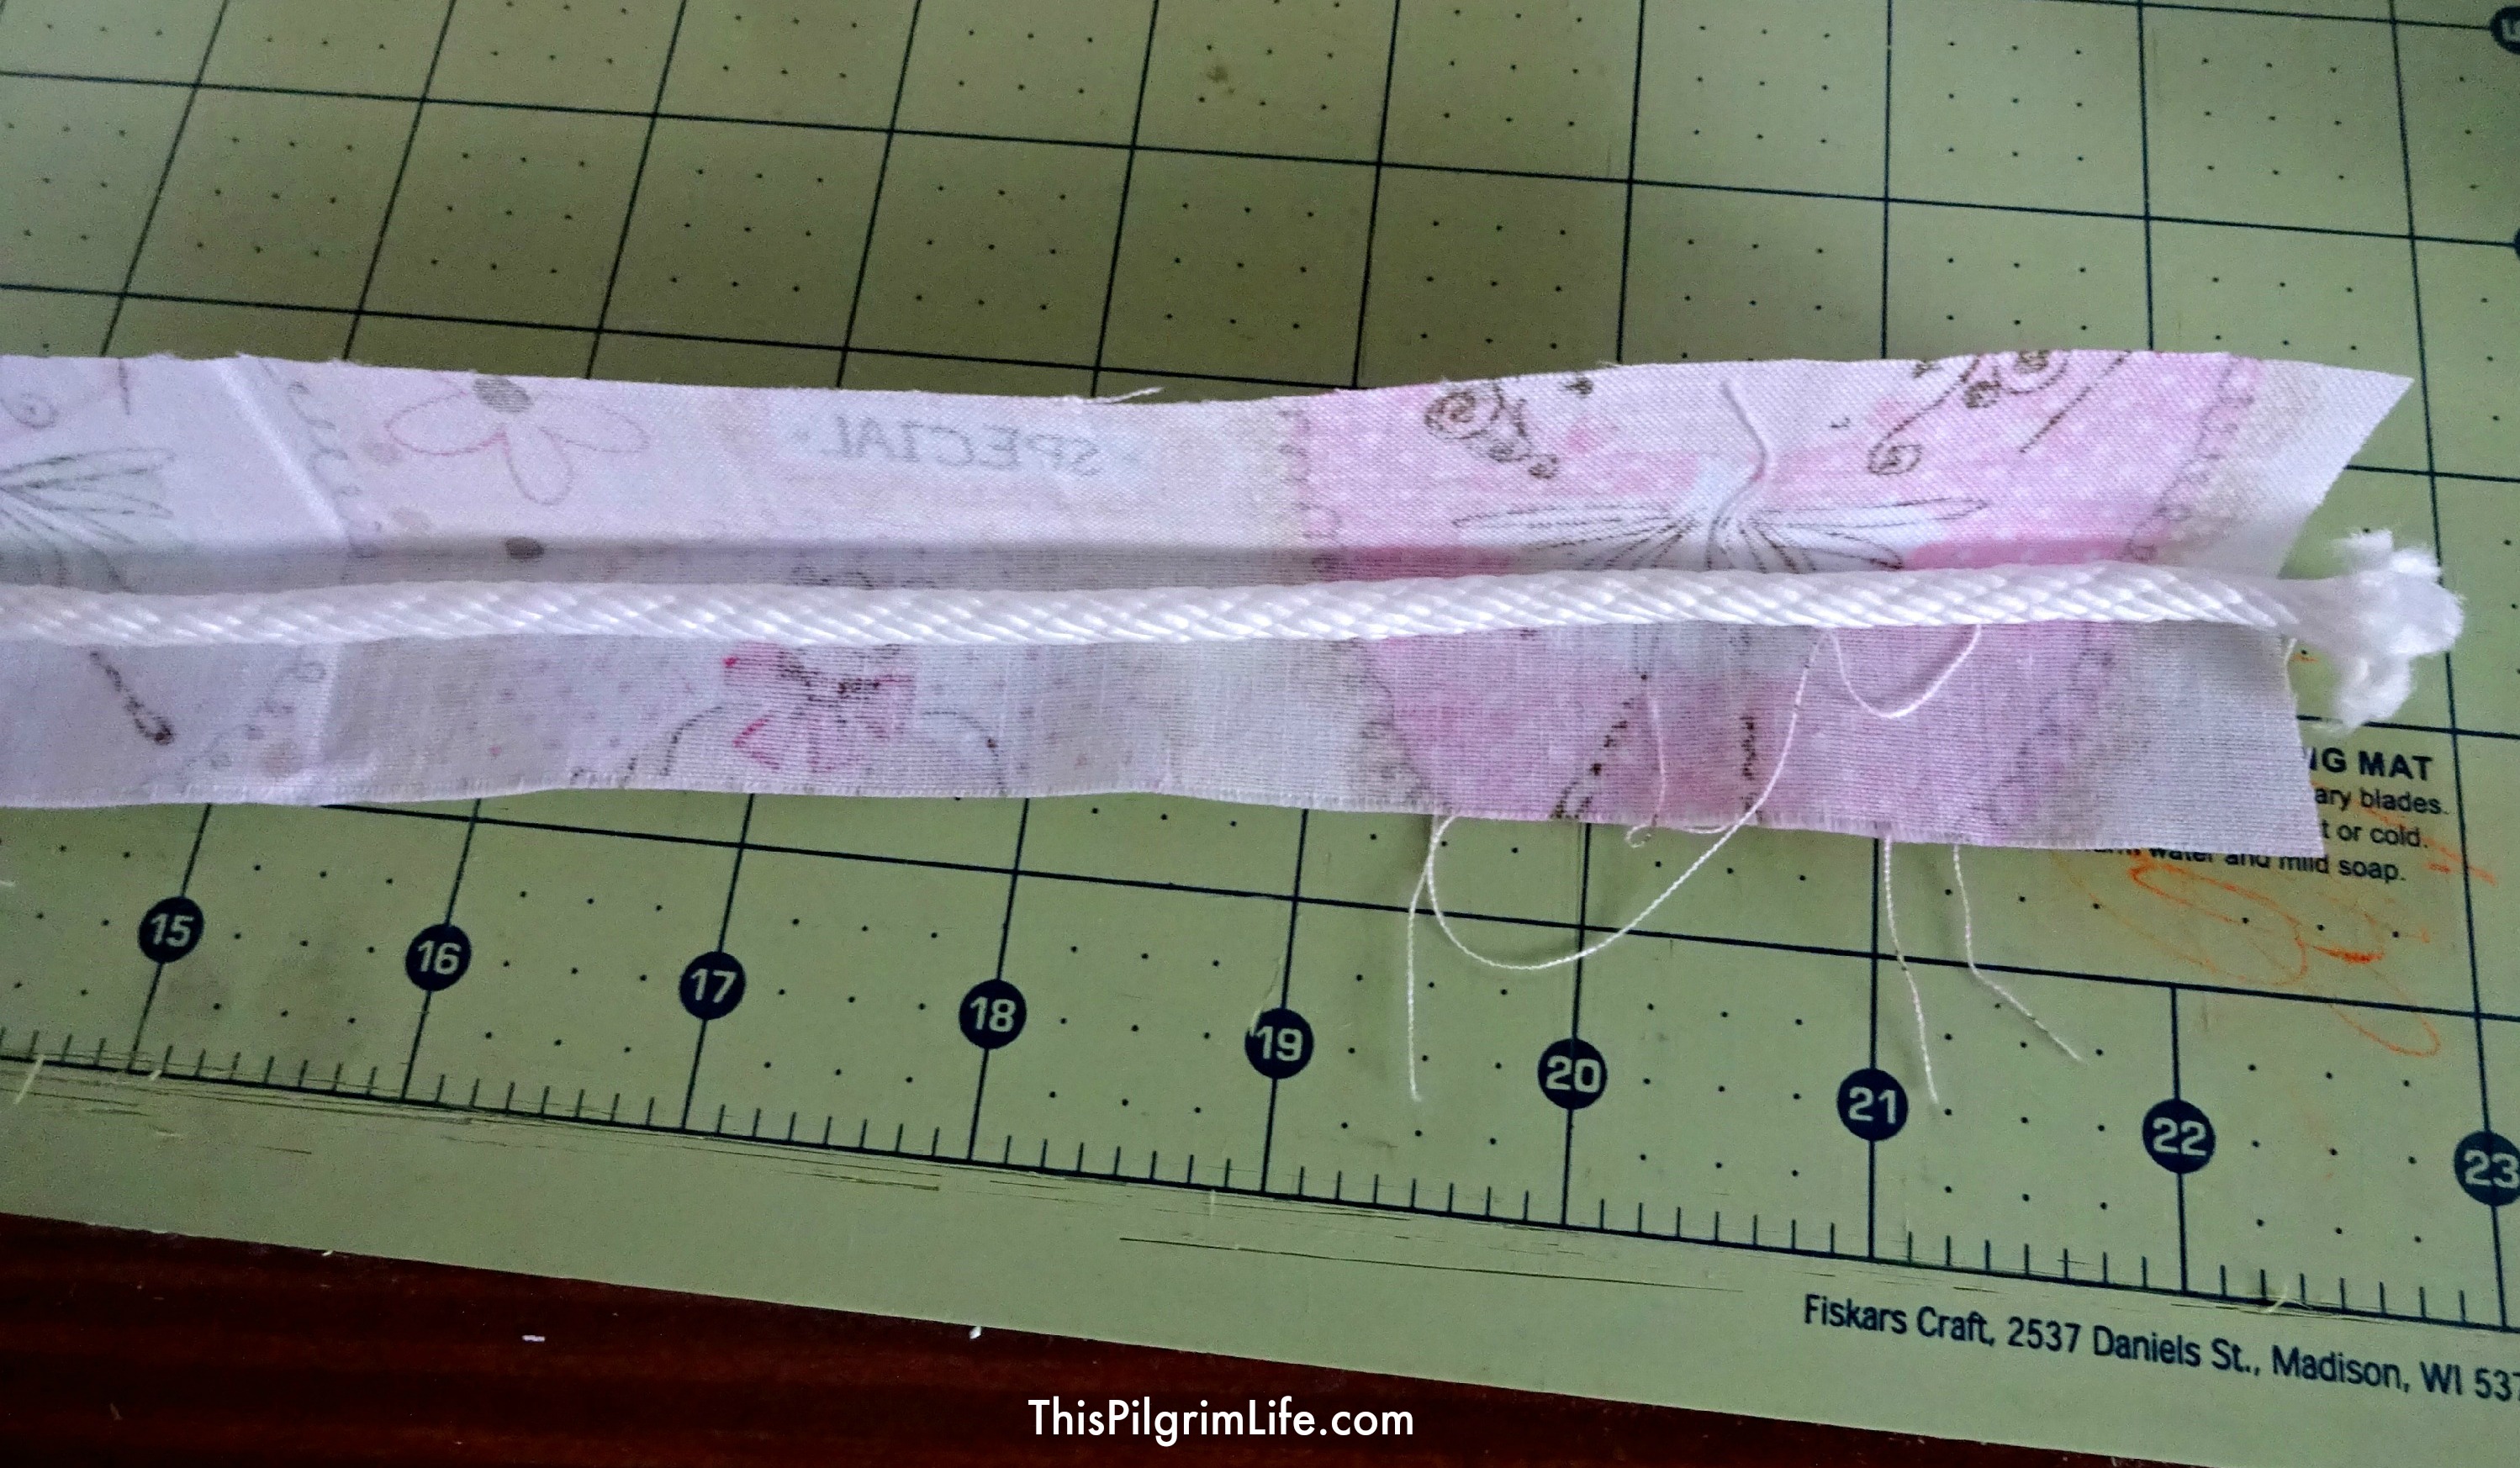
Take the 16″ x 2″ piece of lining material and fold in half lengthwise. Press.
Place the cording along the pressed crease on the lining piece. Fold the piece so that the cording is tight against the pressed edge. Sew along the length of the lining piece, tightly securing the cording in place.
7. Make the strap.
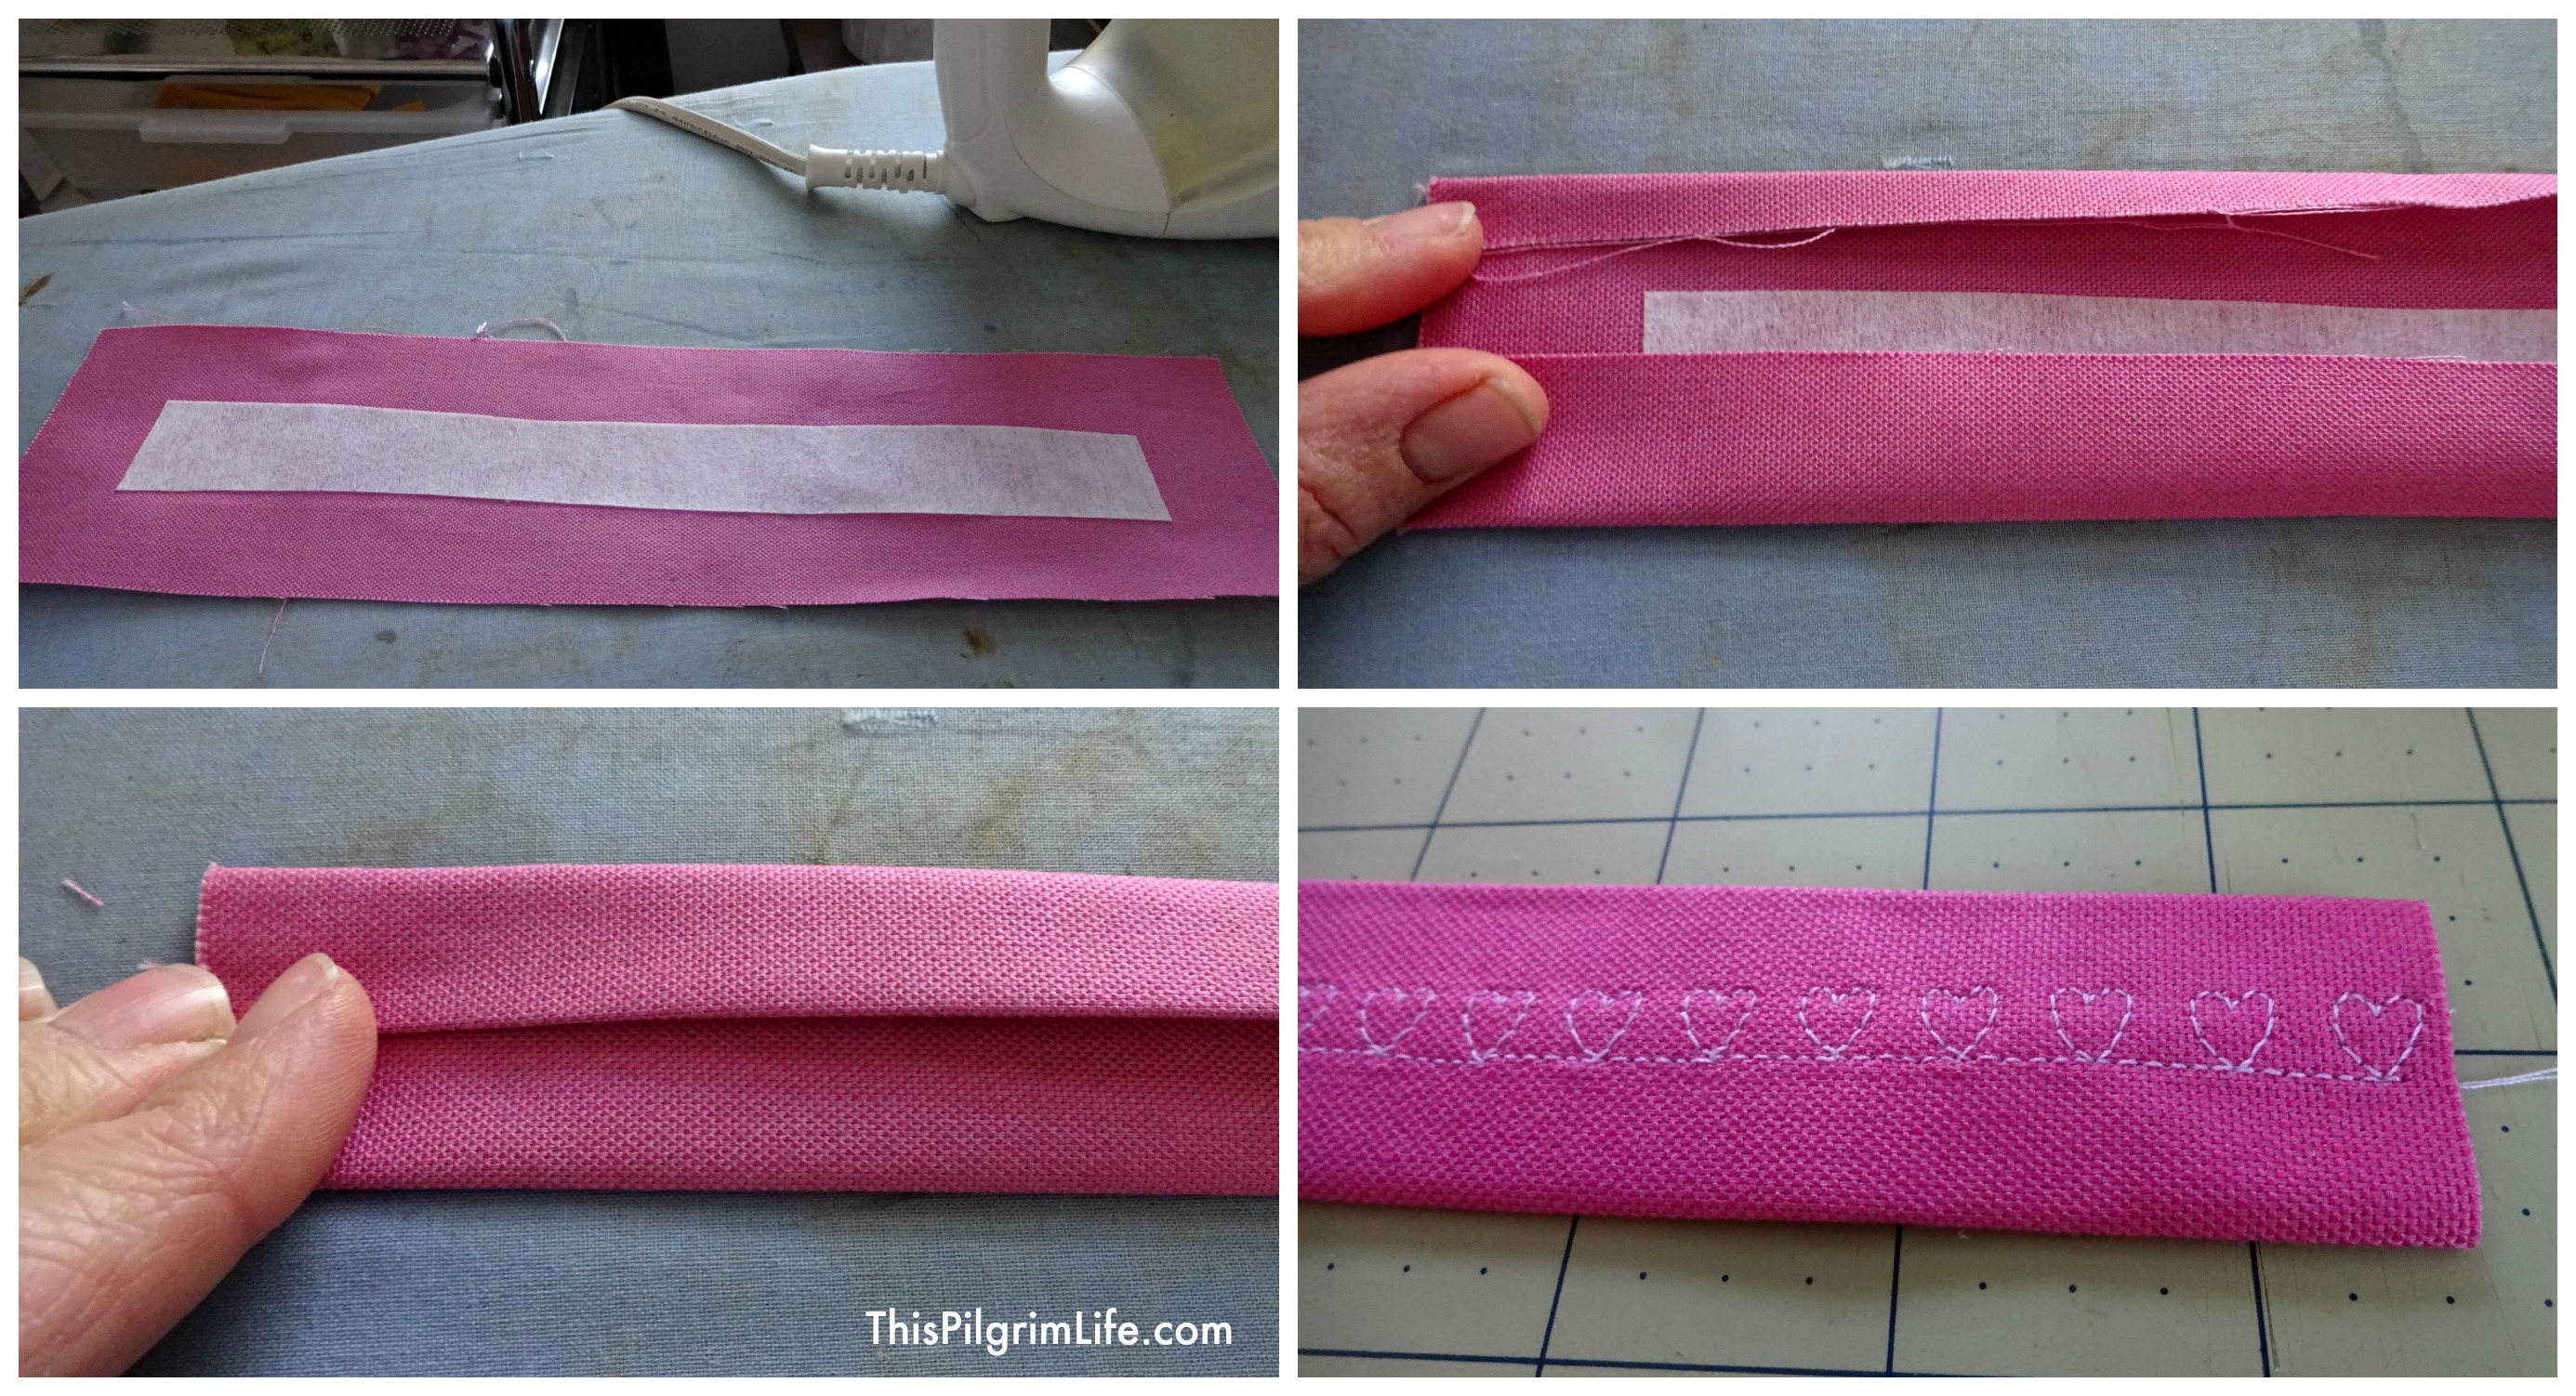
Iron the 11″ strip of interfacing to the strap piece.
Fold one long edge of the strip in 1/2″ towards the center and press. Fold the opposite long edge in 1/4″ towards the center and press.
Fold the second edge in again one more time, overlapping the unfinished edge. Press and pin in place.
Sew along the length of the strap, securing the pressed edges in place. Use a decorative stitch if desired.
8. Pin the piping in place.
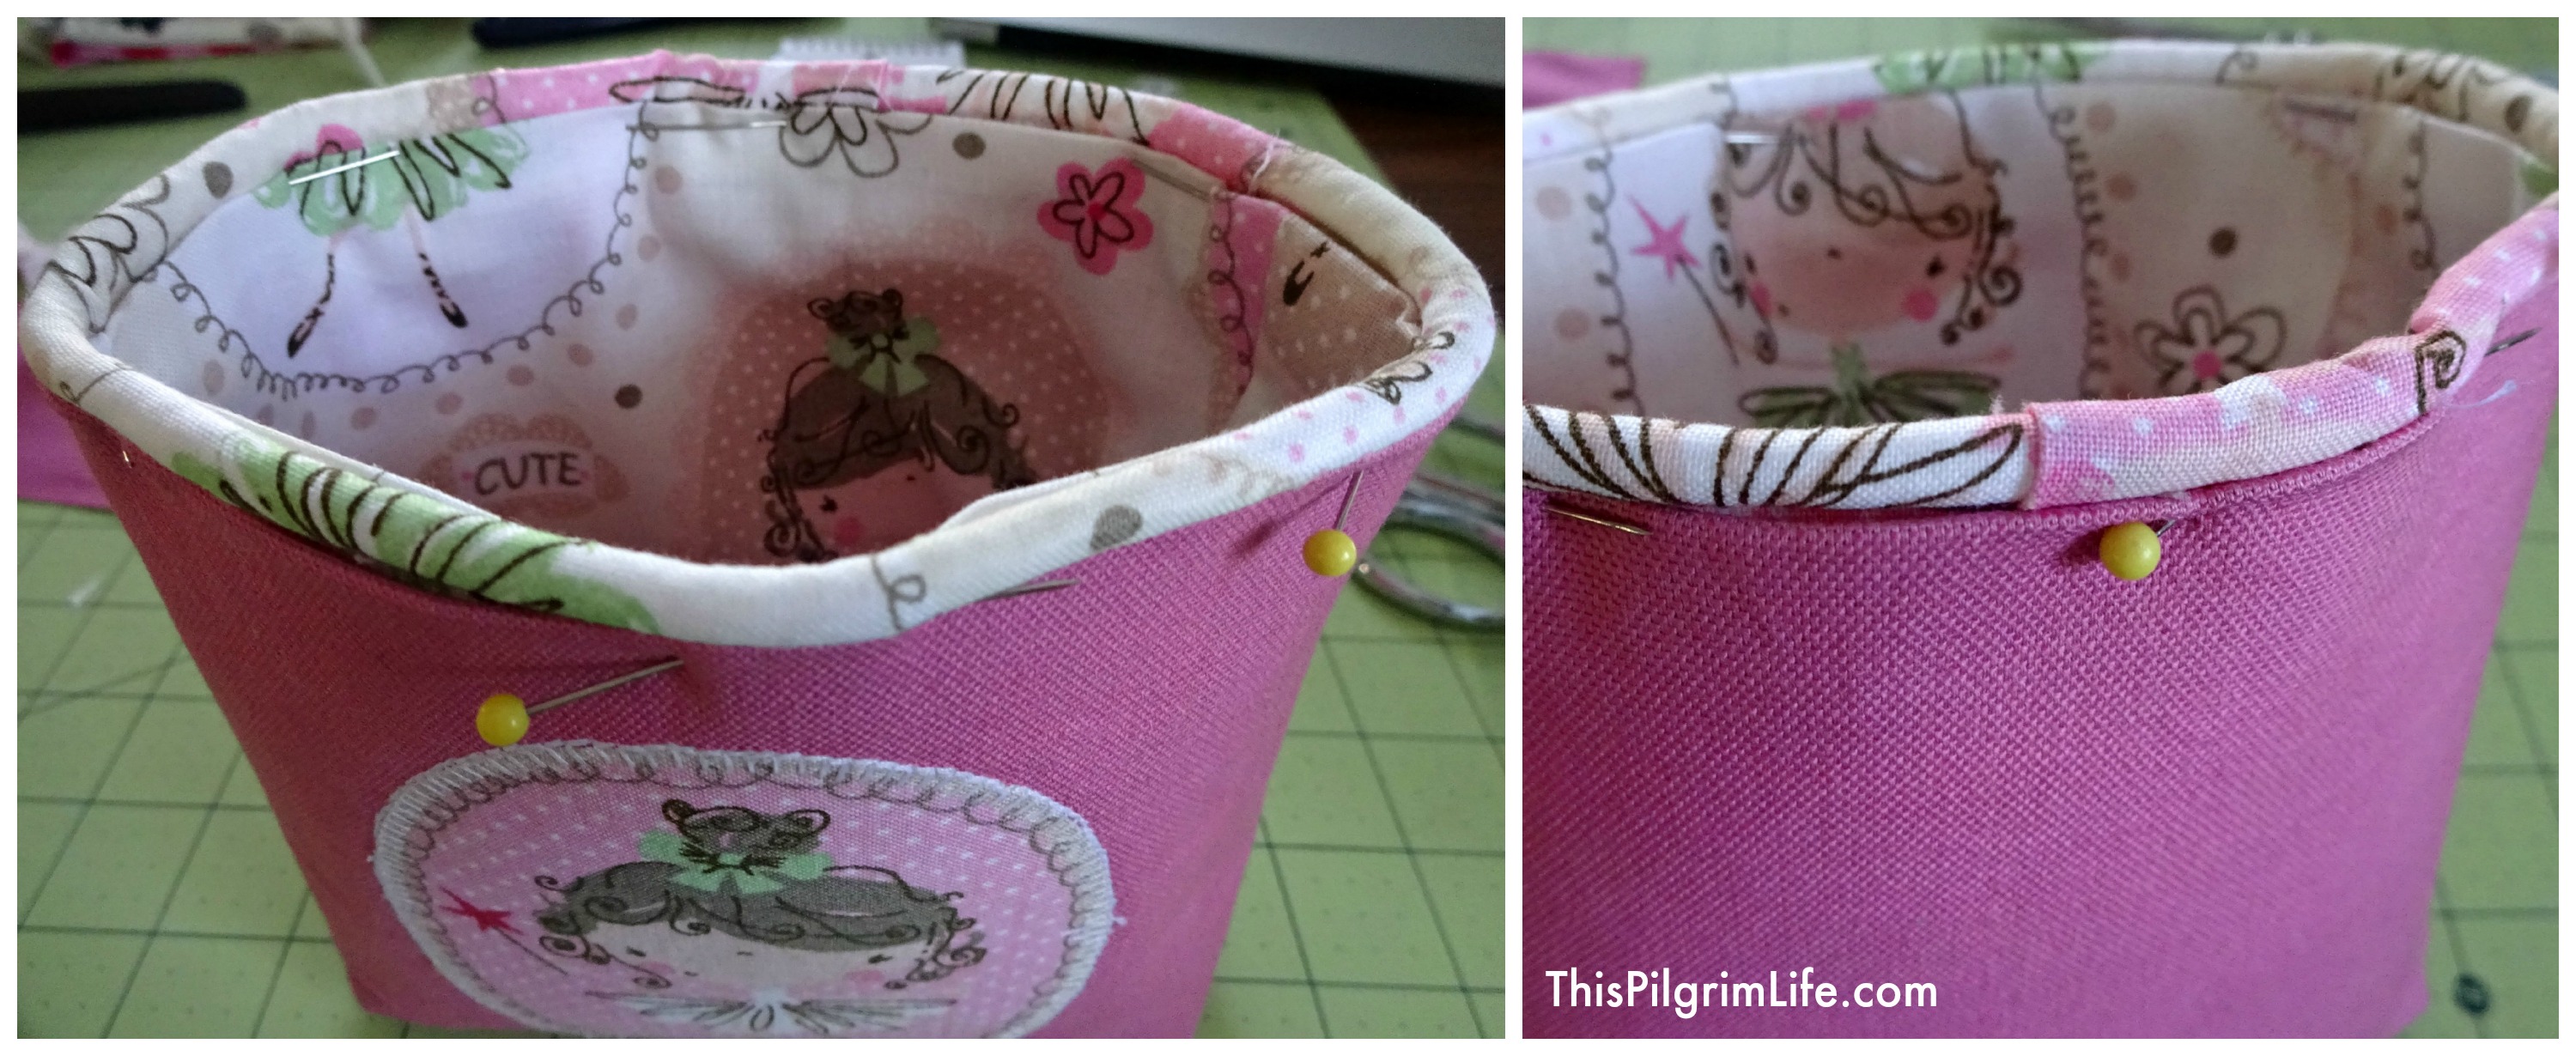
Tuck the piping in between the top edges of the exterior and lining. Pin one end in place and wrap the piping around the perimeter of the bag, pinning in place as you go. When you reach the end you started with, trim any extra cording, but leave the extra fabric (you may need to take out some stitches).
Fold the extra fabric edge towards the wrong side and press. Overlap the folded edge over the end of the piping you first pinned. (See photos below).
9. Attach the strap.
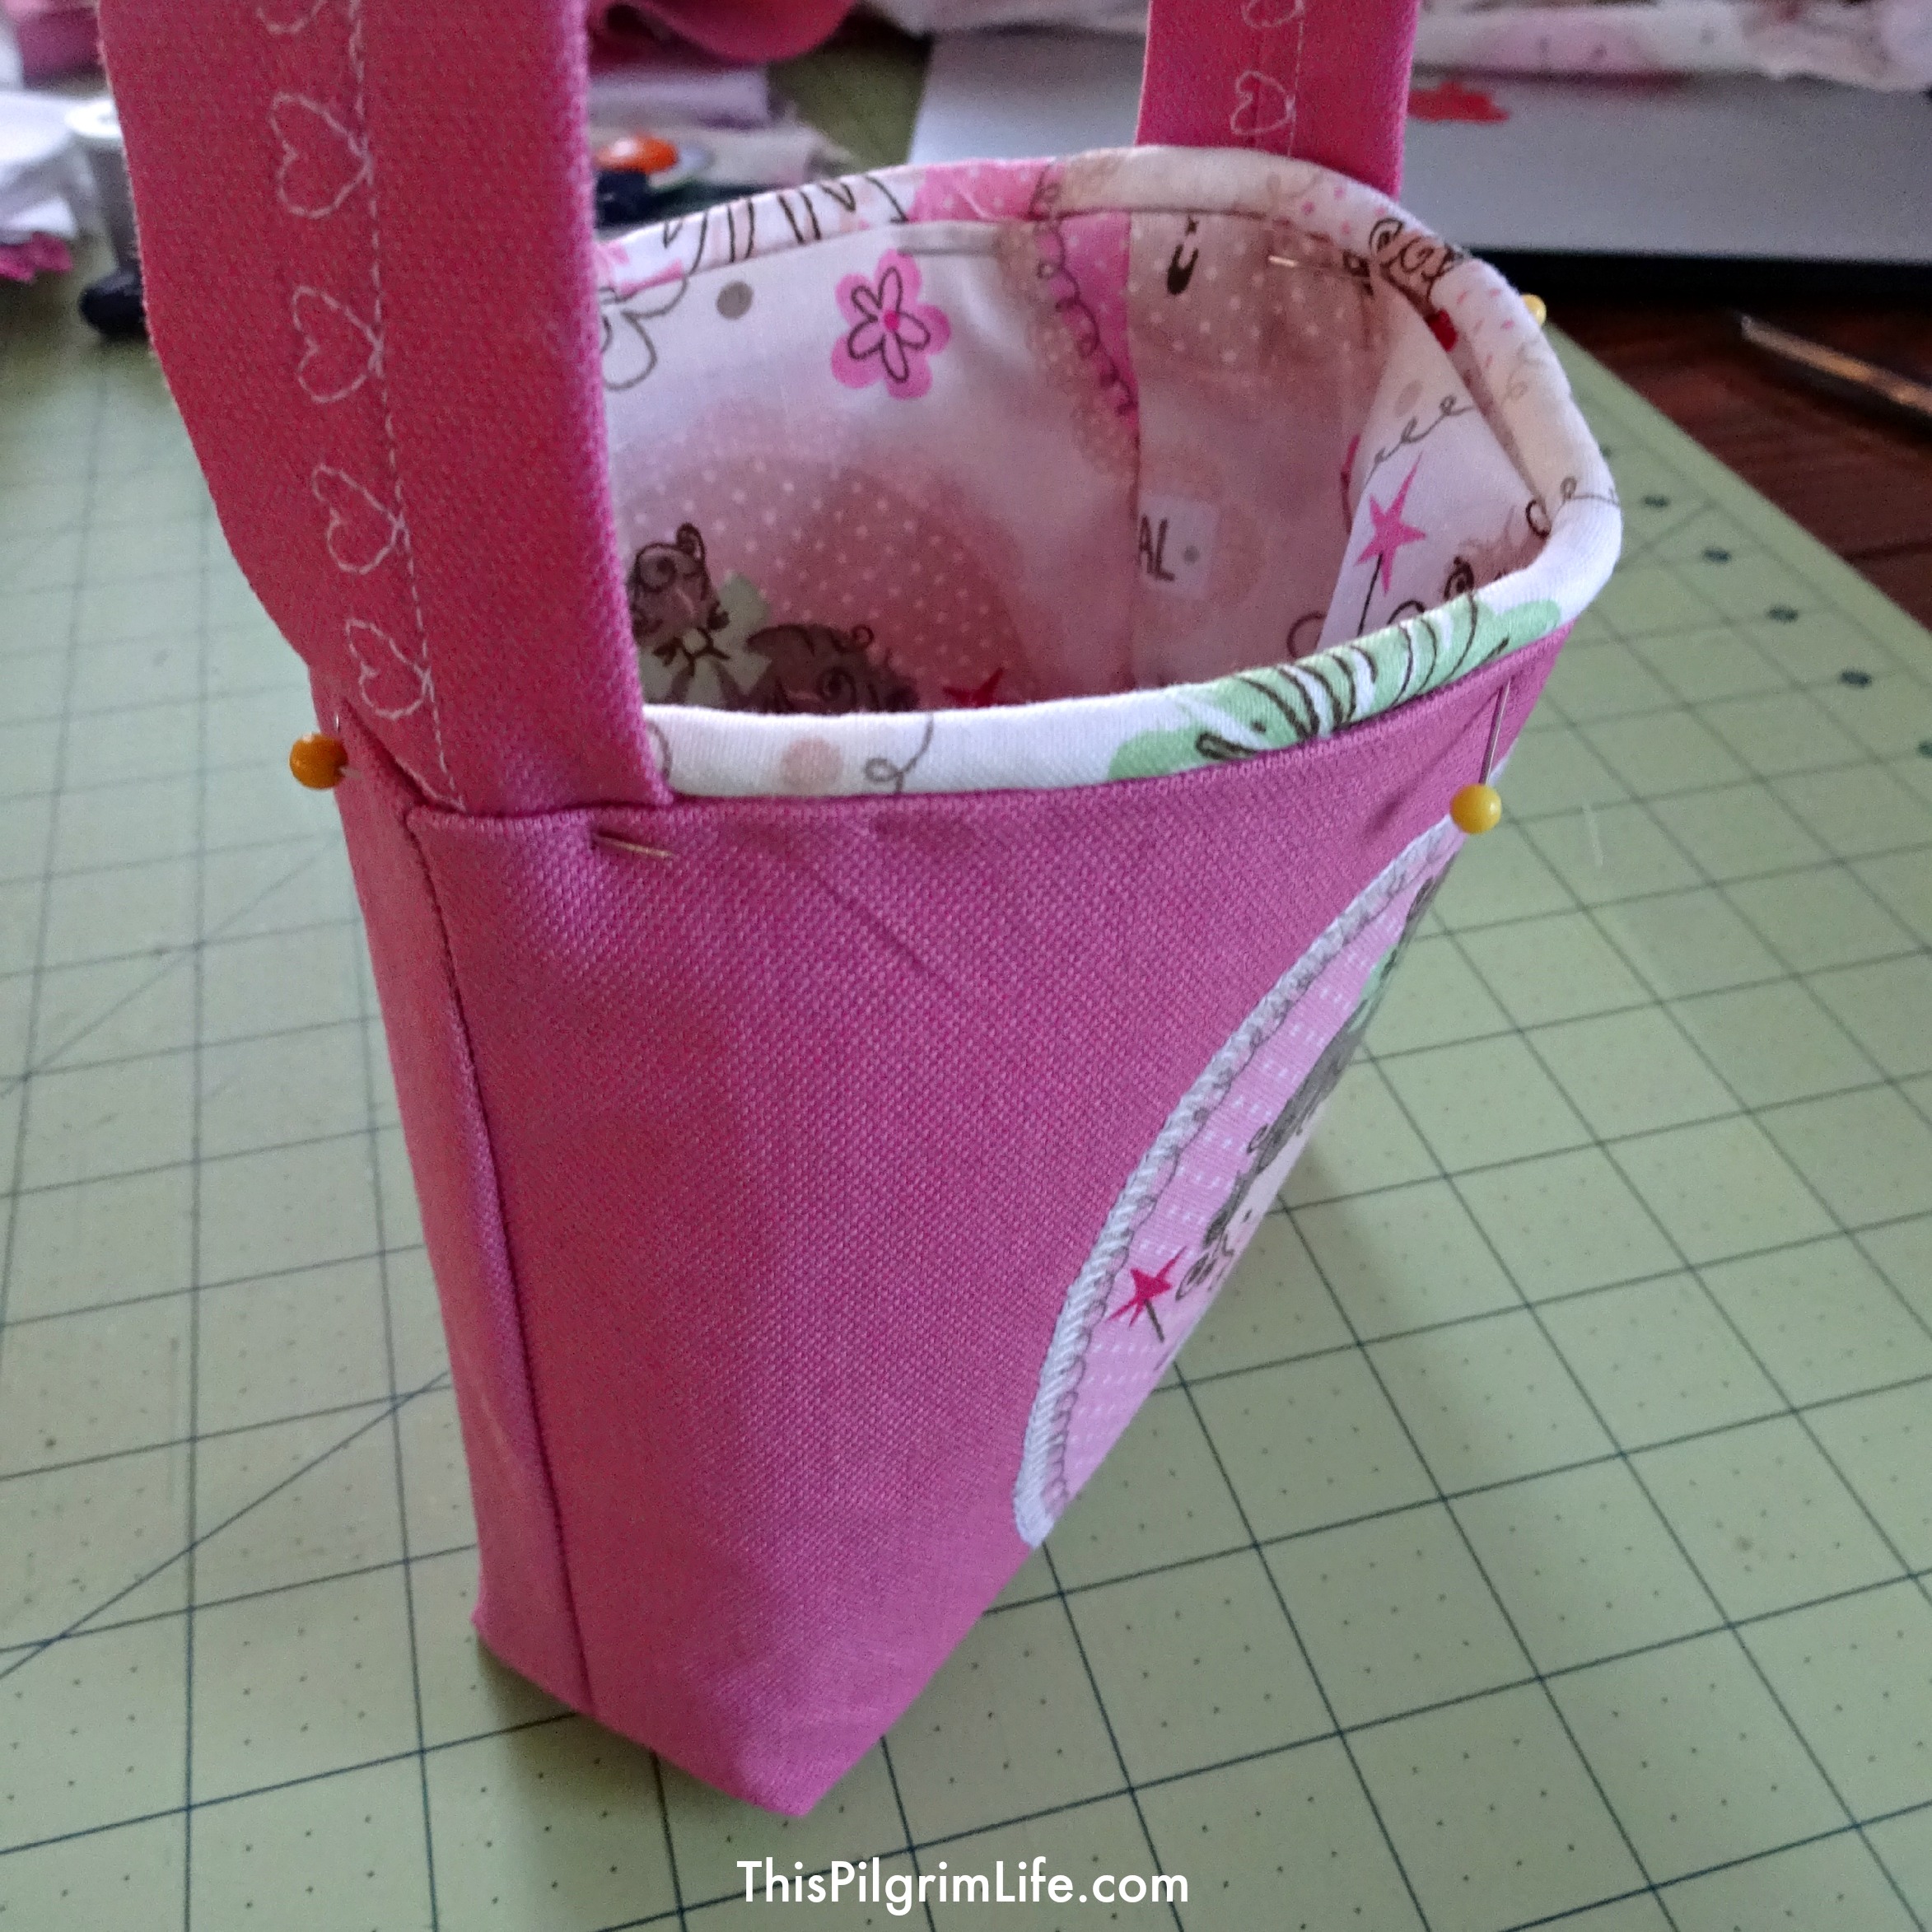
Tuck the unfinished ends of the strap into the sides of the purse, tucking in about 1″ of strap on each side. Pin in place.
10. Finish the purse.
Topstitch around the top edge of the purse, attaching the exterior fabric, piping, straps, and interior fabric together.
Toddler Purse & Quilted Doll Blanket GIVEAWAY!
I’m excited to be able to give away a toddler purse AND a quilted doll blanket. Both are beloved by my daughter and would make a fun gift for a little girl in your life too!
To make things more fun and festive, I will choose additional winners according to how many entries are submitted. For 100 entries — 1 winner. For 200 entries — 2 winners. For 300 entries — 3 winners.
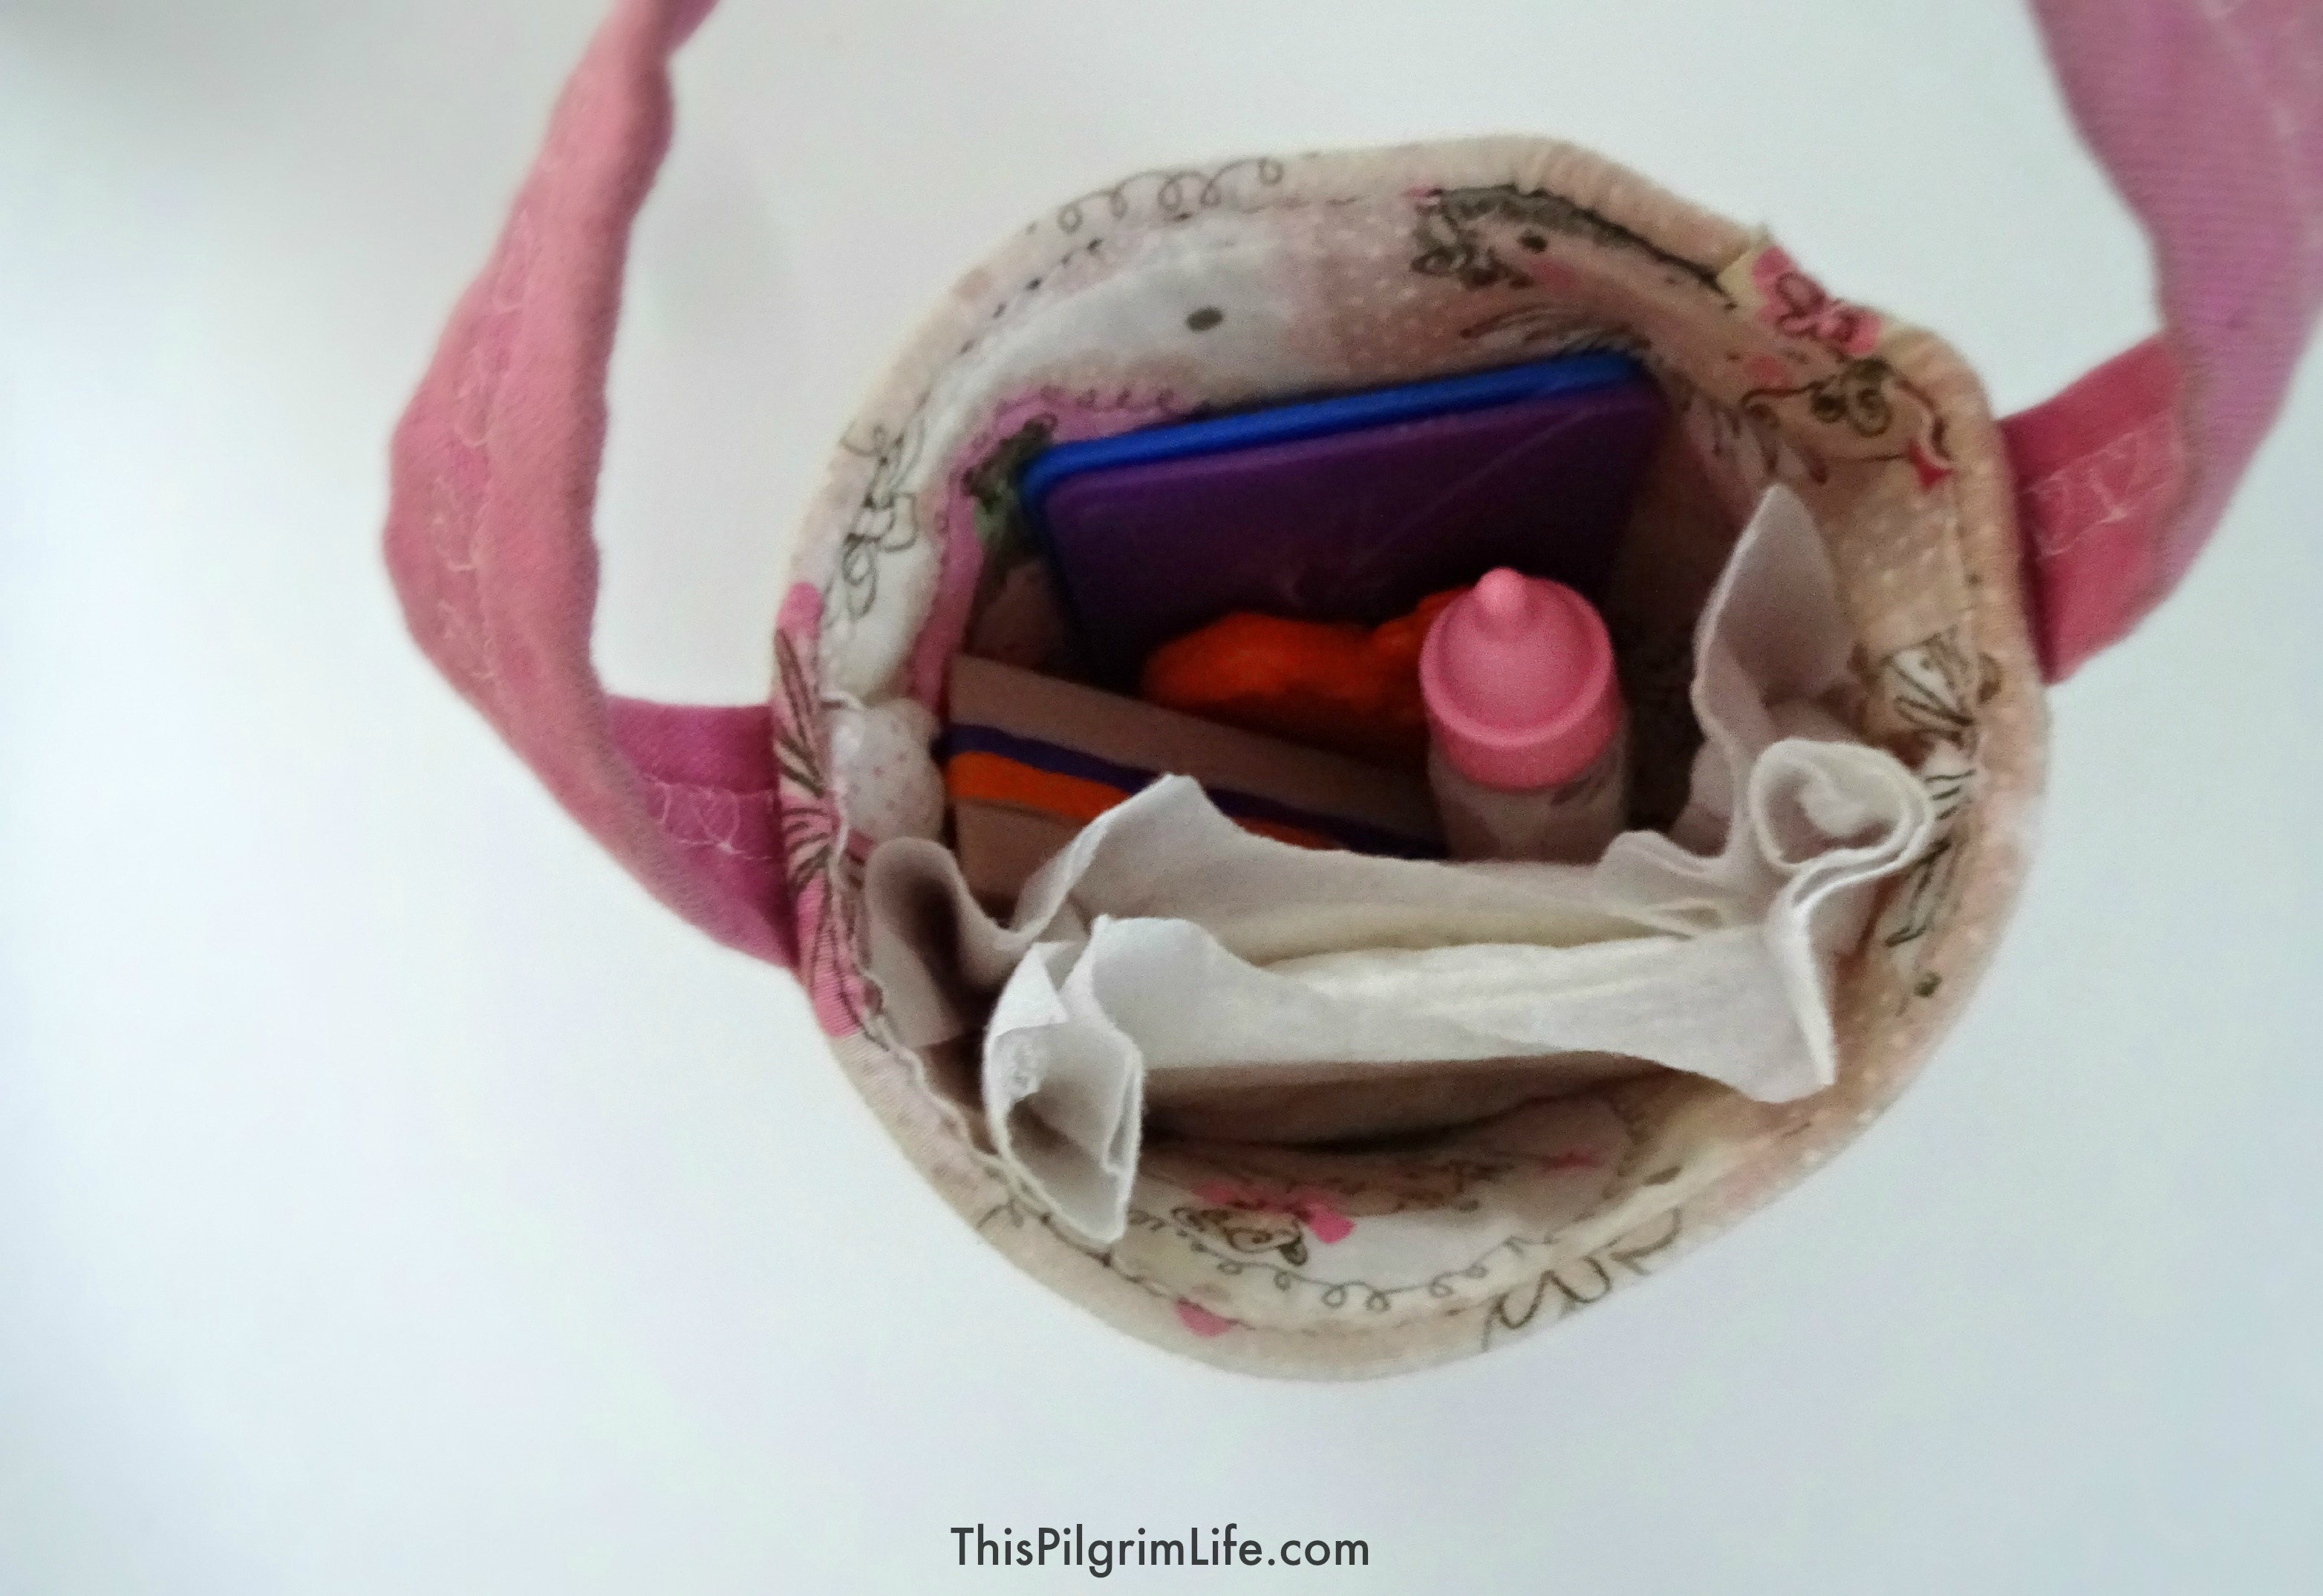
One way to enter is to comment and tell me what the toddler in your life would fill her purse with. Here are my little girl’s purse contents. (This is her purse which explains why it’s a bit more dirty!)
The giveaway will be open for a week, so share for more chances to win!
EACH WEEK I LINK UP WITH MOTIVATION MONDAY, MODEST MAMA, MAMA MOMENTS, TUESDAY TALK, AND WORKS FOR ME WEDNESDAY. THE LINKS ABOVE MAY ALSO BE AFFILIATE LINKS, MEANING I EARN A SMALL COMMISSION AT NO EXTRA COST TO YOU. I APPRECIATE YOUR SUPPORT OF THIS SITE!

So glad these instructions are still posted. Google does have a great search engine. Just ran across these because I had been shopping with someone looking for a cute little purse for a toddler without success. Made one for her and have made three so far out of scraps from little girl’s dresses; planning to make more.. The child knew just what to do and filled it with items currently precious to her. Adorable pattern. Directions are easy to follow. Such joy to make. Thank you.
Thank you for sharing this wonderful tutorial. I had two boys and then three grandsons, but finally got a girl. She’s so cut but so sassy and independent. I’m sure she will enjoy this. I tried to enter your give away but won’t go thru. Also tried to to subscribe but that wouldn’t work either. Again thank you
I just finished this adorable purse for my granddaughter. I made a capital “E” on the front of the bag out of flowered ribbon and finished the top edge with the same. Really nice pattern. Thank you!
I’m so glad you enjoyed it!
Amazing thanks for sharing this wonderful idea and method
This is simply the most adorable toddler purse I’ve ever seen! It is exactly what I’ve been looking for! Thank you so much for posting! Could you please tell me the mid weight type of fabric you used?
Thank you! ?
I am here from WFMW and I am so glad I clicked on your link. I am adding this doable tutorial to my Grandchildren Pinterest board. I LOVE that it stays open. My grand daughter is almost 3 and loves to fill purses with all kinds of treasures – which vary from day-to-day. Thanks for providing this tutorial and a chance to win.
snacks and toys
This purse is adorable, as is your daughter! I have three little girls so I appreciate the cuteness – each girl would just love this purse. Alas, my sewing skills are barely at the “I can make two pieces of fabric stick together” phase. Ah gee, I think I’ll pin this anyway. It’s great motivation to learn!! 🙂 Thanks for sharing. Seriously so cute!
Thank you! You have to start somewhere 😉
This is so cute! Pinned it! Thanks for sharing at linky parties. My toddler would put paper & pencil first, she loves to scribble. And, then sunglasses, then she would whatever she found around the house that would fit!
Thanks for pinning and visiting!
She would fill it with ” treasures” shed found around the house. Probably jewelry and buttons and coins
Love this! My baby girl loves purses and never leaves home without one. I showed her this one and she got so excited! 🙂 she loves putting books, balls, beads that she wears and of course snacks! ♡
That’s so sweet!
Audrey would put all.the.things in it! Fun giveaway!
I love it! I can see this purse being a project for me and Karis and make!
You should definitely try it!
My daughter would fill it with her My Littly Ponies! Thank you for the wonderful giveaway.
Erin
My little girl would but her farm animals, her tooth brush and probably socks in it!
Haha! Love that the toothbrush is included 🙂
My daughter would fill it with jewelry.
These are so cute and very timely as I was hoping to make my girl and my niece a customized purse for Christmas! My girl loves to fill her purse with play food ( she’s a girl who’s prepared;) ha!;)) and rocks- she’s always collecting them.
Oh my, Nora would love that little purse!! She loves to put little bags over her arm and walk around with it. She puts a random collection of whatever she happens upon in them. So sweet!
You are so incredibly talented! I would love to win this for my little girl.
Thanks Natalie!