This tutorial is a part of the 31 Days to a Handmade Christmas Series.
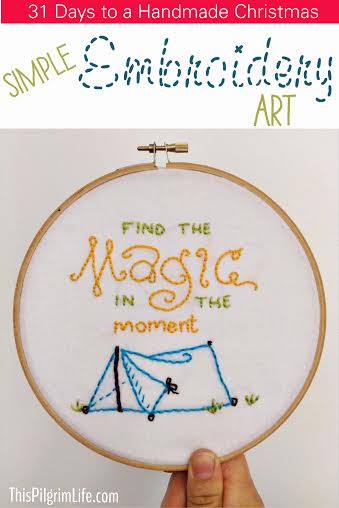
Hobbies can come and go and each year’s Christmas gifts are often indicative of which hobbies occupied my time that year.
The first Christmas my husband and I were married, he gave me a basket full of everything I would need to learn to knit. An unexpected gift, but welcomed nonetheless. The second Christmas we were married saw baby booties (not for us!), scarves and such wrapped up in festive paper.
Knitting didn’t last too long though (sorry Jeff!). I preferred to see the fruits of my labor in a more expeditious fashion.
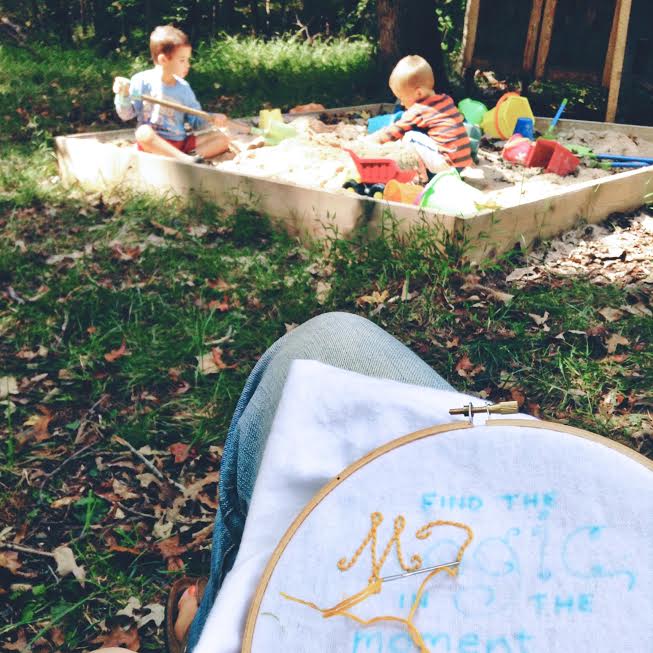
Two Christmases ago, I was learning embroidery. Embroidery was a faster process than knitting (for me) and I was able to express more creative control even as a beginner. I embroidered pithy sayings and famous quotes on scrap material while I watched my boys play. It was peaceful, rather simple, and easy to personalize.
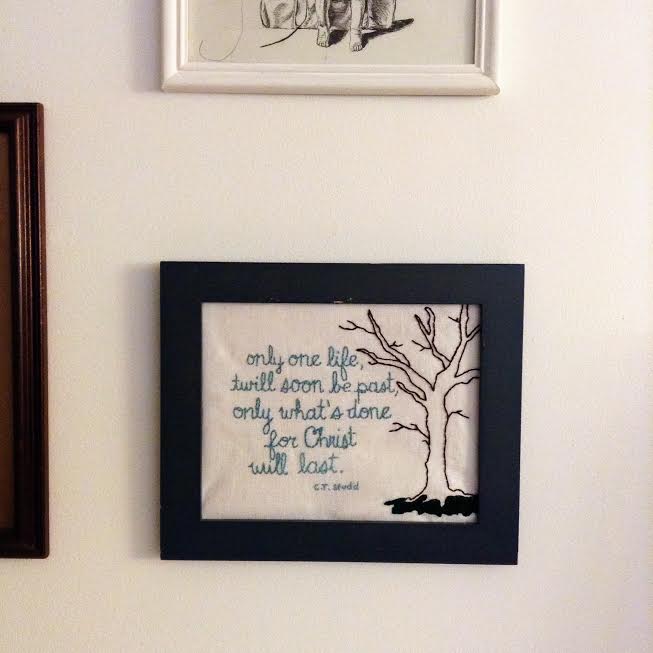 a previous Christmas gift for my husband
You will find below a simple stitch and a handful of tips for beginning embroidery. I am no expert, but I want to pass along what I’ve learned.
This is a great gift idea for men or women, family or friends.
You can frame the finished product, or trim the extra fabric and leave it in the embroidery hoop for more of a quaint look.
And if you are at a loss for pithy sayings or meaningful quotes, Pinterest is always a click away. Even easier, you can check out my boards on embroidery and on quotes for ideas.
Simple Embroidery Art Tutorial
How To Begin:
Gather your materials. The list of necessary materials is really short. You will need embroidery thread (in whatever colors you choose), needles, a hoop (they come in several sizes), and fabric. You can use different types of fabric, but generally you want to choose a mid-weight fabric with a tighter weave.
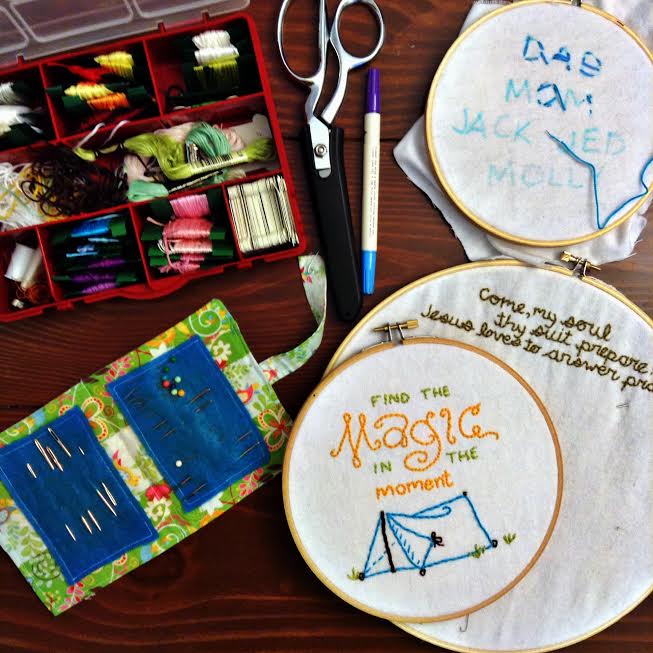 So easy a preschooler can do it! The top right is my son’s first embroidery project.
Cut your fabric. If you plan on framing the art, cut out a piece of fabric a couple of inches larger than your frame. If you plan on leaving the fabric in the hoop to display, cut out a piece an inch bigger than the hoop. You will trim the excess at the end.
Plan your design. Draw out how you want your words to fit in the design. Alternately, you can print out your wording and trace the design onto your fabric. Use a water-soluble fabric pen to transfer the design to your fabric. After you finish sewing, you can wash off the writing with water.
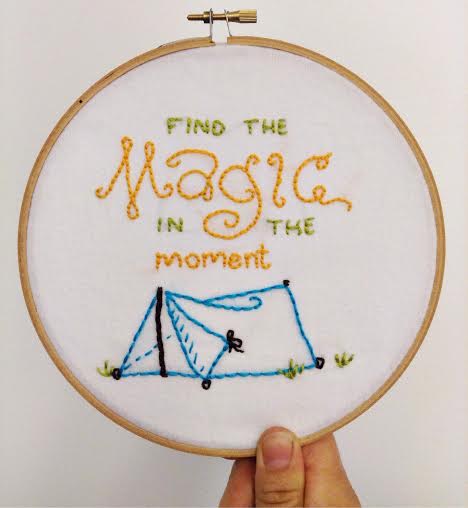
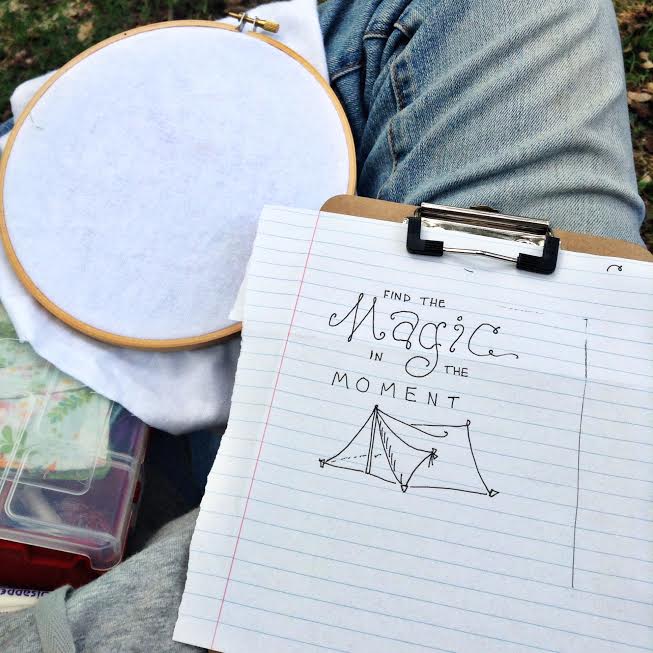 I decided to embroider this phrase while we were camping last week. It was a good reminder when I was tempted to get stressed out!
A Simple Stitch:
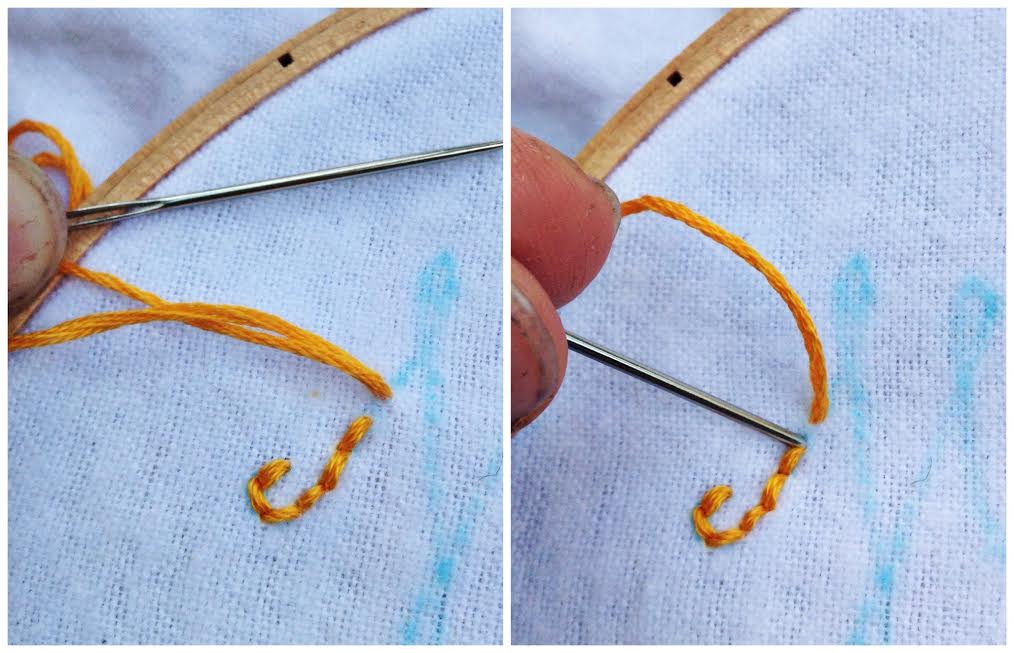
I have found this stitch to work well for simple lettering. For thicker letters, stitch lines right next to each other.
To make a simple embroidered line, you will pull the needle through at the top of the current stitch and then push it into the fabric at the top of the previous stitch. See pictures below.
Tips:
- Keep your stitches a uniform length for a more polished look.
- Shorter stitches are better for curves.
- Pull the thread so that it is just taut (not too tight).
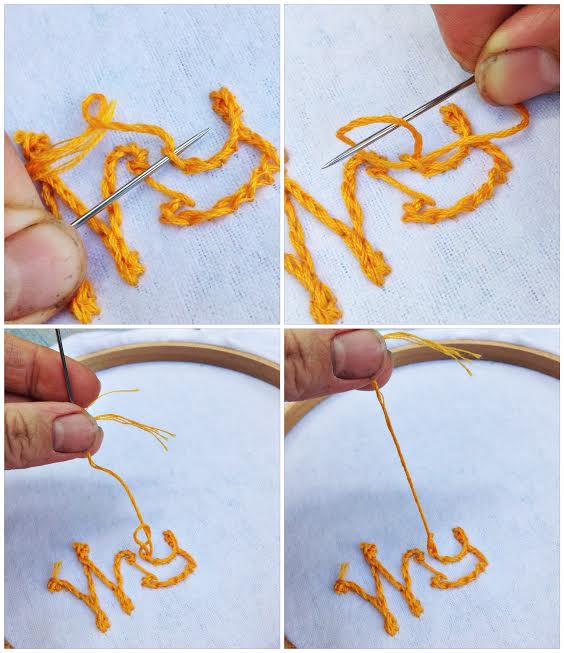
- Tie off a piece of string you are finished with by tucking it under a nearby stitch on the back of your fabric. Then pull the needle back through the loop and pull tight. See pictures below.
- When your embroidery is finished, iron on interfacing to the back to secure/protect the stitching.
Well worth a read. Got great insights and information from your blog. Thanks.
This is some really good information about embroidery. It is good to know that it would be smart to think about getting the right material. It seems like a good thing to get an expert to help with learning how to do embroidery patterns.
Thanks for the information. sounds so great and helpful. Kudos!
When it comes to embroidering any kind of item, it’s best to work with an expert that has a solid portfolio. I love what you said about stitch work and how it works well for simple lettering. My mom wants to embroider a pillow, so I’ll suggest she contact a specialized service in her community.
Awesome. I really love your handmade embroidery gift ideas.
Compare to machine embroidery, these hand embroidered gifts are more beautiful and traditional.
But I think a first I need to art a very good drawing to follow for the embroidery.
Your embroidery arts are really awesome and unique.
Thanks for your great ideas and amazing tutorials.
Really awesome and great article. Each step was very nicely explained.
Very important information for all of us.
Thank u very much for such a great article.
Great embroidery ideas and very useful content from this blog.
You guys are really awesome.
Thanks for your hard working and support us with great ideas.
Thank you for sharing this tutorial. It really helps to all beginners. I like the tips, very simple and easy to understand. Great post!
This is SO adorable! And I was way impressed of the pic you posted of Jack embroidering too!
I was pretty amazed too Anna. He was MUCH better than the previous time he tried.
I love this idea and especially love that you chose a camping theme – our family loves to camp! I will have to try this sometime!