A couple of weeks ago, my husband flew to Michigan early on a Friday to speak at a weekend youth retreat. He was gone for four days preaching and hanging out with teenagers, leaving me at home with our three kids.
So naturally, I decided this would be the perfect time to take on a house project. 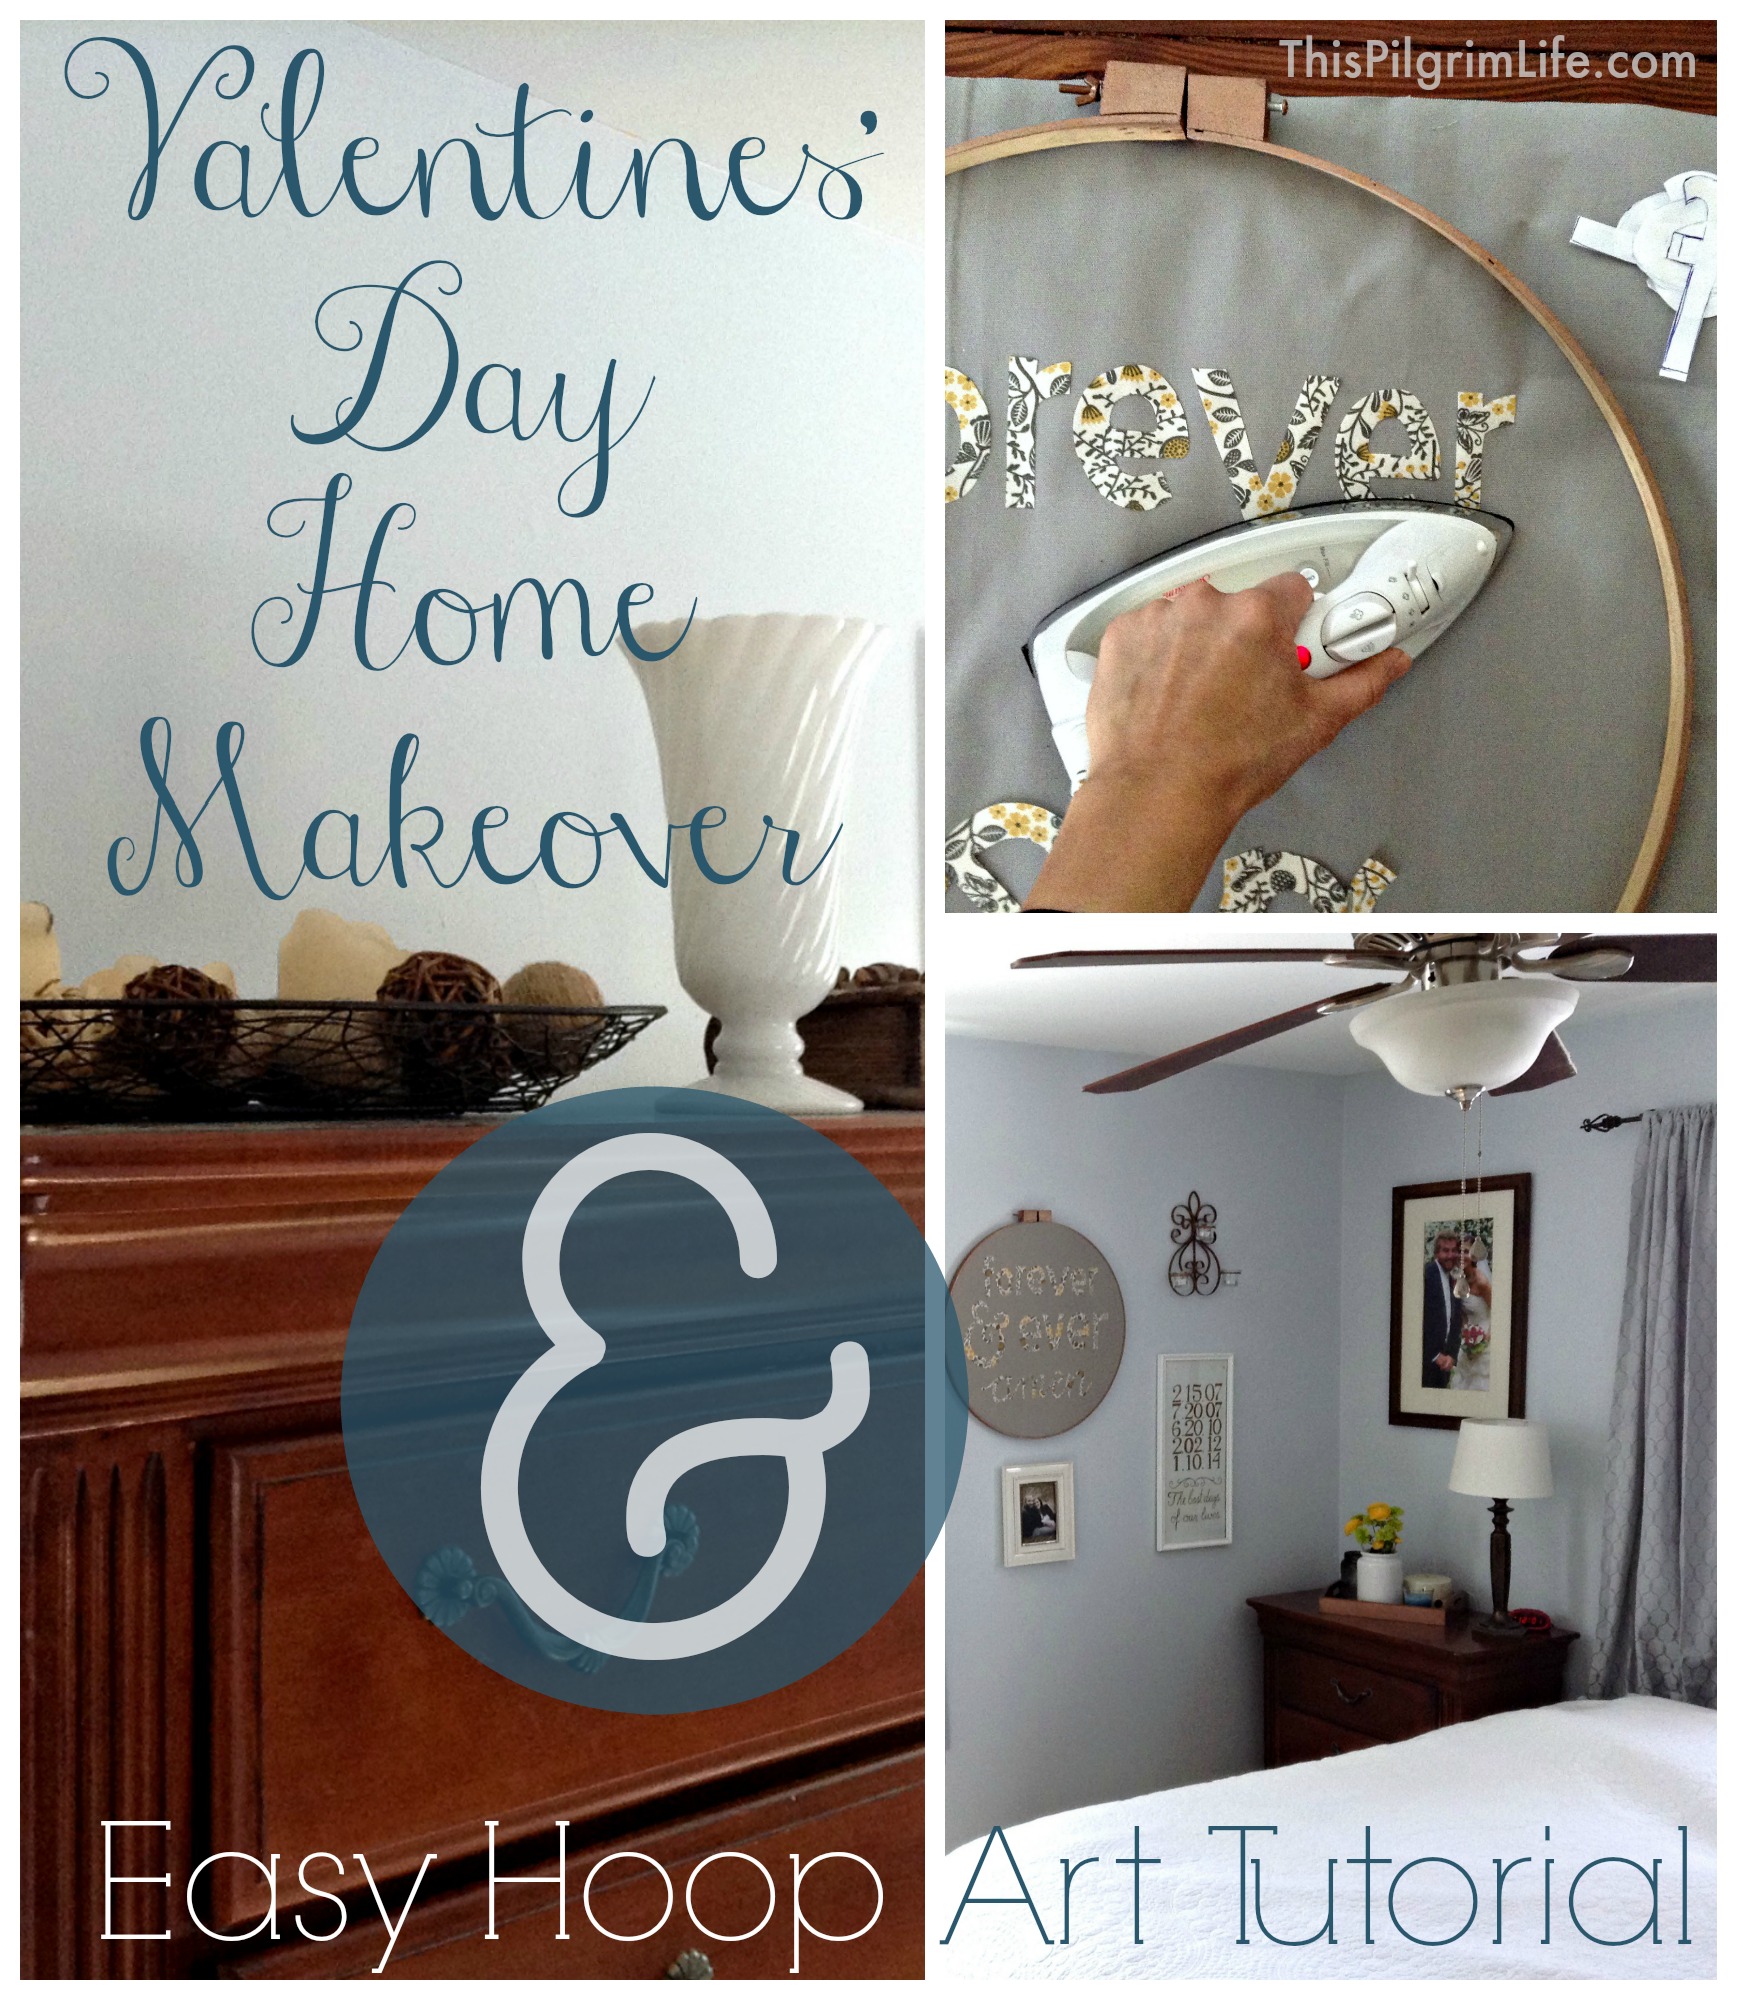
If my decision had actually been premeditated, I might have talked myself out of it– saying, “Self, are you crazy? You are on your own for four days with three kids and you want to completely redecorate a room?!”
Fortunately for my bedroom, I did not plan this in advance. True to form for me, I had a whim and ran with it.
Fortunately for me and my kids, Jeff’s parents are awesome. On Saturday morning, I lured them over with the promise of fresh bagels and they hung around for a few hours to help with the kids while I threw up the first coat of paint.
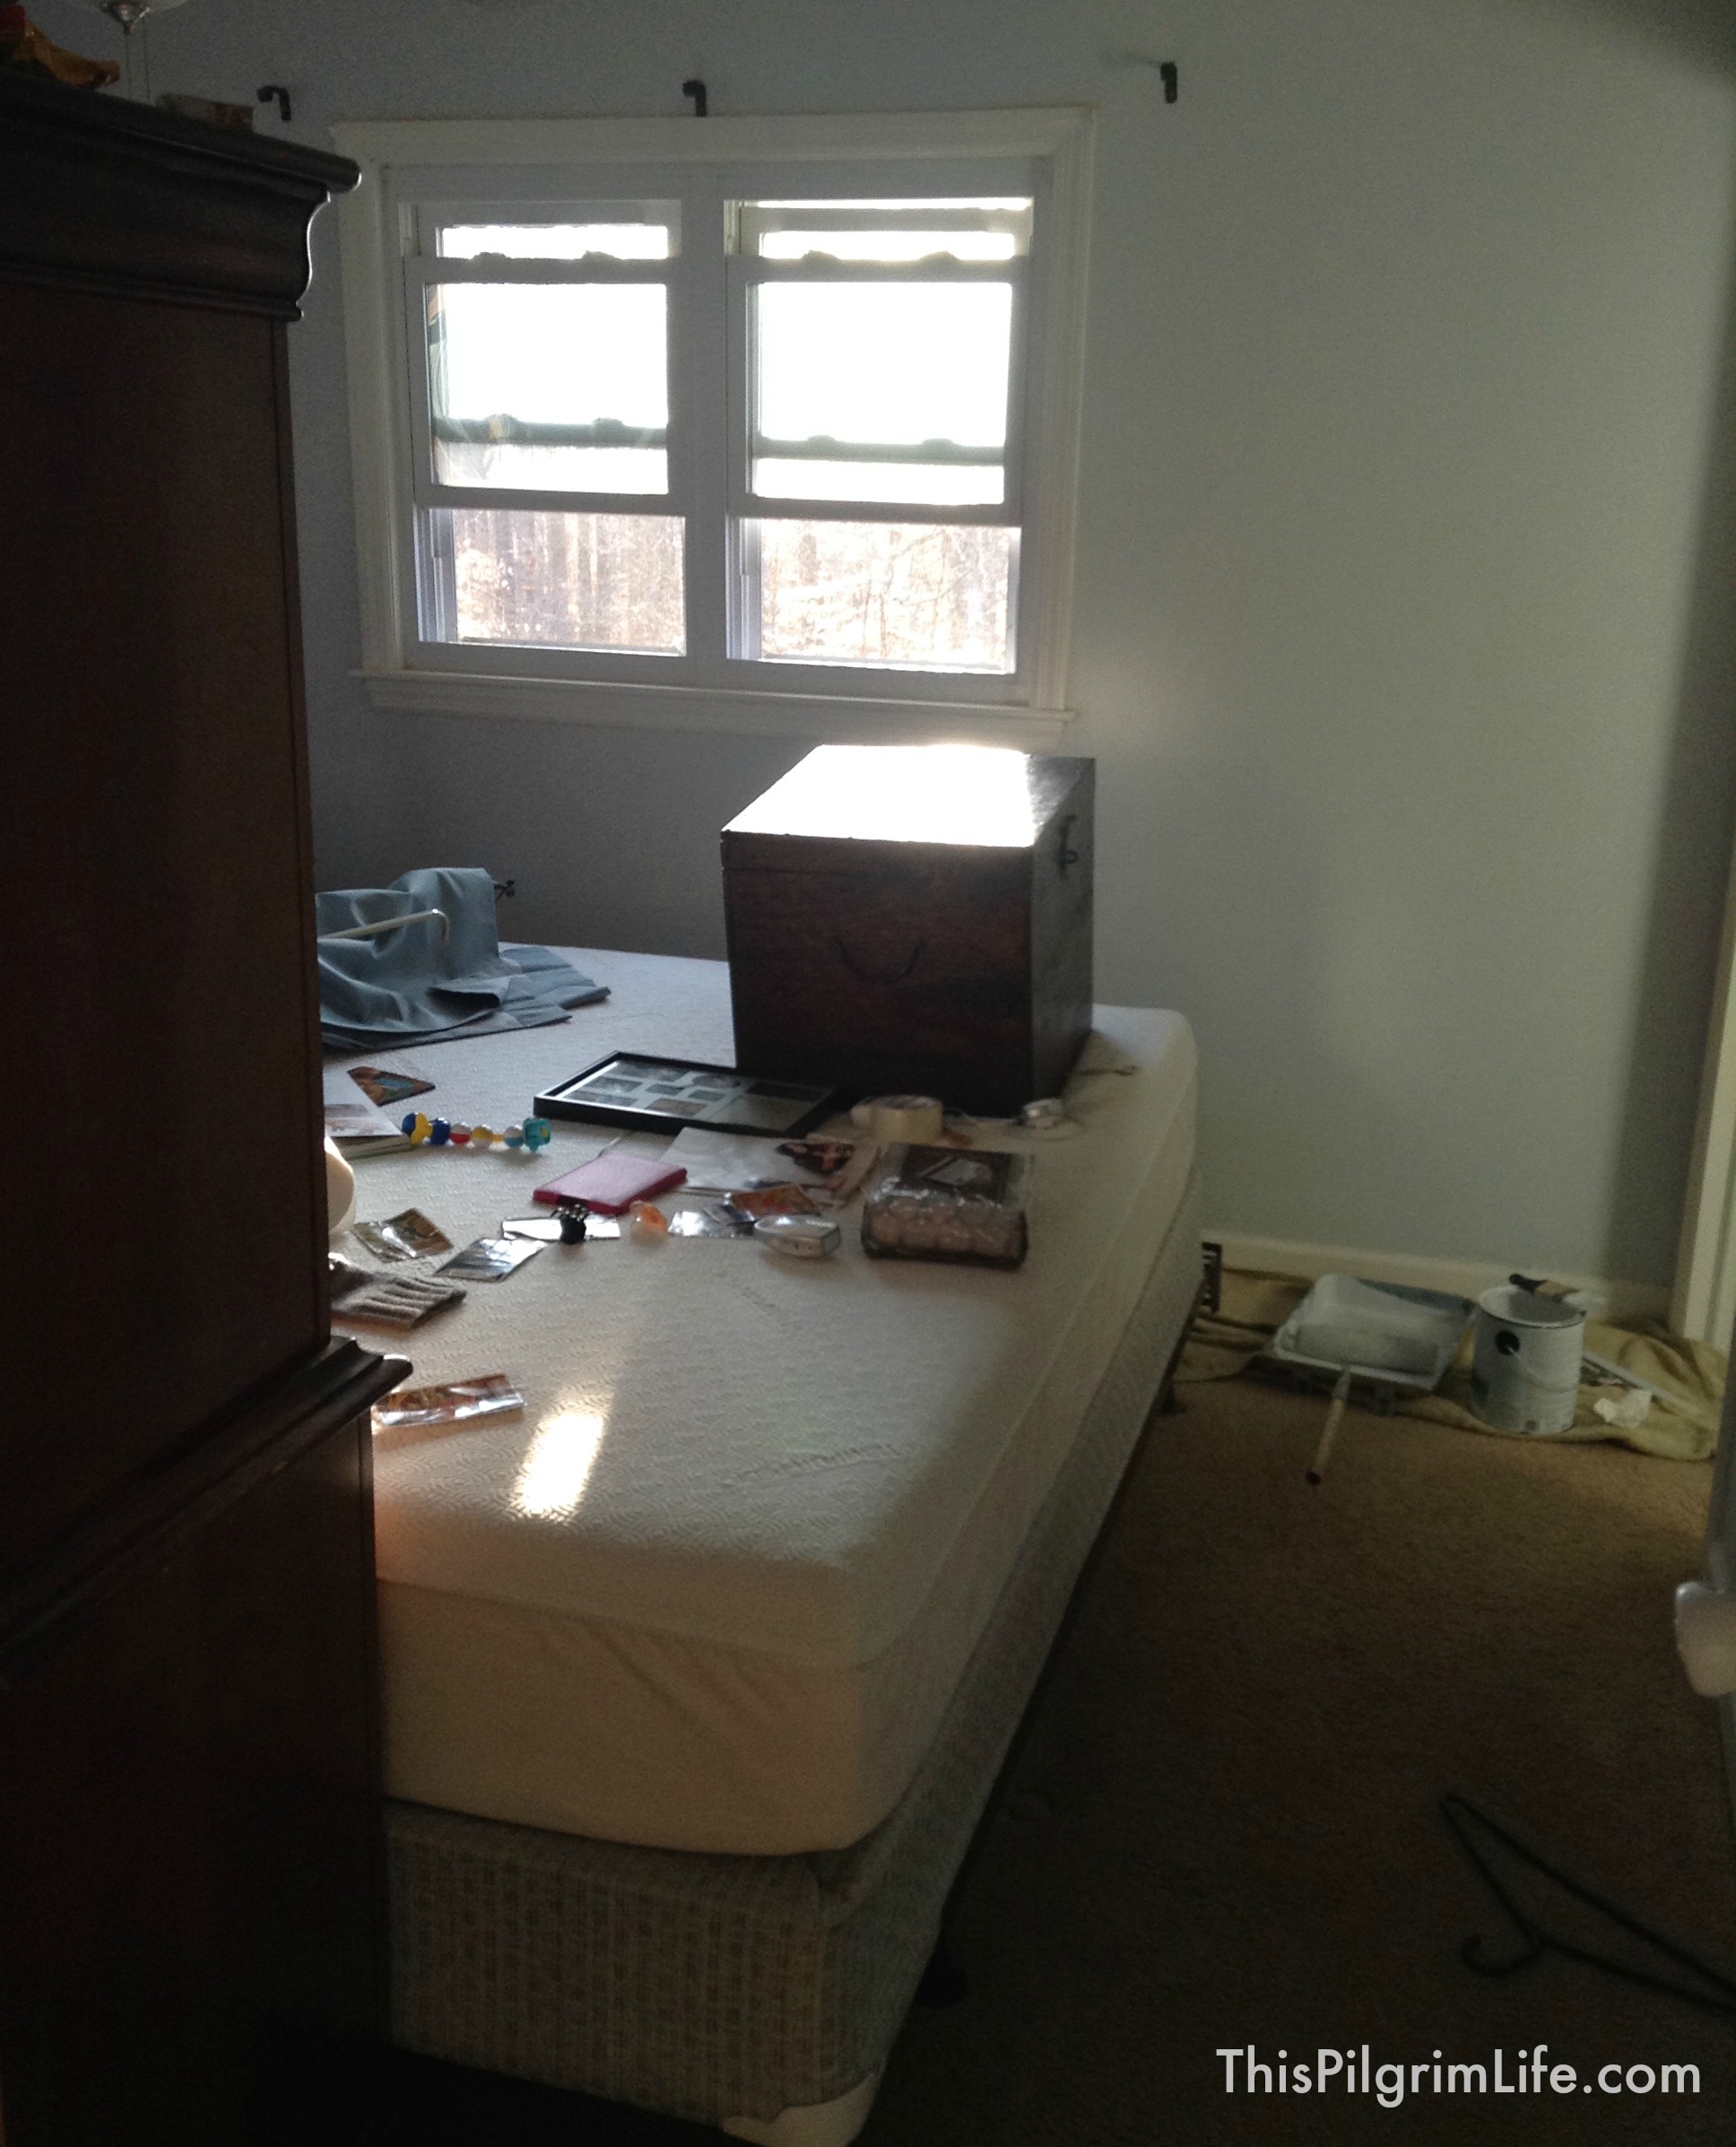
I was under a time crunch to get the painting done in one day because I didn’t want to go to sleep with all the furniture pushed in the middle of the room and without curtains on the windows. So after nap time, I put the baby gate up on my kids’ room, gave them free reign to be crazy as long as they stayed occupied, and quickly painted a second coat on the walls.
It was crazy. They were crazy. I was crazy for trying to do this. Yes, yes. yes. I felt like I was in one of those home improvement shows where the spouse or roommate leaves for a day or two and then returns home to an incredible makeover in their favorite room. Except I was without a good looking carpenter, a capable designer, or any extra helping hands. Oh, and I’m pretty sure there were never any preschoolers or toddlers in those shows.
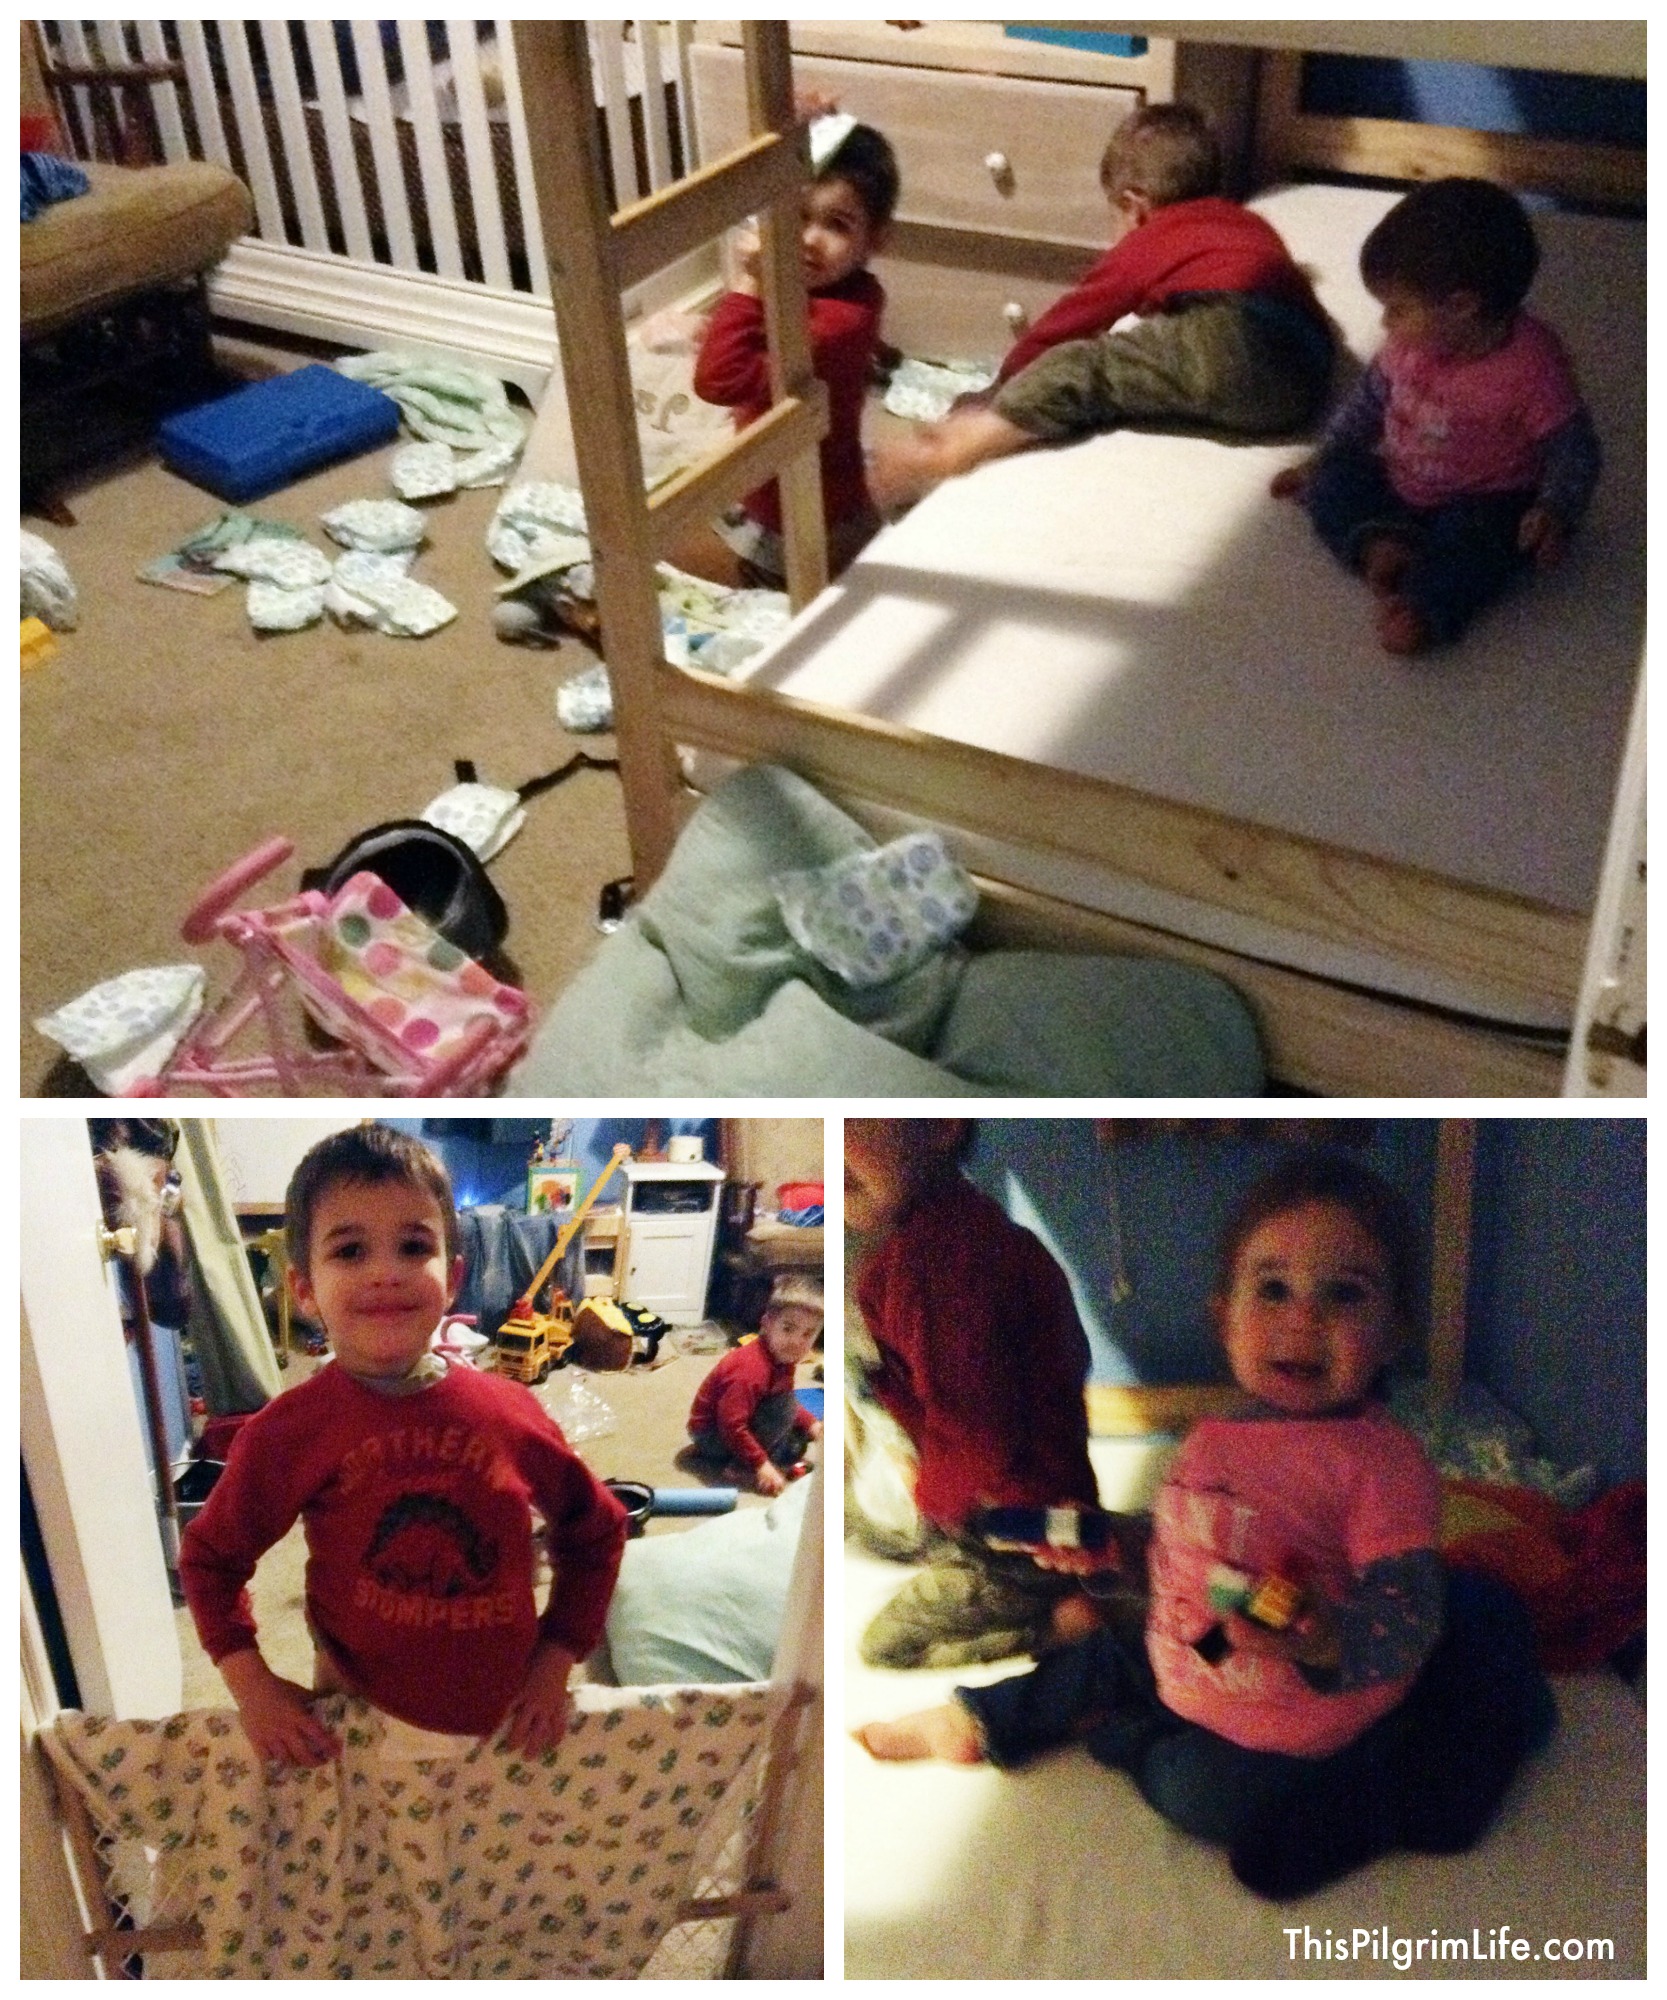 My children entertained themselves for an hour by unwrapping an entire package of diapers and stuffing them under their shirts.
By the end of the day, we had played, eaten all the necessary meals, and finished painting the bedroom. Winning, for sure.
Sunday and Monday were full with church, Goodwill runs, trips to a few stores, and making sure everyone was still fed and clothed (because small children have a thing about not skipping meals, regardless of deadlines or special projects).
Monday afternoon found me hurrying to finish the pictures and art for the walls. And by late afternoon, the room was completed with barely a minute to spare.
I christened it as my Valentine’s Day present to Jeff, lit some candles, and had one of our favorite love songs playing when he first went in. He was surprised (to say the least) and we have both been enjoying the end result.
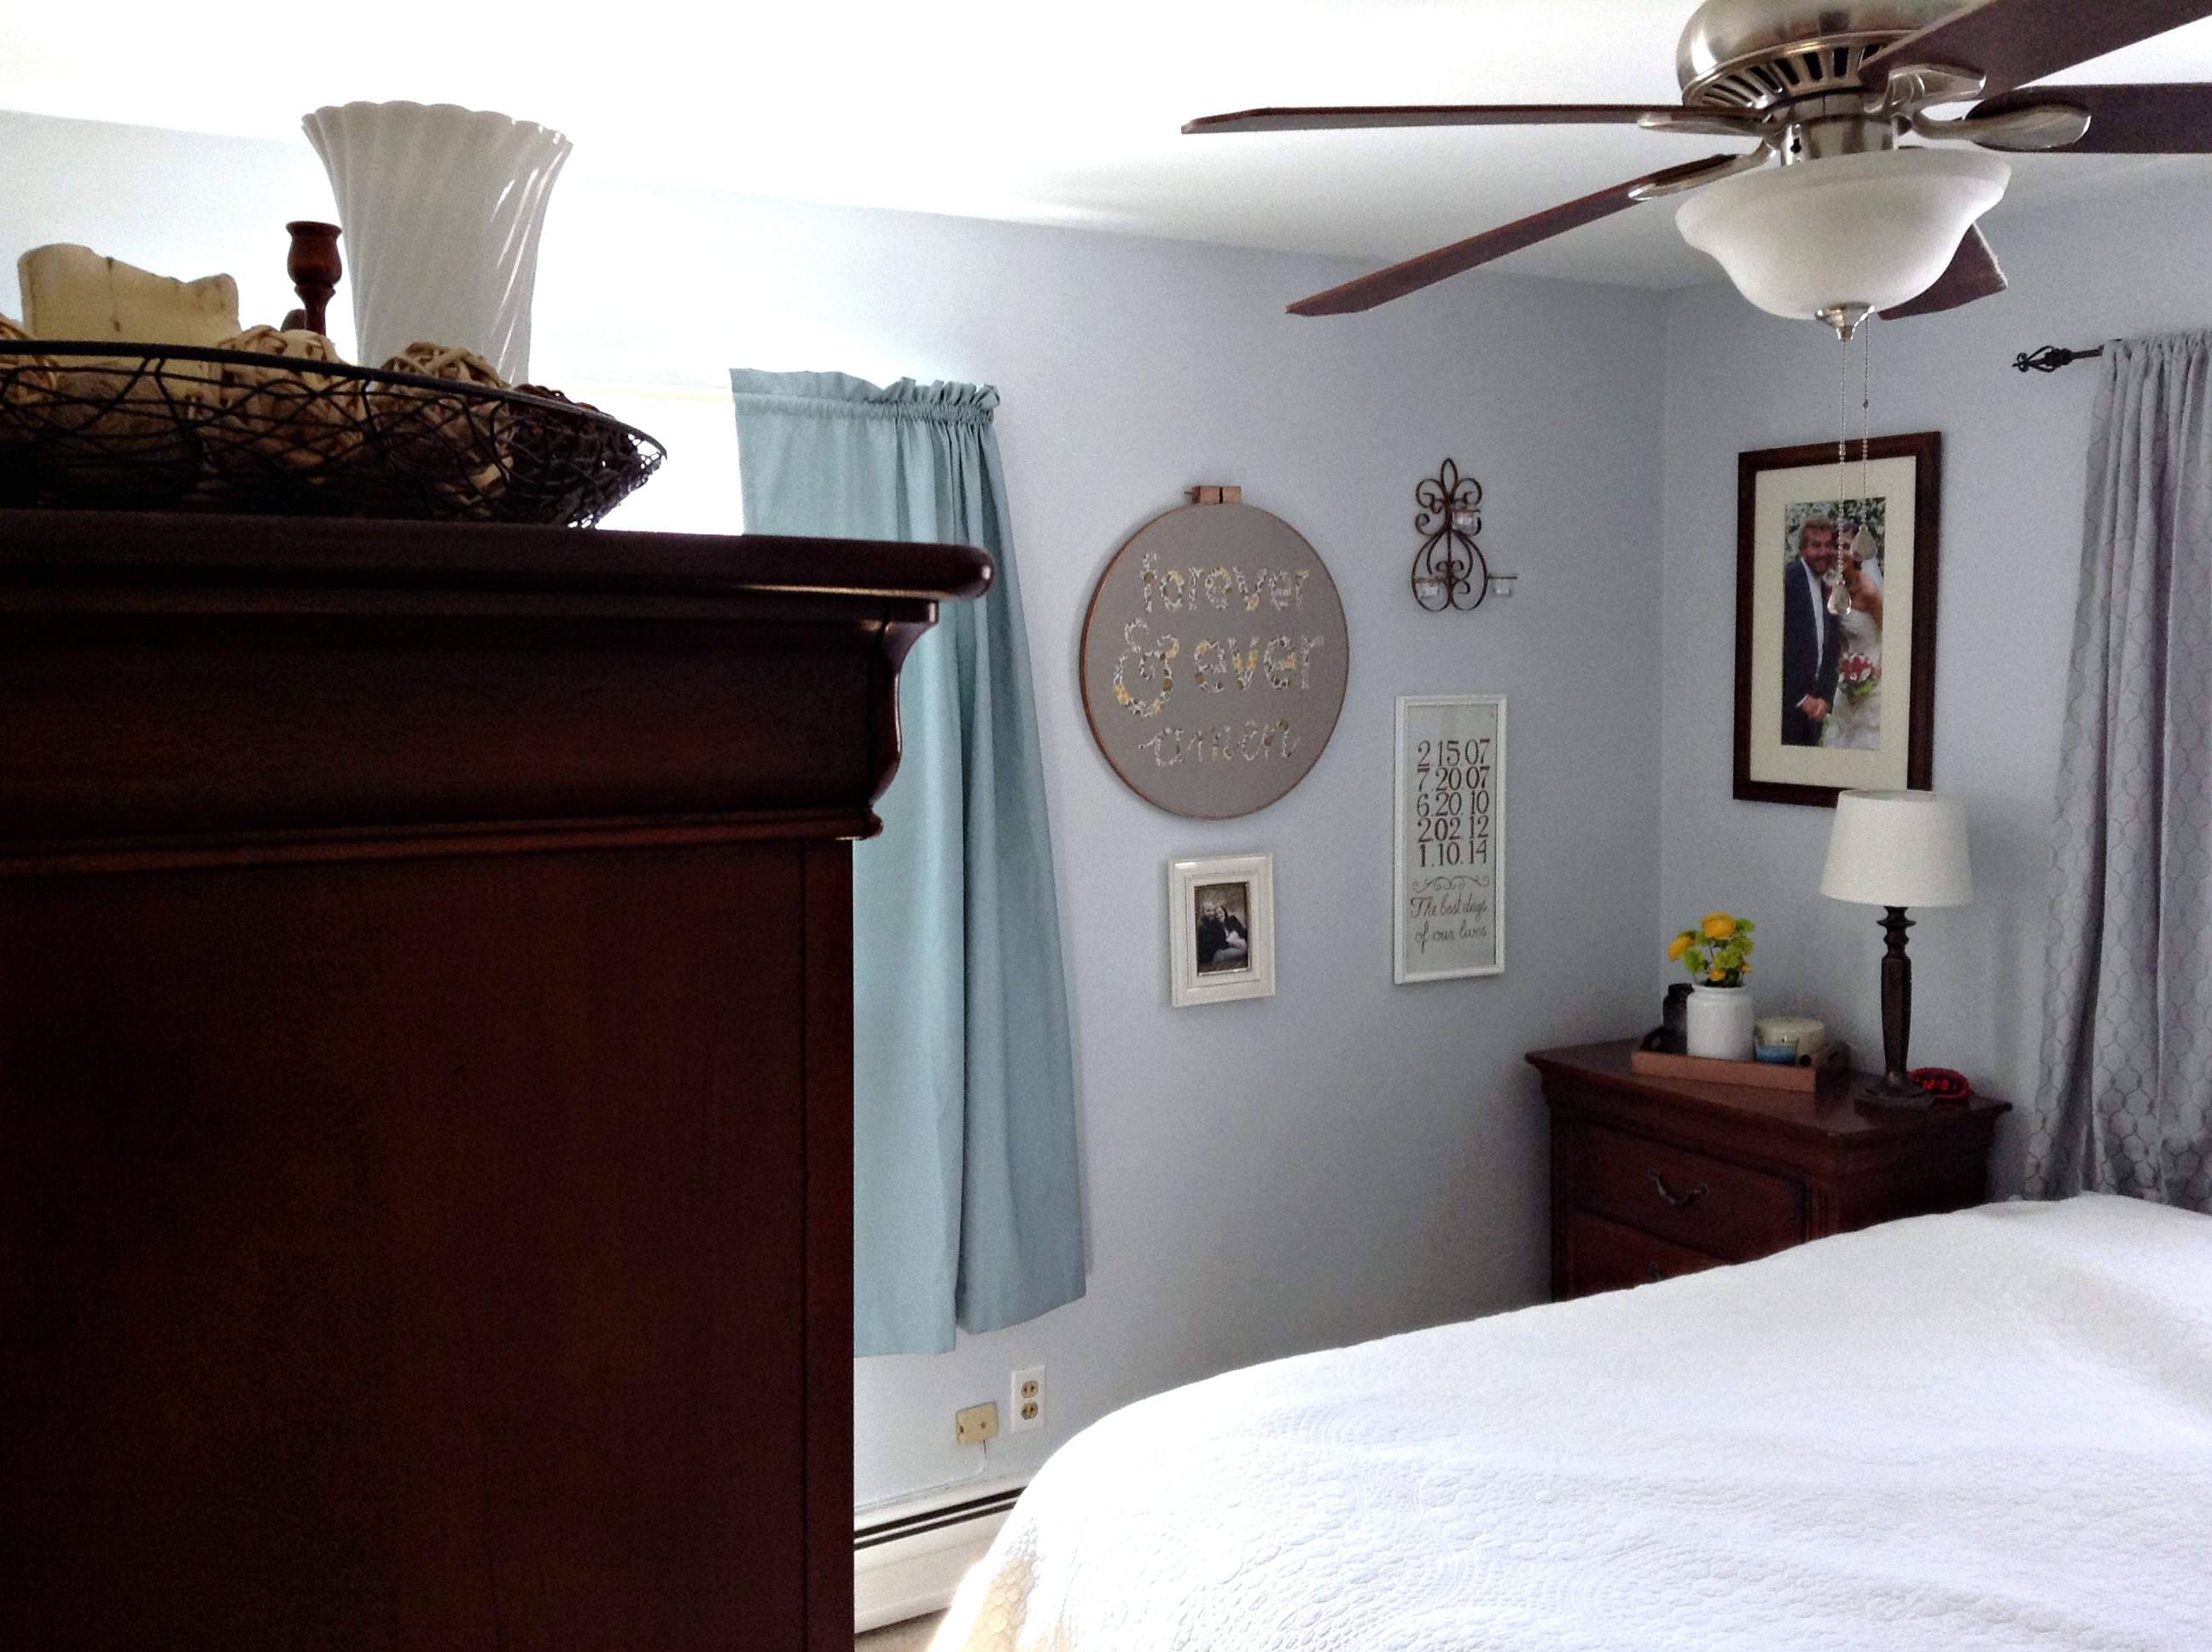
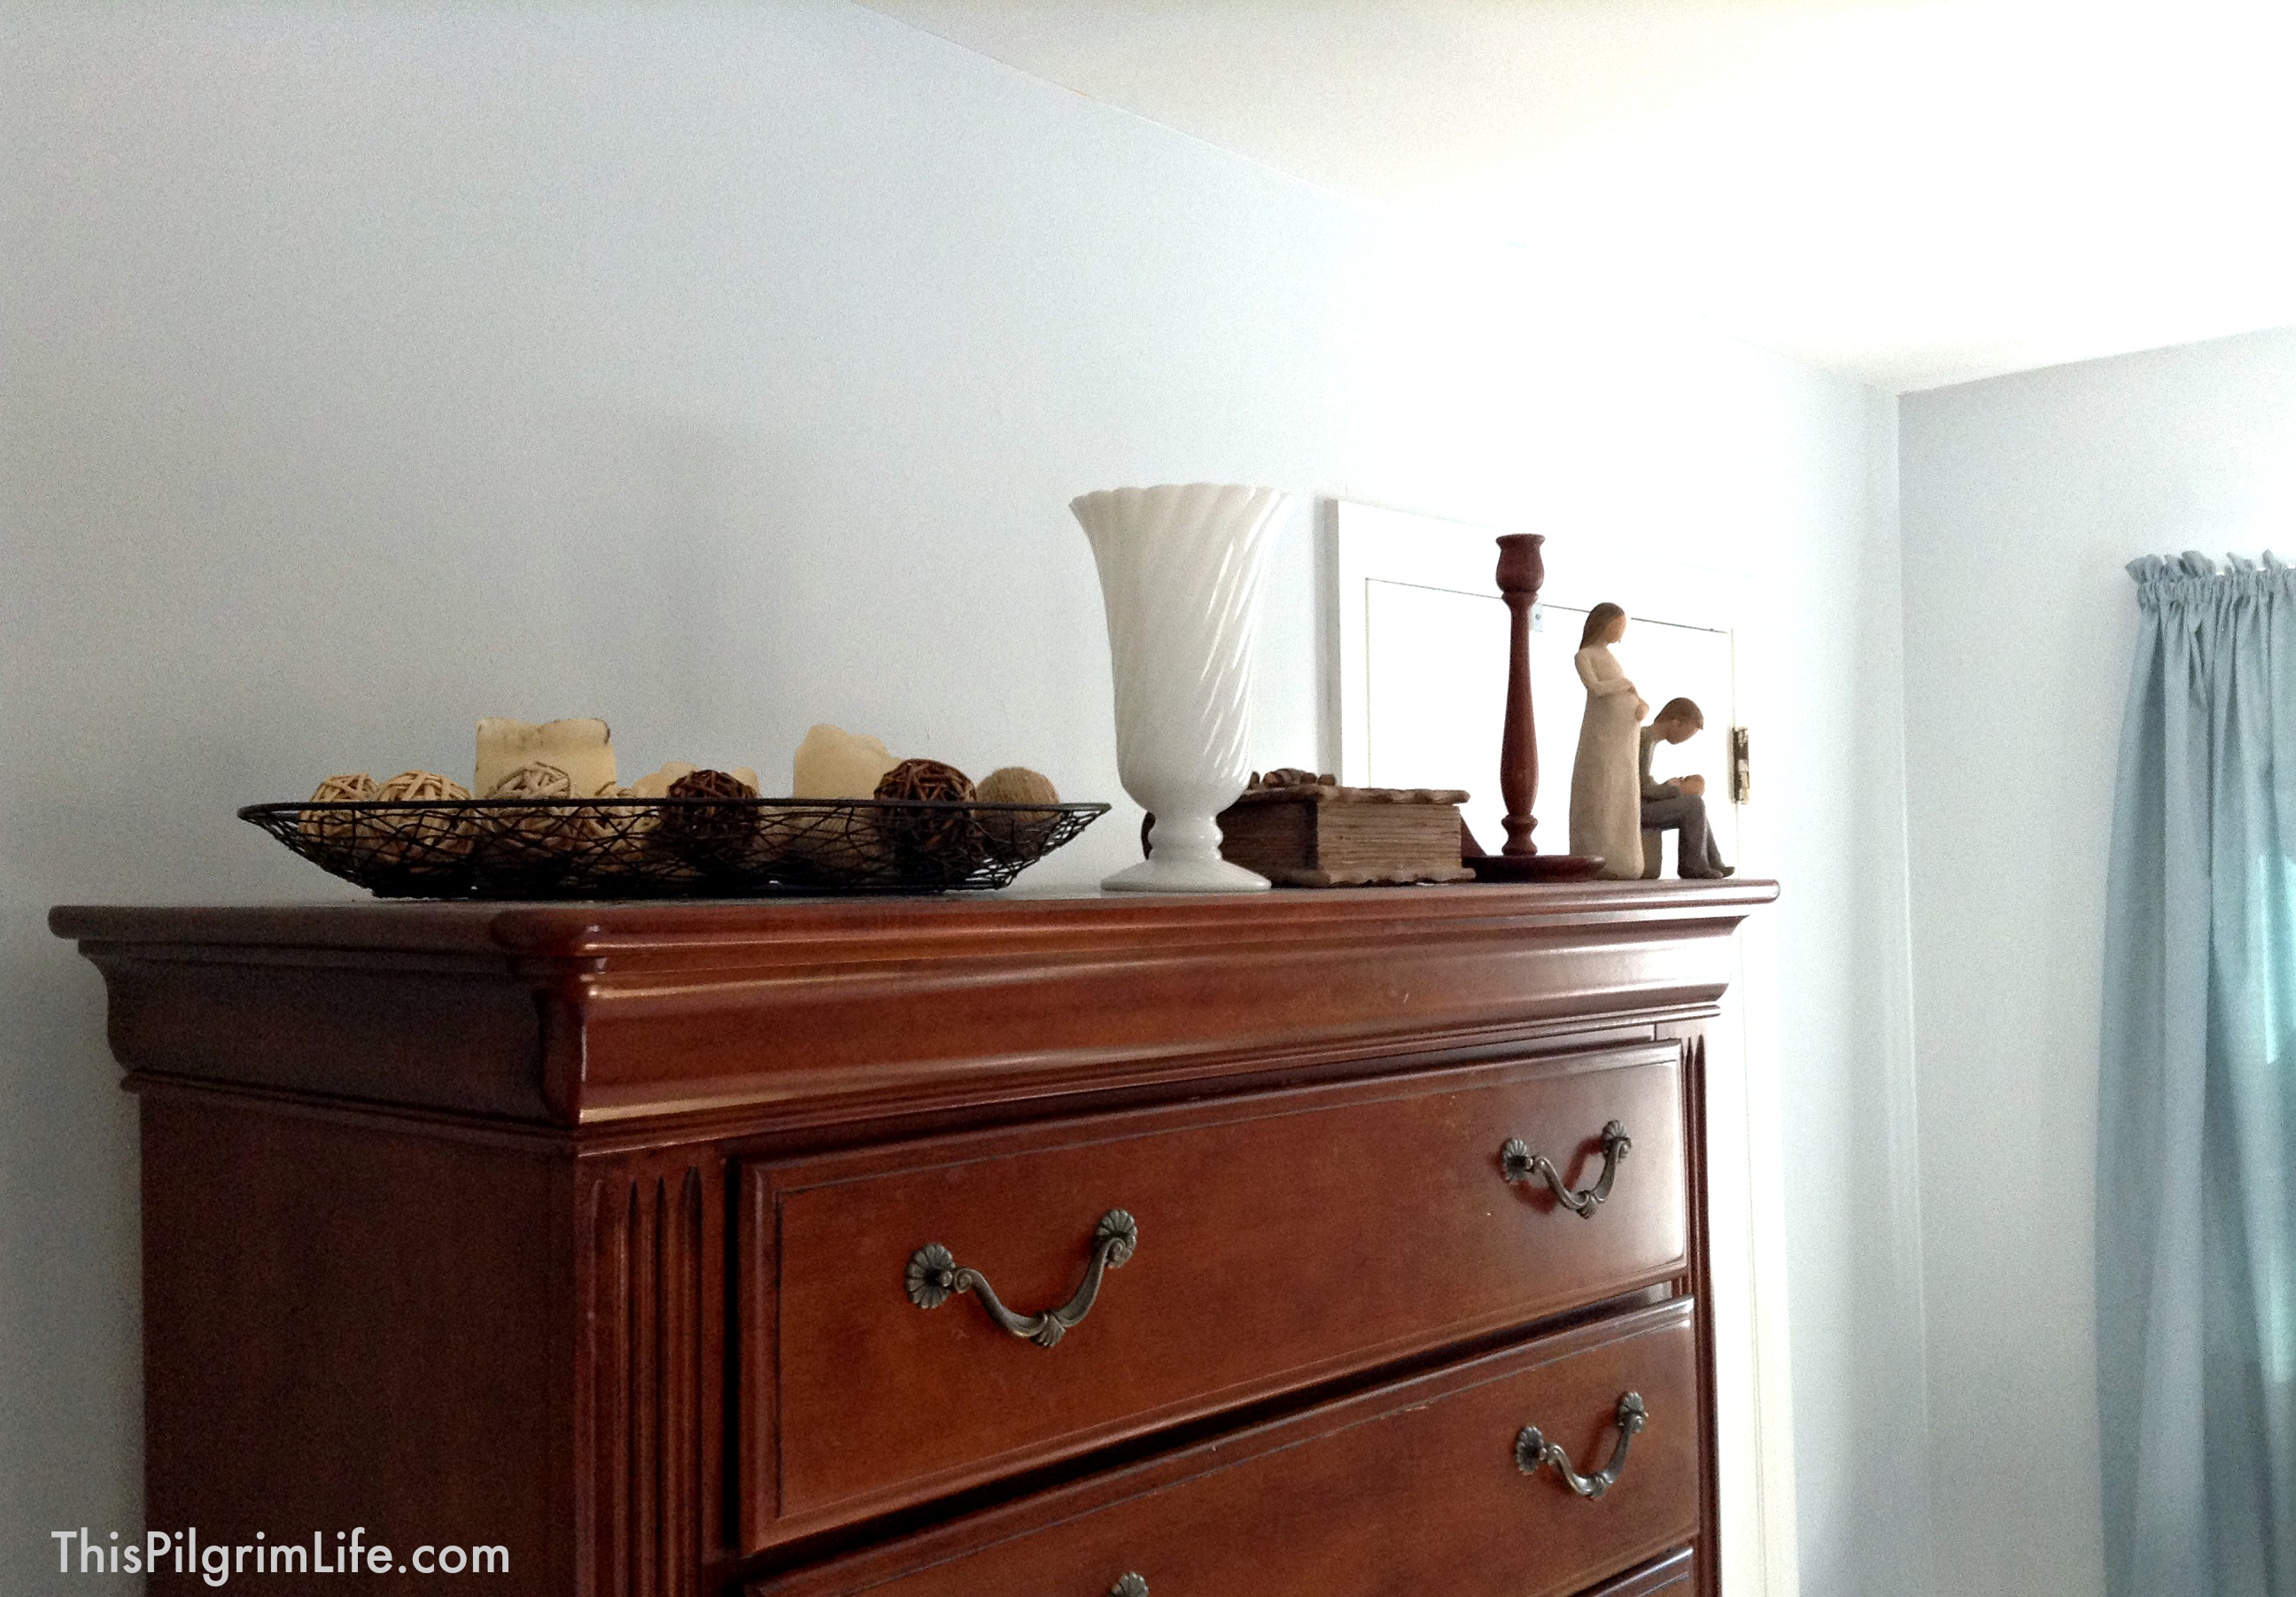
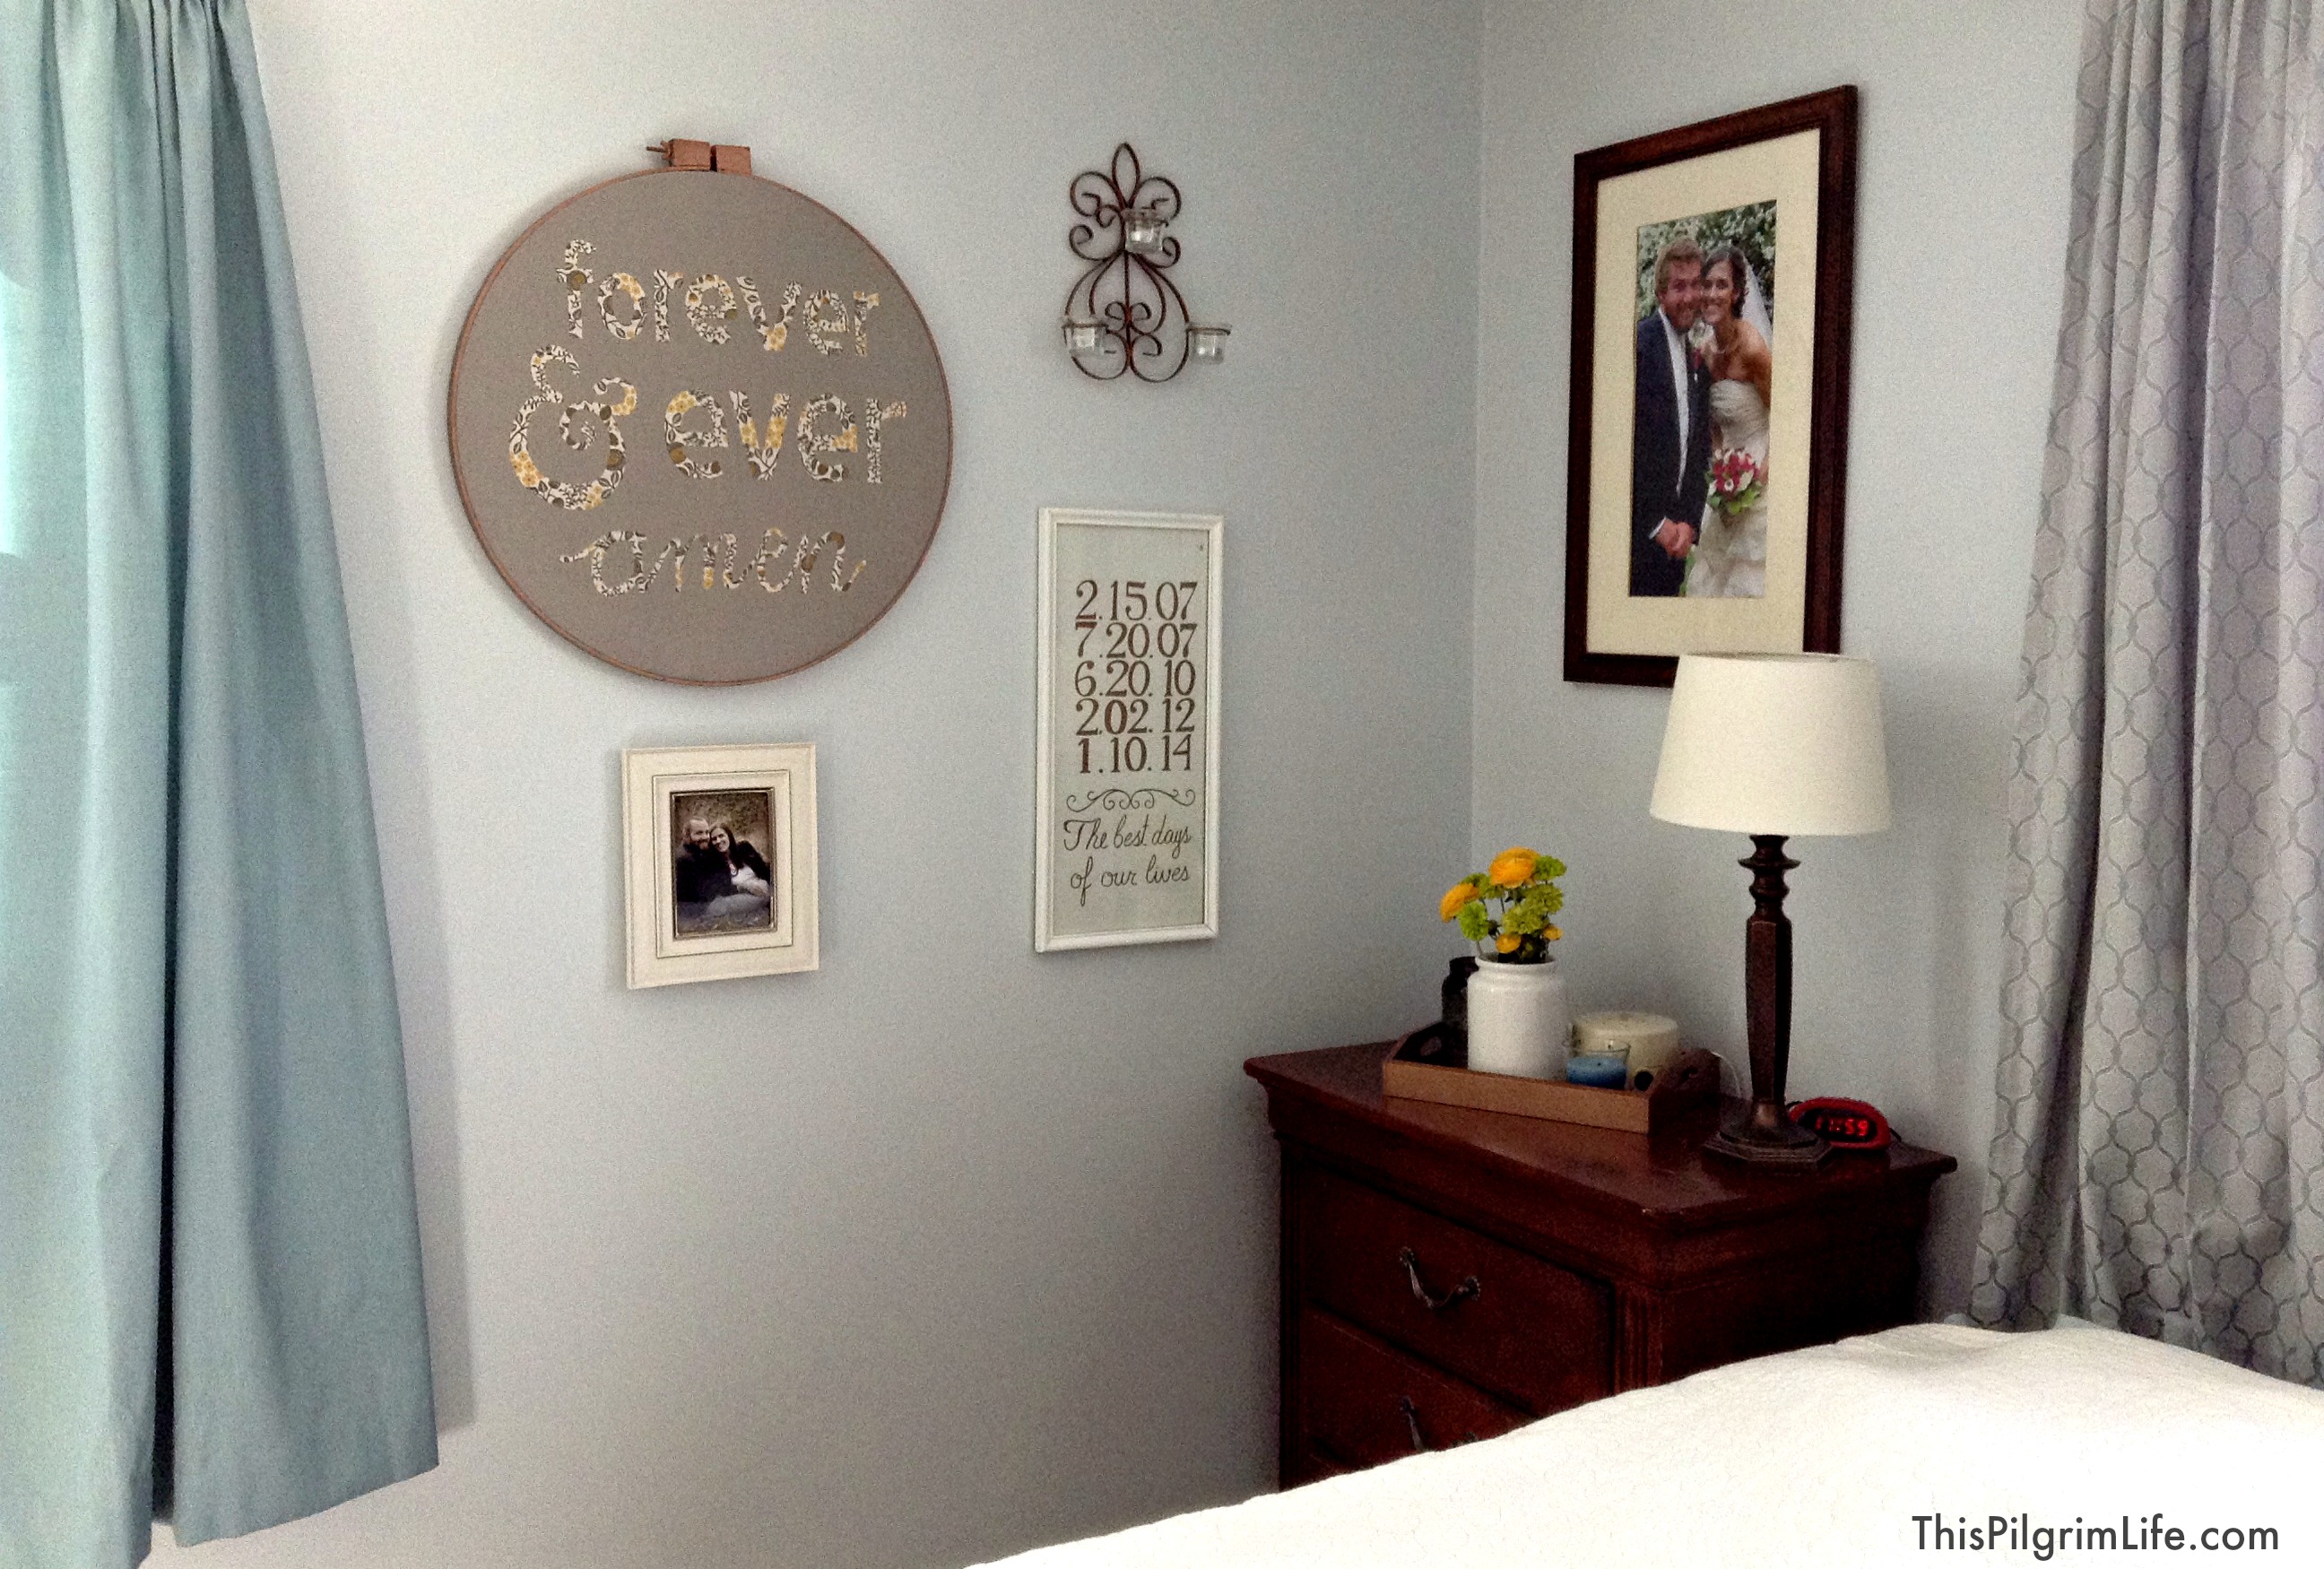
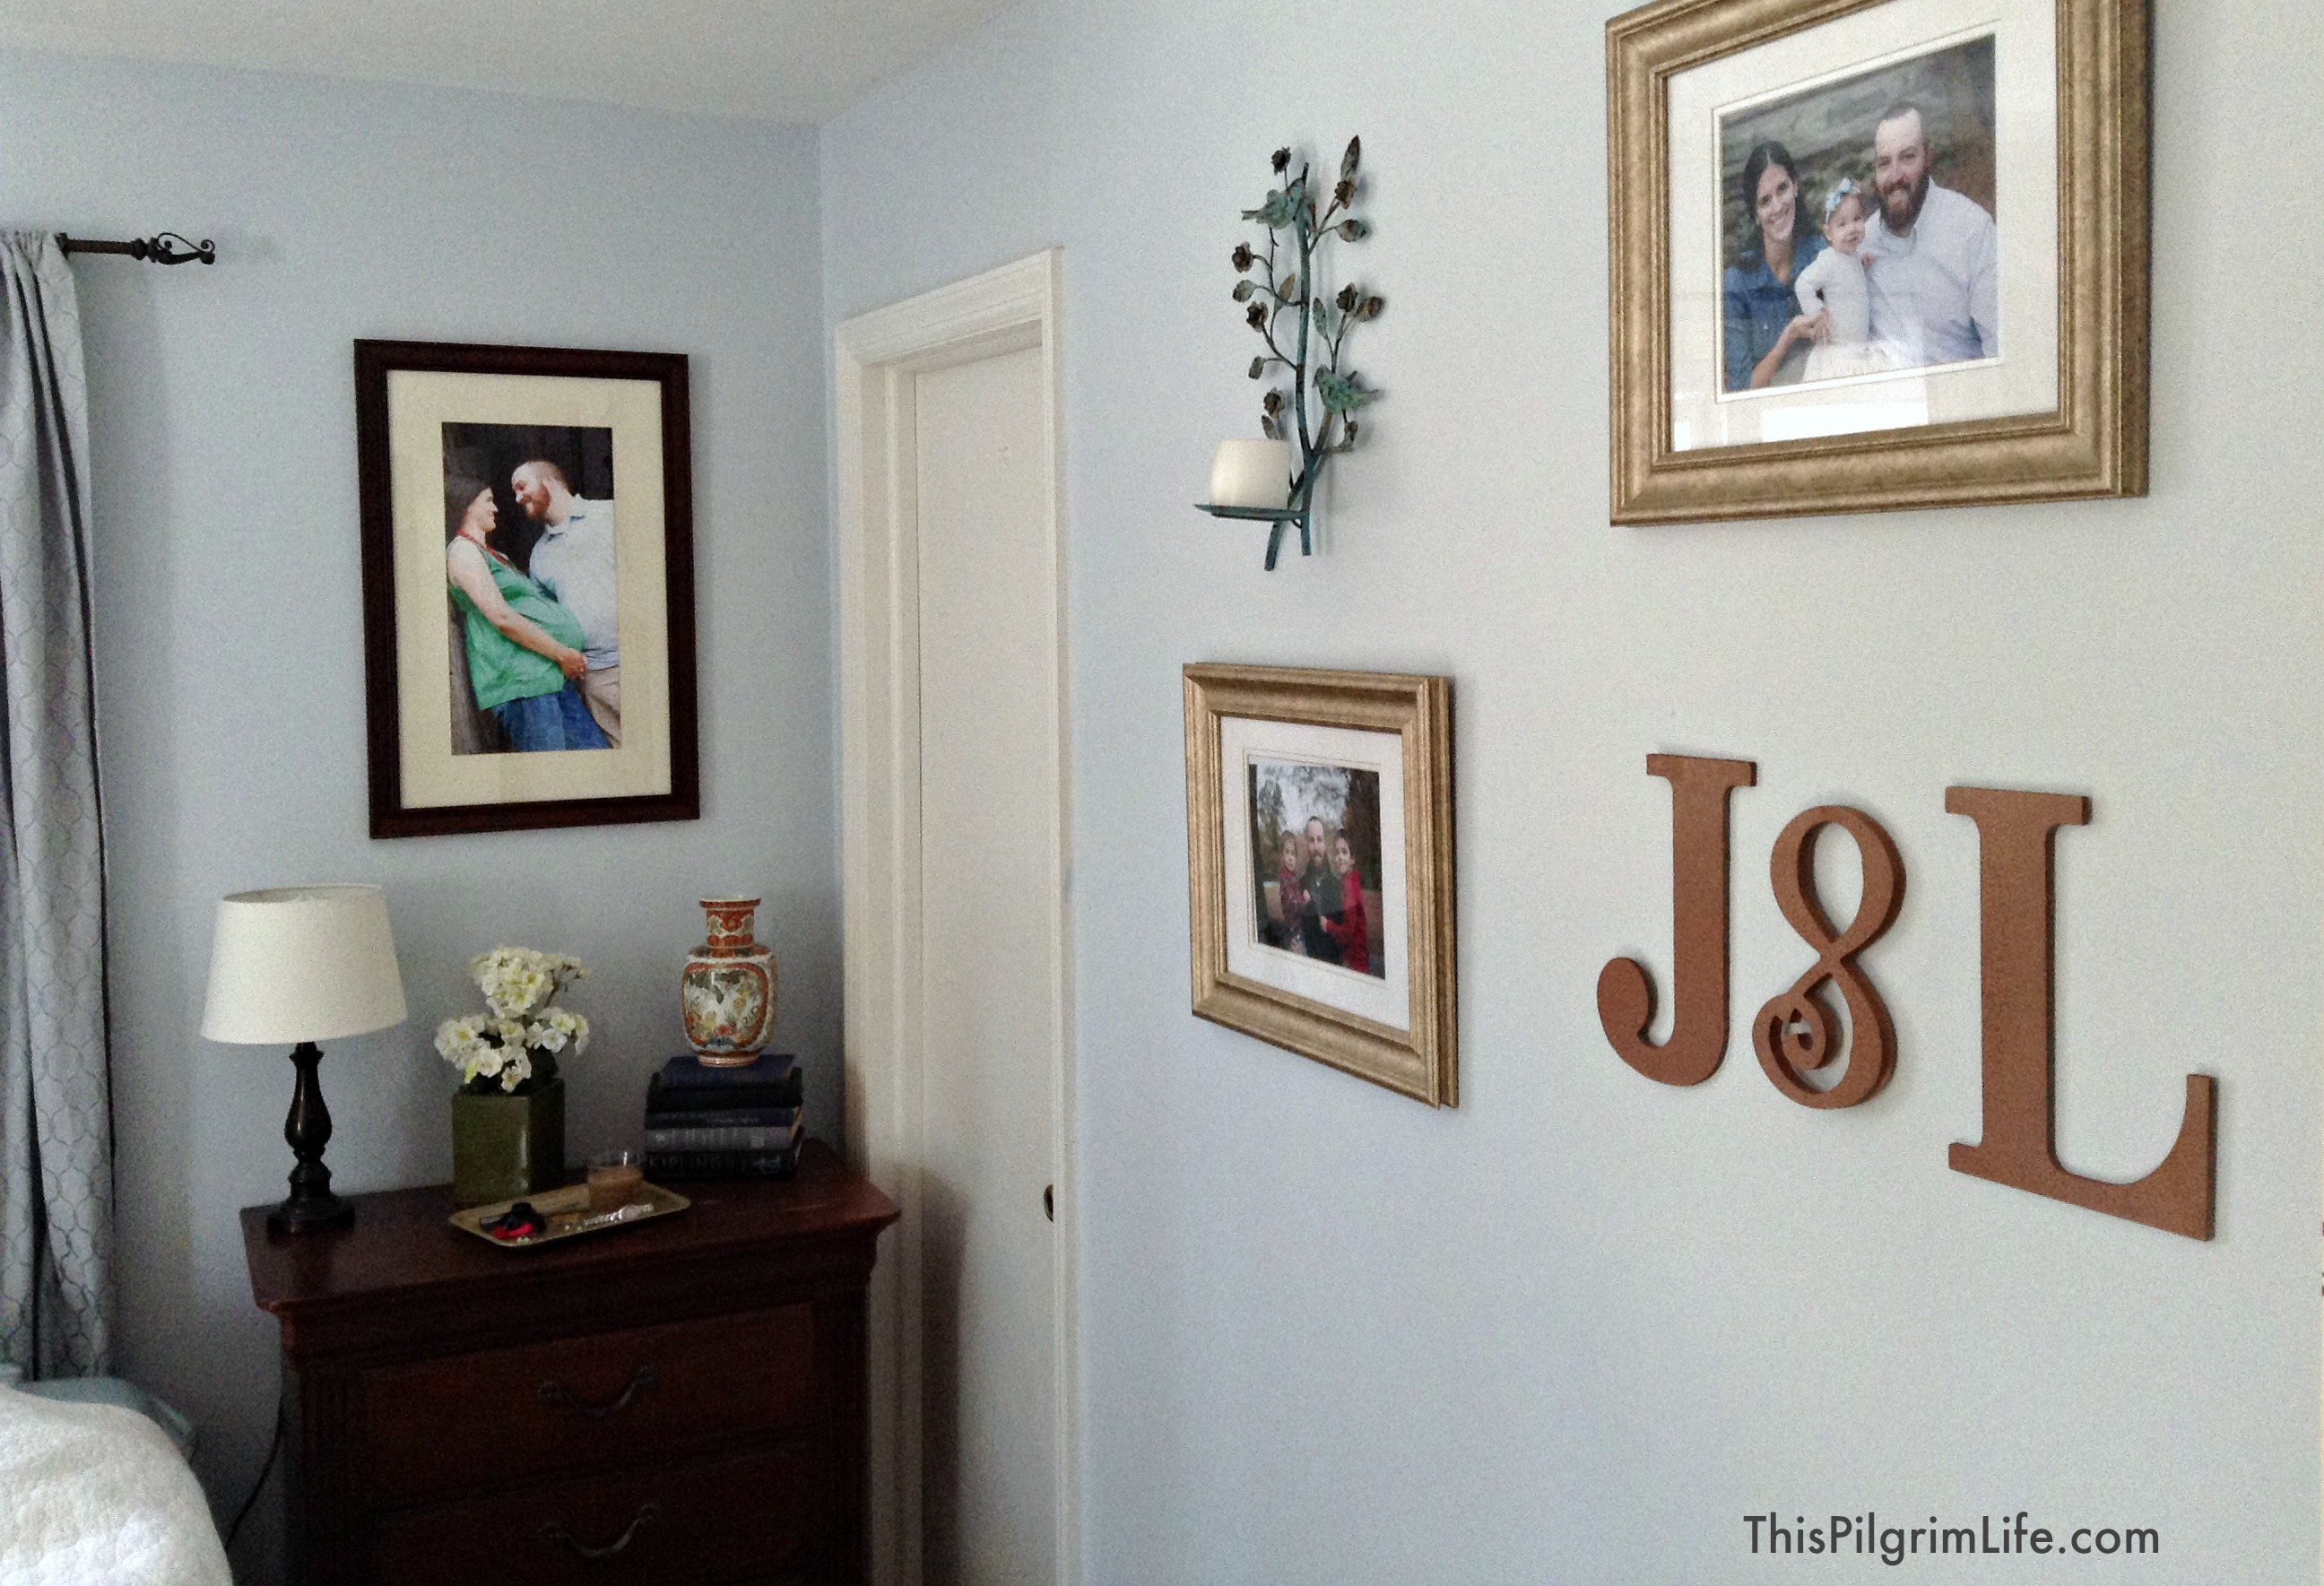
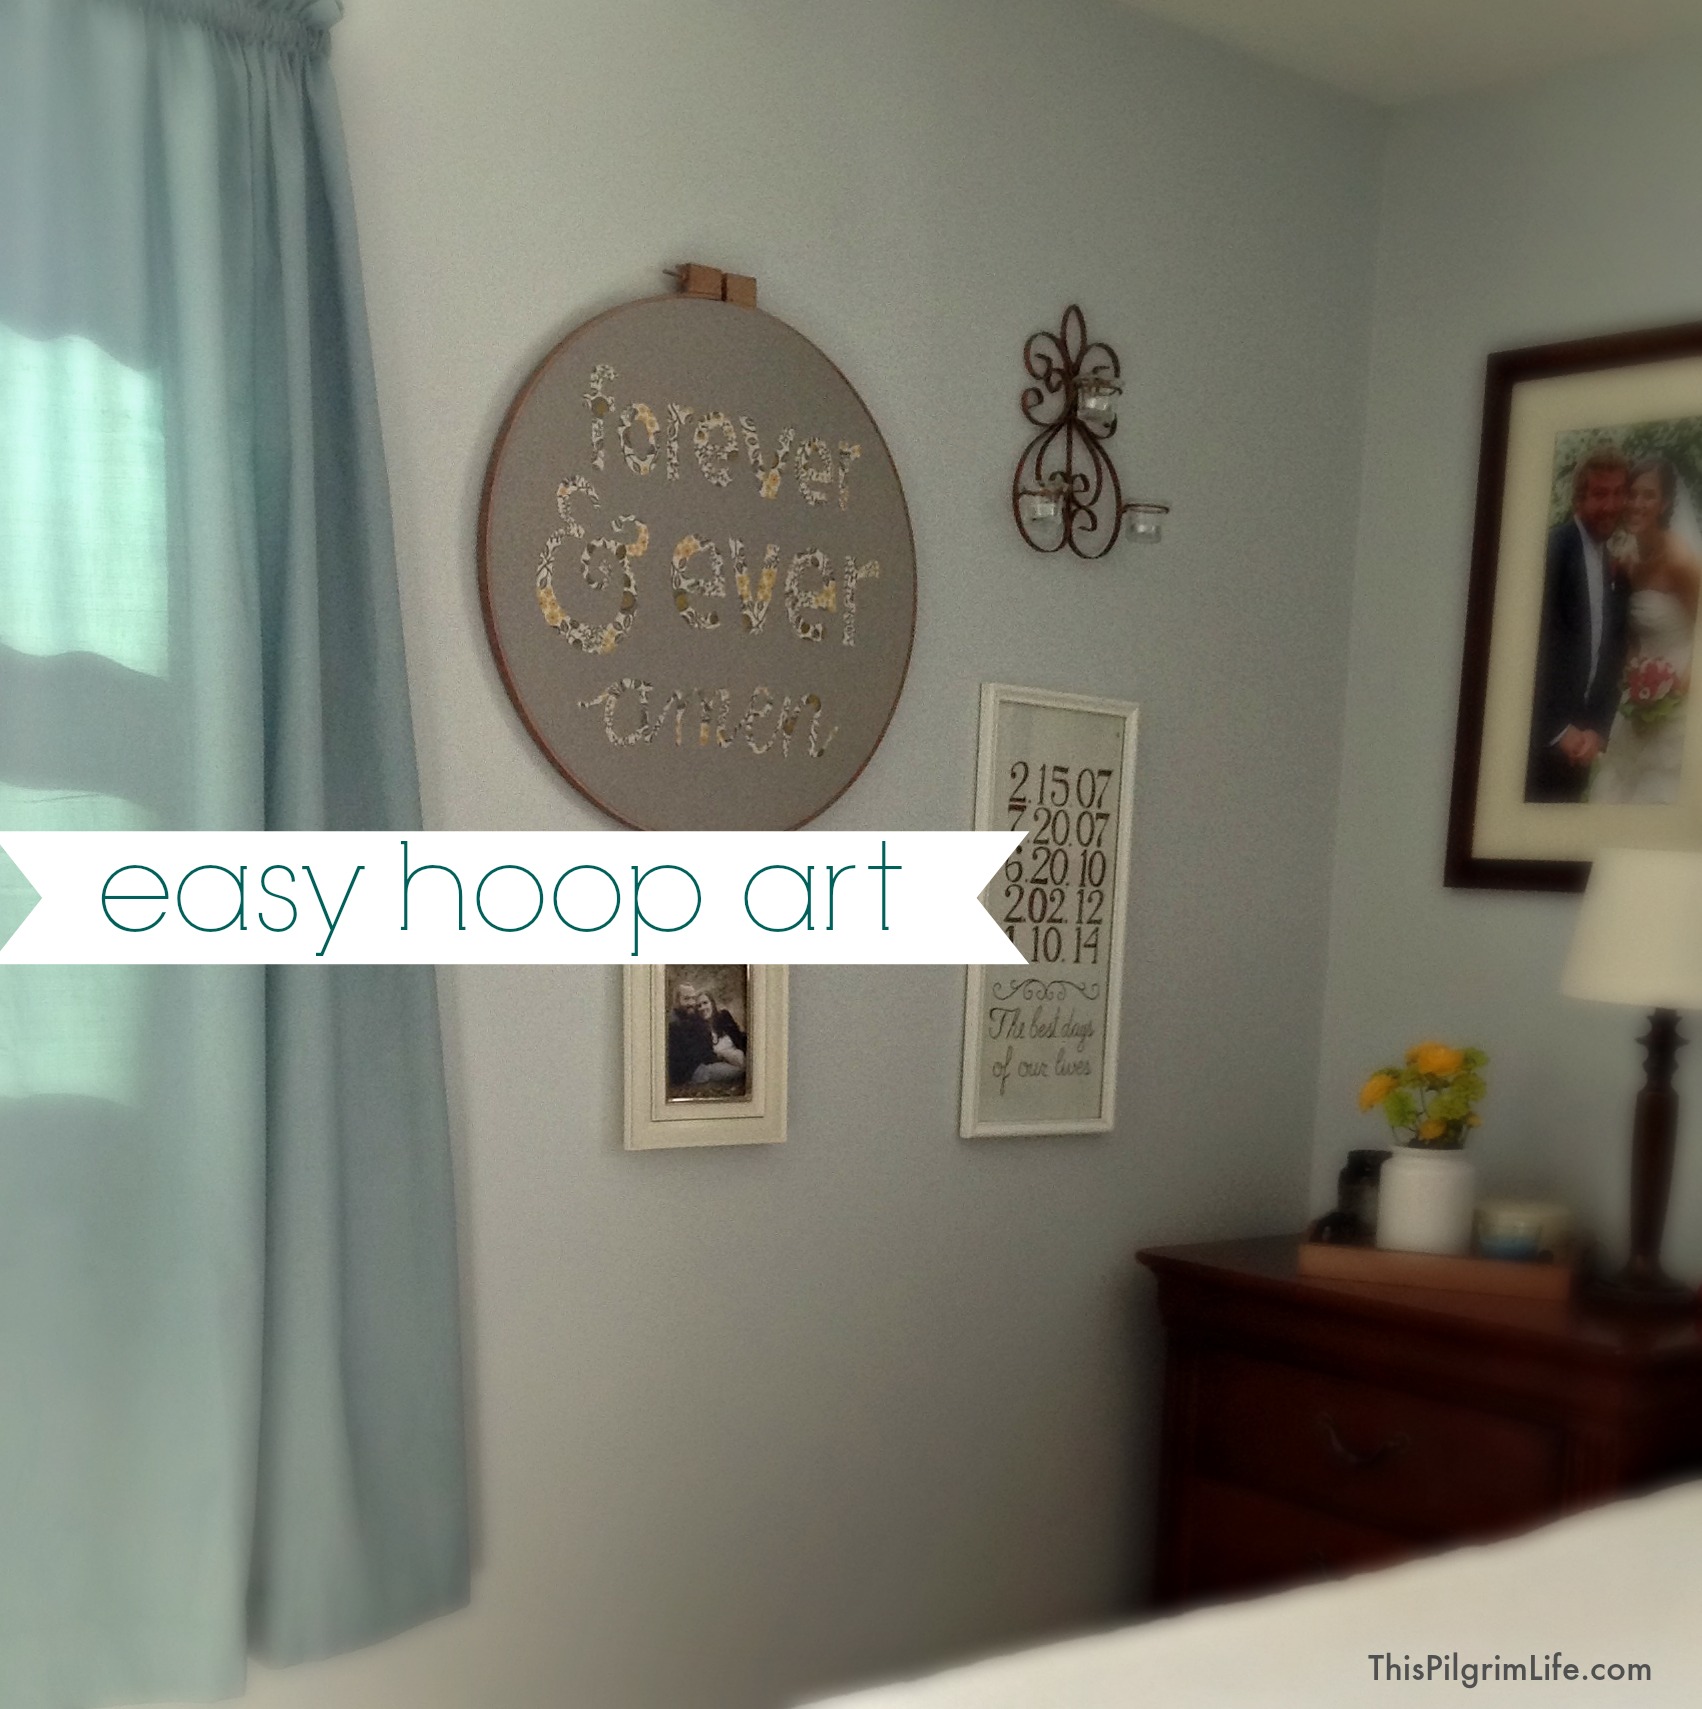
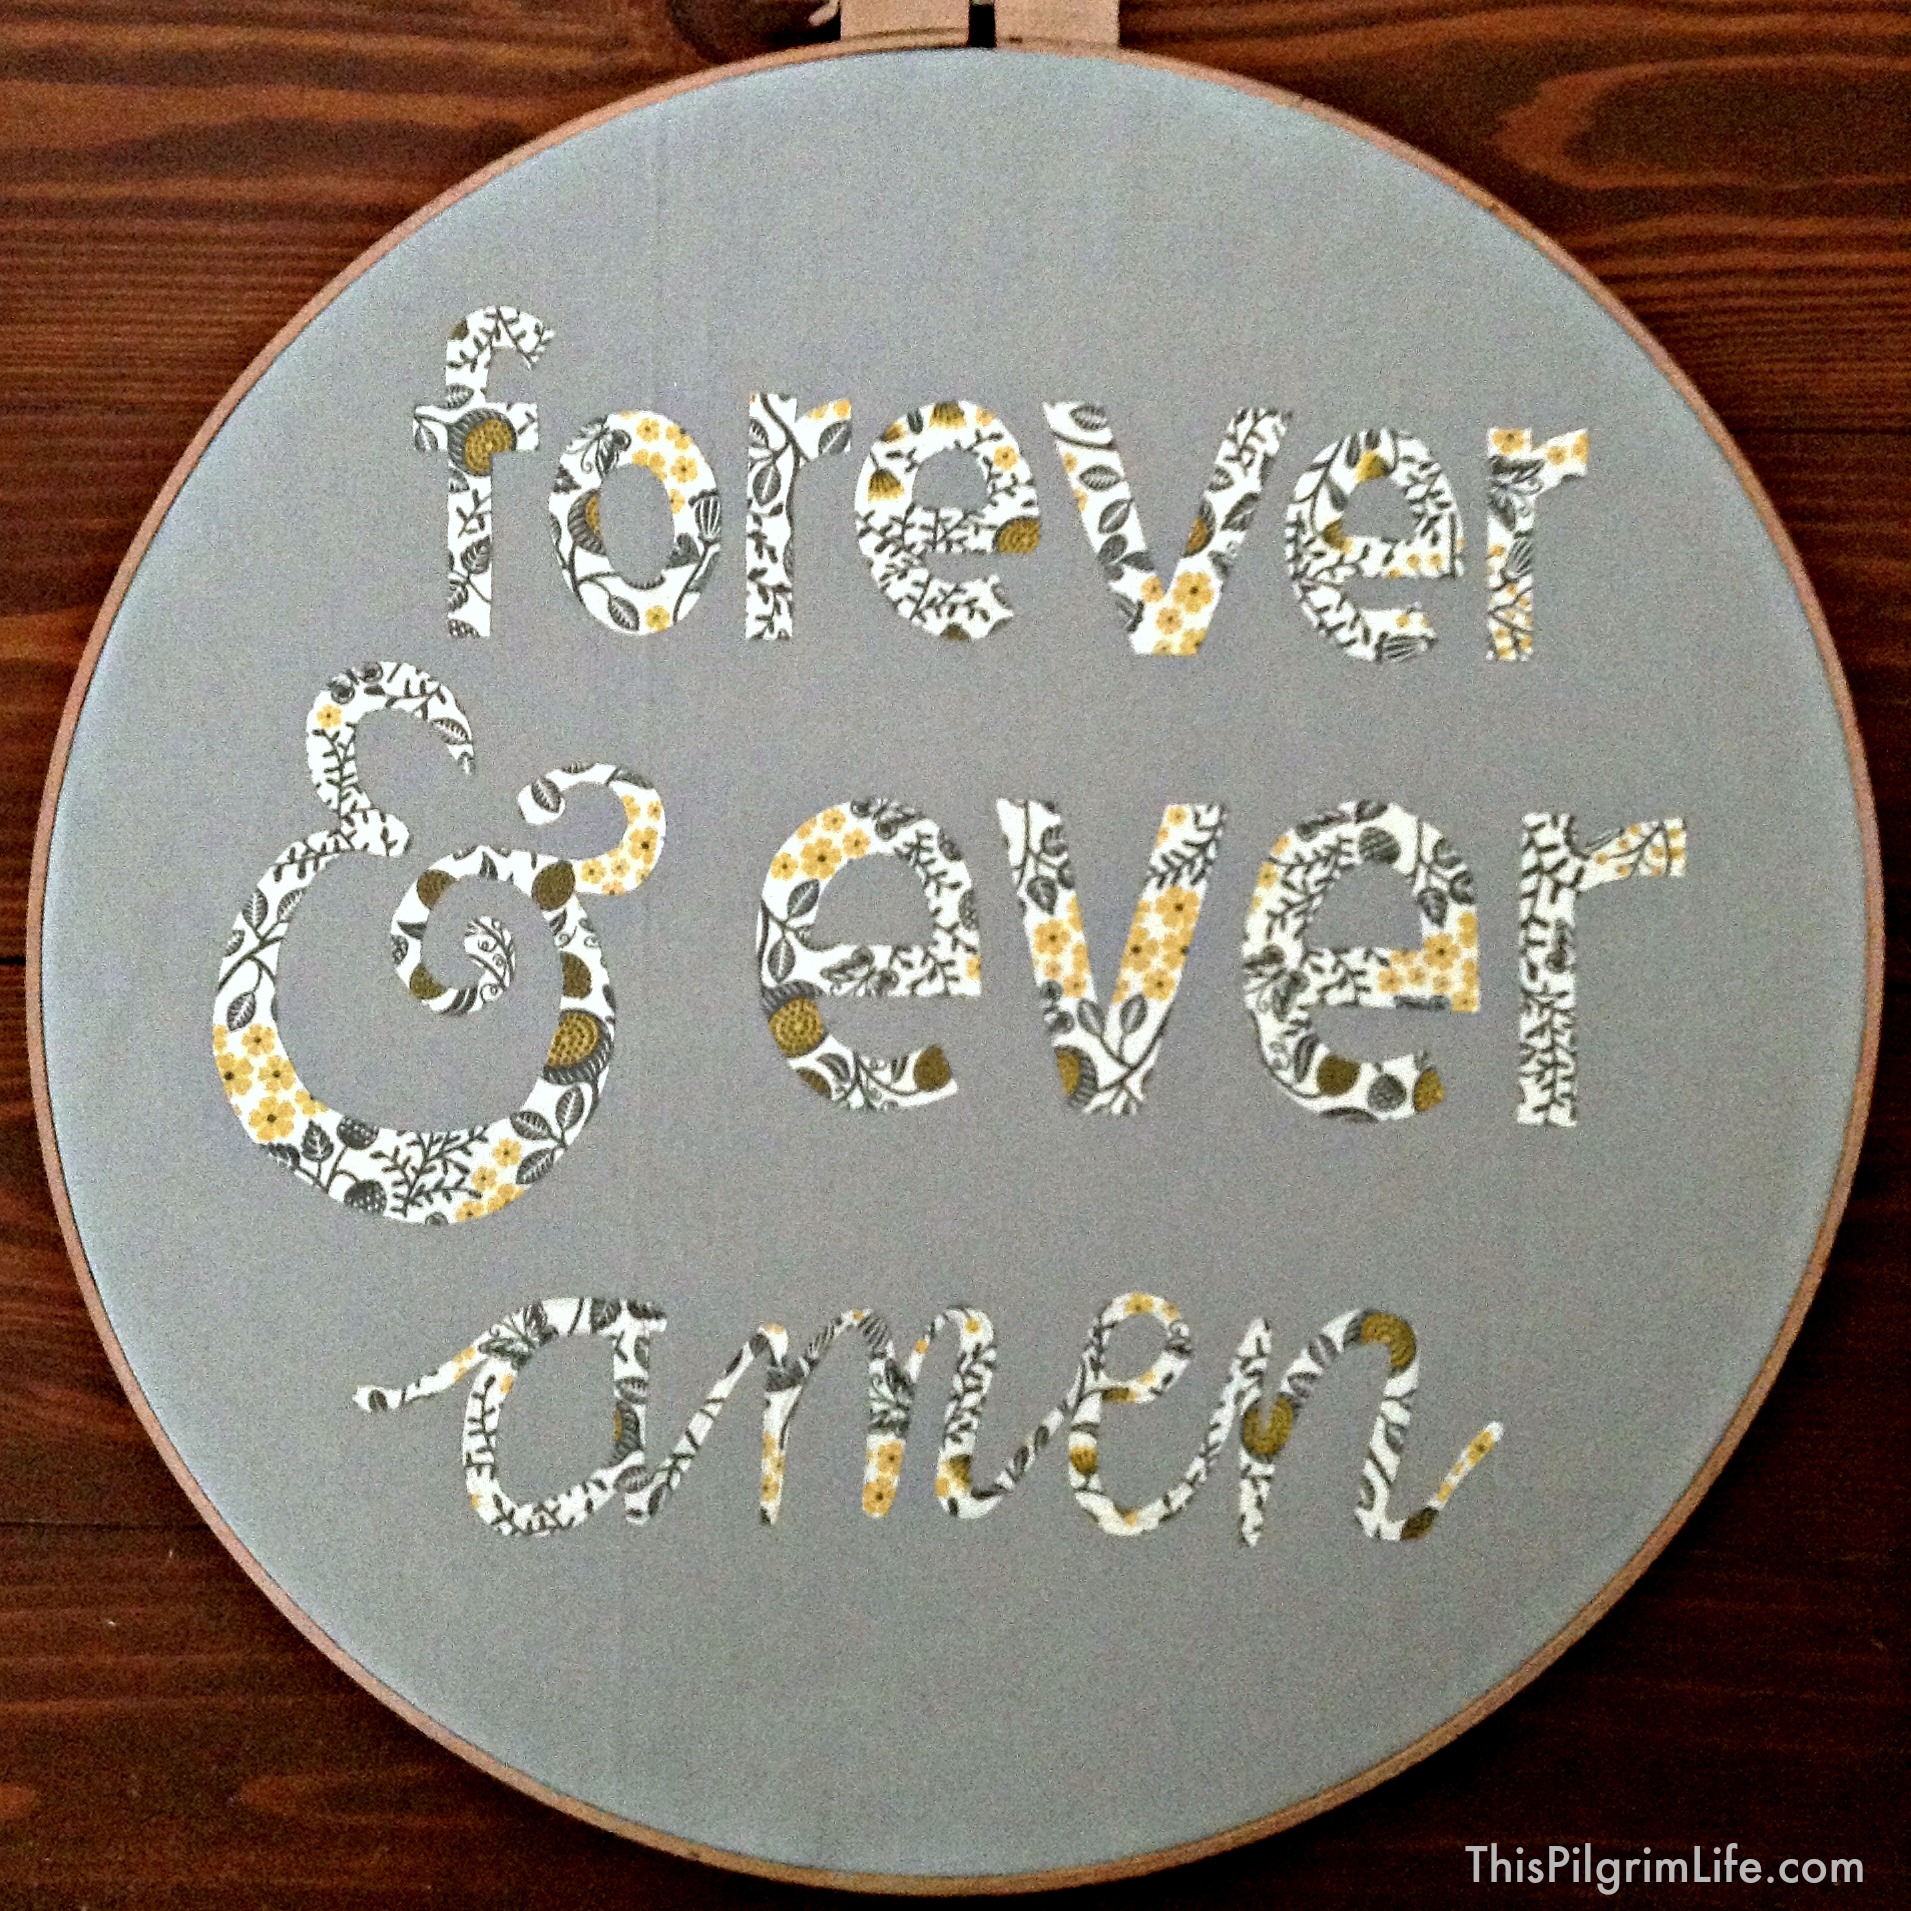
Below are pictures of the bedroom makeover, what was found where, and a short tutorial for an easy hoop art project.
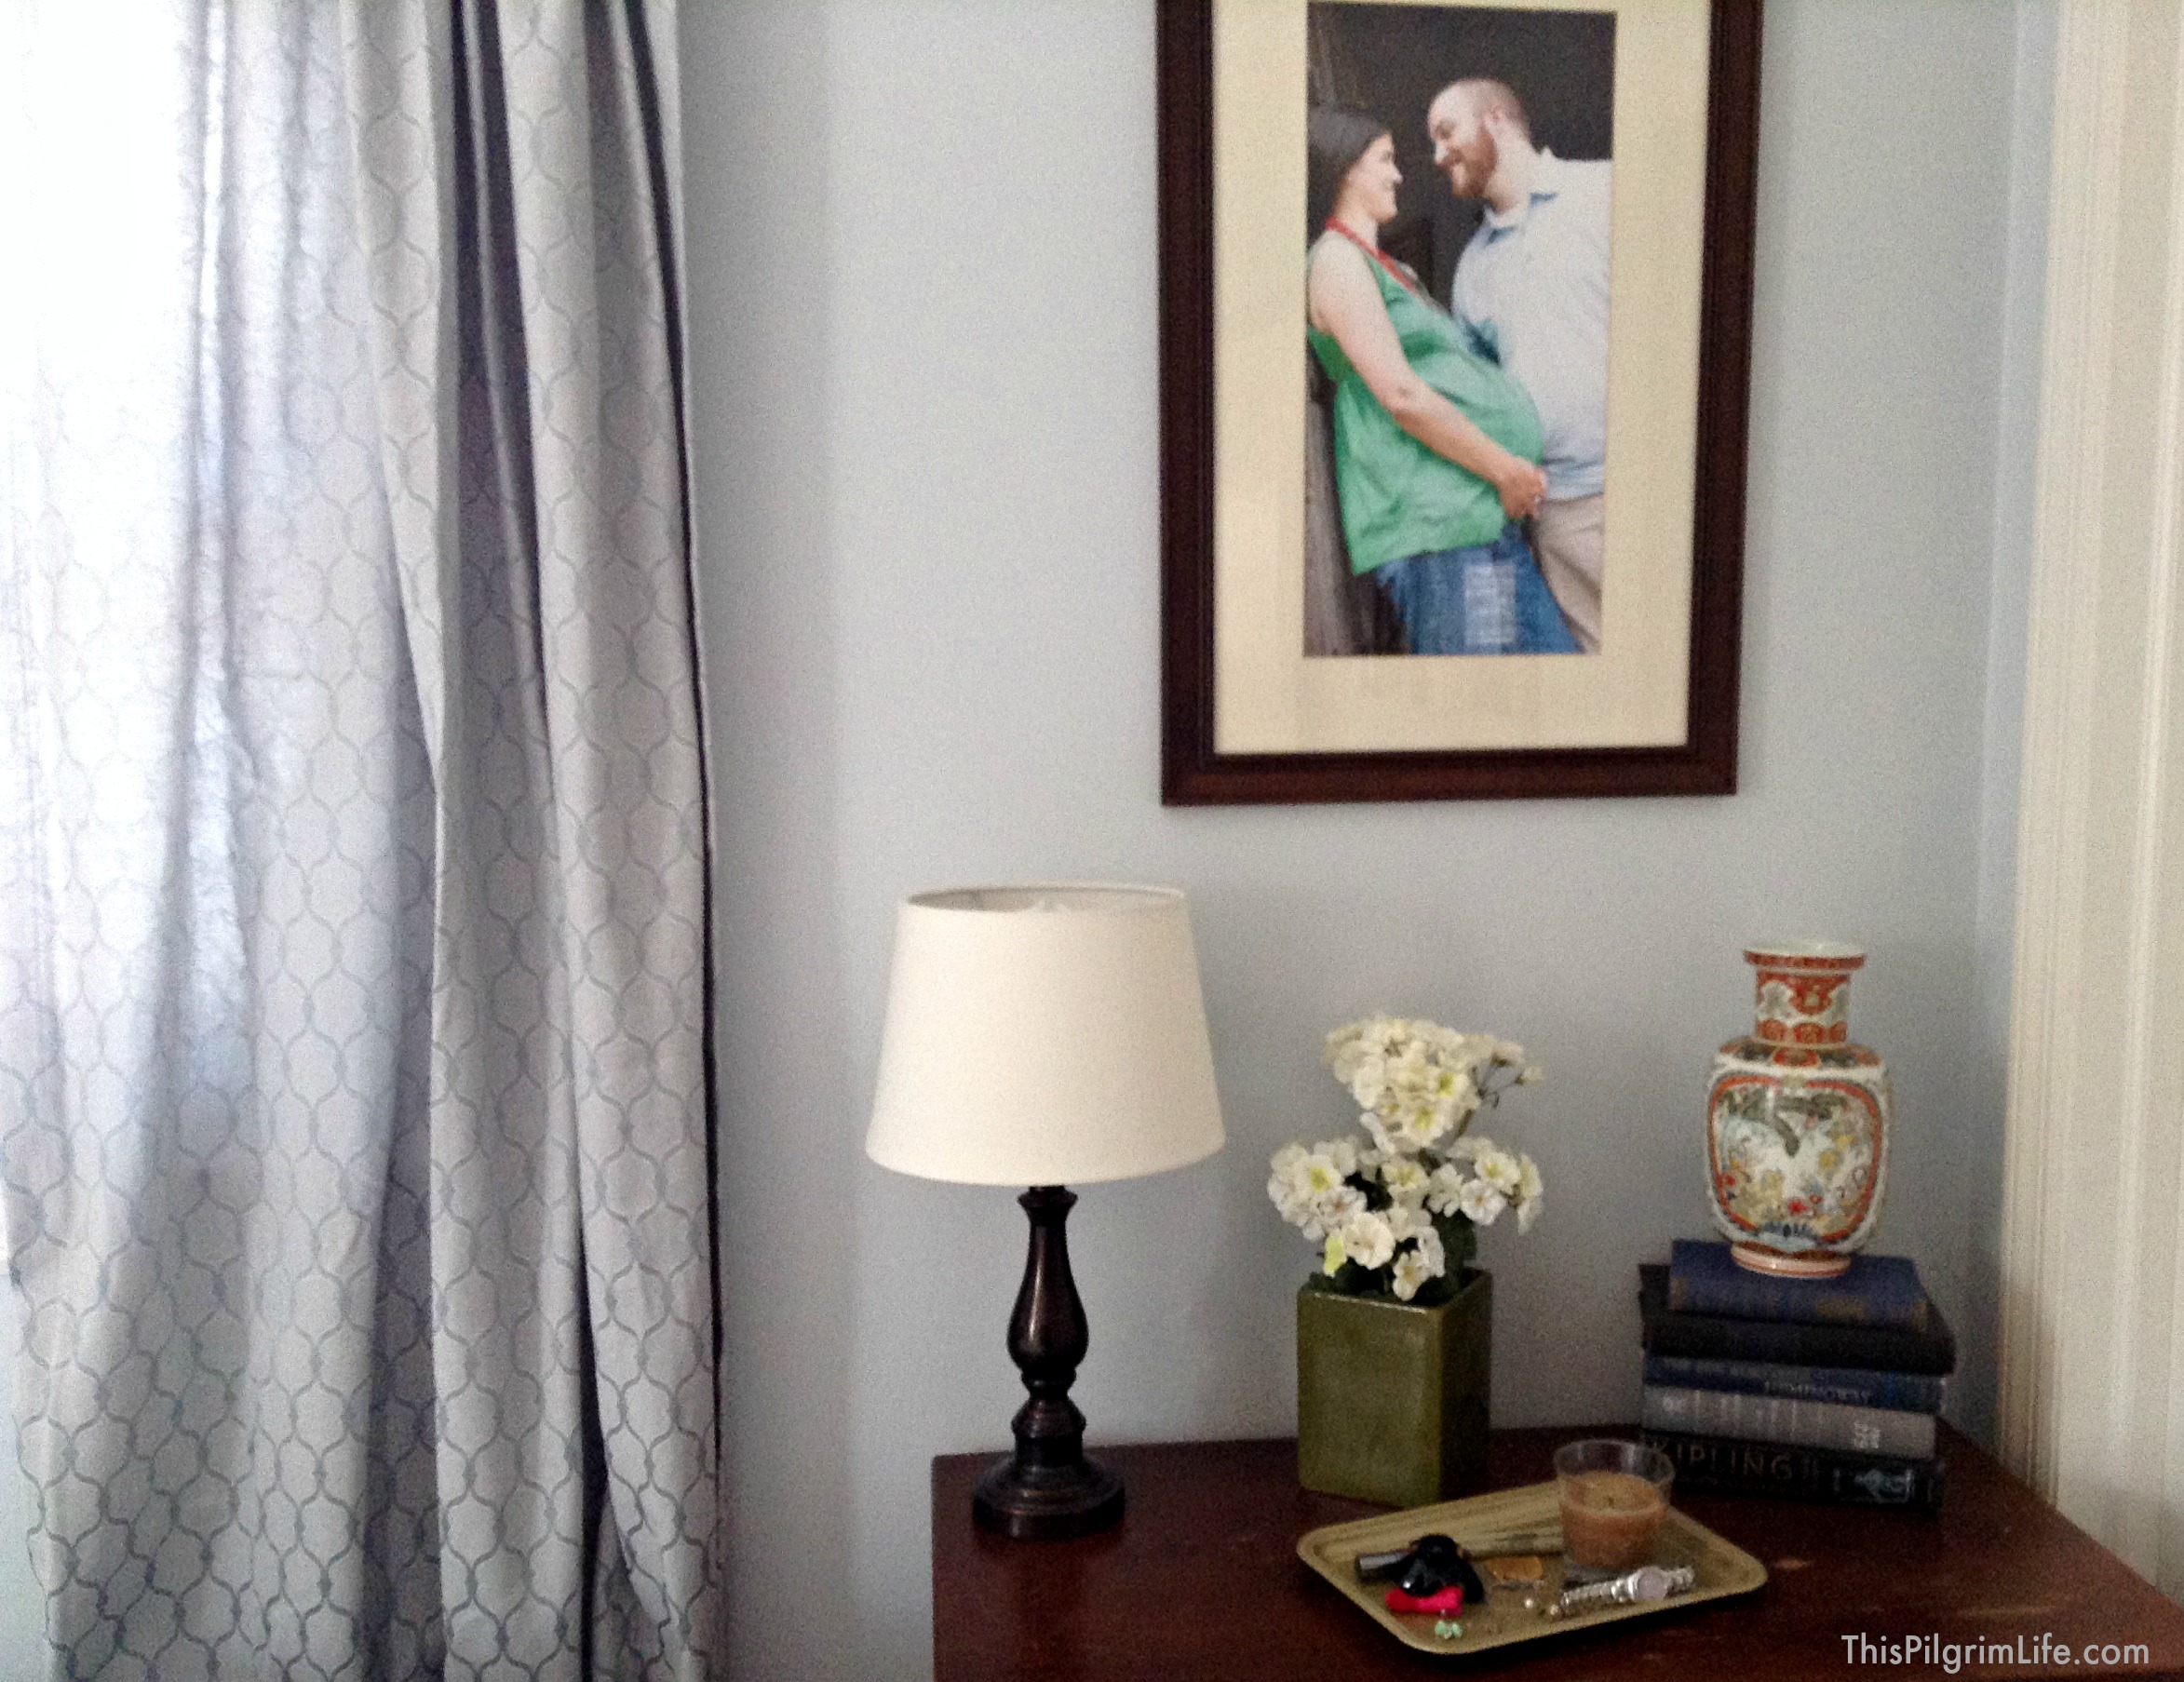
- the frames were ones we already had in the house, most of them having been thrifted from Goodwill
- the prints are from Costco, which is my new favorite place to get pictures printed since they are such a good price and we are there all the time anyway
- hoop art is a line from one of our favorite love songs (tutorial below)
- the frame with the numbers is an art piece made on poster board with a gold sharpie of all the “best days of our lives” (the date we started dating, our wedding date, and our kids’ birthdays) {Pinterest inspiration piece}
- the lamps, trays, books, baskets, and vases are all from Goodwill (the trays, baskets, and one lamp are from my most recent trip I made mid-project)
- the curtains behind the bed were my biggest expense for this project but after having mismatched curtains for years in our room, I took the plunge and found these at Lowes
- the letters and candle holders on the wall were from Hobby Lobby (50% off!)
Tutorial for easy hoop art:
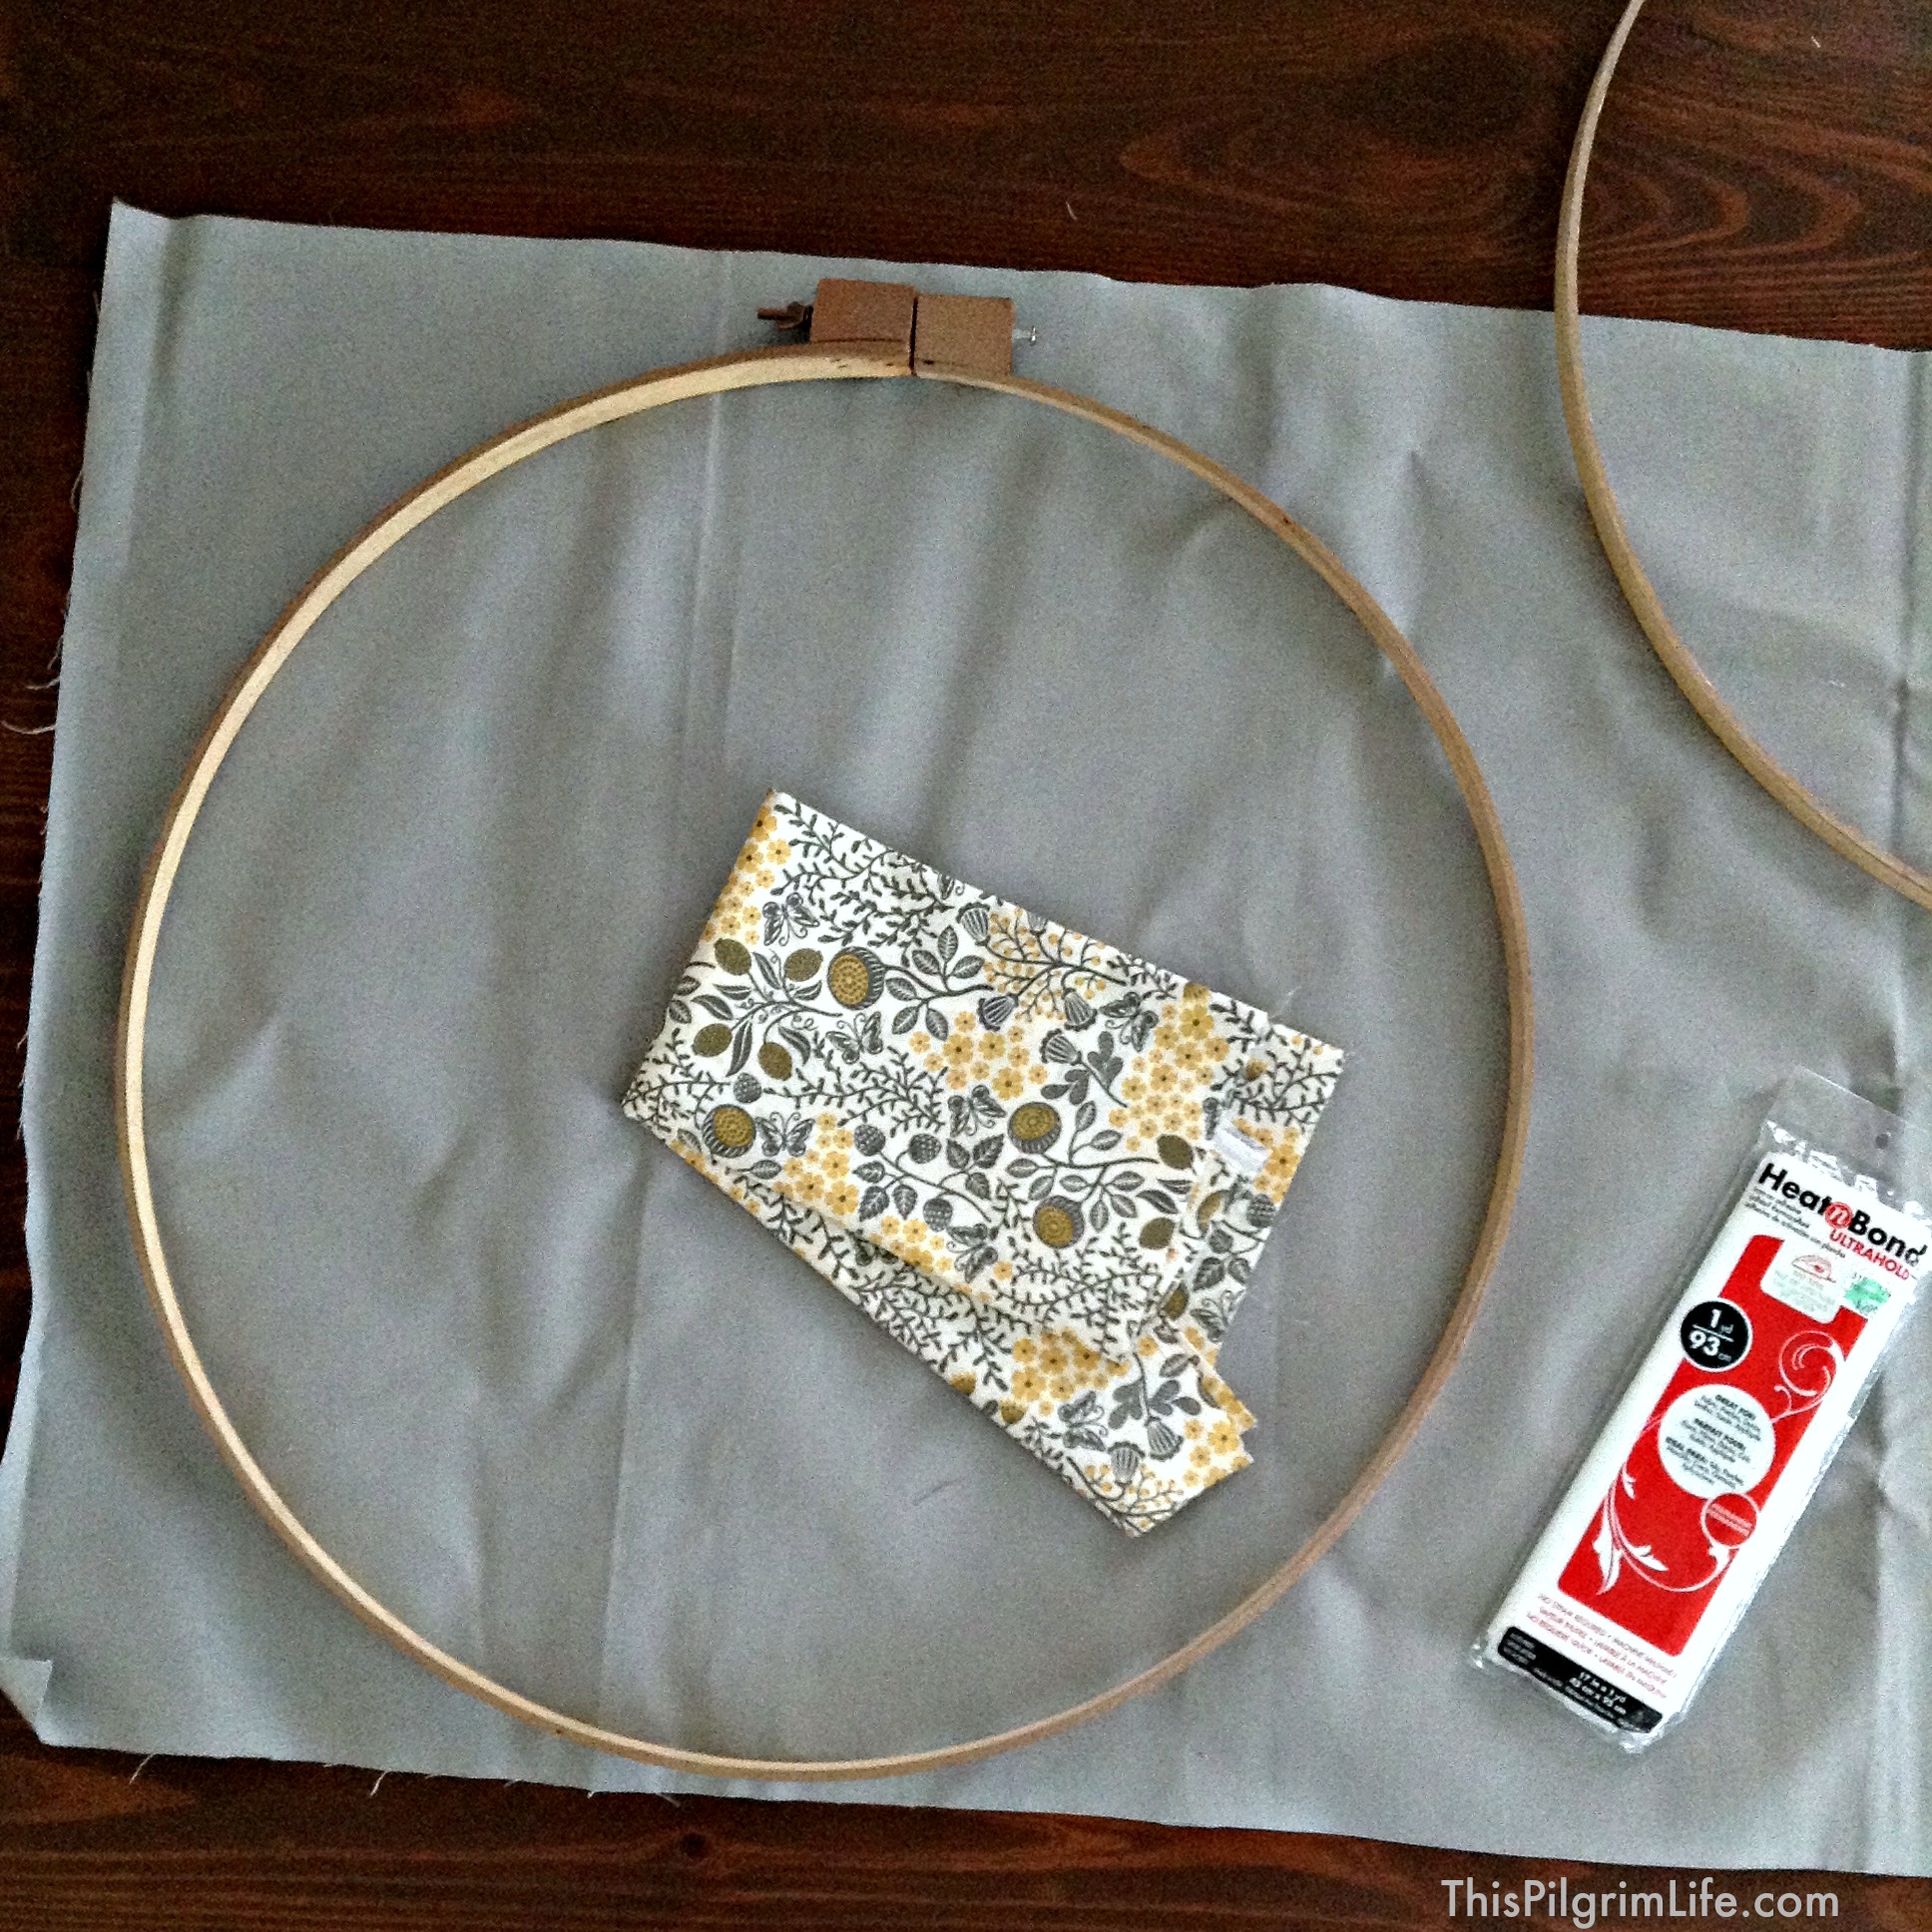
Materials Needed:
- Embroidery hoop
- Background material slightly larger than hoop
- Coordinating material for letters
- Wonder-Under (iron-on adhesive)
- Scissors
- Iron
Method:
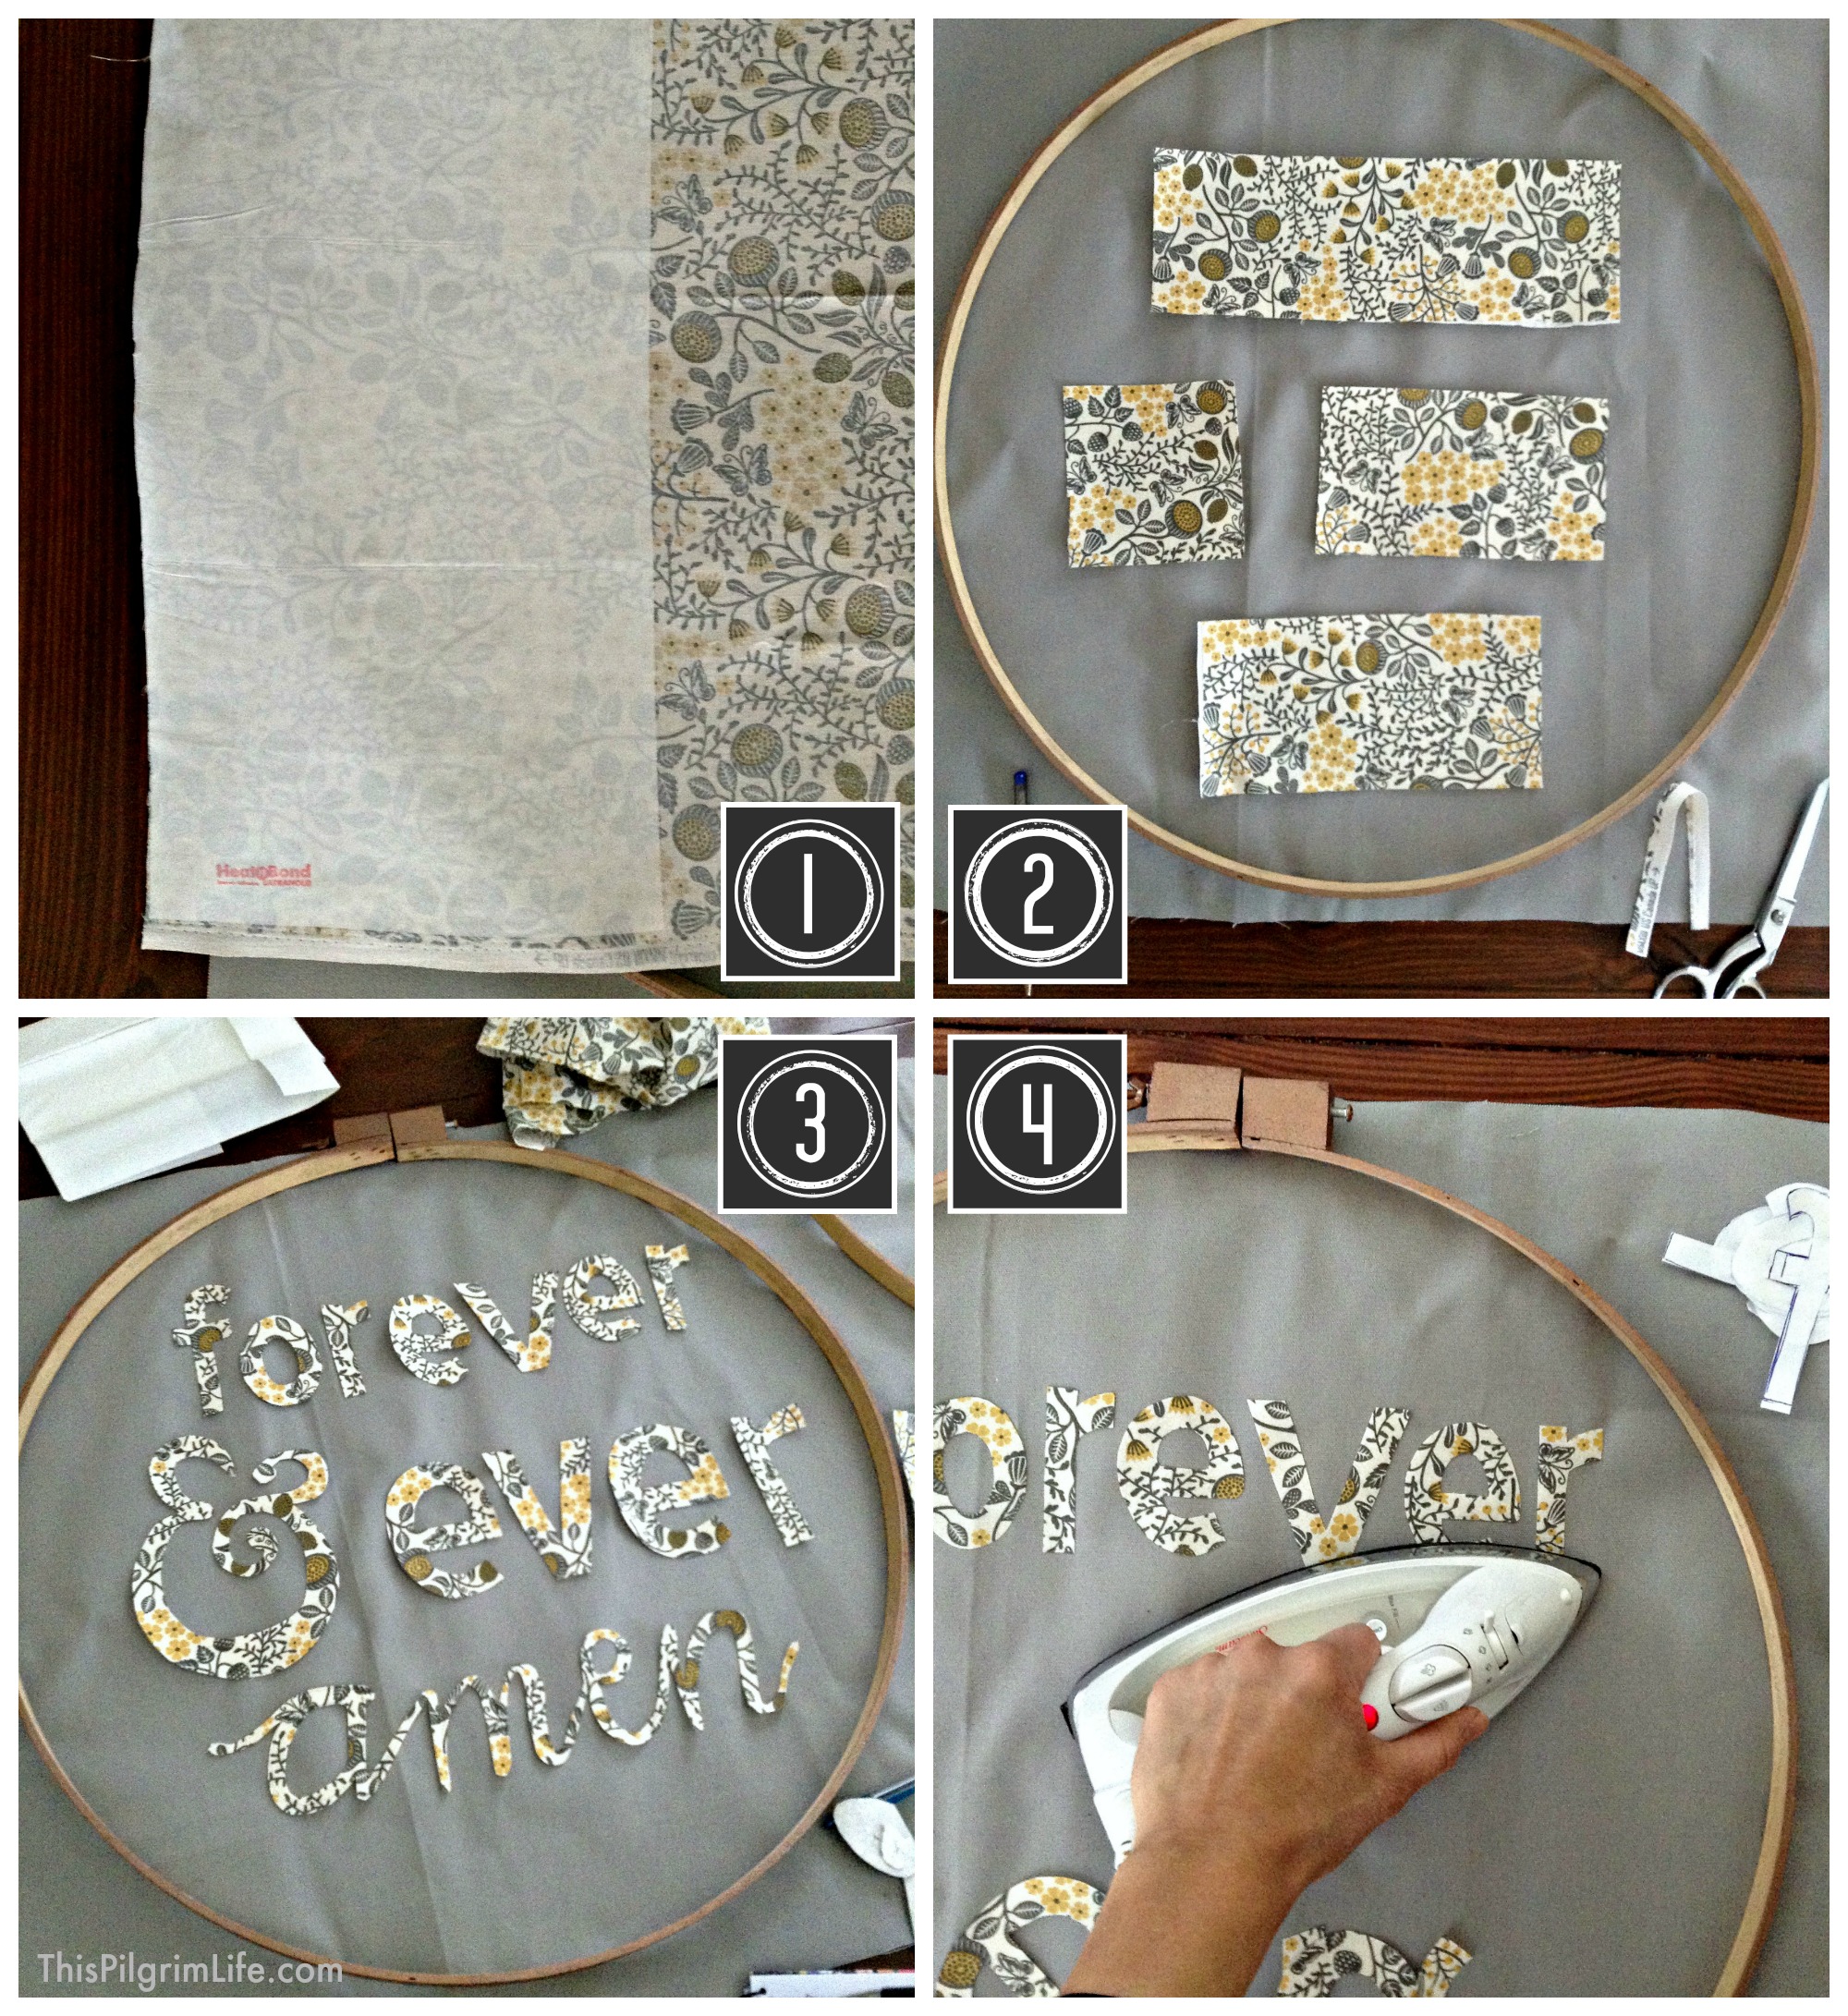
1. Press all the fabric. Cut a piece of Wonder-Under large enough to cut your words from. Iron it on to the back of the coordinating material.
2. Lay your background fabric out flat and place the hoop on top. Cut the coordinating material into strips for each word you want.
3. Draw the outline of each letter backwards on the wonder-under paper (on the back of the letter fabric) and cut out the letters. Lay them out on the background material where you want them.
4. Peel off the paper backing from the Wonder-Under and iron the letters onto the background fabric. Do this slowly and one word at a time to be sure the letters stay straight and where you want them. You can’t change it once they’re ironed on!
5. Sandwich the material in between the two hoops, taking care to keep the wording level and centered.
6. Tighten the screw until the fabric is taut and the hoops are no longer loose.
7. Turn the hoop over and trim the excess fabric from the perimeter of the hoop. 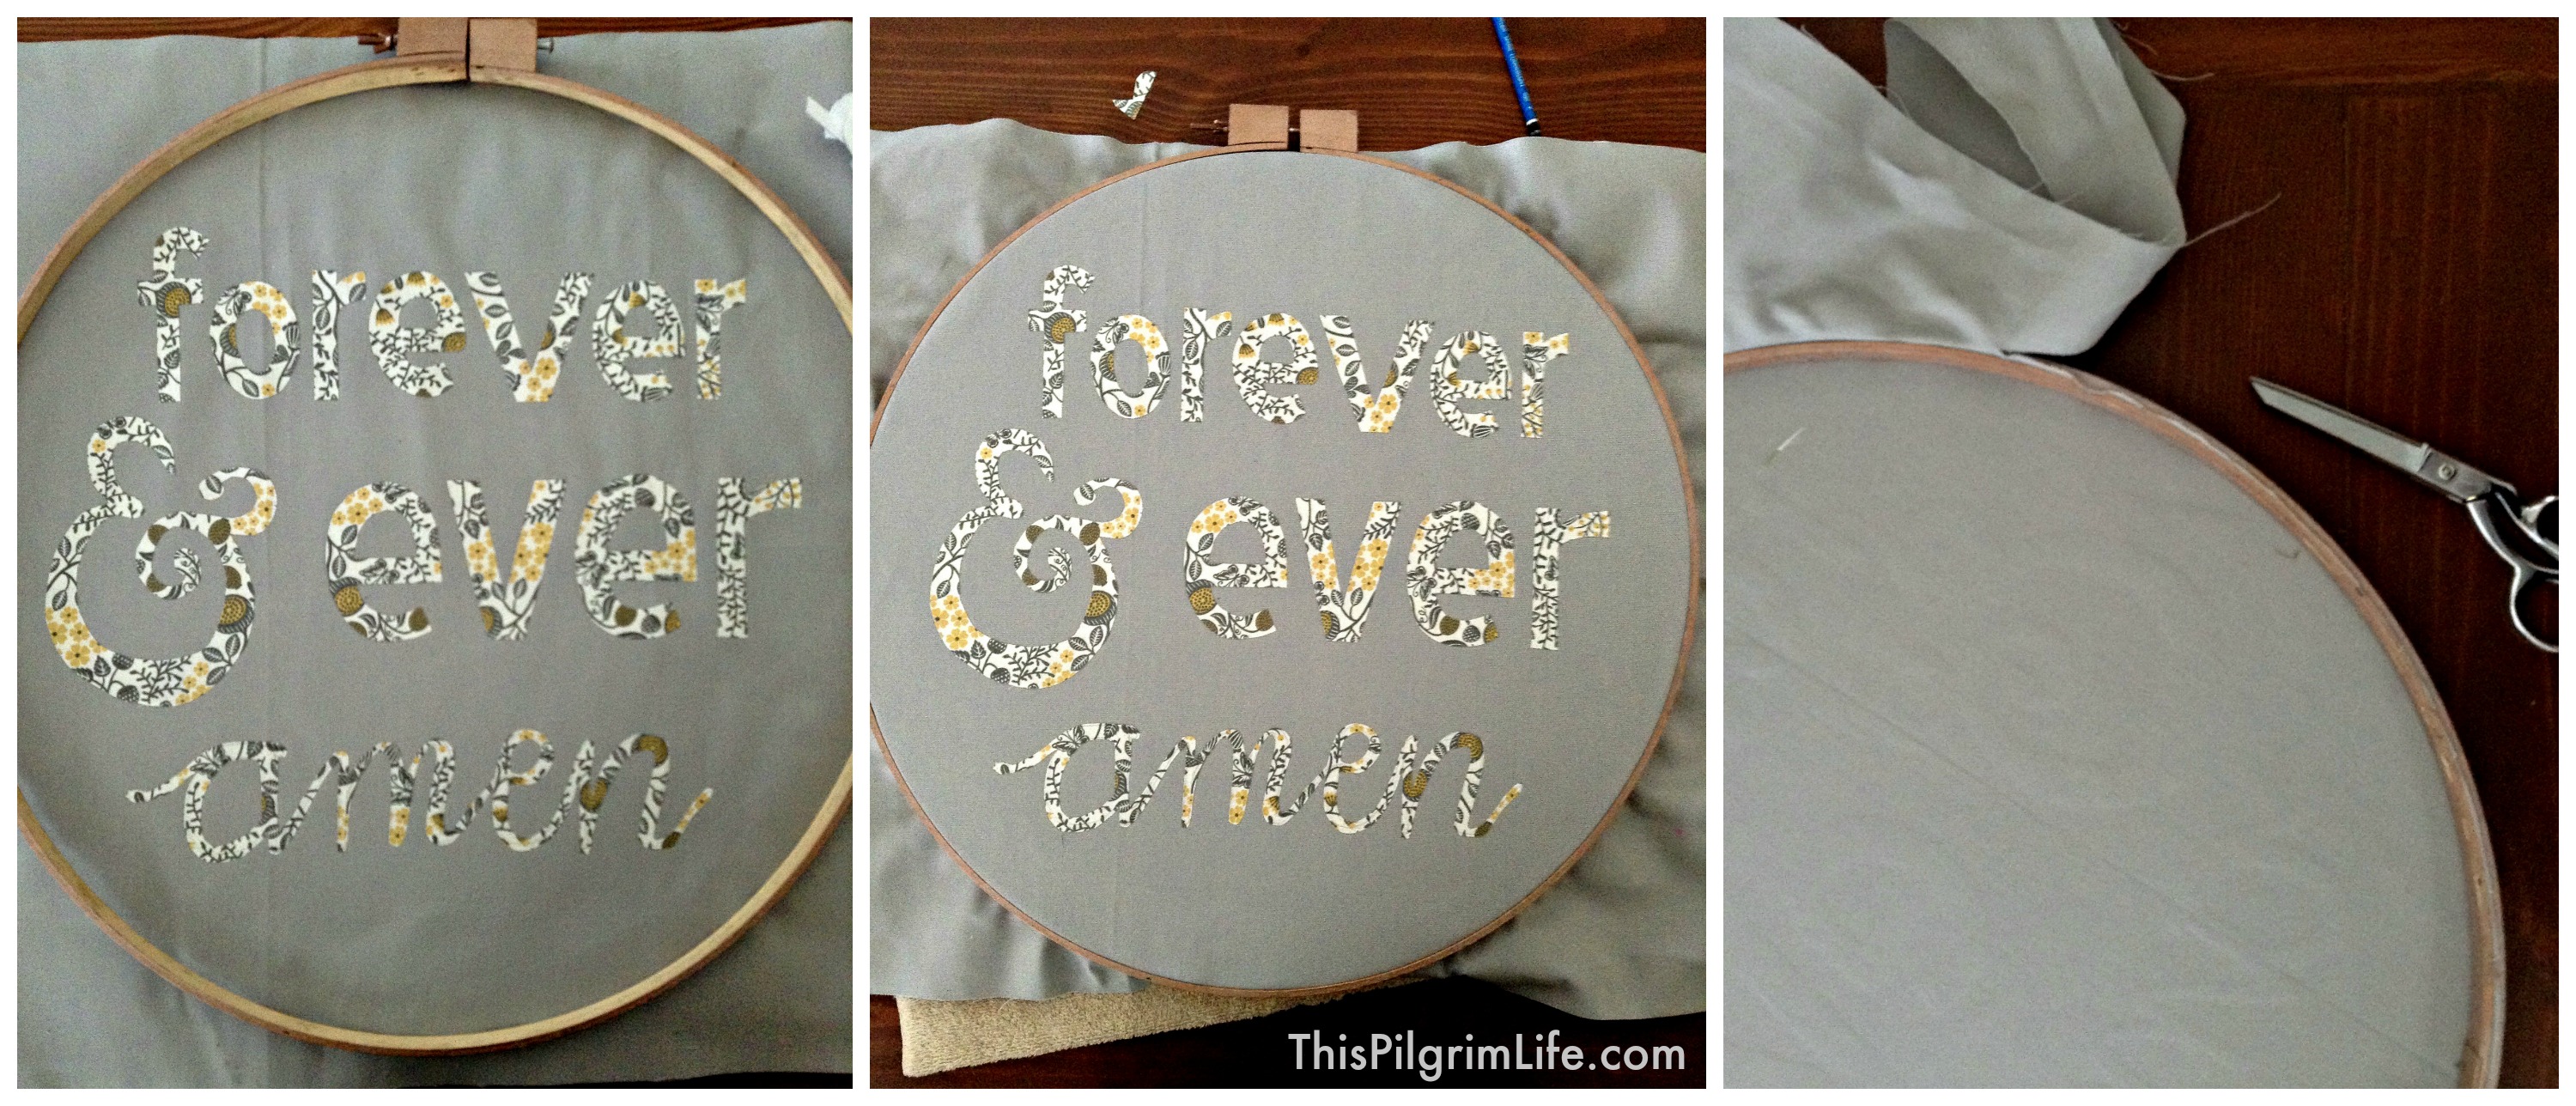
8. Done! Hang your hoop and enjoy the finished product.
Such an amazing idea! Thanks for your tutorial! Love it!