Summer Picnic Series
We do not typically have sandwich bread in our kitchen. I stopped buying it in part to save money and in part because we just don’t eat very many sandwiches at home. (Though I am looking forward to when we have some leftover bread from a dinner loaf so we can have these amazing grilled cheese sandwiches again). I have tried finding a sandwich bread recipe I like so I can occasionally make it at home, but I’ve yet to find something I love.
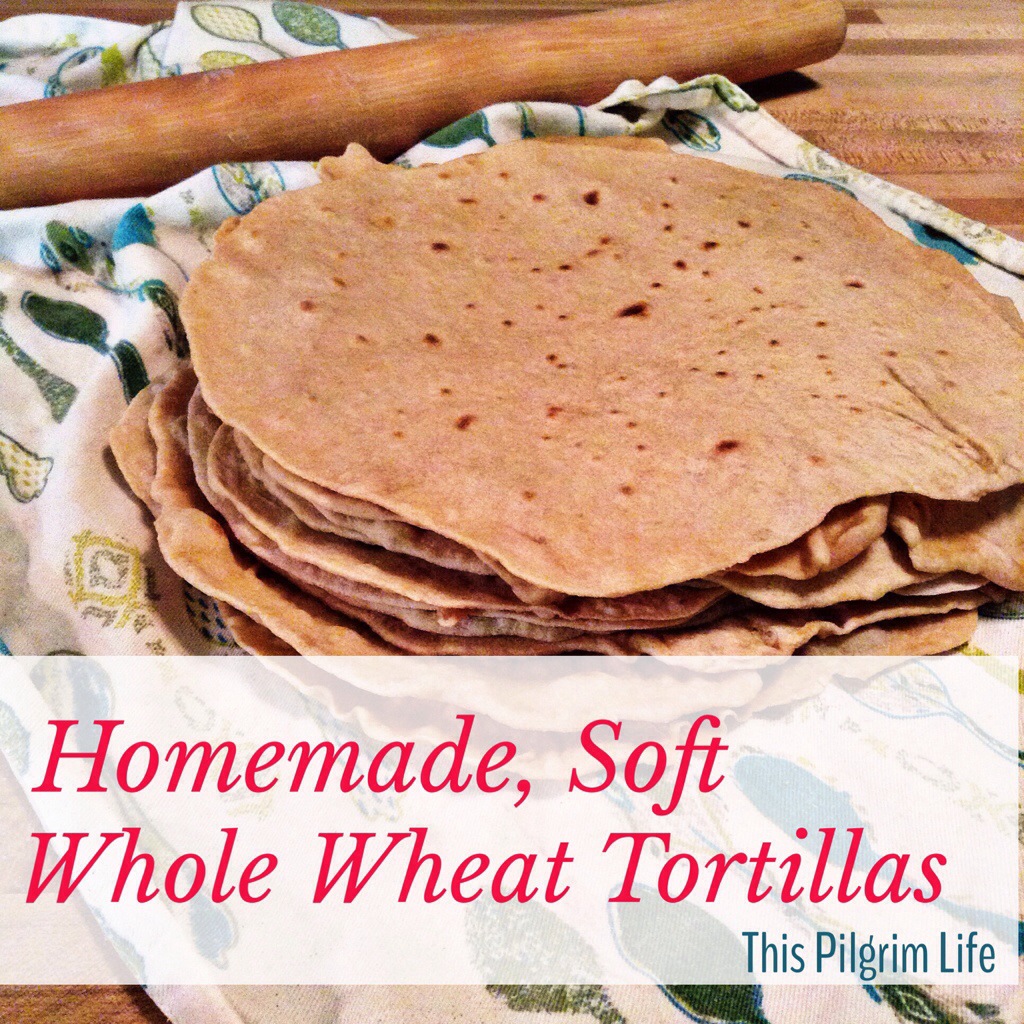
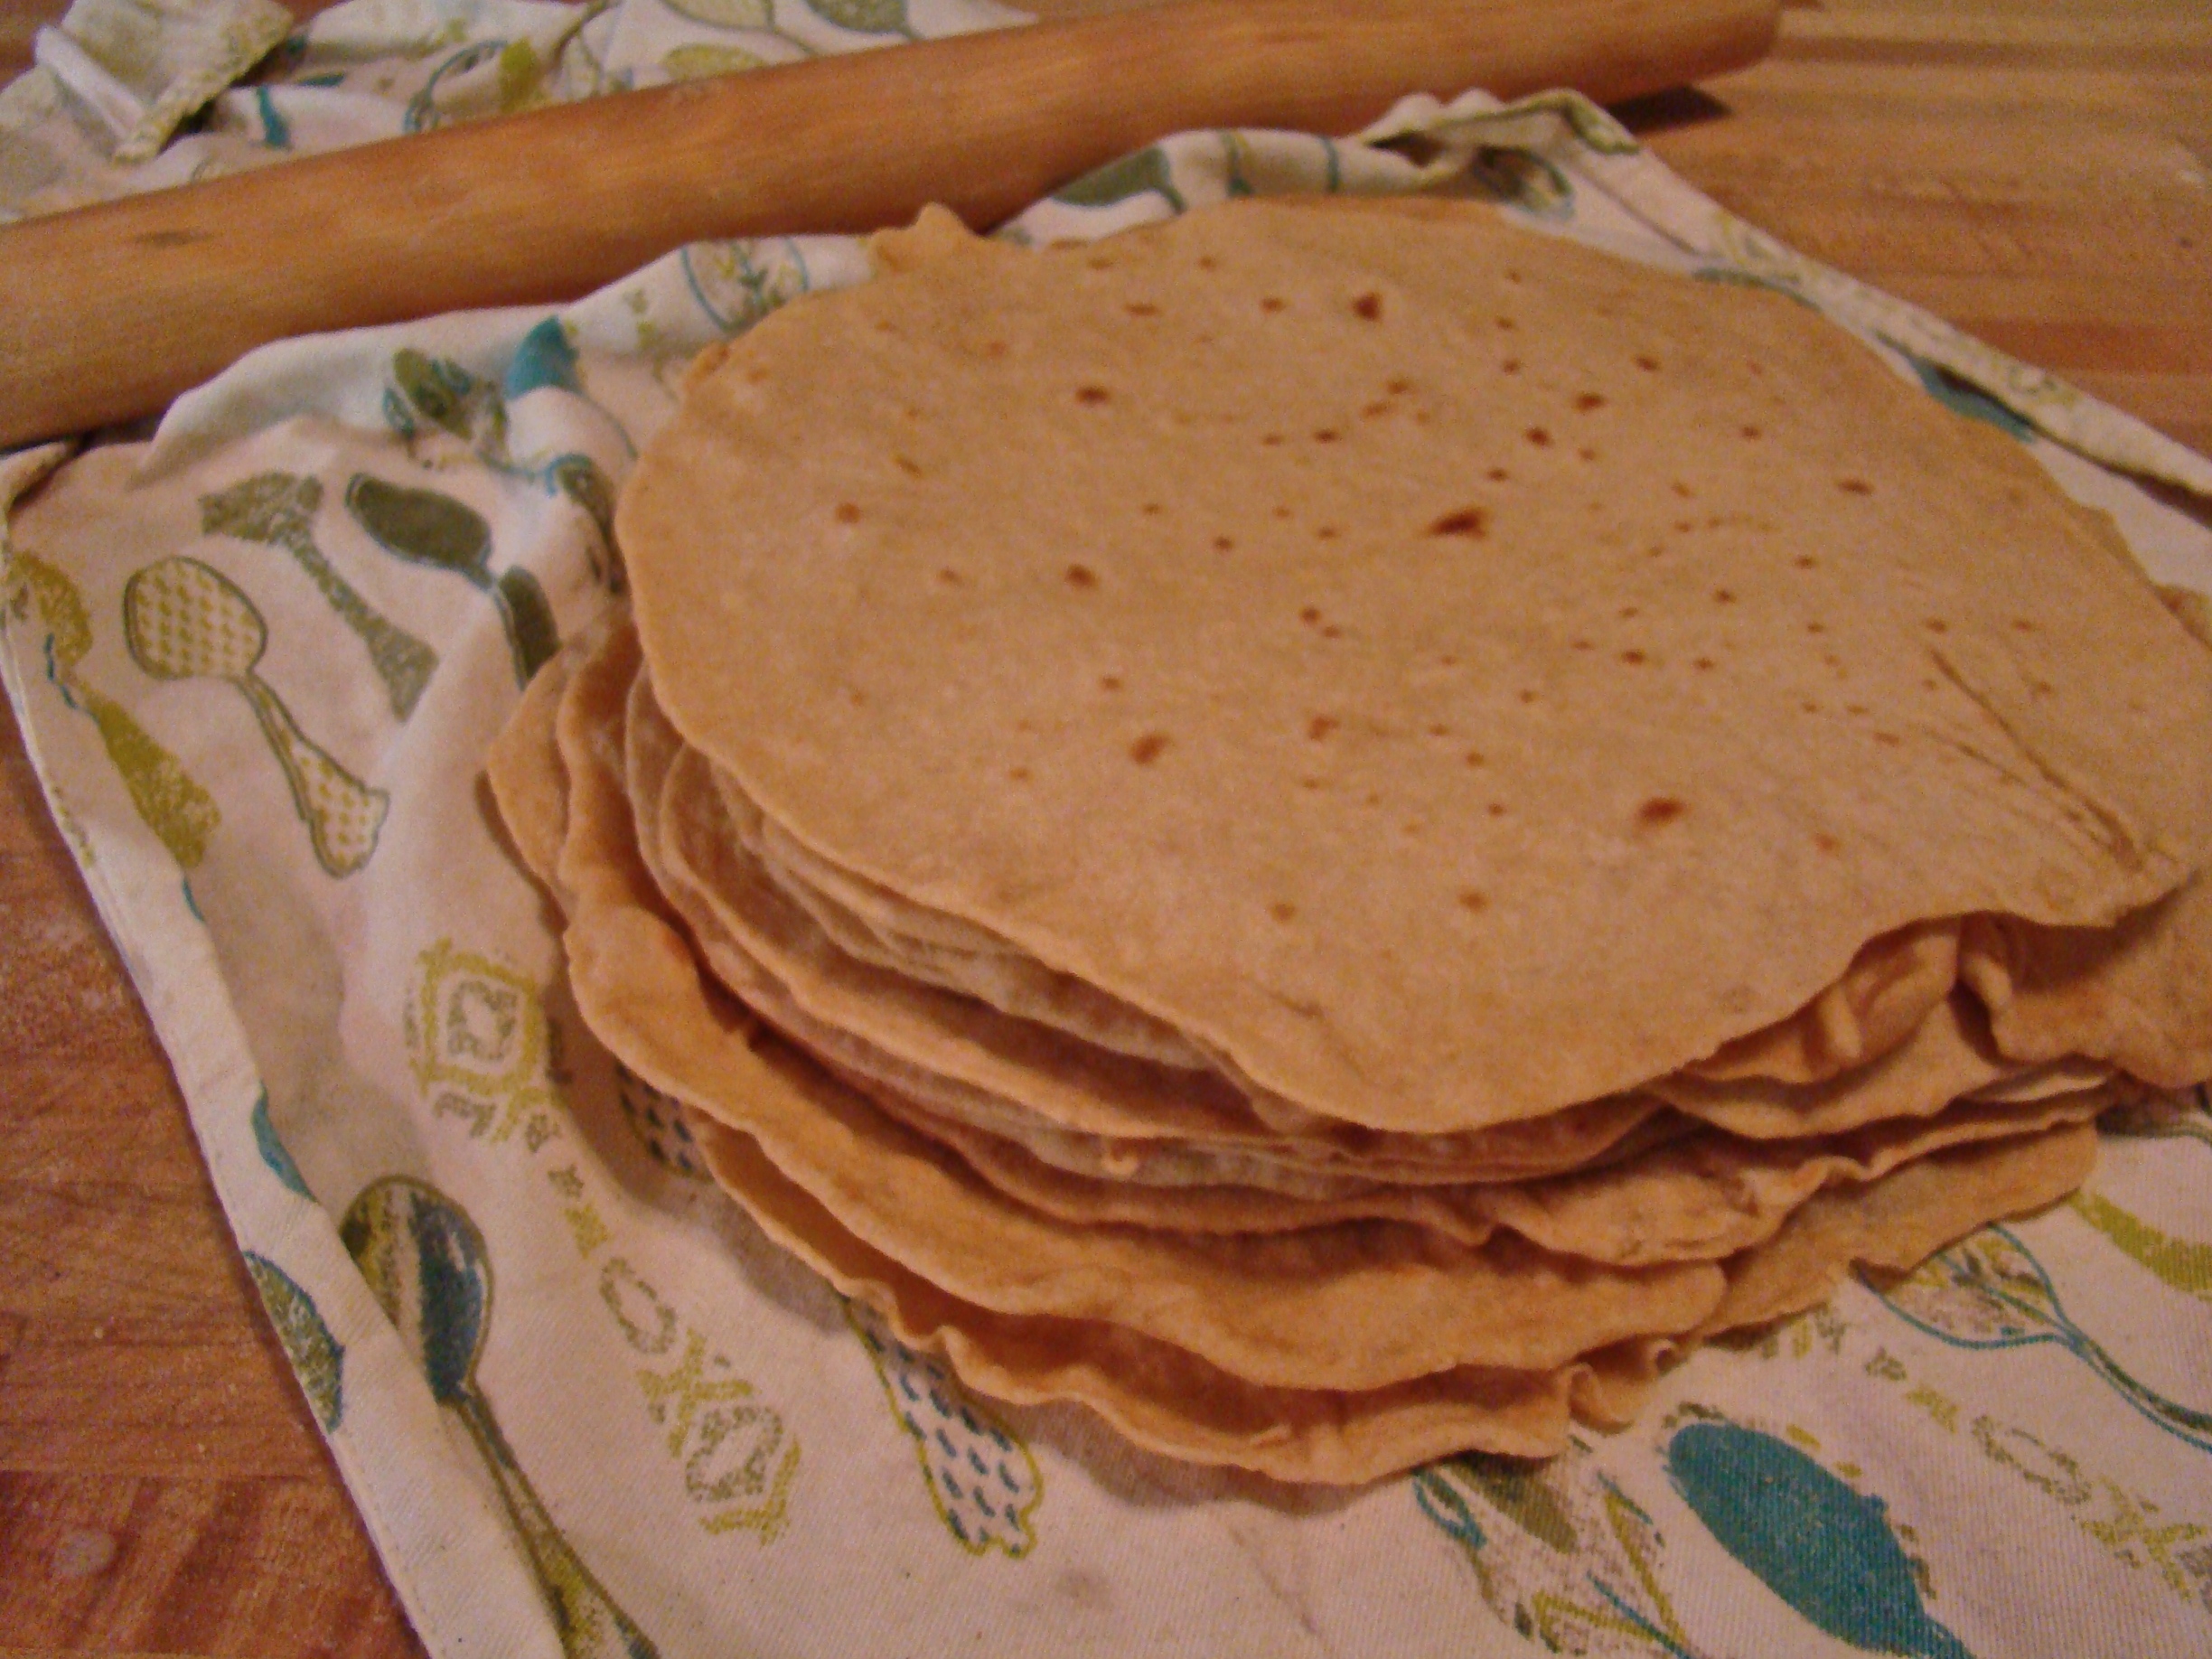
What I do love is having homemade tortillas on hand. We use them for quesadillas, salad wraps, burritos, and roll-ups with peanut butter and jelly or bananas. Tortillas are super versatile. The homemade version is healthier than store-bought options. And, as with many homemade pantry staples, homemade tortillas taste so much better.
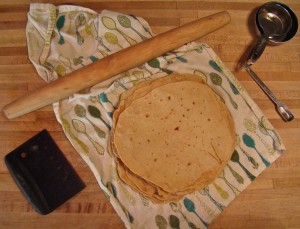
I have made these tortillas enough now that I have developed a rhythm and can make a whole batch in thirty to forty minutes. The first few times were less rhythmic and I struggled figuring out how to best keep the dough from sticking as I rolled them out (olive oil on the countertop), how to actually make my tortillas round (press out from the center and rotate as I roll), and how to keep them soft and pliable (don’t overcook and cool under a damp tea towel). There is a learning curve with many things in the kitchen but practice does make better. So if you struggle at first to get your tortillas right, know that you’re not alone and it will get easier. Hopefully, though, my initial struggling can help you skip a lot of the learning curve!
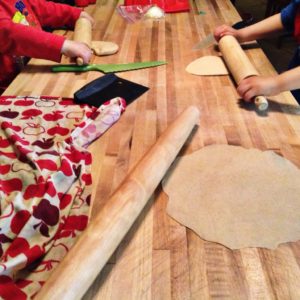
As much as I love having my kids work with me in the kitchen, this isn’t one thing they can really help me make. They just don’t have the strength to press out the dough into a thin, even tortilla. But even though they can’t help me with the tortillas we will eat, they often stay busy working alongside me at the kitchen island rolling out their own (usually play-doh) tortillas and telling me all about what kind of quesadillas they are planning to make. Hearing their sometimes yummy, sometimes crazy ideas is one of the best parts of my day!
Below is the recipe for making delicious, soft tortillas at home. Tomorrow I will share five fun twists on a basic quesadilla. One of the best things about quesadillas is how versatile they are so check back and get a few new ideas!
Homemade Soft Whole Wheat Tortillas

Recipe adapted from The Homemade Pantry
Ingredient List
- 4 C white whole wheat flour*
- 2 tsp sea salt
- 1 tsp baking powder
- 2 Tbsp butter (room temperature)
- 4 Tbsp coconut oil (melted or soft)
- 1 1/2 C warm water
Method
1. Mix together flour, salt and baking powder in a mixing bowl.
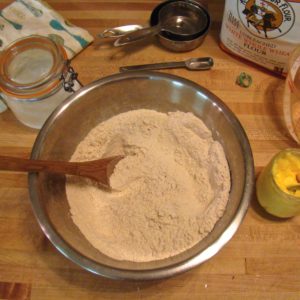
Add butter and coconut oil to the flour and blend with your fingers or a wooden spoon until only pea-sized chunks remain. Stir in warm water. Continue to stir and press the dough together until it starts to become cohesive.
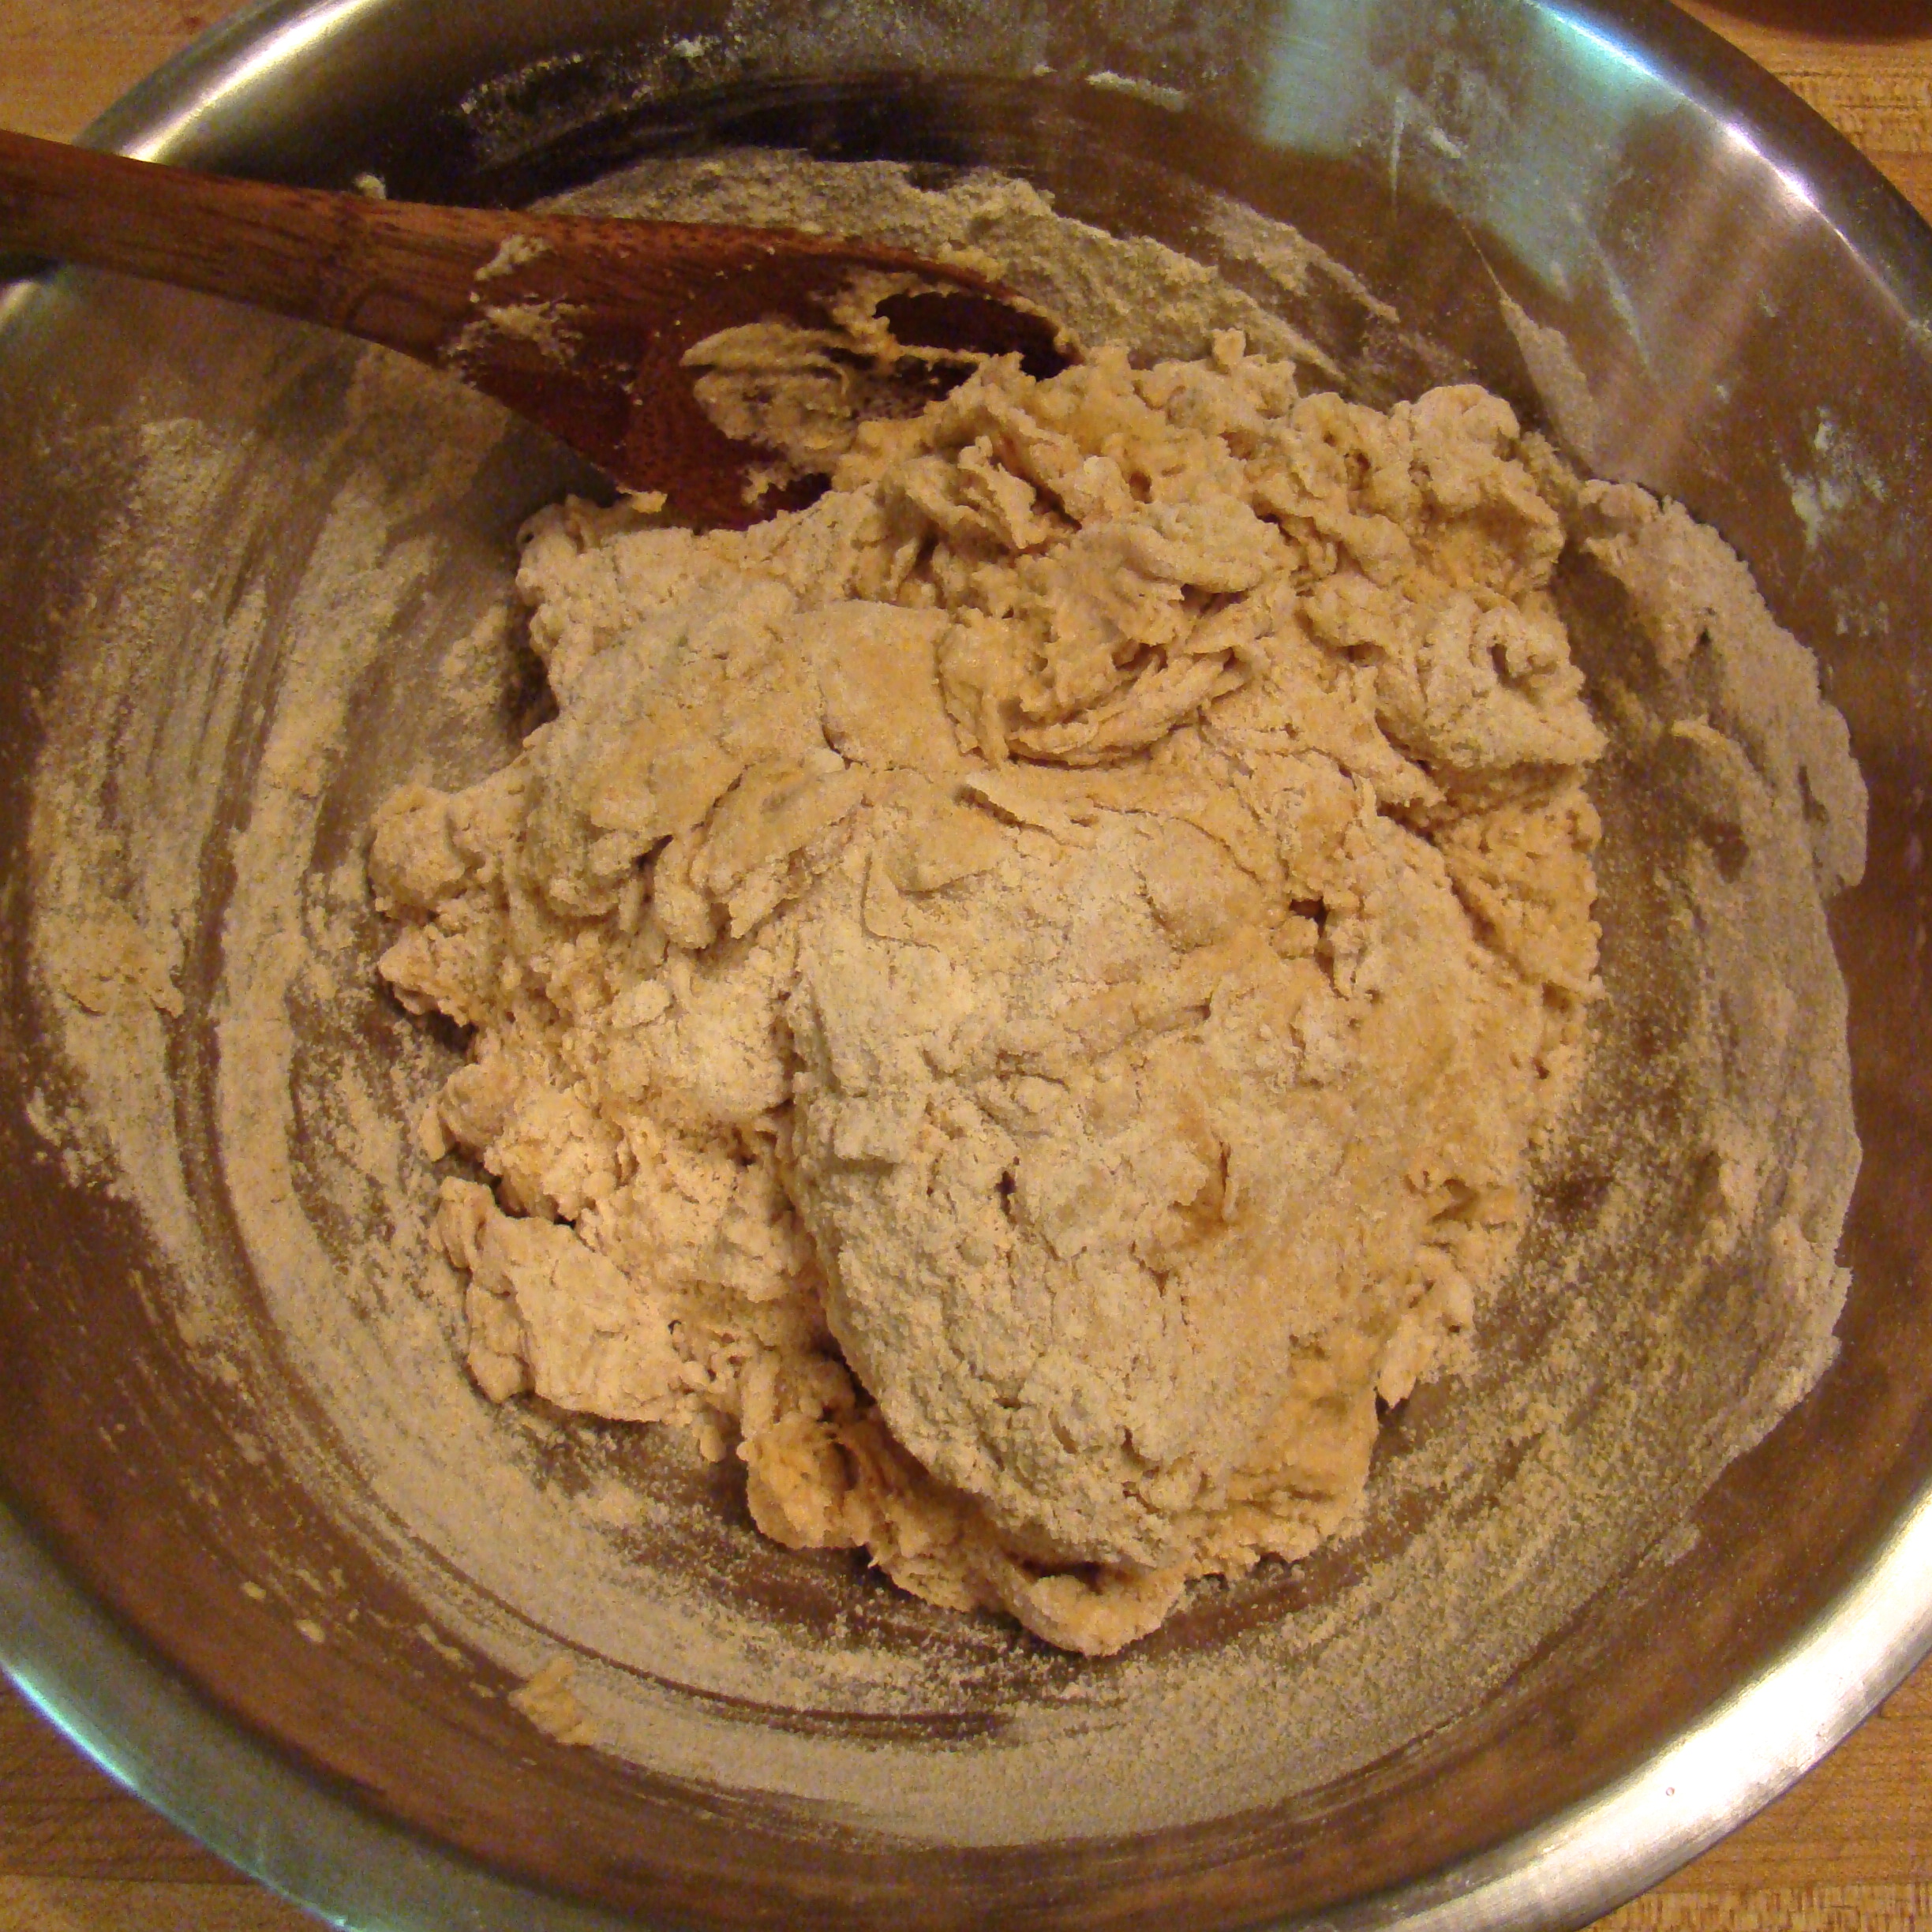
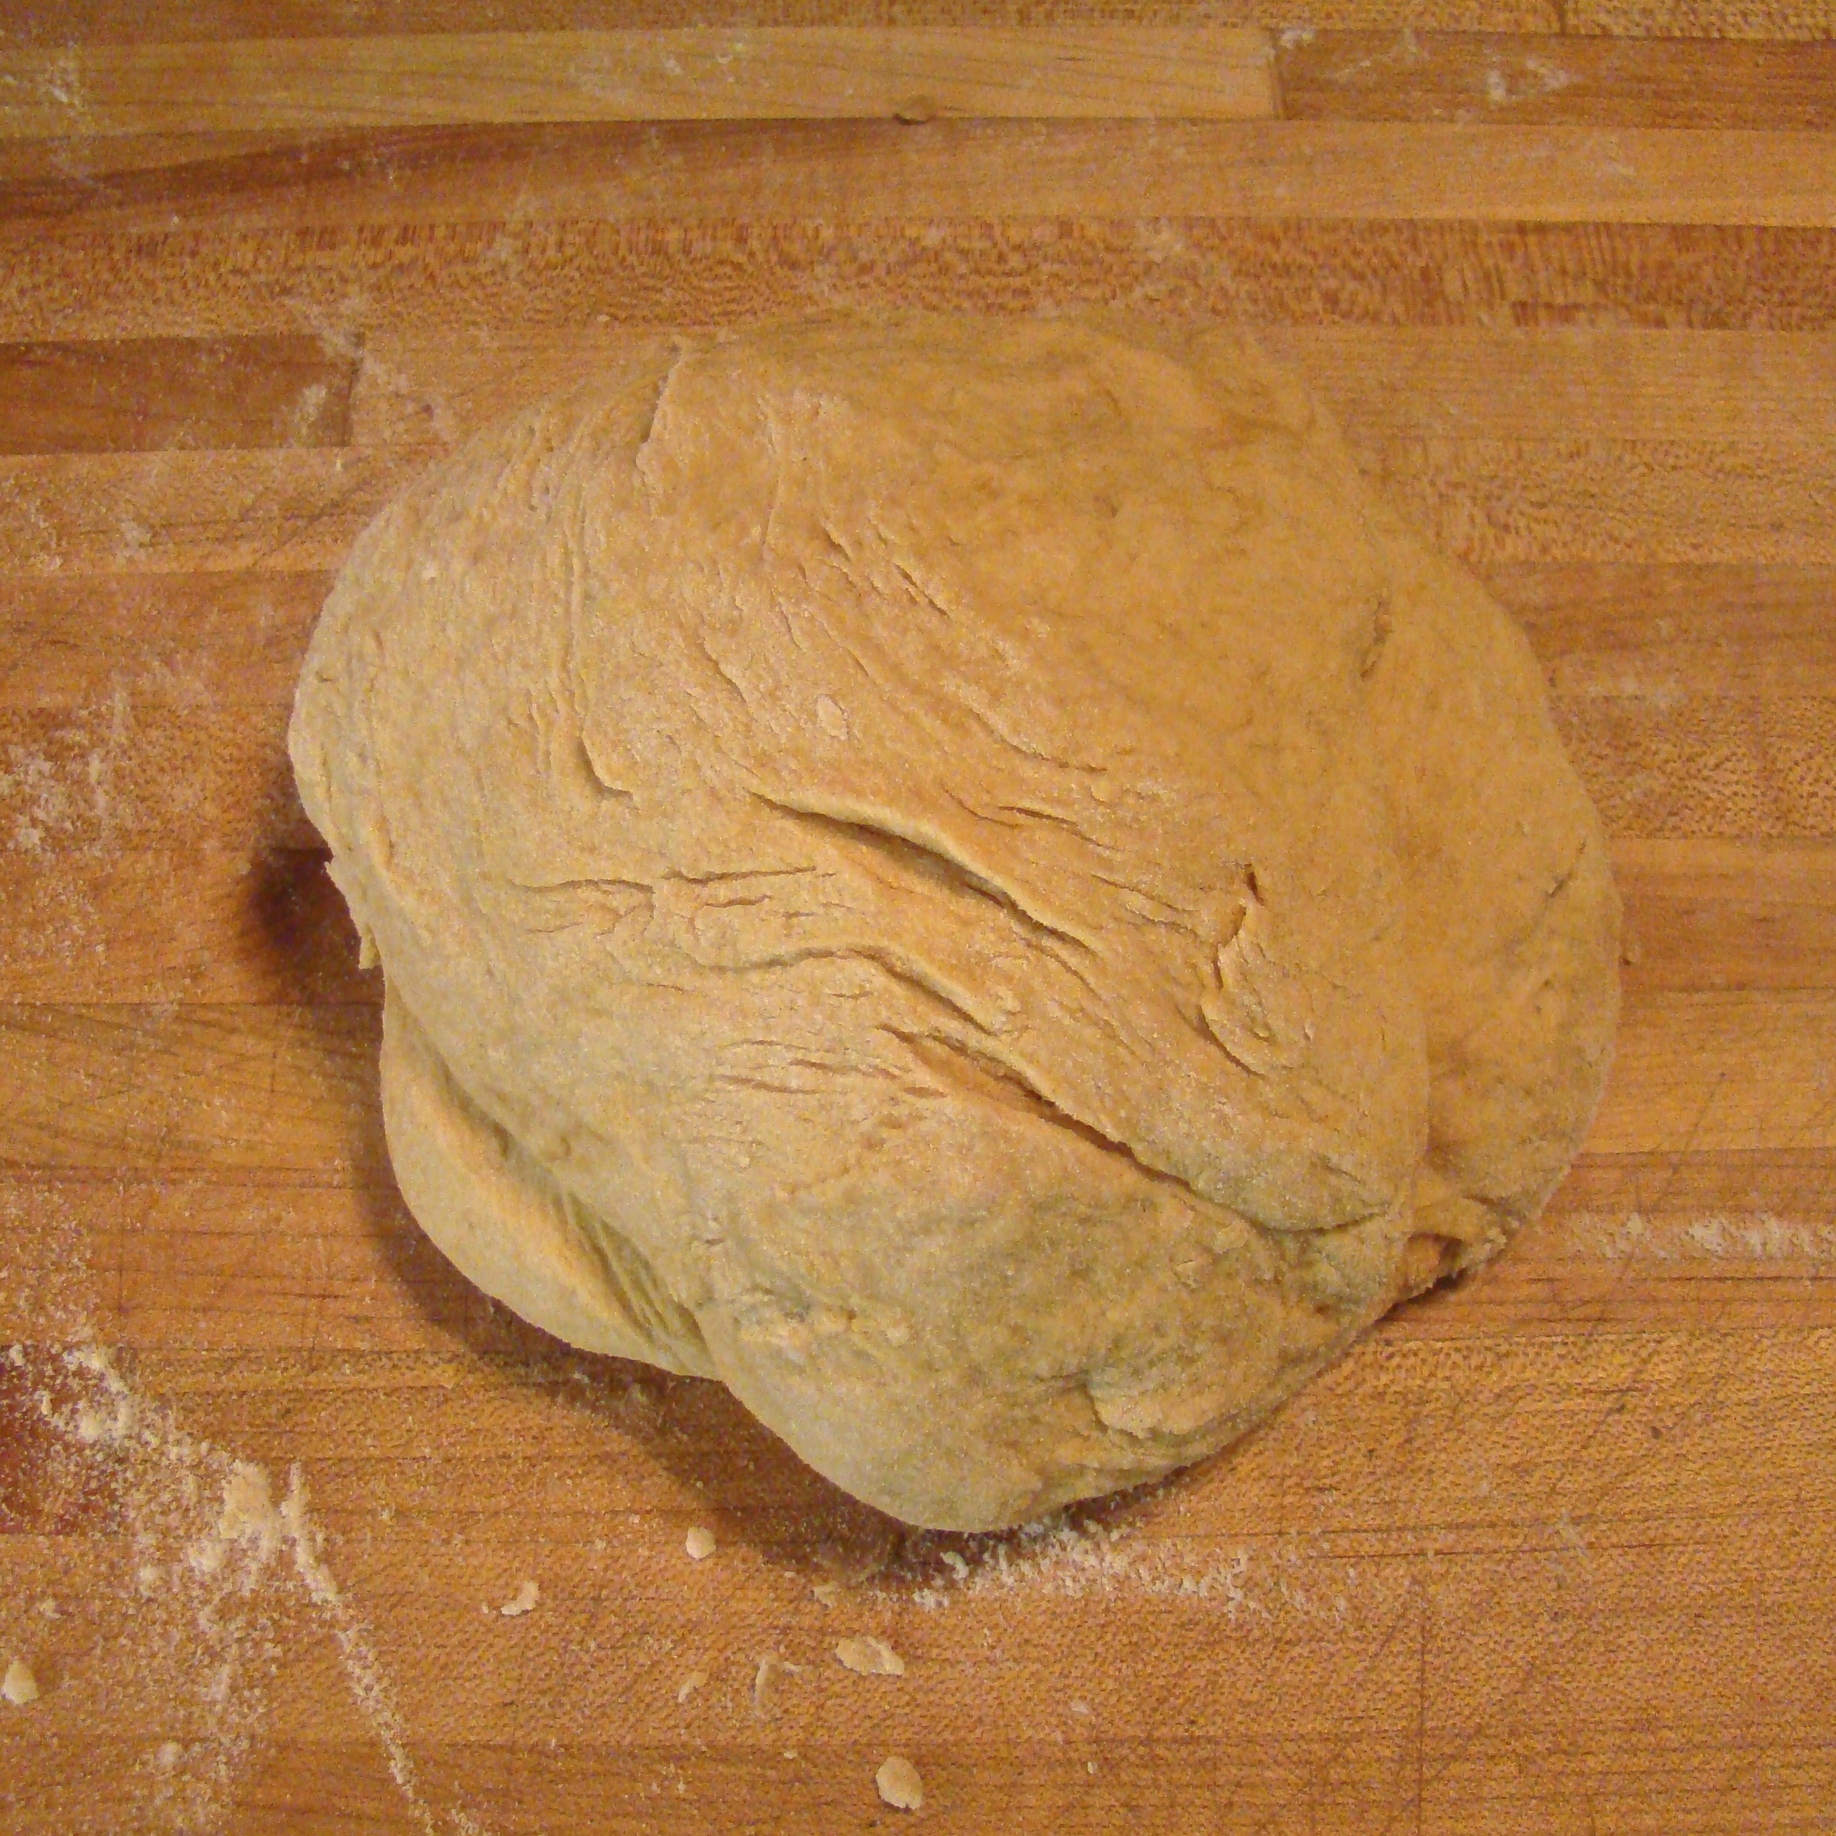
Dump the dough and any remaining flour onto a clean countertop and knead until the dough is smooth and completely blended, about two to three minutes.
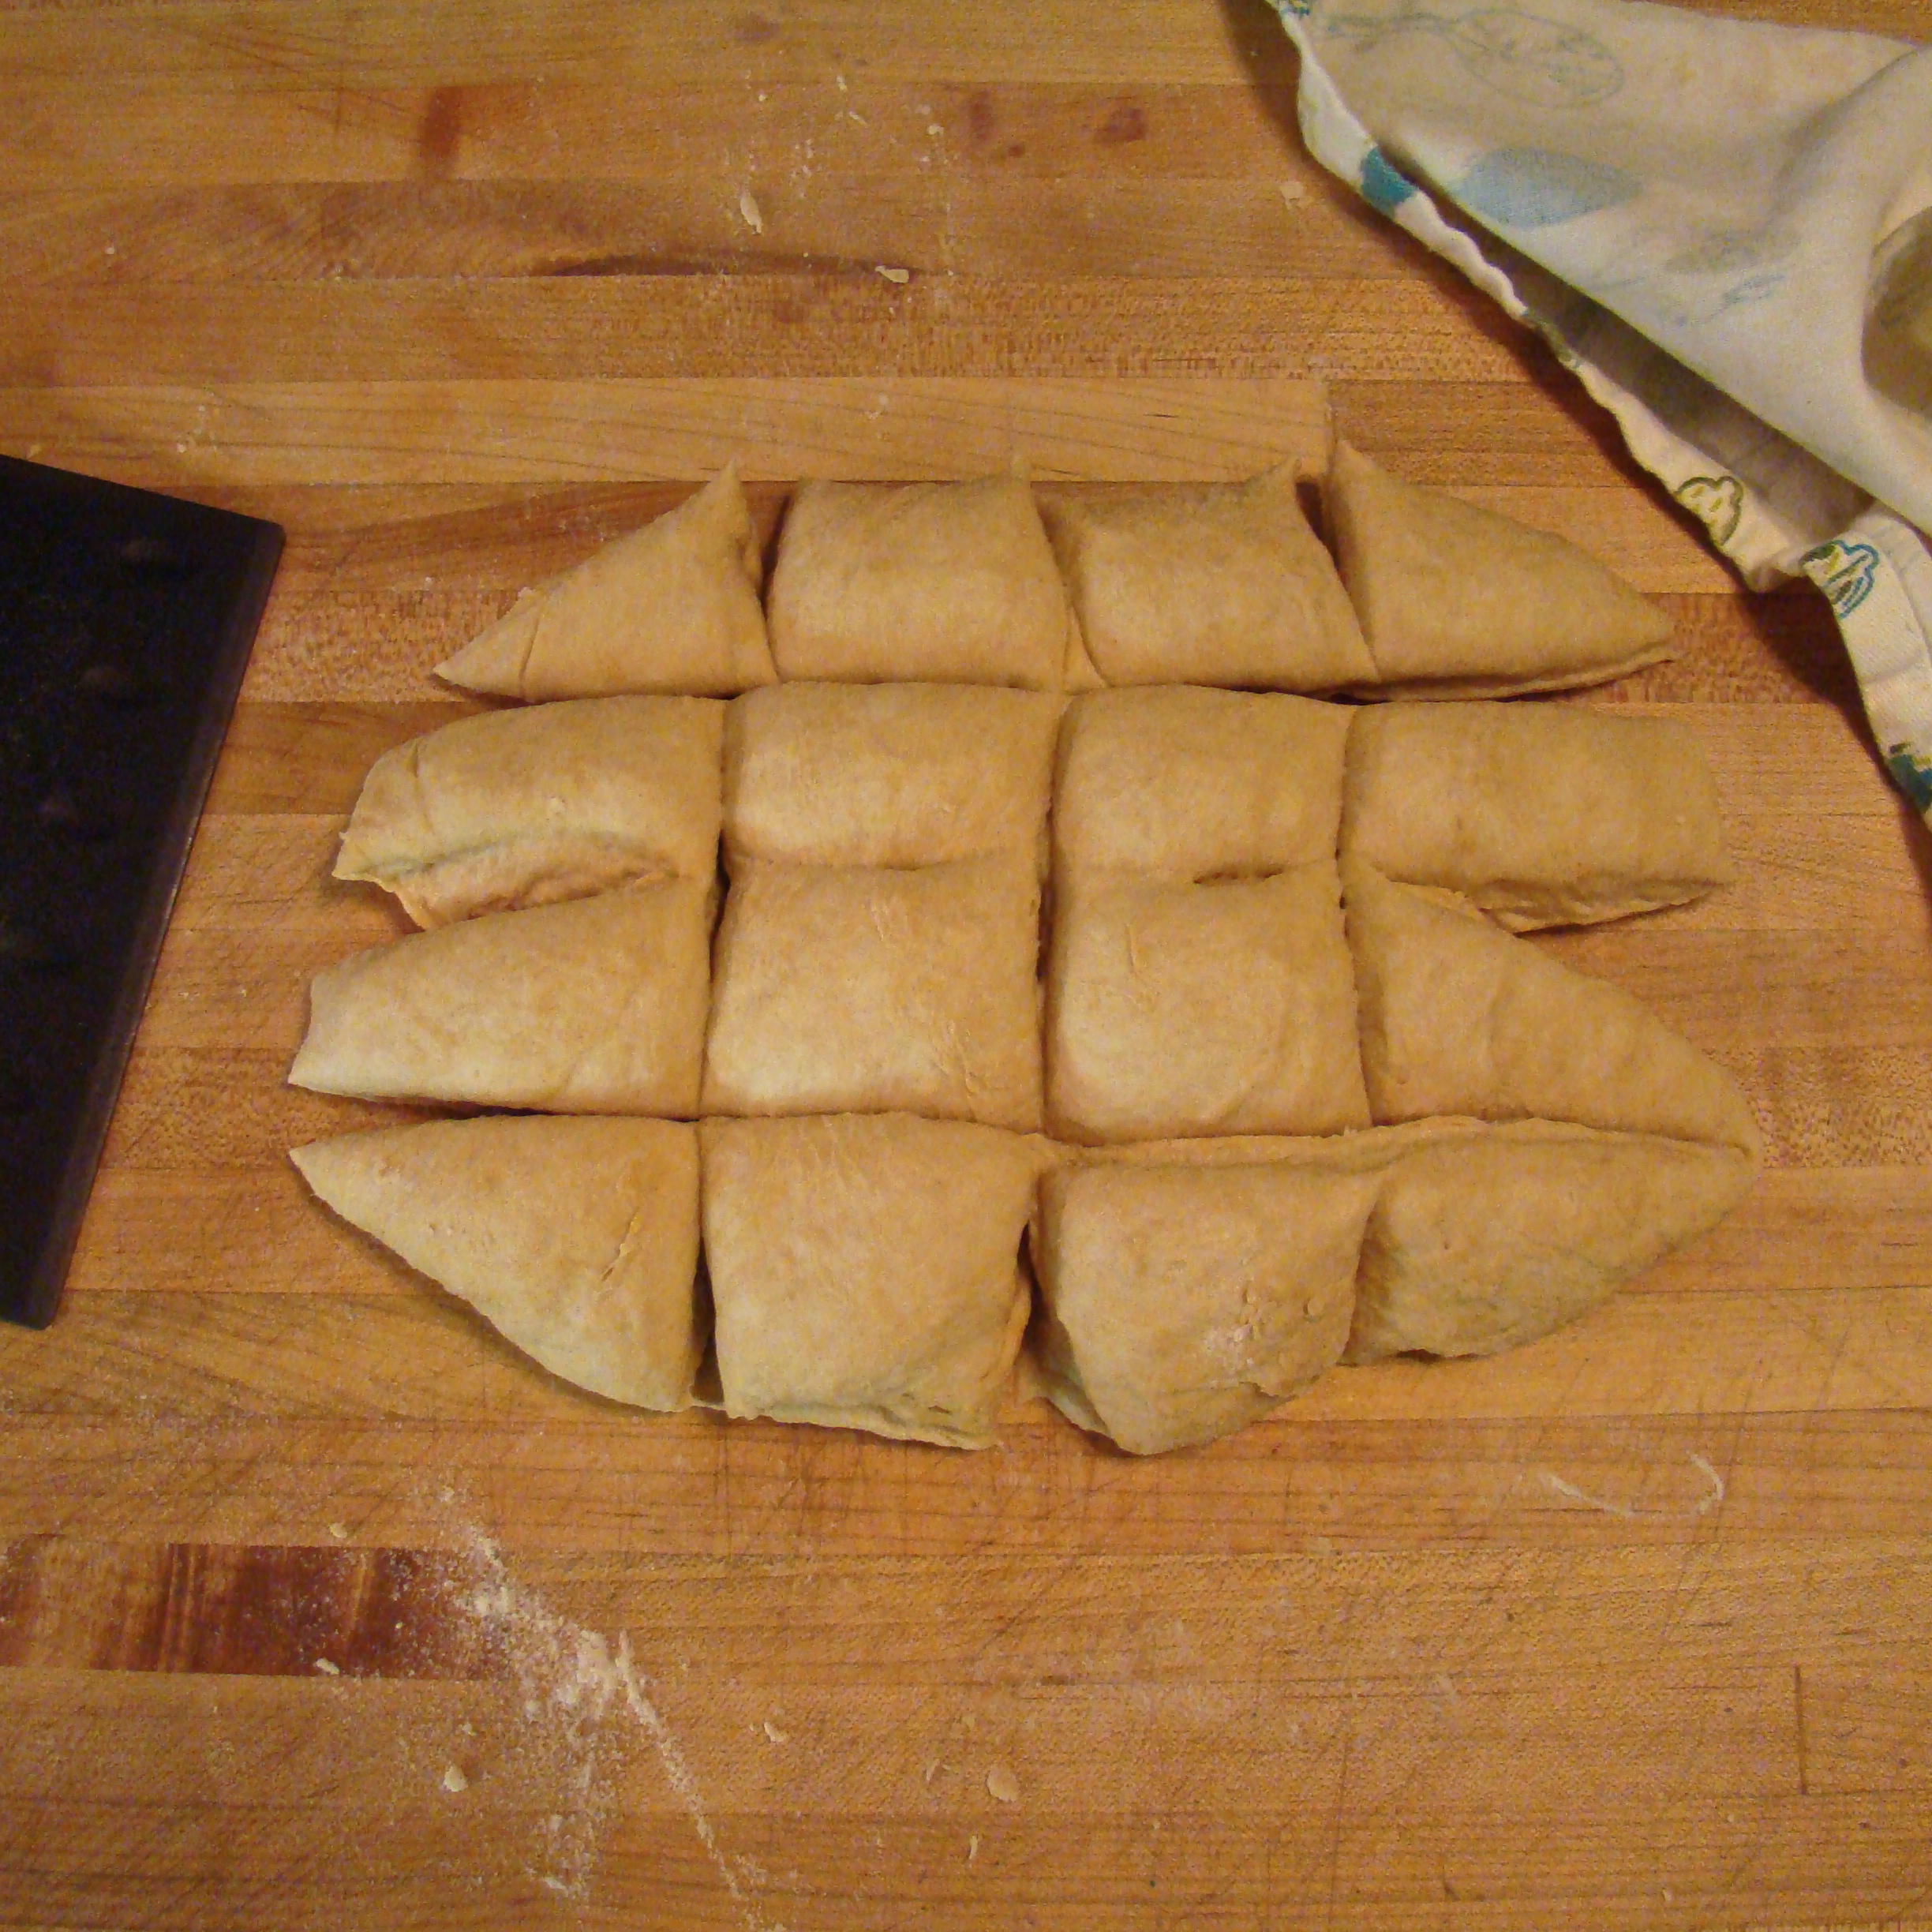
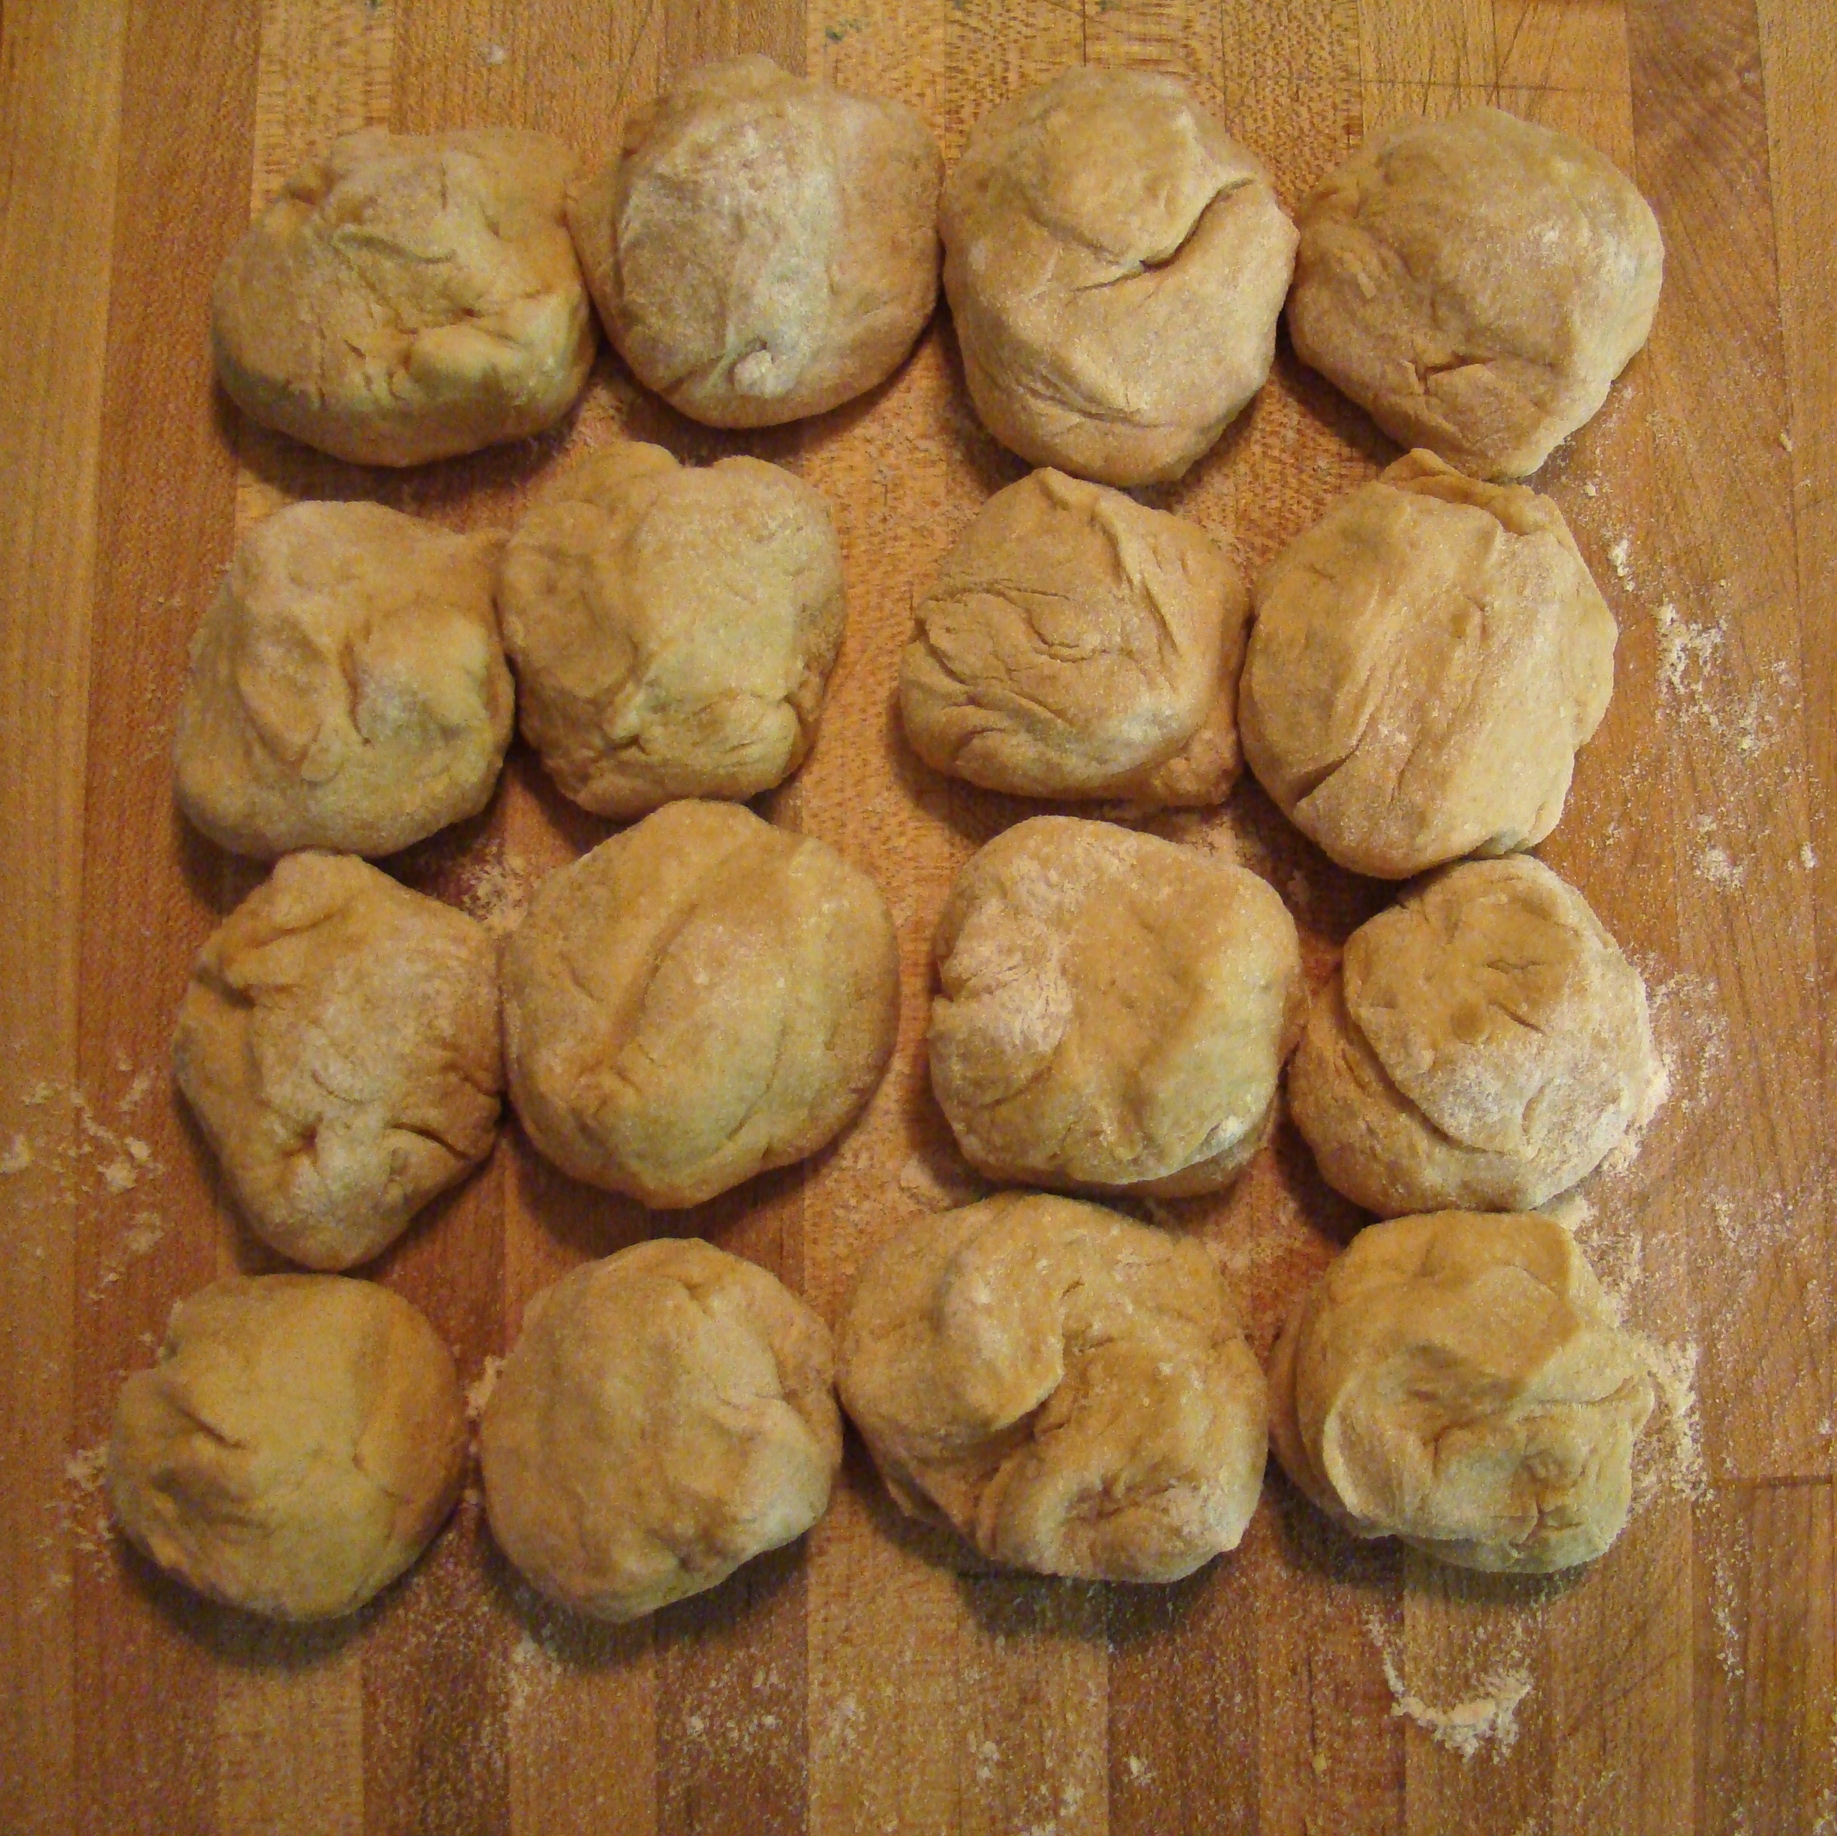
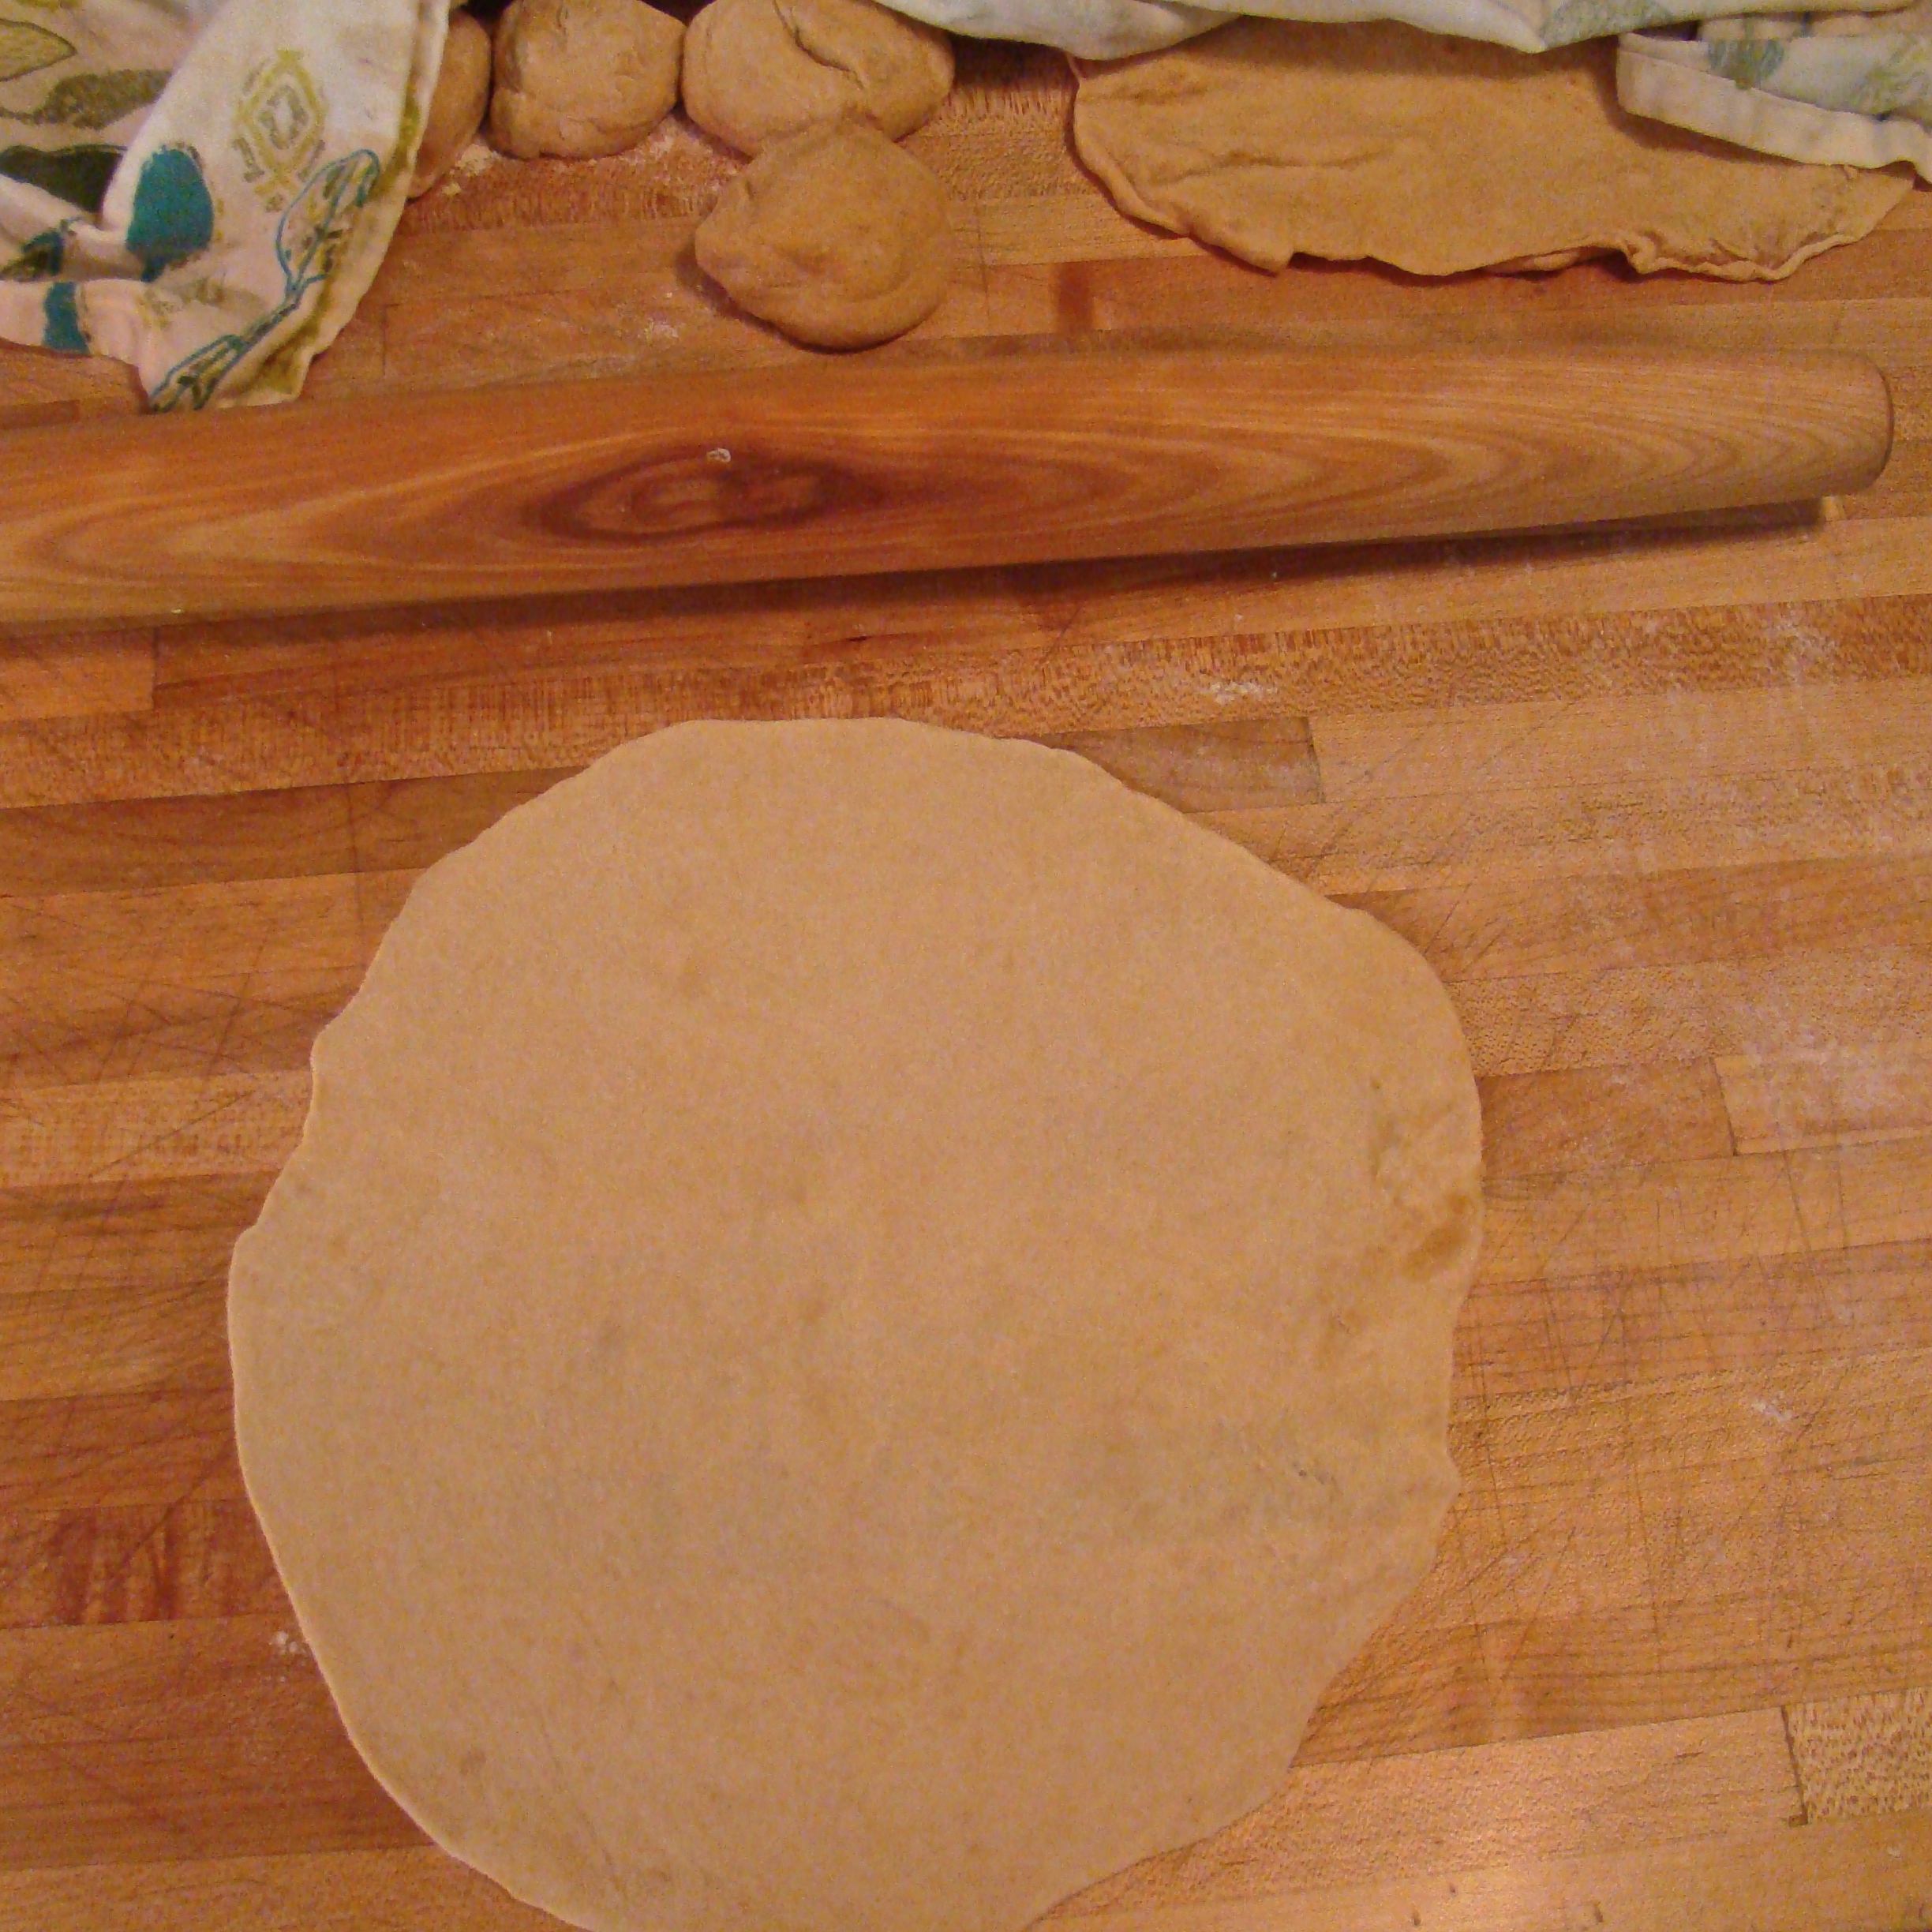
2. Divide dough into 16 pieces. Roll each into a ball and set on a floured countertop. Cover with a slightly damp towel and let rest for about ten minutes. (Keep the dough covered during the whole cooking process to avoid it drying out).
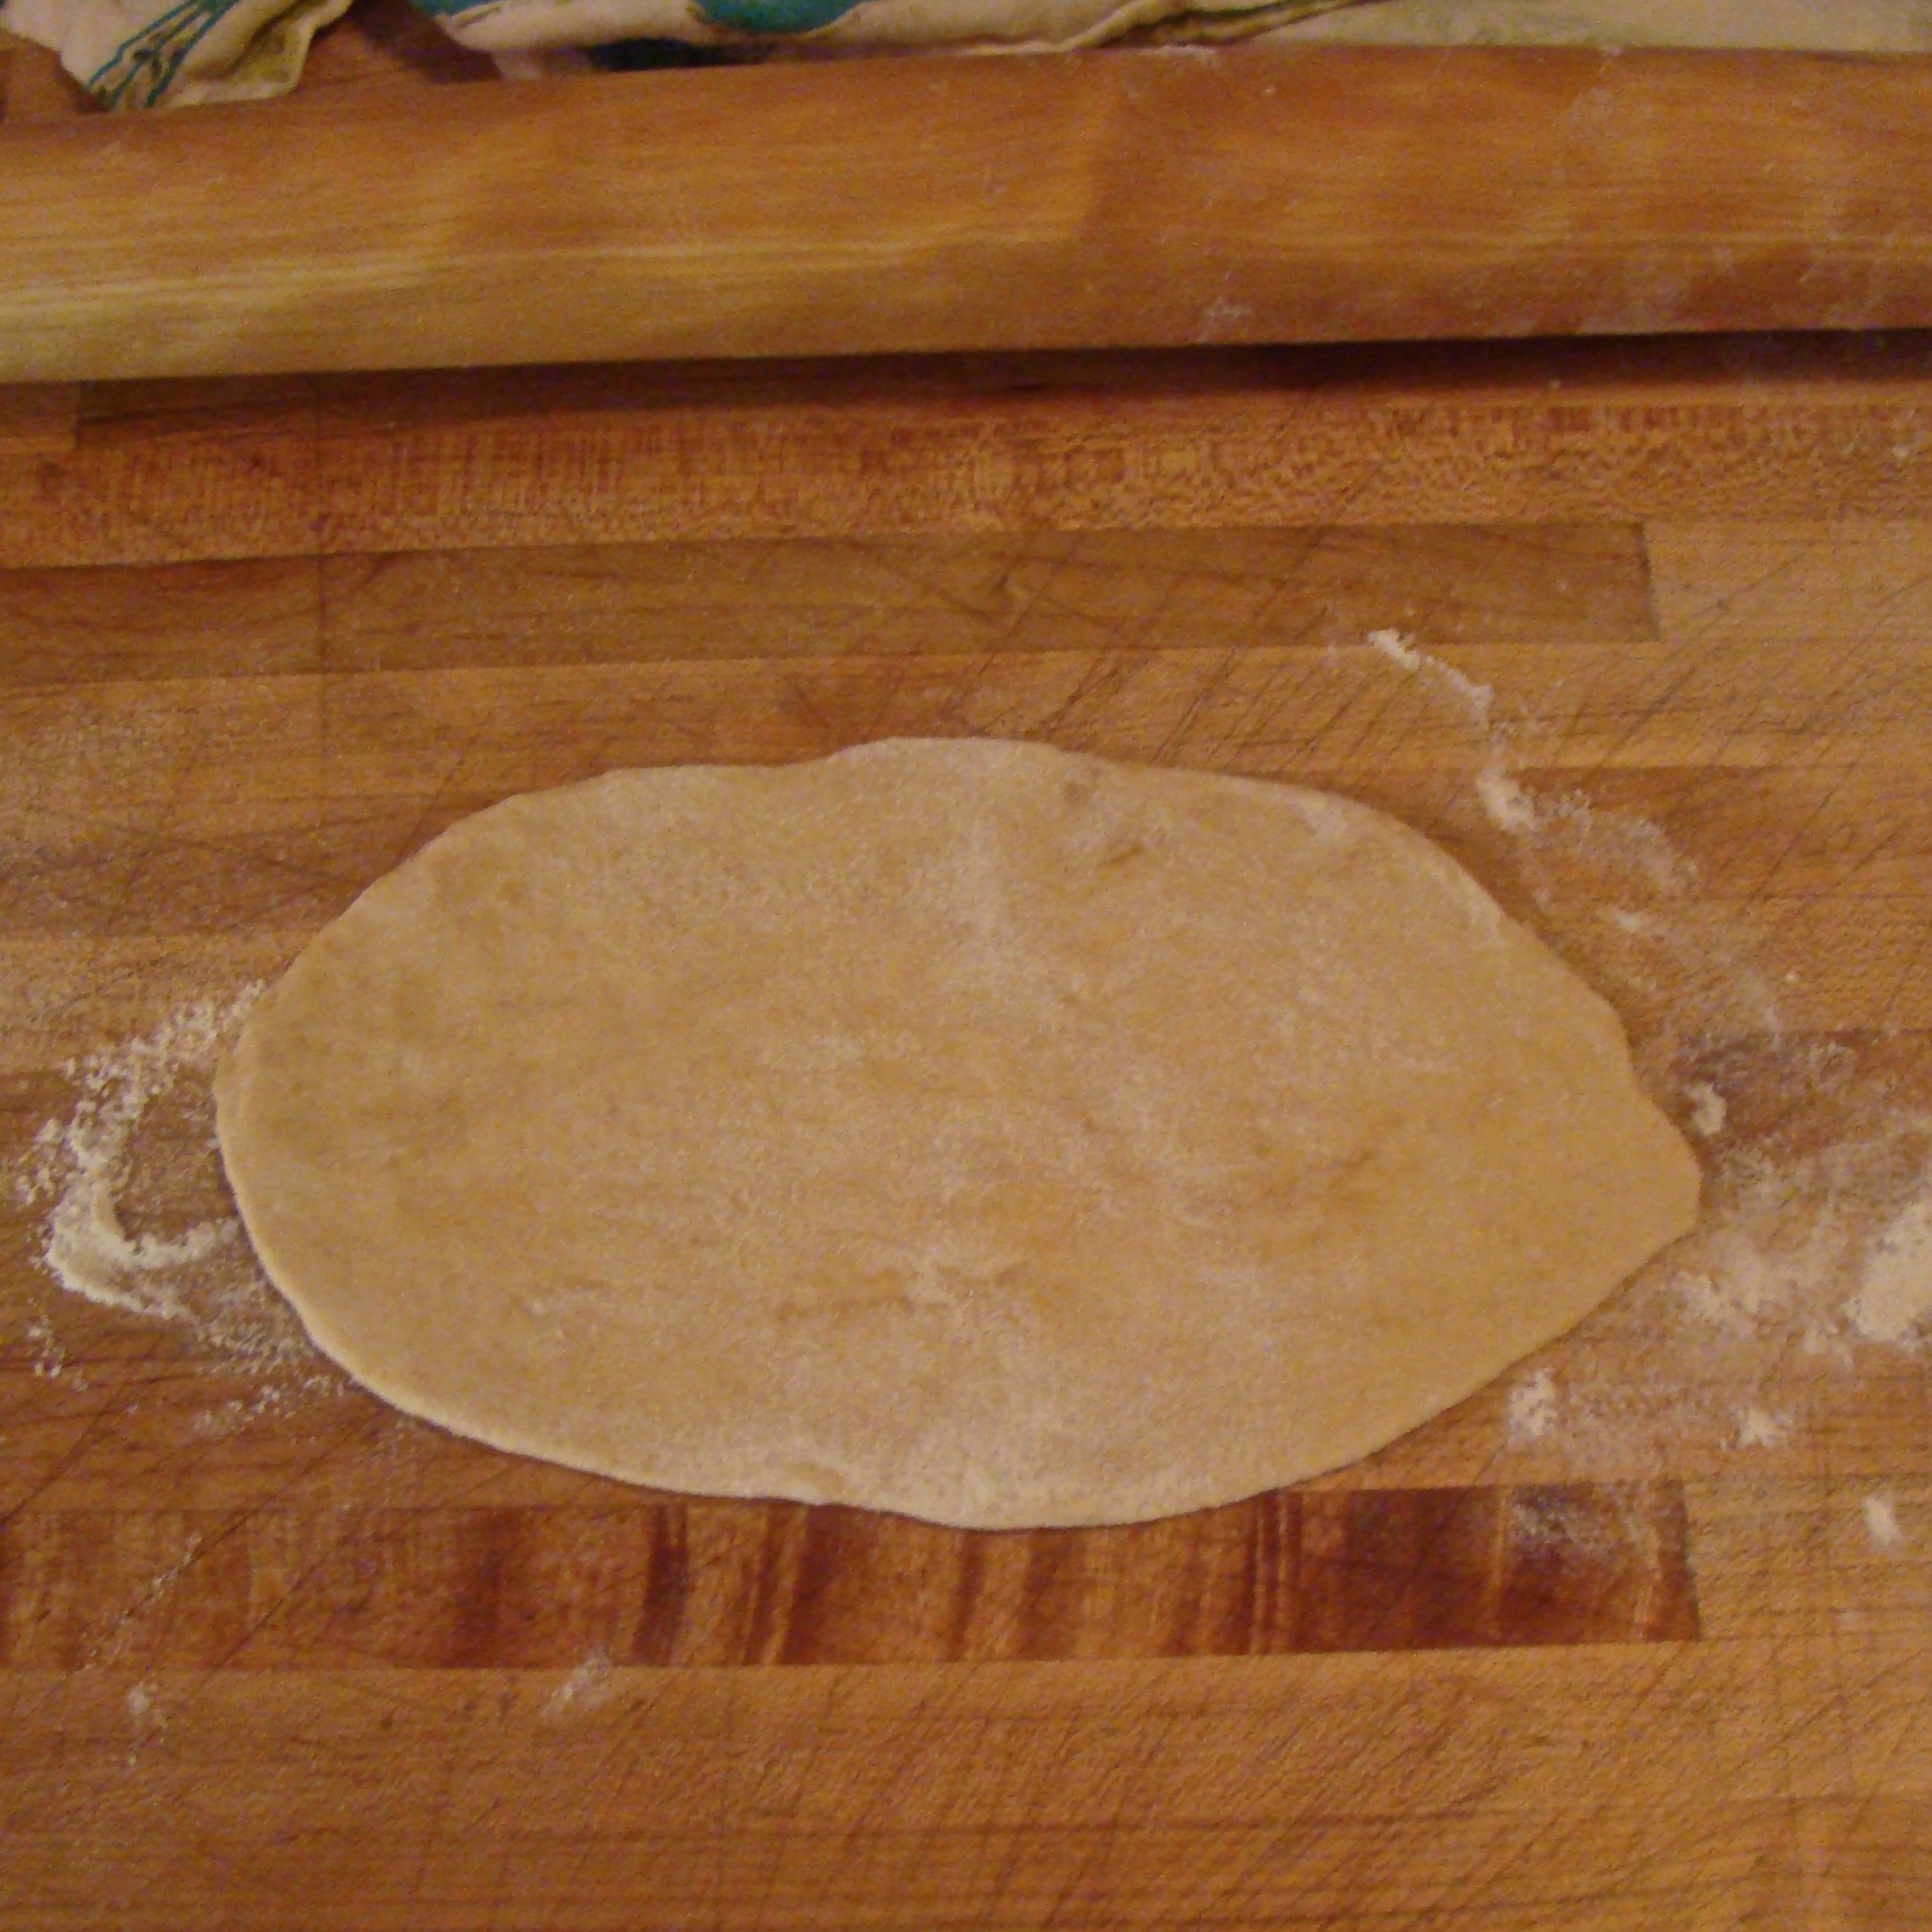
3. Heat a dry skillet over medium-high heat. Use your fingers to spread a teaspoon of olive oil across the surface on which you will roll the tortillas. Use a rolling pin to roll out your first tortilla. If the dough is sticking as you roll, then add a little bit of flour to the counter and to the dough. Add only as much as needed, a little at a time. As you roll, press out from the center towards the edges. Rotate the dough so that you are not only rolling out the same spot. This will help you achieve a round shape. (My tortillas used to be pretty wonky until I figured out the best way to do this. Don’t worry if yours are not round at first. They still taste great!)
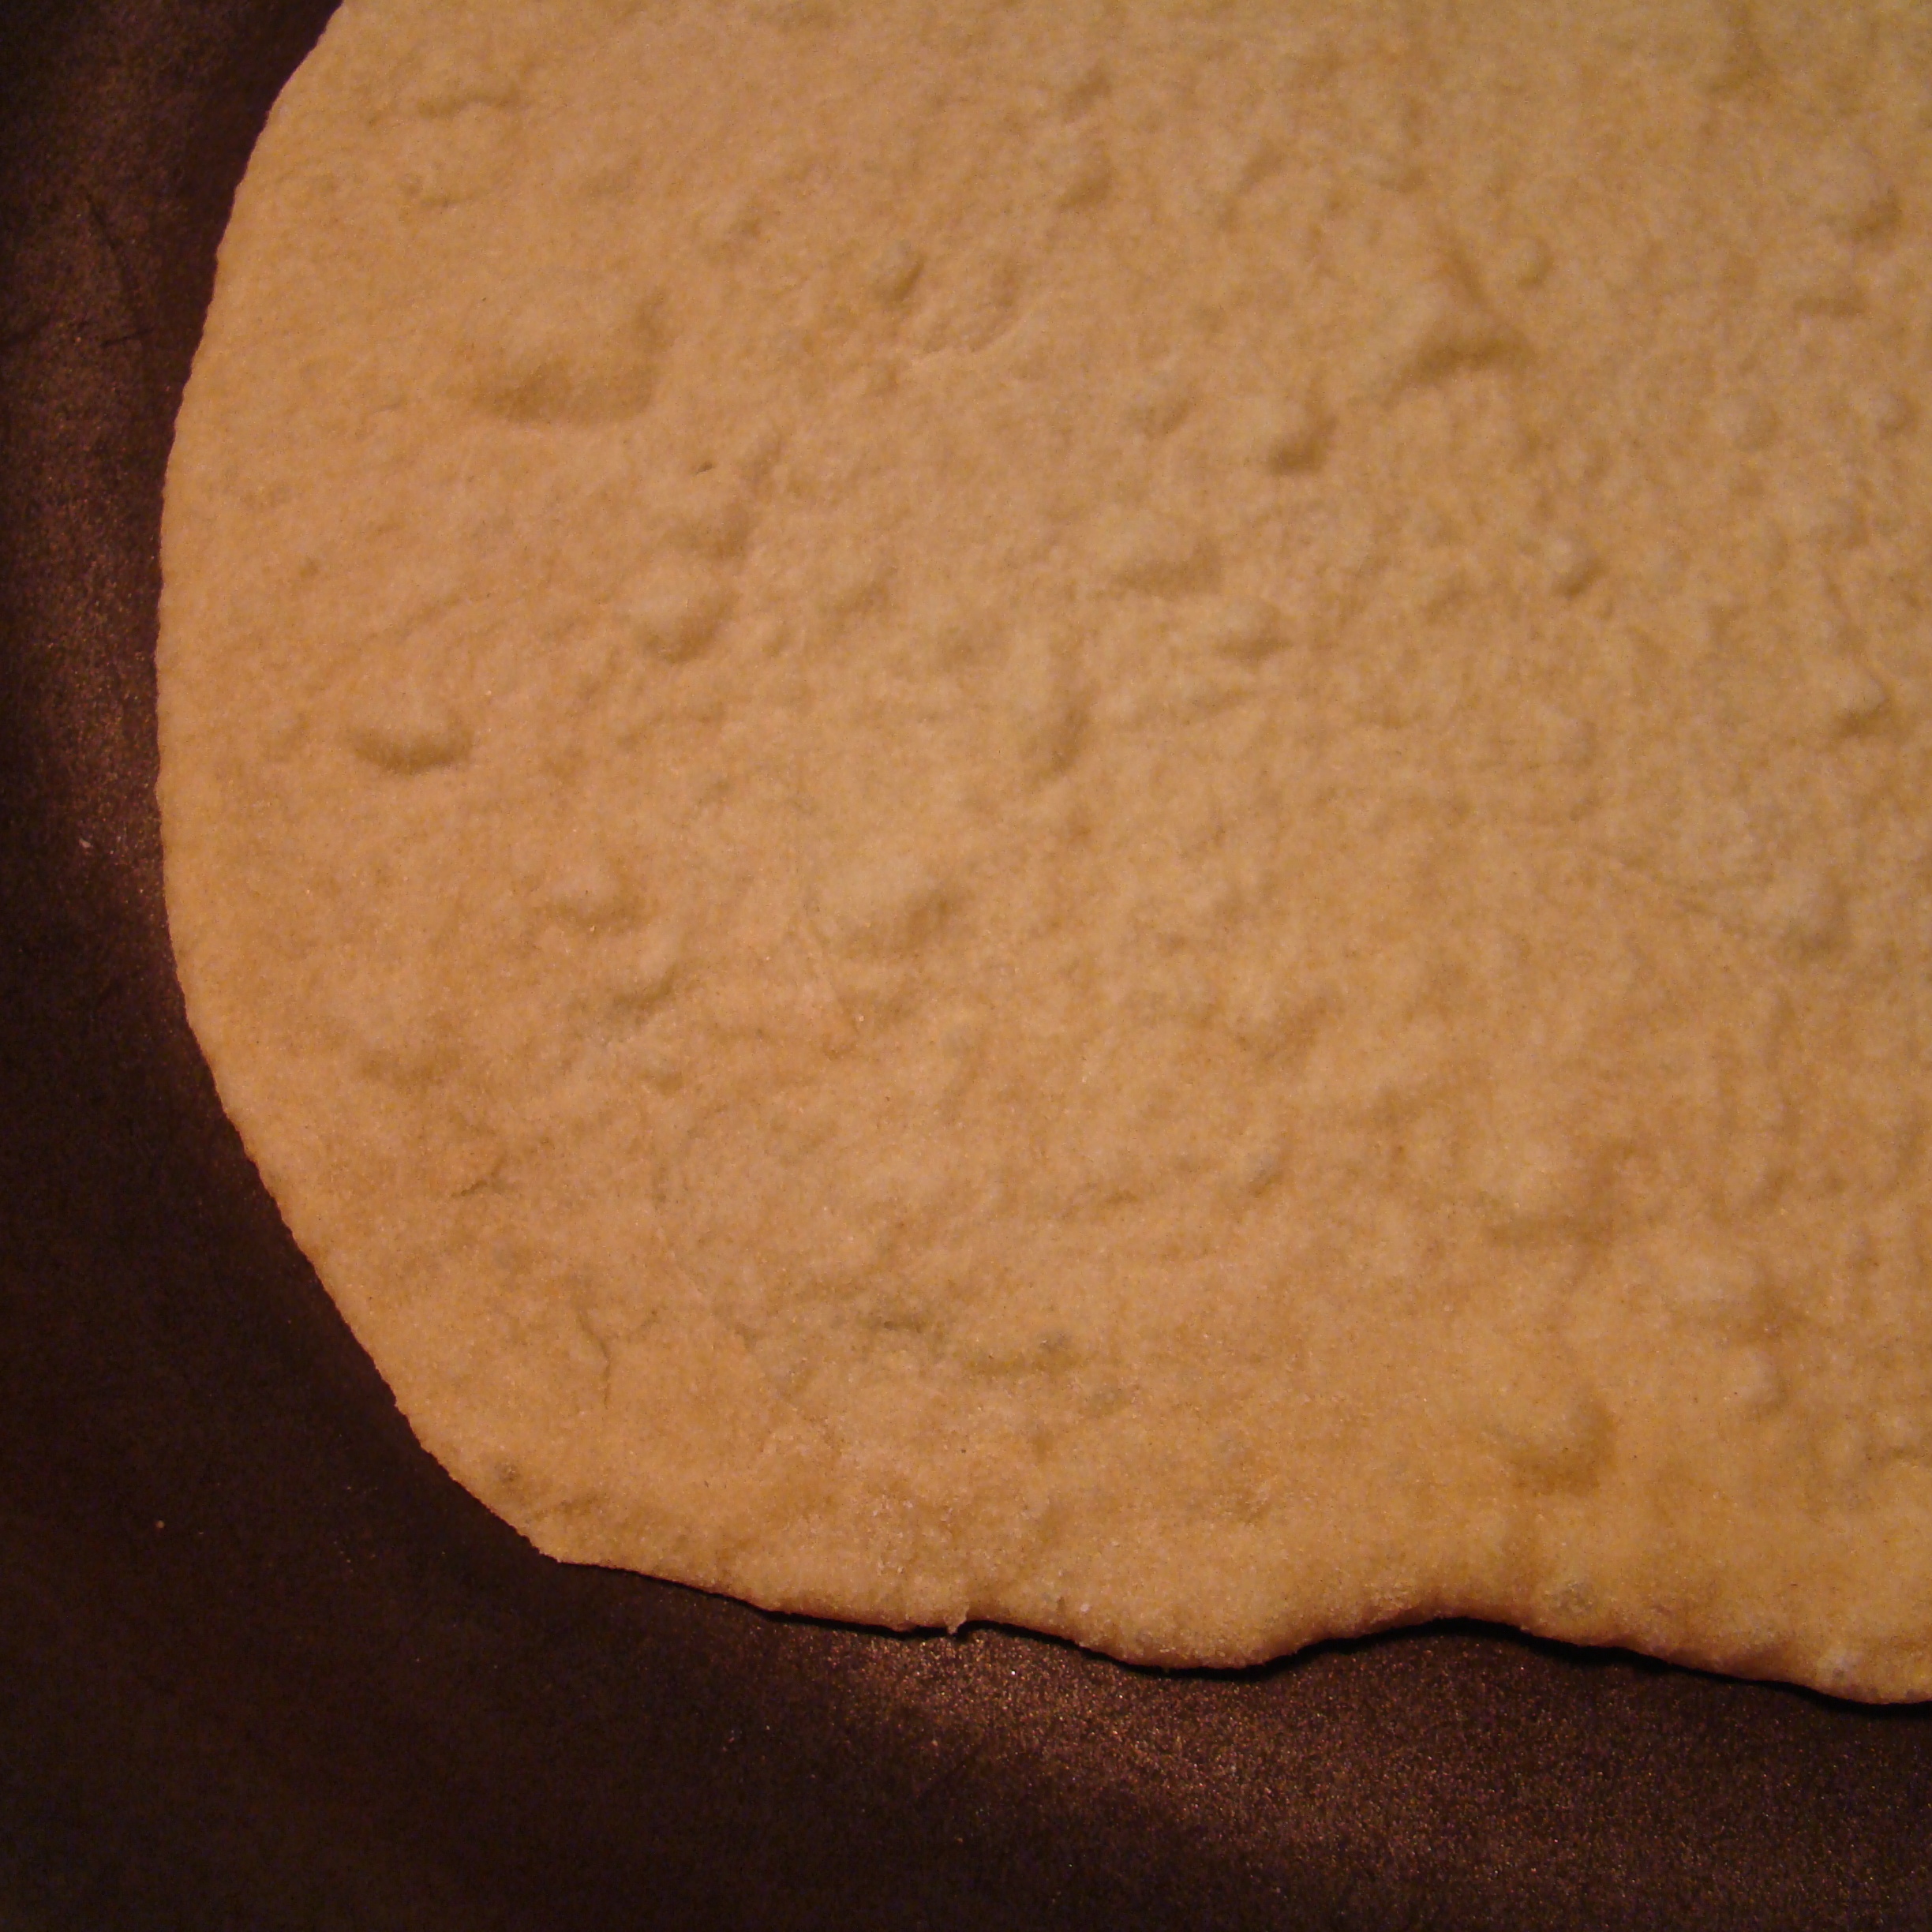
4. Carefully lift the tortilla with your fingers. If it is sticking, work one side up, then another until you have gently released it from the counter. Transfer the tortilla into the hot skillet, laying it down flat on the bottom of the skillet. Cook for 1-2 minutes, until bubbles start to form across the tortilla. Flip the tortilla over and cook for another minute. If the tortilla is getting too brown, turn down the heat a little. You don’t want to overcook your tortillas because they won’t be pliable if you do.
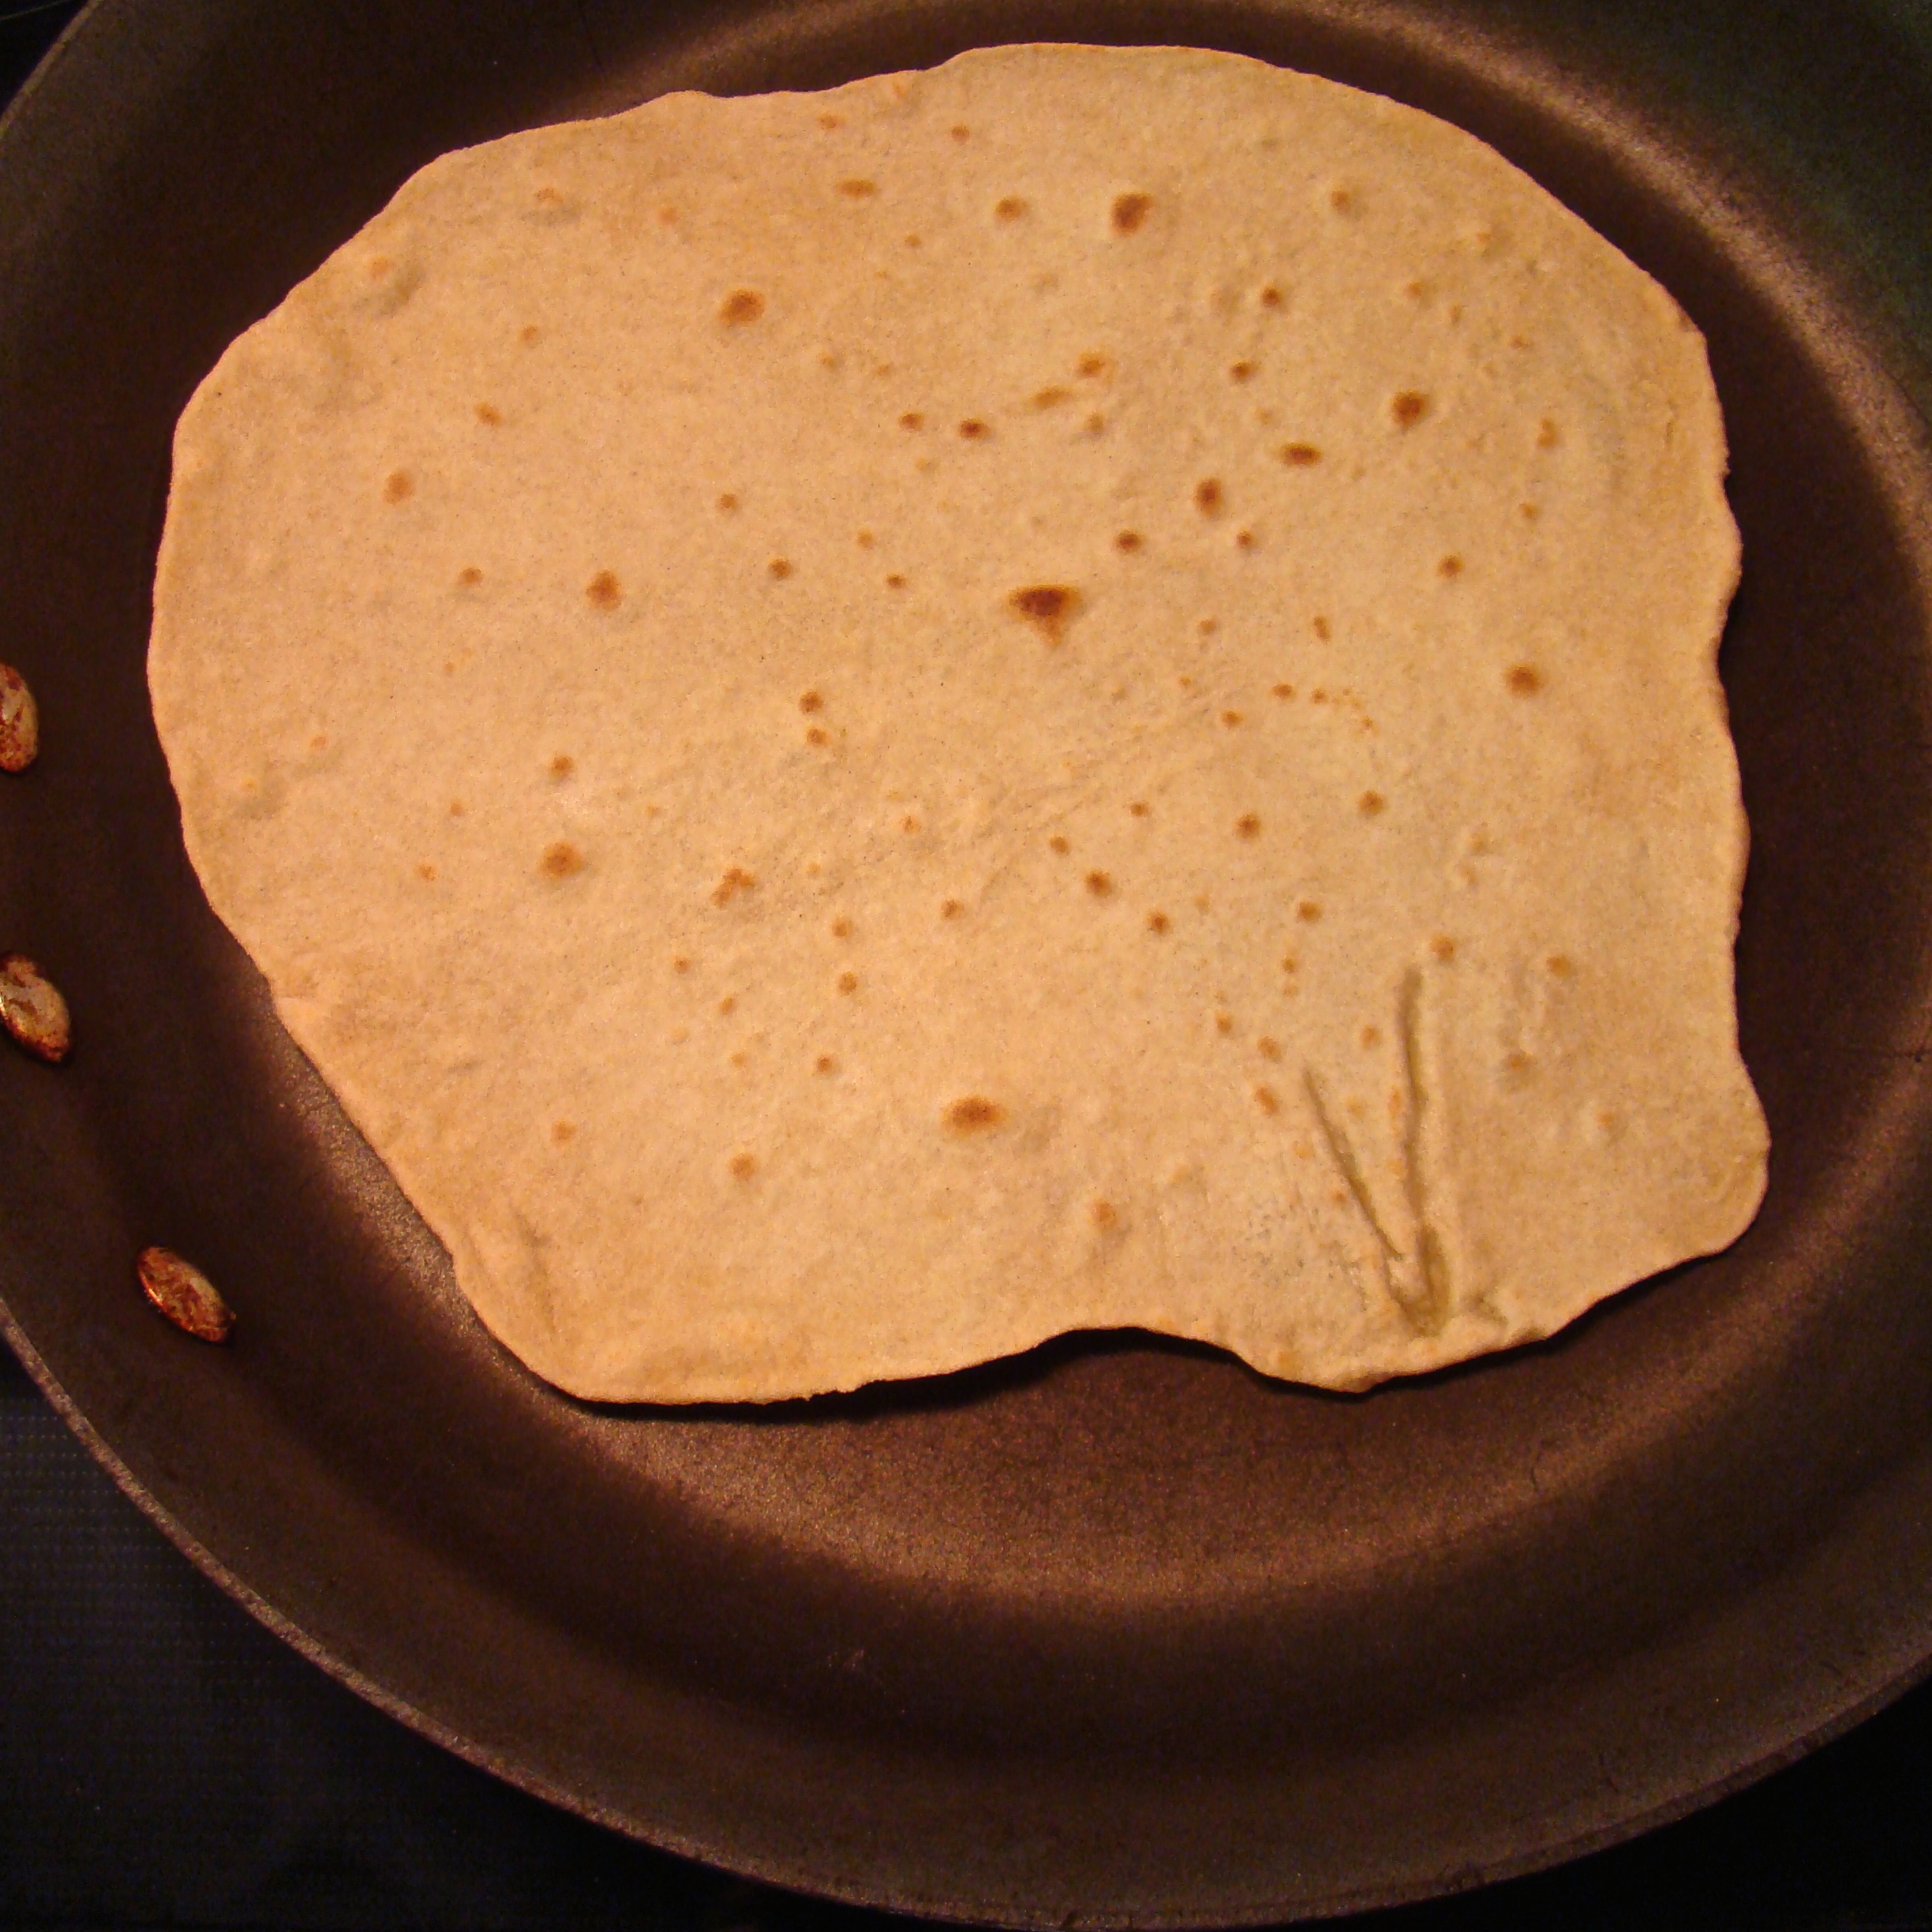
5. Remove tortilla from the skillet and let it cool under a damp towel. The damp towel is important because it helps to soften the tortilla as it cools. Stack up the tortillas as you make them.
6. Repeat steps 3-5 until you have cooked all your tortillas.
7. Store in a ziplock bag or airtight container. I like to immediately put mine in the freezer so I don’t have to worry about them spoiling. When I am ready to use one, I place a frozen tortilla in a (medium-high) hot skillet to thaw for about thirty seconds.
*I have tried making these with different types of flour and have found that white whole wheat results in the softest tortilla. You can use regular whole wheat but the tortillas will be chewier and less soft.
What is one of your family’s favorite ways to use tortillas?
- 4 C white whole wheat flour
- 2 tsp sea salt
- 1 tsp baking powder
- 2 Tbsp butter (room temperature)
- 4 Tbsp coconut oil (melted or soft)
- 1 1/2 C warm water
- Mix together flour, salt and baking powder in a mixing bowl. Add butter and coconut oil to the flour and blend with your fingers or a wooden spoon until only pea-sized chunks remain. Stir in warm water. Continue to stir and press the dough together until it starts to become cohesive and smooth. Dump the dough and any remaining flour onto a clean countertop and knead until the dough is smooth and completely blended, about two to three minutes.
- Divide dough into 16 pieces. Roll each into a ball and set on a floured countertop. Cover with a slightly damp towel and let rest for about ten minutes. (Keep the dough covered during the whole cooking process to avoid it drying out).
- Heat a dry skillet over medium heat. Use your fingers to spread a teaspoon of olive oil across the surface on which you will roll the tortillas. Use a rolling pin to roll out your first tortilla. If the dough is sticking as you roll, then add a little bit of flour to the counter and to the dough. Add only as much as needed, a little at a time. As you roll, press out from the center towards the edges. Rotate the dough so that you are not only rolling out the same spot. This will help you achieve a round shape. (My tortillas used to be pretty wonky until I figured out the best way to do this. Don’t worry if yours are not round at first. They still taste great!)
- Carefully lift the tortilla with your fingers. If it is sticking, work one side up, then another until you have gently released it from the counter. Transfer the tortilla into the hot skillet, laying it down flat on the bottom of the skillet. Cook for 1-2 minutes, until bubbles start to form across the tortilla. Flip the tortilla over and cook for another minute. If the tortilla is getting too brown, turn down the heat. You don’t want to overcook your tortillas because they won’t be pliable if you do.
- Remove tortilla from the skillet and let it cool under a slightly damp towel. The damp towel is important because it helps to soften the tortilla as it cools.
- Repeat steps 3-5 until you have cooked all your tortillas.
- Store in a ziplock bag or airtight container. I like to immediately put mine in the freezer so I don’t have to worry about them spoiling. When I am ready to use one, I place a frozen tortilla in a (medium-high) hot skillet to thaw for about thirty seconds.
Hard white wheat or soft white wheat for a pliable dough?
Are you grinding it yourself? I think either one would work if you are. The white whole wheat I am referring to in the post is King Arthur’s white whole wheat that comes in the orange bag.
These look great! I’m excited to try them:) u mentioned u don’t have a bread recipe u love and our family recently found one that works great for us and very simple- if you’re interested it’s http://moneysavingmom.com/2008/08/homemade-bread.html