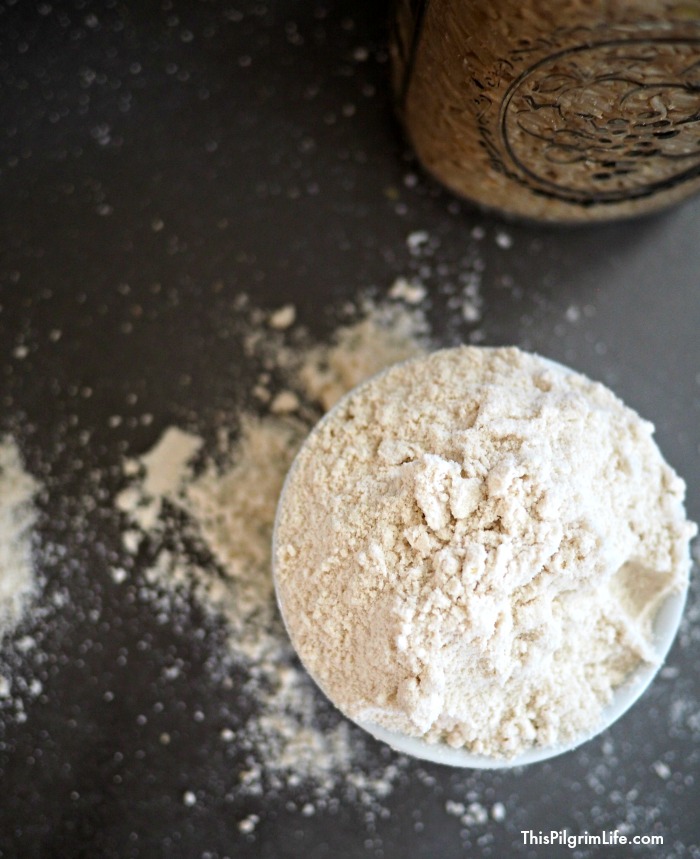
Fresh is best. This is true for fresh flour too! Grinding grain at home yields fresh flour that is rich in vitamins and nutrients, and full of amazing flavor.
The links below may be affiliate links, meaning I earn a small compensation at no extra cost to you. See my full disclosure policy here.
I have been grinding my own grains at home for years, and have been asked often about the process. Why do it? What are the health benefits? What exactly do you grind and how do you use it?
As I LOVE all things bread and baking, and really love being able to inspire you to learn new ways to cook from scratch and enjoy healthy foods, I am really excited to share about grinding grain at home!
I asked what you wanted to know about grinding grain at home on Facebook and you gave me so many great questions and topics to cover. And since I have a habit of being long-winded as it is, I ended up breaking this topic into two posts.
In part one, I will cover the reasons behind grinding grain, ways to grind grain, a little about the types of things you can grind (including gluten-free flours!), and a few tips for good measure.
In part two, I will go into more detail about how to use different grains/flours, and costs/where you can buy them.
I will be doing some live videos to talk about this topic on Facebook, too, so if you are not already following there be sure to click over and like the page so you can be alerted to when I go live and see the videos later.
Grinding Grain at Home :: Q & A, Part 1
Why???
This question is first, of course, because why take on a task without knowing it’s worth doing? Why bother grinding flour at home when you can easily pick up a bag from the store?
Because the fresher your foods, the higher vitamin and nutrient rich they are. Likewise, the less processed your foods, generally the healthier they are.
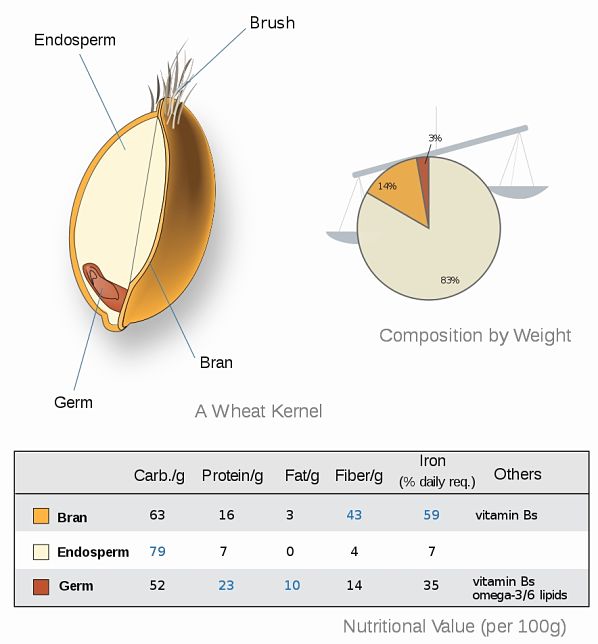
Starting with an intact wheat berry means that you get all of the nutrition and all of the flavor (more on that in a moment). A wheat berry has three parts– the bran, the germ, and the endosperm. Most of the vitamins, minerals, fiber, and antioxidants are found in the bran and the germ.
Regular commercial flour removes the bran and the germ, and grinds only the endosperm. The reason for this is to reduce the oils from the bran and germ to prevent the flour from going rancid. However, doing so also strips the flour of a majority of it’s natural nutrition. This is why you will see flour labeled as enriched– the vitamins need to be put back into the flour.
Fresh flour also just tastes better! This isn’t really surprising when you consider how many foods taste significantly better when they are fresh. Baked goods made with freshly ground flour are so delicious.
The last reason I will give for why grinding grain at home is worth doing is simply because it can be SO EASY to do. I’m talking just a few minutes between pulling out the wheat berries and having fresh flour. I will get into different options for grinding grain below.
Is it all or nothing?!
Now that I have told you all about how healthy and flavorful fresh flour is, does that mean that I only ever use fresh flour for cooking and baking?
Nope.
I always have a couple of bags of flour on hand– all-purpose flour and bread flour. I use fresh flour for a lot of different things, but there are still a few things for which I prefer bagged flour. Quick breads like 30-minute dinner rolls and one-hour French bread benefit from the higher gluten content of bread flour. I also always use bread flour when making bagels.
I am all about balance in my life and in our kitchen. I LOVE use fresh, healthy ingredients… but I also embrace the fact that there are times for convenience foods, and I’m thankful to have those options.
What do I need?
Glad you asked. There are three most common tools used for grinding grain at home. I have used two of them, but have also read reviews and other cooks’ experiences on the third.
- Vitamix or other high powered blender. (My introduction into grinding grains).
- PROS :: Great if you already have one at home. Easy to clean. Quick. Not messy.
- CONS :: Can only grind small batches at a time. Not as finely ground. Noisy.
- Kitchen Aid Grain Mill Attachment. (I have not used this one).
- PROS :: Less expensive than a grain mill or blender. Small to store. Adjustable settings. Easy to use.
- CONS :: Can be messy. Need to pass the flour through multiple times to achieve a fine flour. Cannot do large batches at a time. Can overheat if you try to grind too much. Noisy.
- Electric Grain Mill. (The is what I use and recommend).
- PROS :: Easy to use. Adjustable settings. Grinds grain very evenly and fine. Not messy. Easy to clean.
- CONS :: Larger to store. More expensive. Noisy.
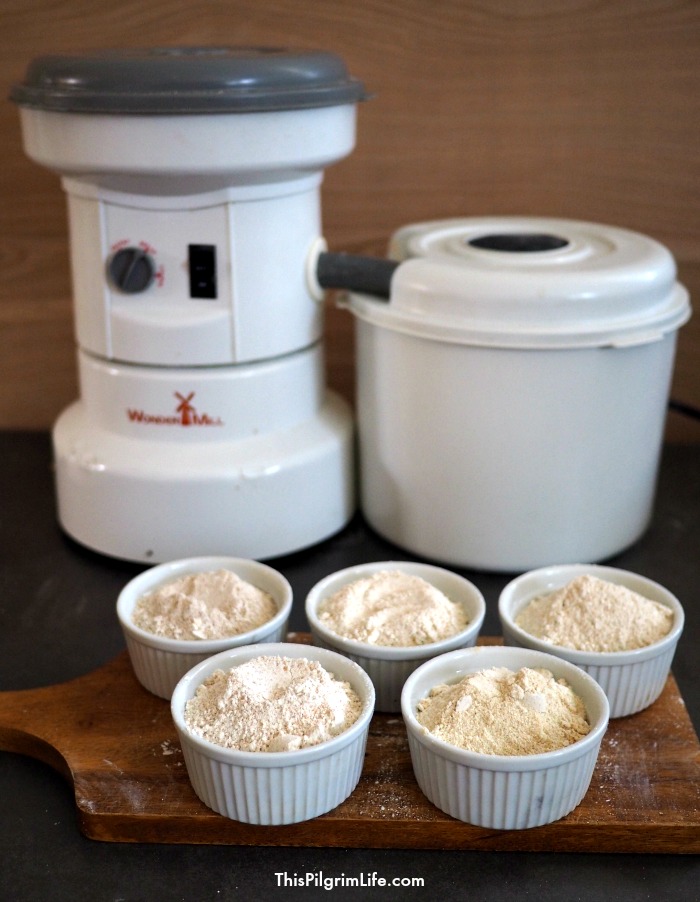
My grain mill has a permanent place on my counter, along with a few other daily-use appliances. I highly recommend it to anyone who is interested in grinding grain on a regular basis. Using it is a simple as flipping a switch and dumping in the wheat berries. In a matter of moments, your flour is ready to use.
I used my Vitamix with the dry container for a while to grind wheat berries, but I did not want to use it long-term. You can only grind a cup or two of berries at a time, and even then the end result was not as fine as I would prefer. (If you do want to use the Vitamix for grinding grain regularly, the dry container is a good investment because it is wider at the base and distributes the grain more evenly for a smoother end product).
The Kitchen Aid is a good option. But as I read reviews, many people said that the flour needed to be put through the mill two or three times to get a good, fine consistency. I believe it can also be a little messier and less easy to use.
Watch how to use the Wonder-Mill ::
What grain can I grind?
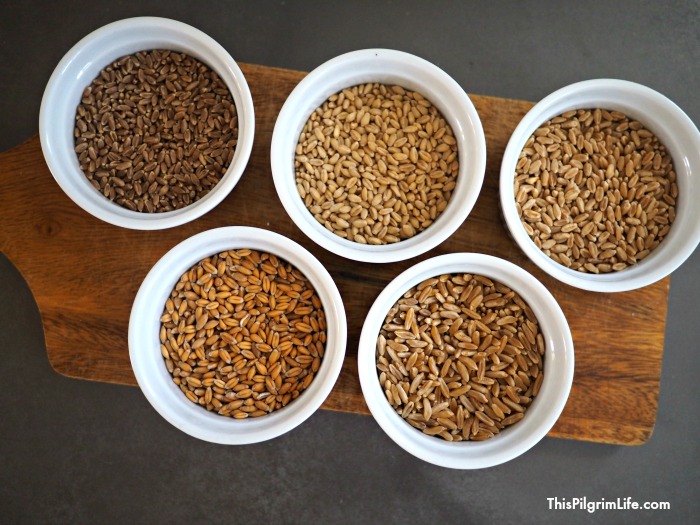
There are SO many options for different grains that you can grind at home to make fresh flour, which is one of the greatest benefits of grinding grain at home. You can easily make your own blends, make gluten-free flours, and try something different each time you bake.
The most common wheat varieties are soft white, hard white, and hard red. Soft white wheat berries grind into a lighter flour, similar to a pastry flour, and are great for muffins, cakes, and other similar baking. Hard white is similar to an all-purpose flour and is great for bread. Hard red is similar to a whole wheat flour and is also good to use along with other flour in bread. These three wheat berries are the ones I most often use.
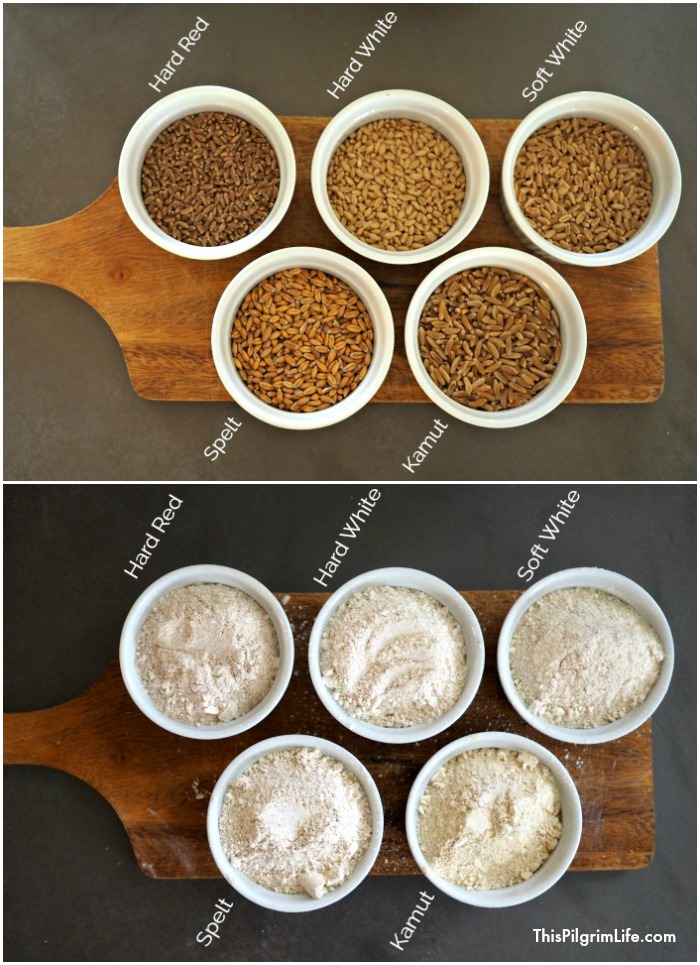
In addition to those three, you can also grind a variety of ancient grains and varieties. Spelt, kamut, eincorn, and others are VERY high in nutrition content and great to introduce to your baking routine.
For gluten-free baking, you can grind oats, various rice flours, sorghum, millet, quinoa, corn, amaranth, and more. Again, the wonderful thing about grinding your own GF grains is that you can make your own blends to achieve the best end results in your baking.
Check back for Part 2 for even more ideas and information about what grain to grind and how to use different types of flours.
Tips and tricks ::
- Store your wheat berries in the freezer. They will stay fresher longer, and will not get too hot when being ground (potentially harming the nutrients).
- Only grind what you need for that recipe, or what you can use in a day or two. Fresh flour has all the natural oils of the wheat berry and will spoil more quickly.
- Grind slightly less wheat berries than you need flour. One half cup of wheat berries will yield between three quarters to one full cup of flour.
- Fresh flour will absorb more liquid, so when baking, you may need to slightly increase the liquid content in your recipe.

Do you grind your own grain at home? Have you ever wanted to try?
I hope you have found this helpful. If you have any comments or questions, let me know below!
Sharing is caring! Don’t forget to pin and share. Thank you!
I have been grinding my own grains for a while now after reading and watching videos from another mother/blogger/podcaster. My question is, are you going to post recipes that are for freshly ground flours? I know recipes are a bit different because the fresh flour absorbs more liquids and I do have 2 books but would love to have some of your recipes to use for this. Thanks!
I want to to make rye bread . Before I started grinding my own flour I used rye flour and bread flour. Now I know I can get rye berries. But is there something else to use besides bread flour? I know I can grind all purpose and add vital wheat gluten. But I’d really never use either of them for anything else. I use hard red and soft red for just about everything.
I am interested in grinding my own grain for bread as it is more nutrient rich and looks like it has lower carbs. I do have the Vitamix with blender for dry ingredients however I watched your demo of grinding grain in there and it looks quite course. I know that you have no experience with the mill that attaches to the KitchenAid stand mixer, but was wondering if anyone has used it. It would be half the price of the Wonder Mill and so easy to store. Has anyone tried that method? Thanks!