Keeping a car neat and organized when you have kids isn’t always easy. This trio of baskets and bags can help, and I’m excited to share how you can make your own!
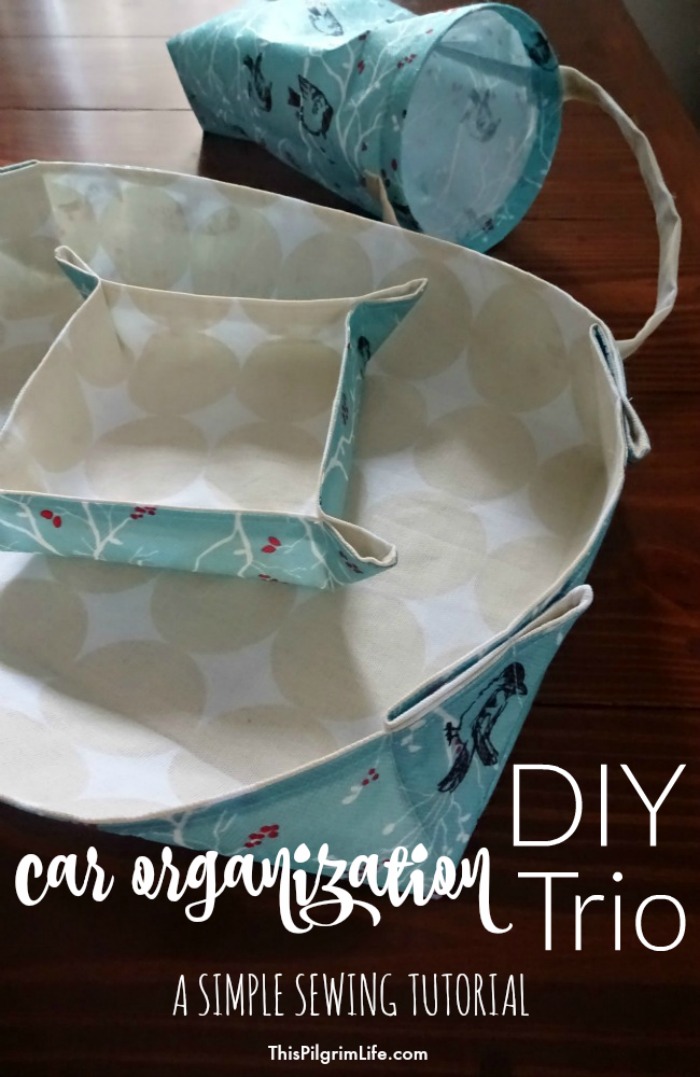
I have tried many strategies to keep our van neat and orderly over the years. Tried.
I’ve made see-through bags for my kids to keep their toys in. I have strategically placed a laundry basket or two around the van. I’ve tried banning toys altogether. I have a bag for our disc golf frisbees, a bag for just-in-case coats, and the pockets behind the seats are utilized for map books and spare diapers and wipes.
My van isn’t messy because I haven’t tried. Do you know what is the real problem?
I have little kids. Four of them.
It may seem odd that I’m introducing a post about how to make organizers for the car by telling you how I struggle to keep our van clean. But, it’s true. There’s no magic pill.
But there are things that can help. And I want to share what has helped with you.
Disclosure: Affiliate links are included in this post for products used in the project. Purchasing through these links comes at no cost to you and supports this site with a commission. Thanks!
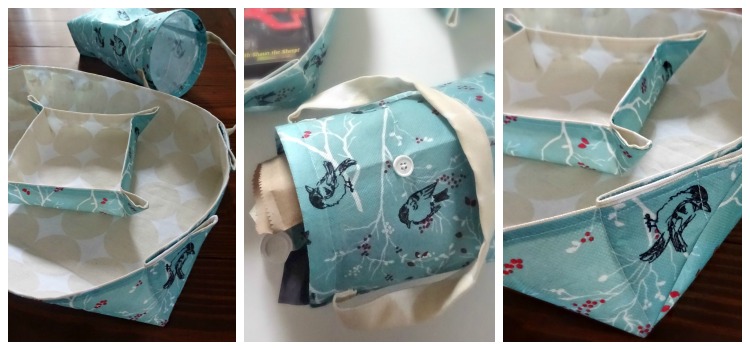
I first made these organizers a few years ago before we left for a road trip. I wanted to set us up for the best trip possible, and keeping the van somewhat neat while we would be spending so much time in it was high on the priority list.
Since then, these baskets have been a great help in keeping the front of our van more organized.
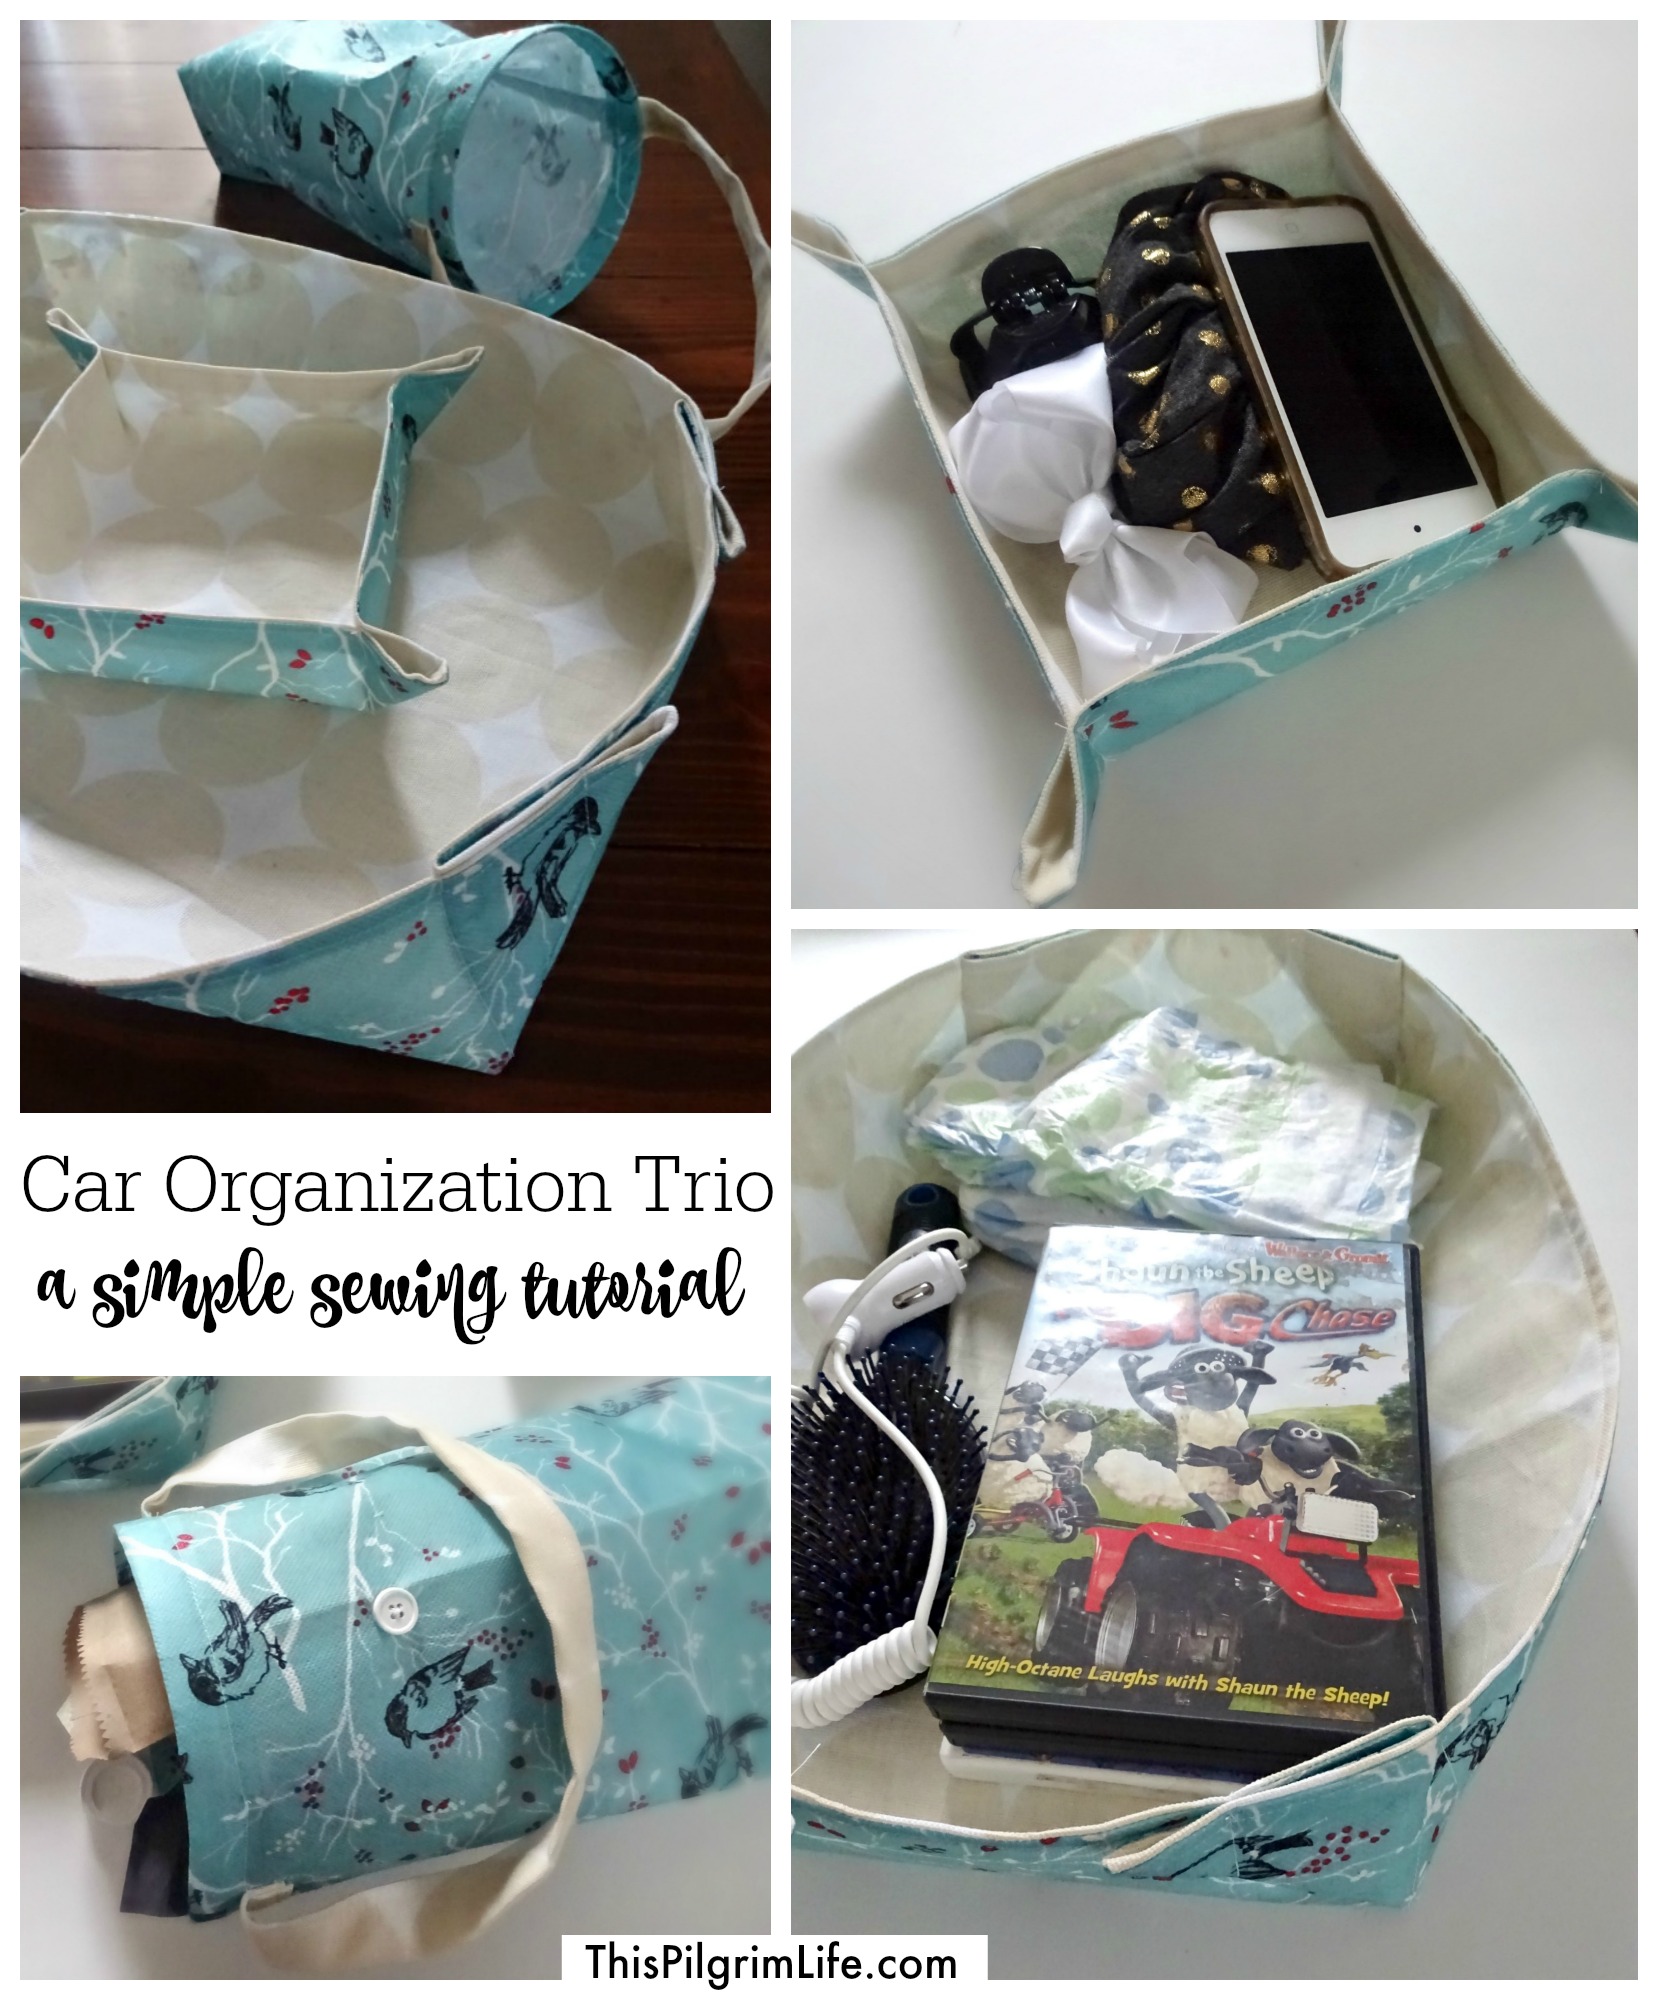
The small basket is perfect for keeping little things from sliding around or getting lost. Mine is usually filled with hairbows, stray LEGO men, nail clippers, my phone, gum, and more.
The larger basket is great for holding bigger items. We keep ours on the floor in between the front two seats. It keeps a few DVDs, extra diapers, cords and such together and in reach.
The trash bag is my favorite part of the trio. It hangs on the driver’s arm rest, just behind the chair. The boning around the top of the bag means it’s always easy to drop in trash, and it’s super easy to slip it off the arm rest and dump the trash when it’s full. Or, you can slip in a grocery bag if you’d rather have a lined trash bag.
Having a trash bag that stays in the car means that even if there are toys distributed around the van, the trash always has a place to go.
I’ve written out simple instructions to make each part of the car organization trio below. The whole project should take less than an hour and cost no more than $10! It’s a great project for beginning sewers and expert sewers alike!
Car Organization Trio Tutorial
Small Basket
Materials Needed:
- Utility fabric
- Lining fabric (a mid-weight or home decor fabric)
- Coordinating thread
Suggested Supplies:
- rotary cutter (makes cutting straight lines much easier)
- self-healing cutting mat
- straight pins
- sewing shears
- sewing machine (this is mine)
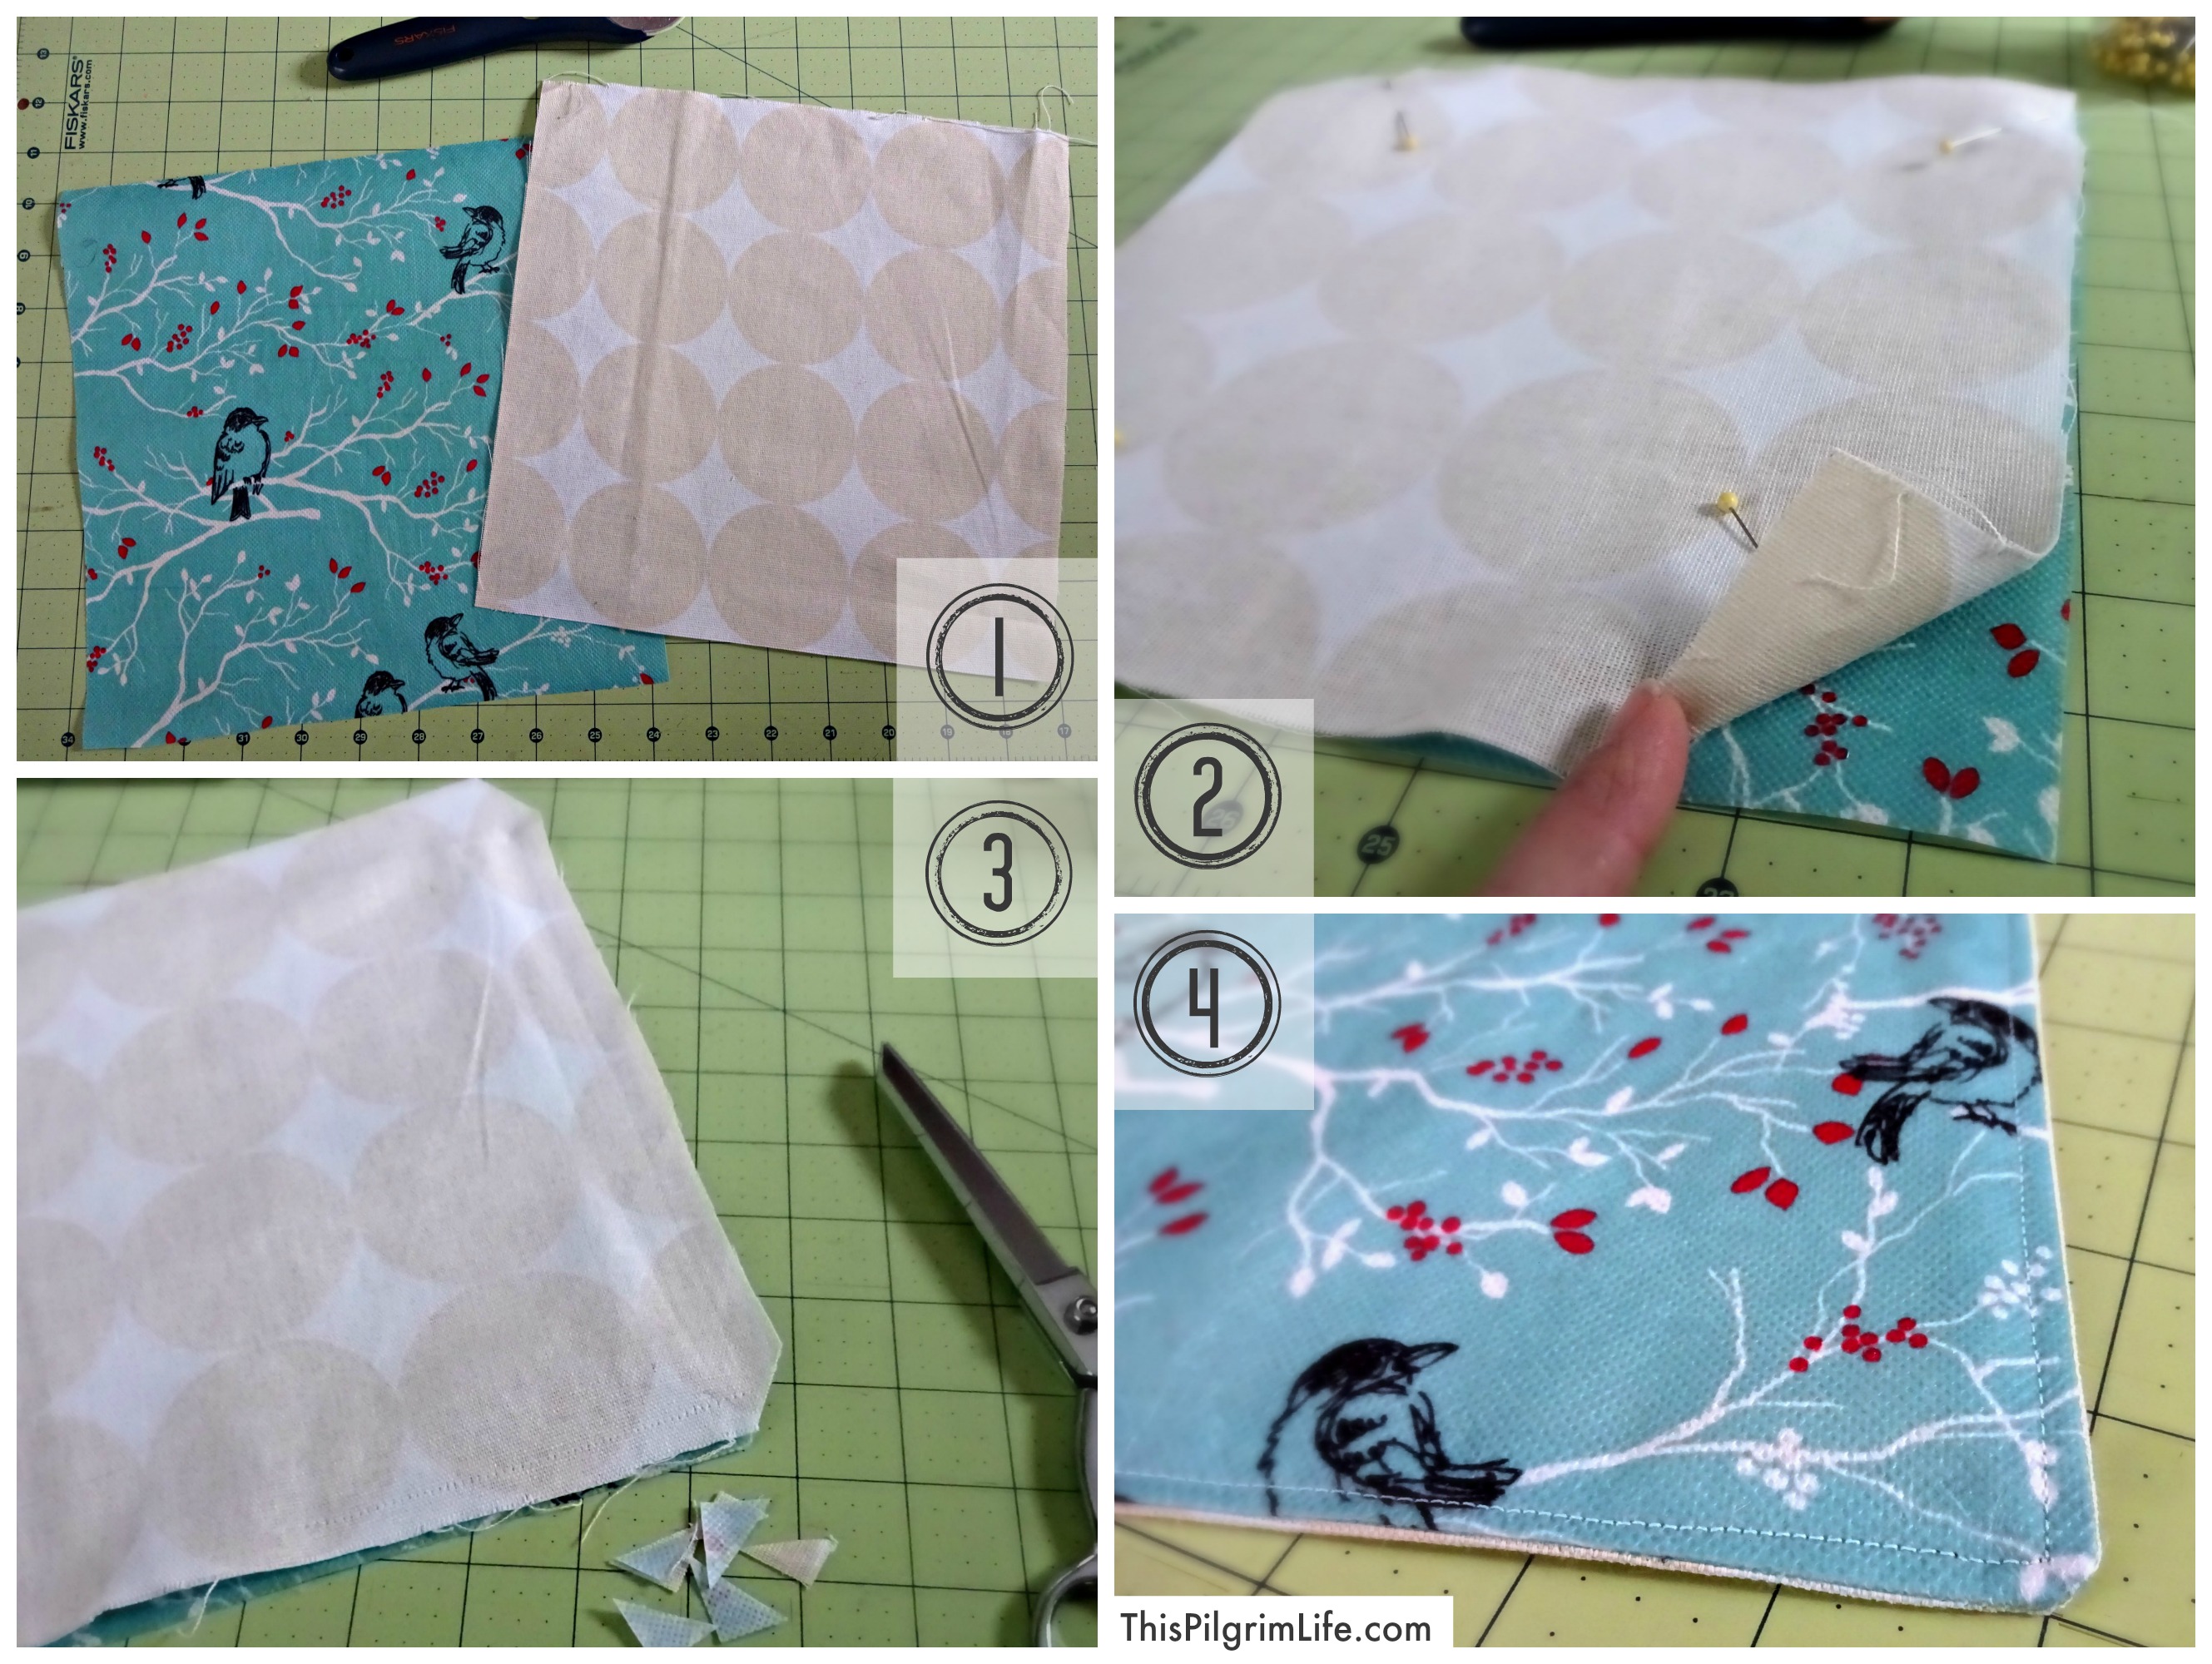
1. Cut a 10-inch square from the utility fabric and from the lining fabric.
2. Place the squares right sides together and sew around the perimeter with a 3/8″ seam, leaving a 3″ opening on one side for turning.
3. Trim the corners.
4. Turn the piece right side out, push the corners out with a chopstick or pencil, and press. Topstitch around the perimeter, closing the opening as you do.
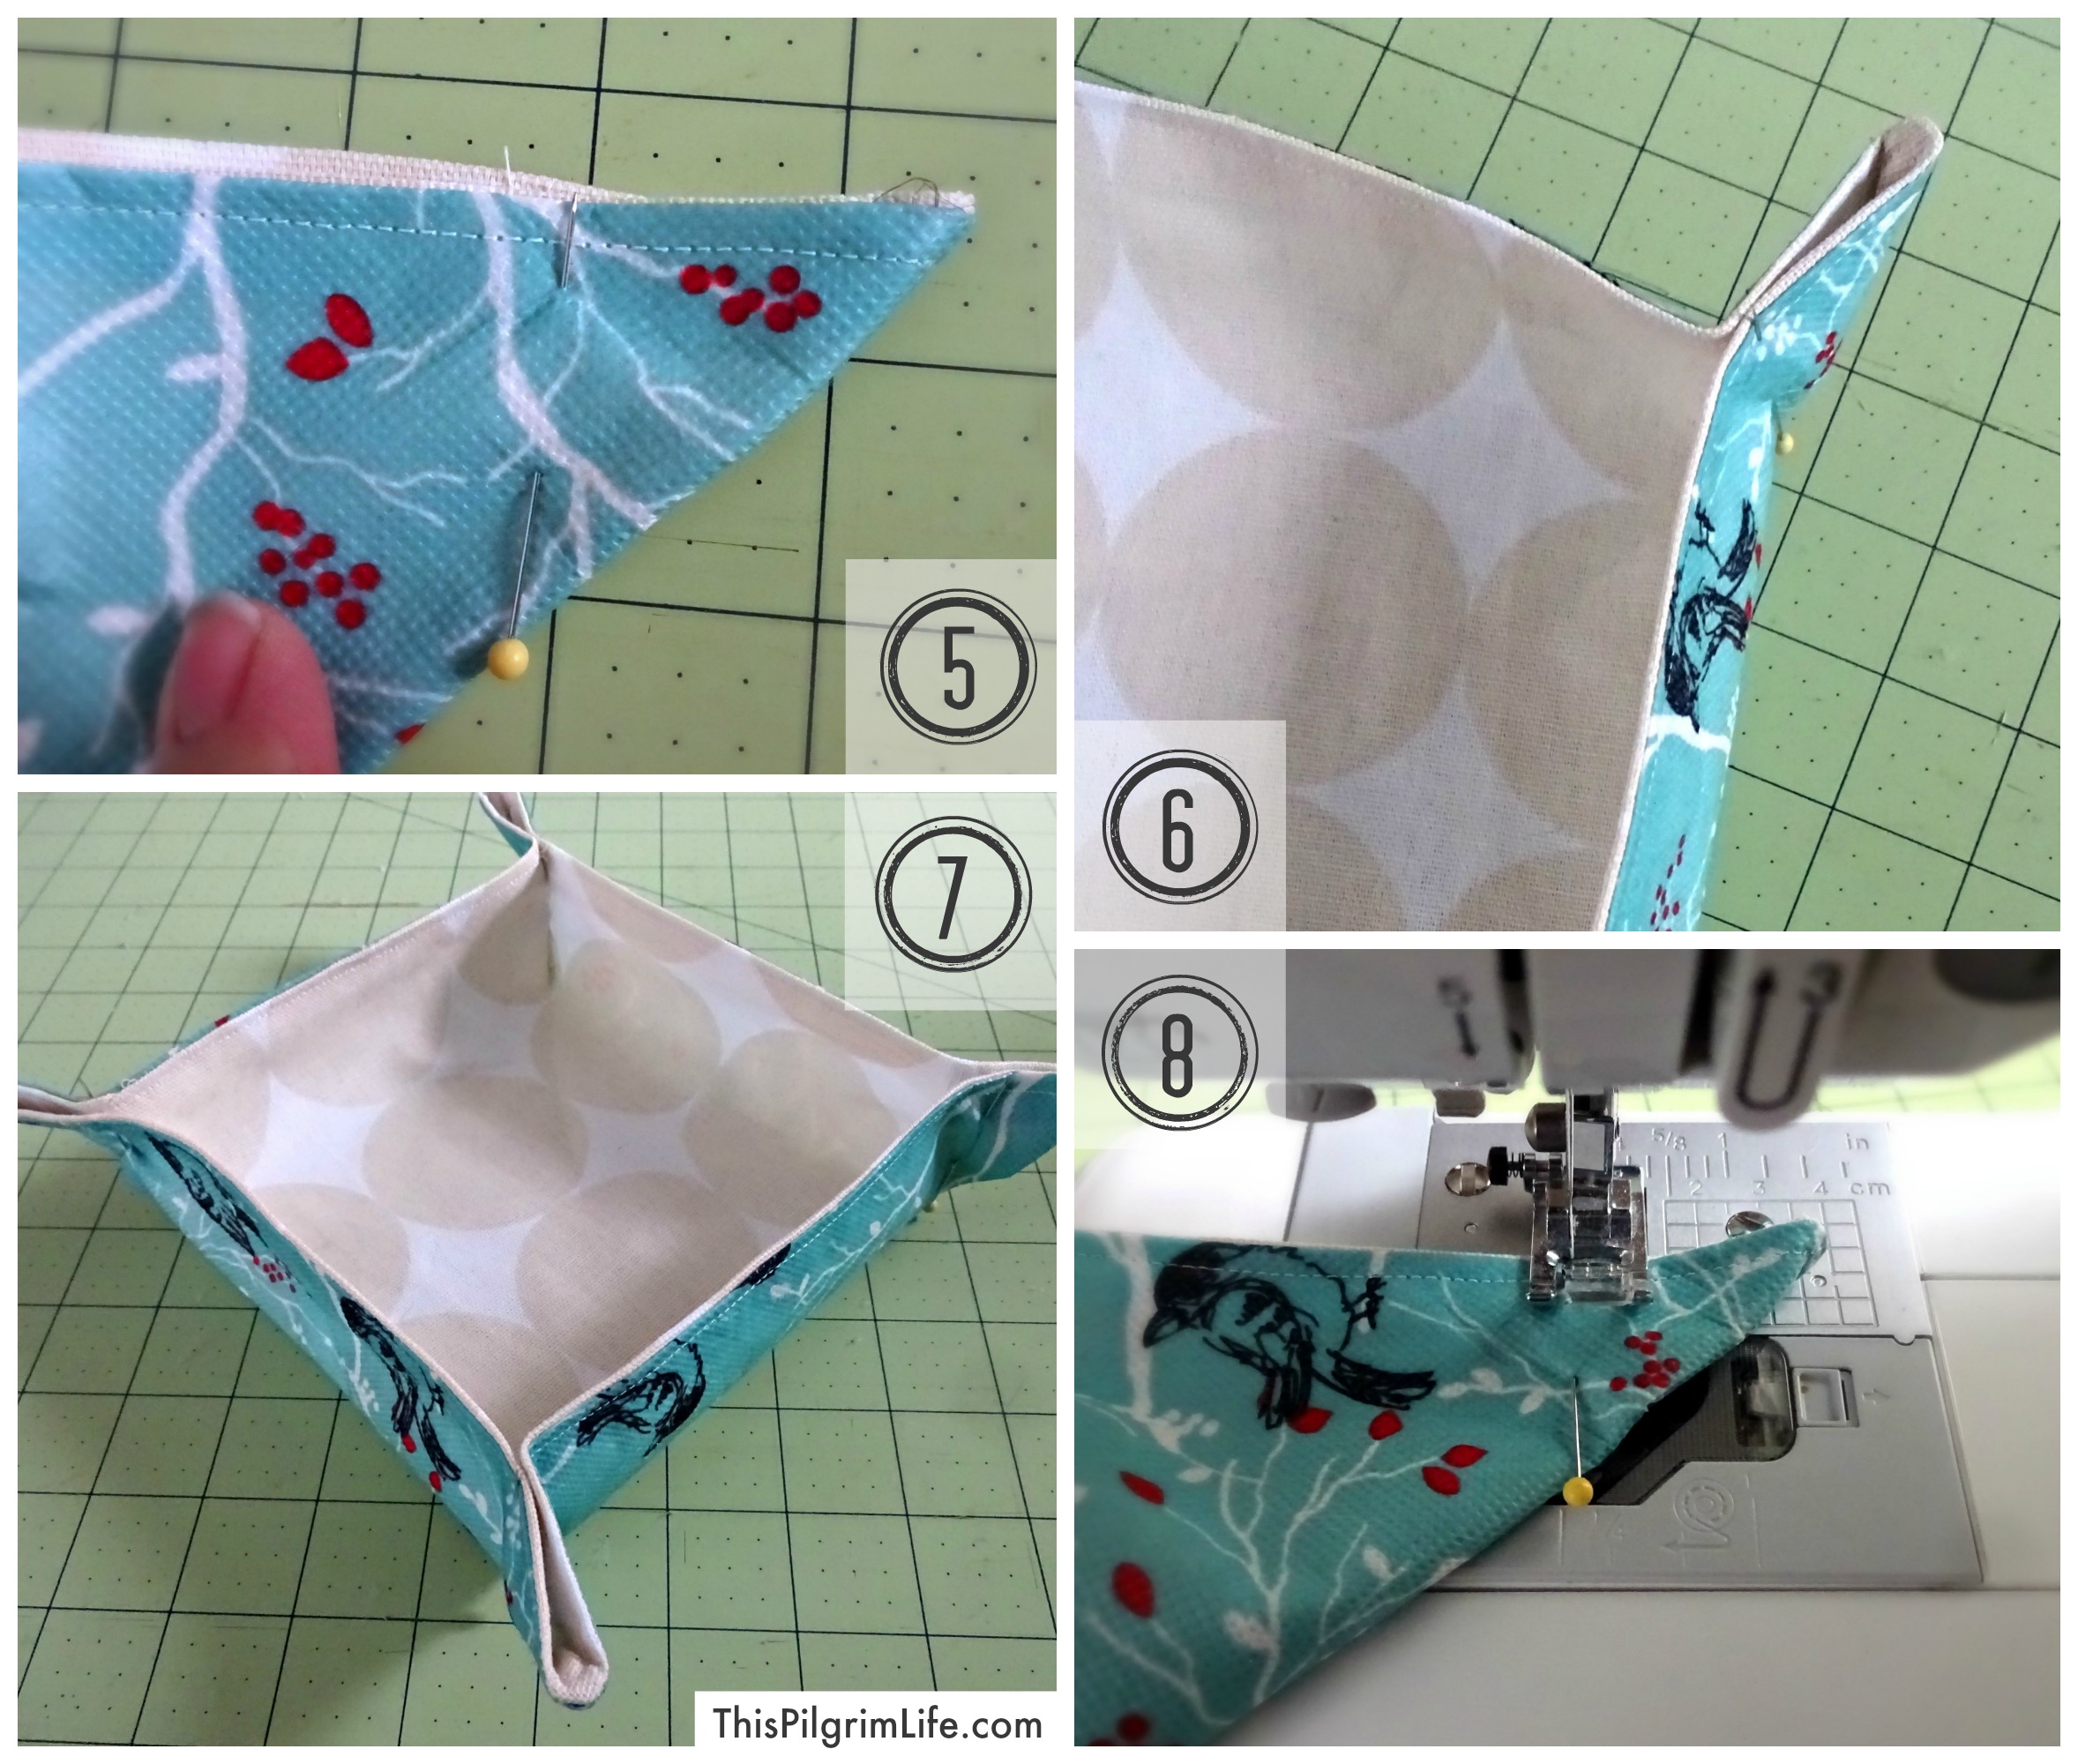
5-6. Pinch two sides together so the corner comes together in a point. Measure 1 1/2″ from the end of the point and pin to mark the spot.
7. Repeat pinching and pinning to make four corners to the basket.
8. Sew a line perpendicular to the edges of the basket along each pin, backstitching at the beginning and end of each line.
Your small basket is done!
Large Basket
Repeat the steps above to make a larger basket, making the following adjustments:
-Cut the pieces for the larger basket 16″ x 22″
-Pin 3″ from the point in steps 5 & 6.
-Sew the excess fabric after making each corner to the side of the basket. (See pictures below).
Lined Car Trash Bag
Materials Needed:
Suggested Supplies:
- rotary cutter (makes cutting straight lines much easier)
- self-healing cutting mat
- straight pins
- sewing shears
- sewing machine (this is mine)
Cut the pieces:
1. Cut two rectangles, 10″ x 15″, from the utility fabric.
2. Cut a strip for the strap, 20″ x 4″.
3. Cut a piece of boning 20″.
Make the bag:
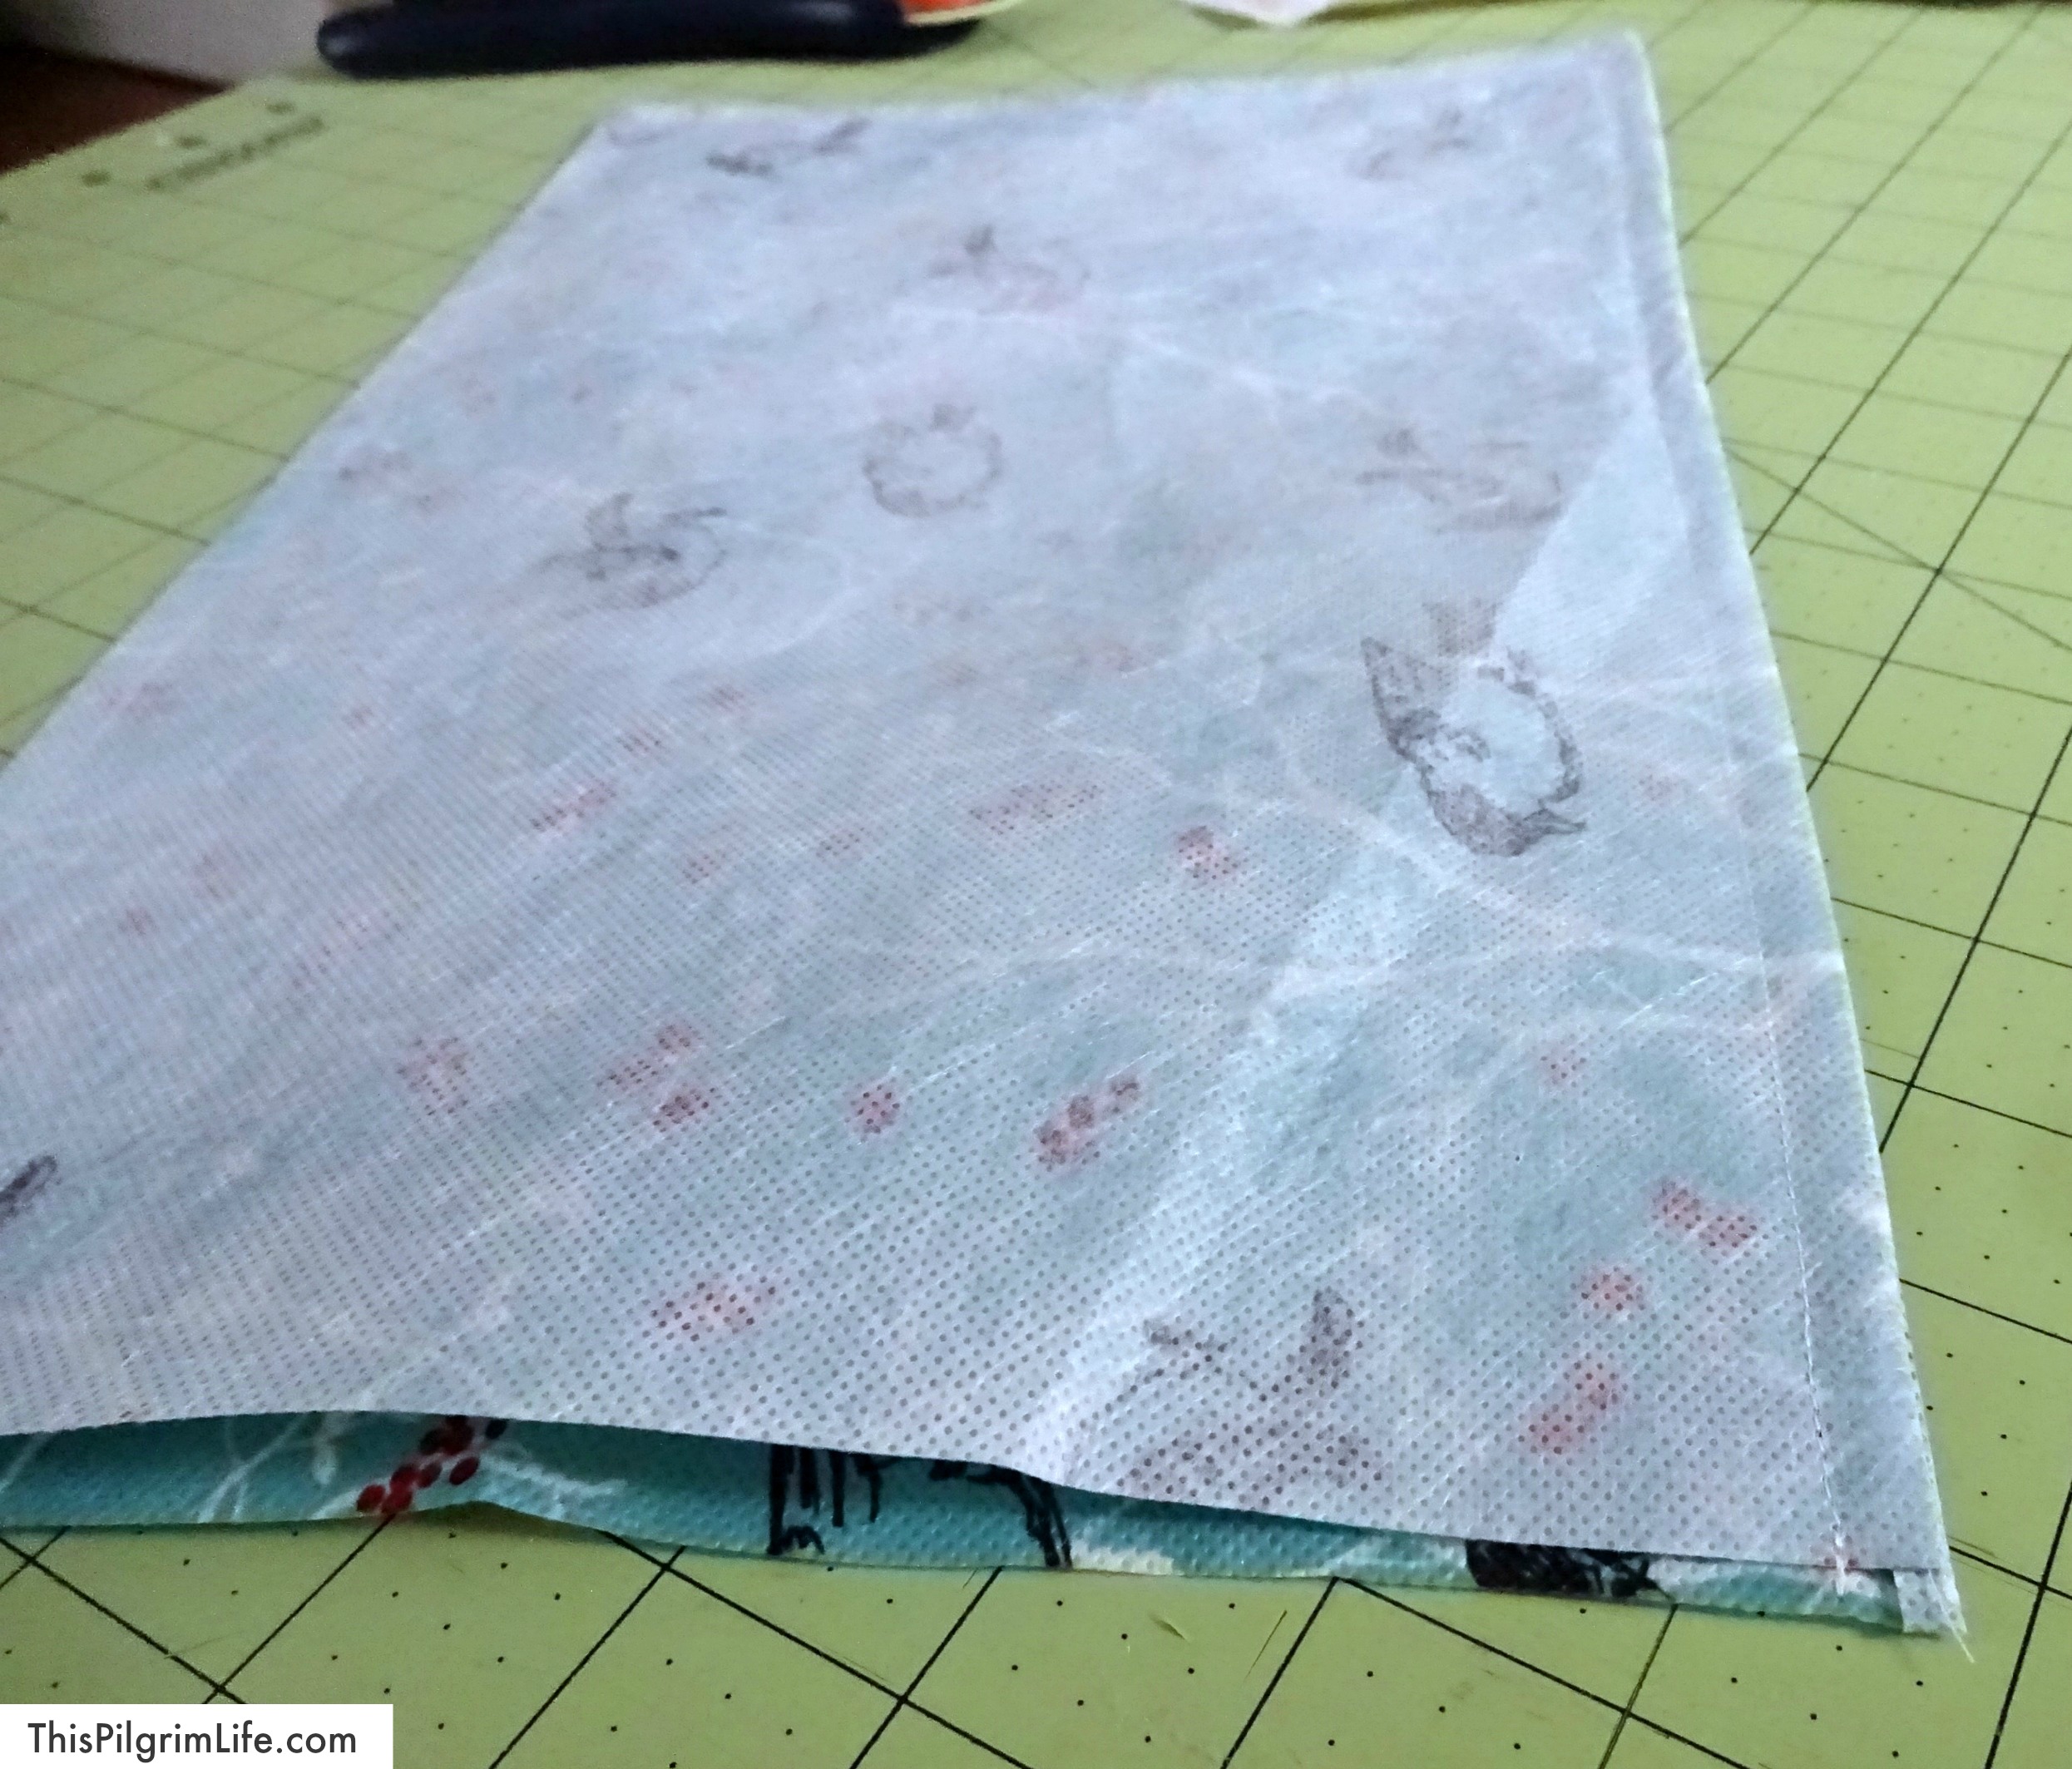
1. Line up the two bag pieces with the wrong sides together. Sew around the sides and bottom of the bag with a 3/8″ seam. Trim the seam allowance to 1/4″. Turn the bag wrong-side out and press the seams flat. Sew around the sides and bottom again, this time enclosing the raw edges. (See picture below).
Make a casing and insert the boning:
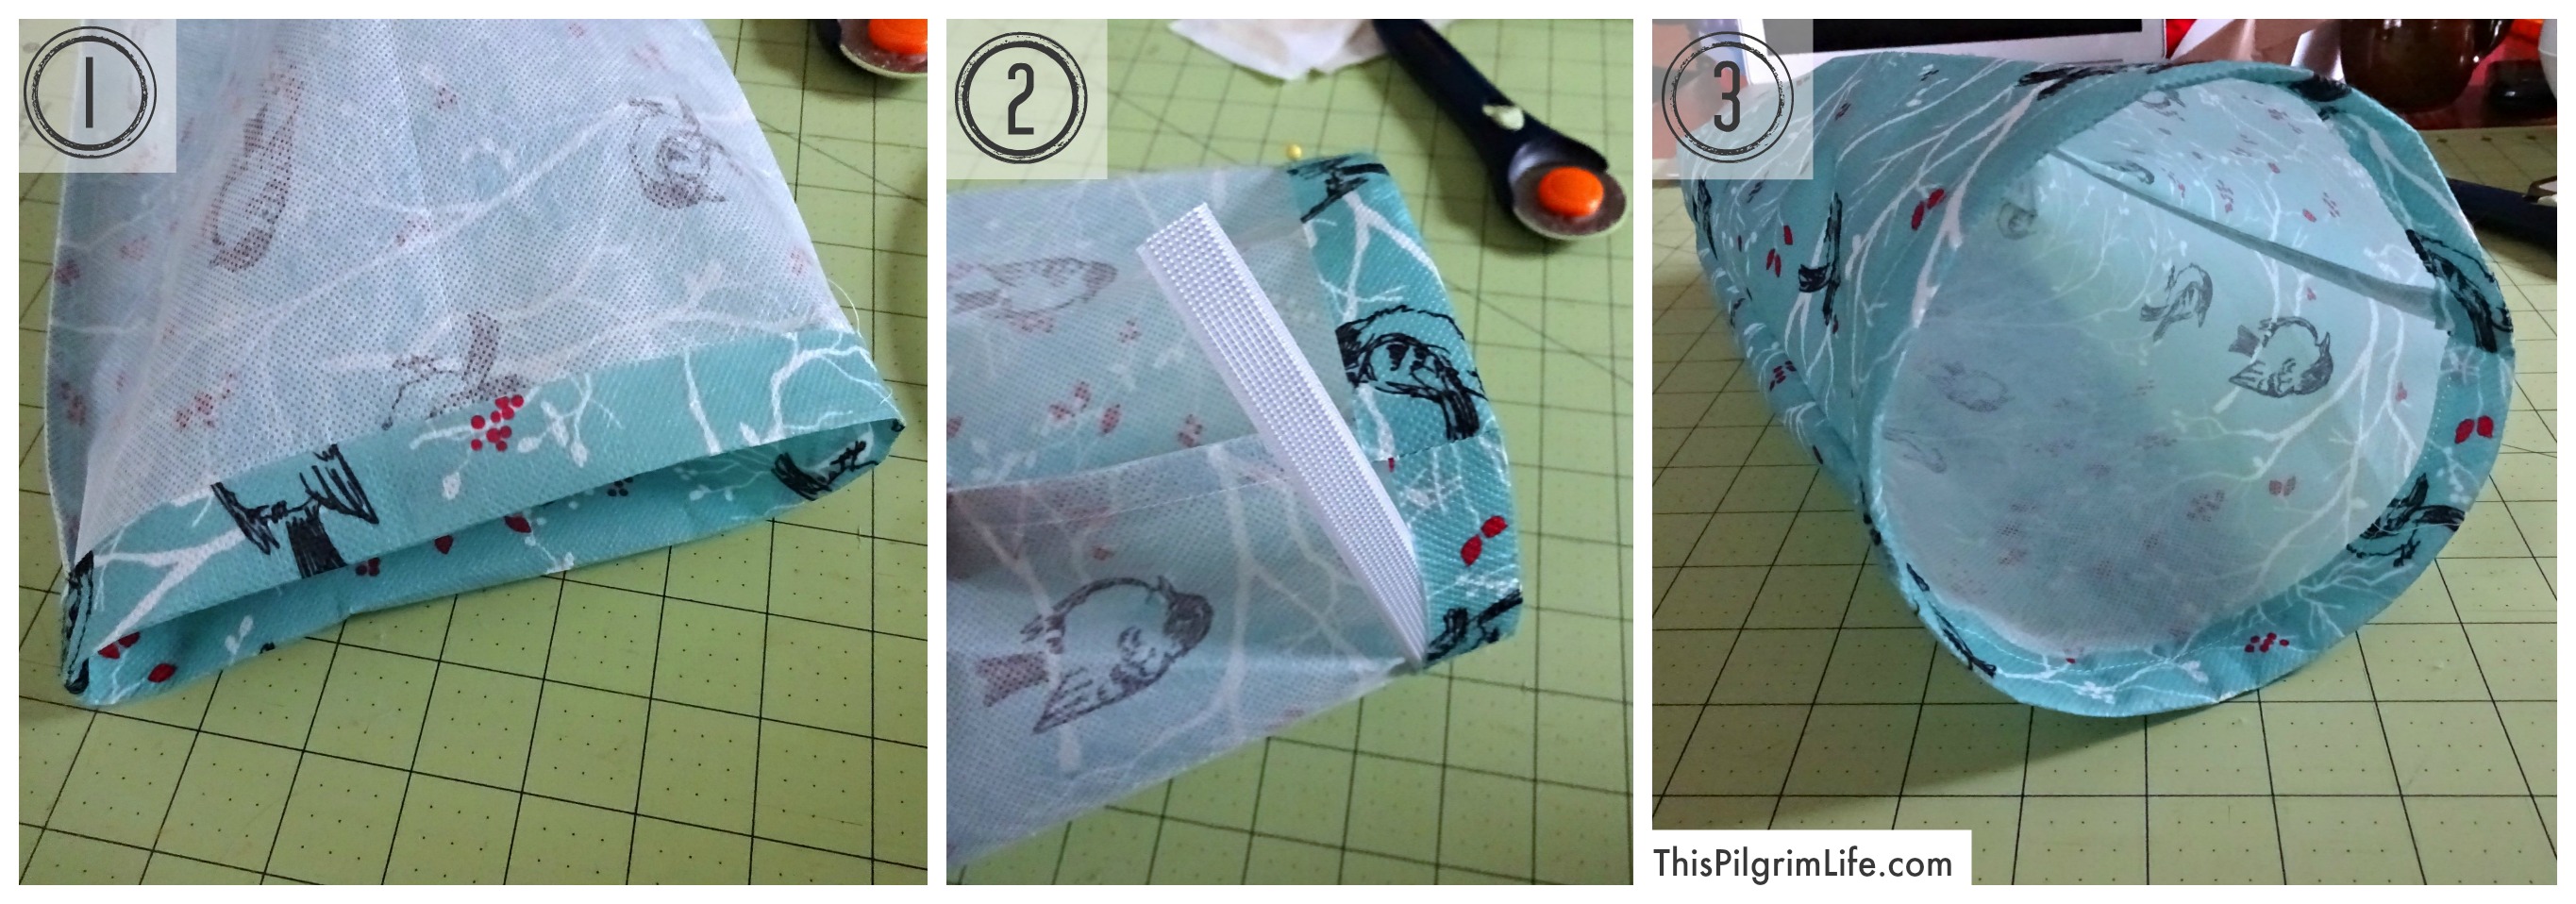
1. Fold the top edge of the bag down 1″ towards the wrong side. Press the edge with your fingers.
2. Insert the boning under the folded top edge, pushing it tight against the fold and pinning the casing closed as you go. Overlap any extra boning.
3. Sew around the bottom edge of the casing, securing the boning and finishing the top of the bag.
Make and attach the handle // Attach the buttons:
1. Fold the short ends of the strap piece in towards the wrong side 1/2″ and press. Fold the long edges in towards the middle 1/2″ and press.
Fold the strap in half lengthwise, pin in place, and sew down the length of the strap.
2. Attach each end of the strap to the side of the bag, just below the boning. Sew across the strap twice, backstitching at the beginning and end of each line.
3. Sew on the buttons in the middle of the front and back of the bag. The buttons will be a place to loop the handles of a grocery bag if you want to line the trash bag.

Hope all your travels are safe and (a little) more organized!
What do you mean by “utility” fabric? Do you mean something like a canvas? I assume this but I want to ask. It looks like a thicker fabric that will retain the body of the project. Also, could an embroidery hoop act as boning?