Every so often I make fresh bagels at home. Everyone gets excited on baking morning because homemade bagels are very much a treat. They taste and smell amazing and breakfast doesn’t get much better than egg and cheese sandwiched in between buttered bagel slices.
This is the recipe I follow for my bagels. Other than varying toppings and extras to the dough, I haven’t changed a thing. It’s perfect just like it is.
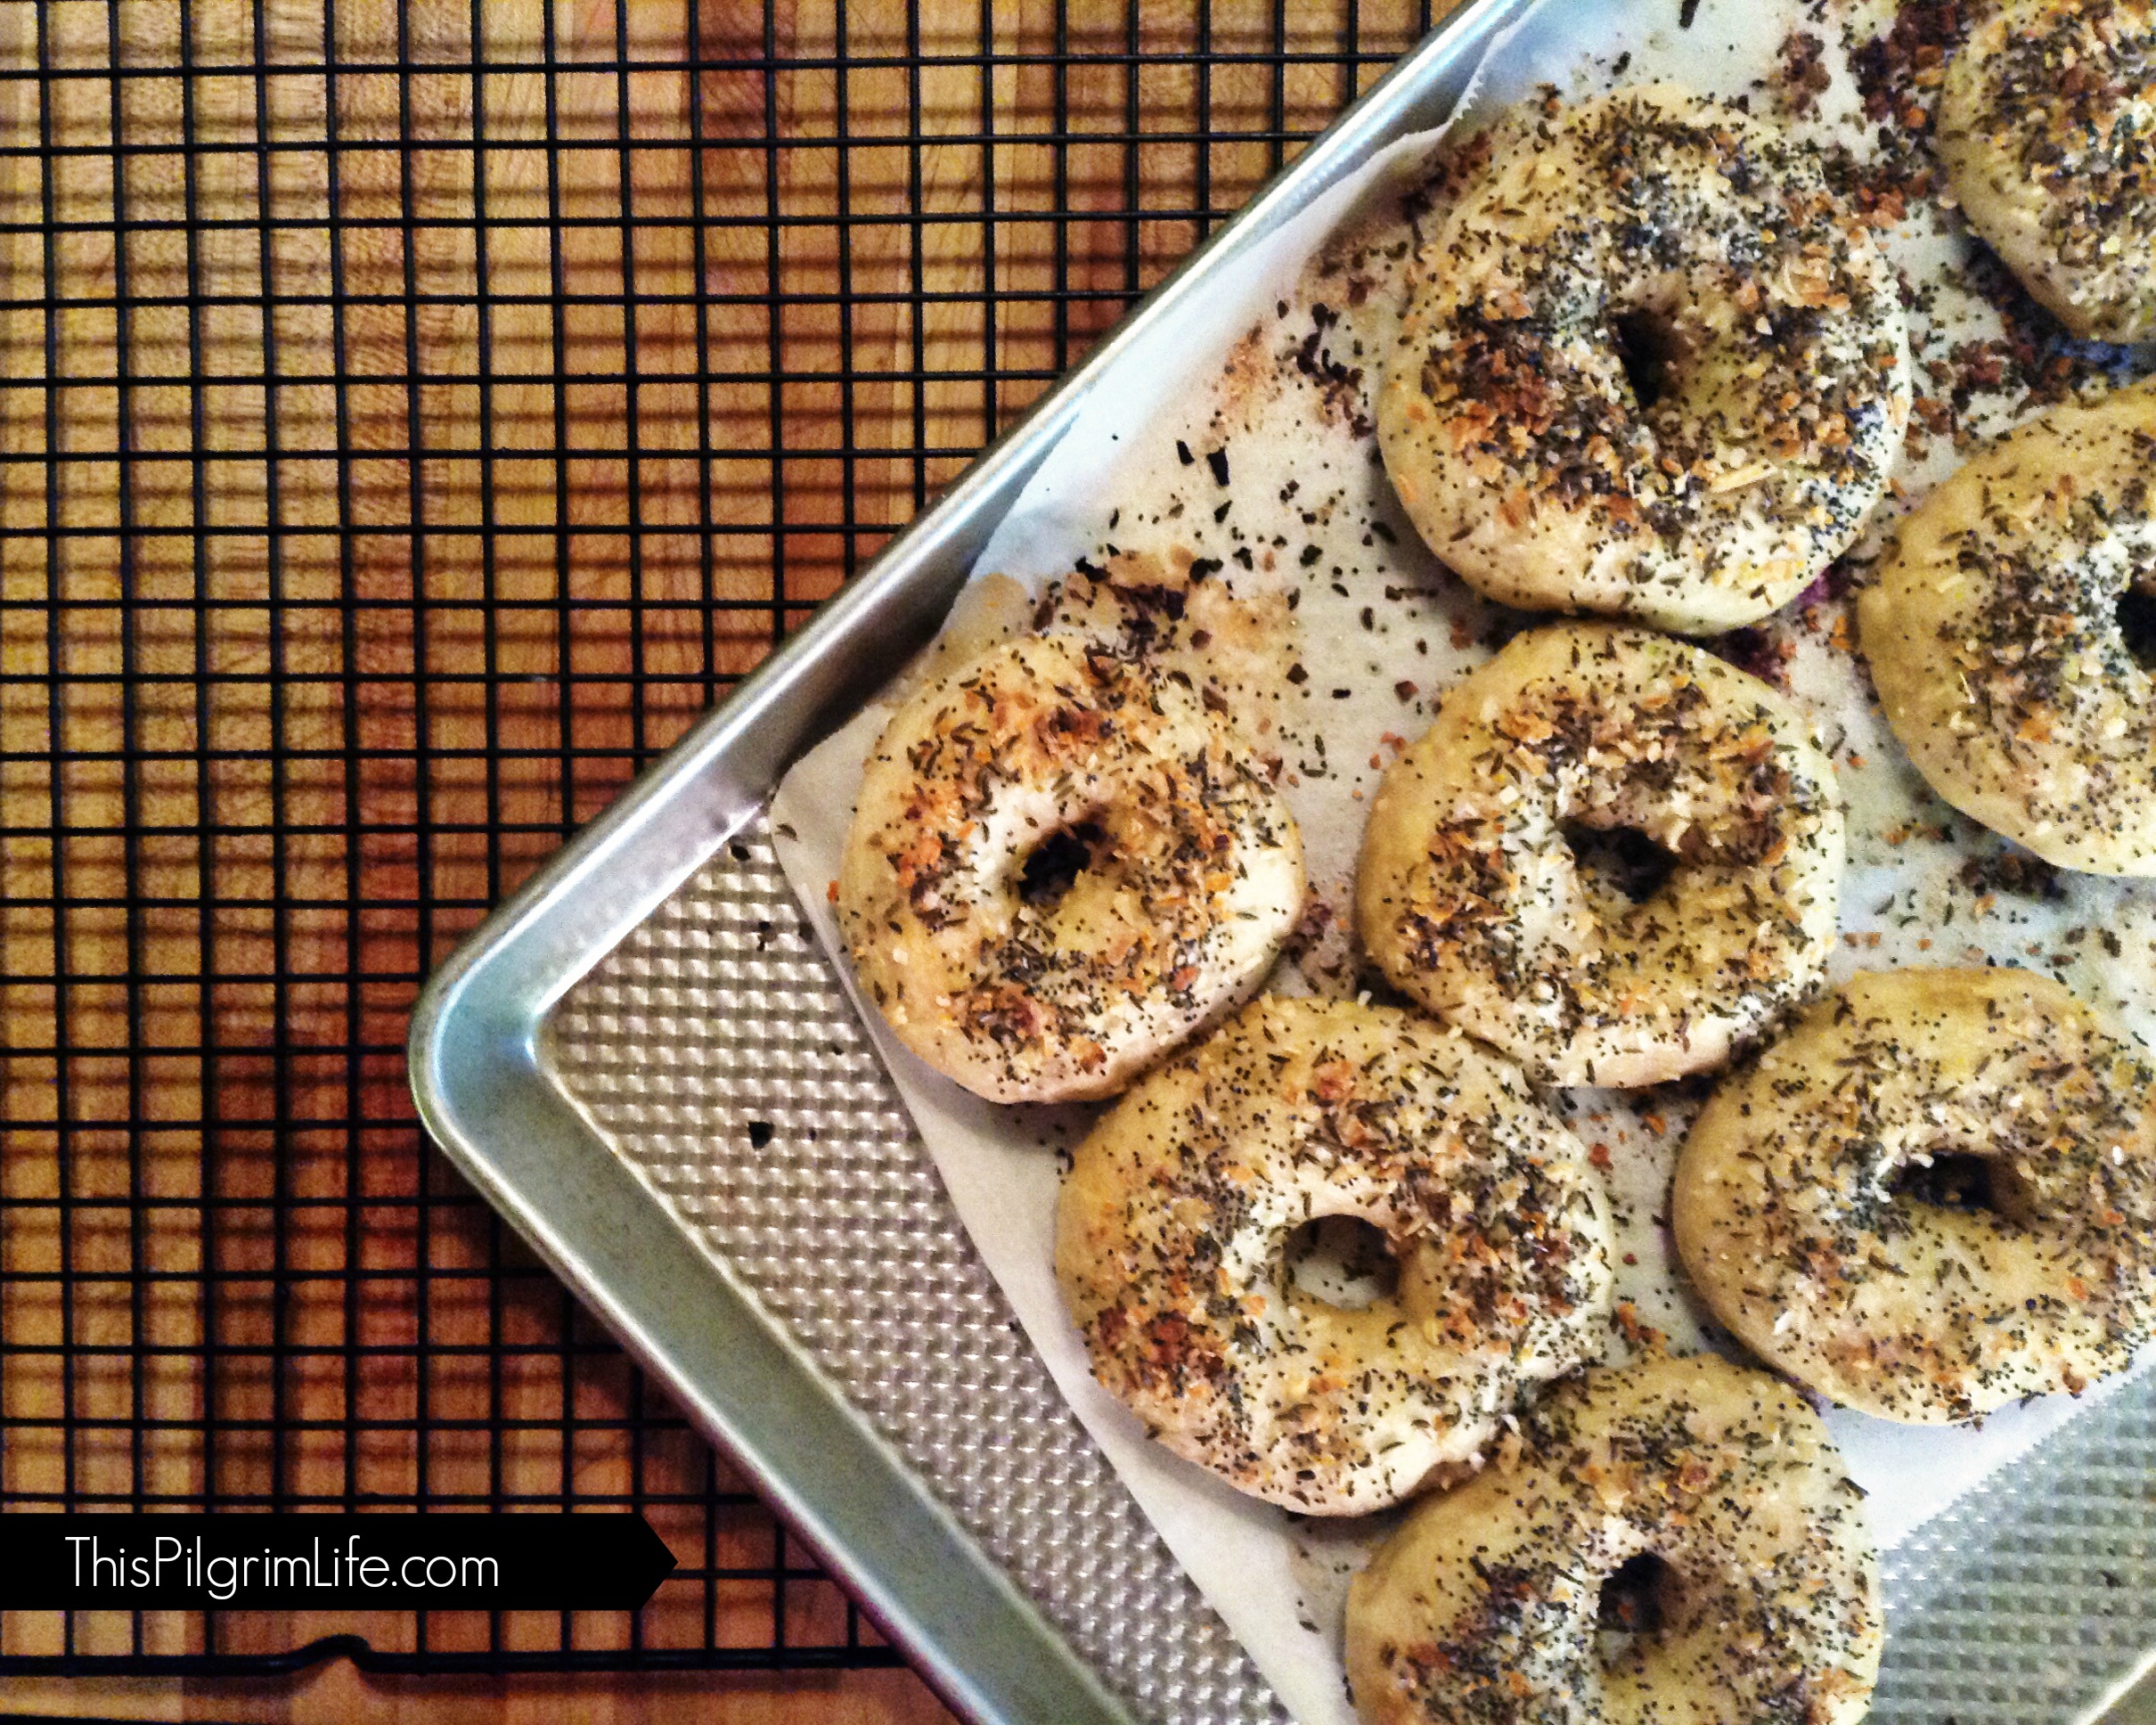
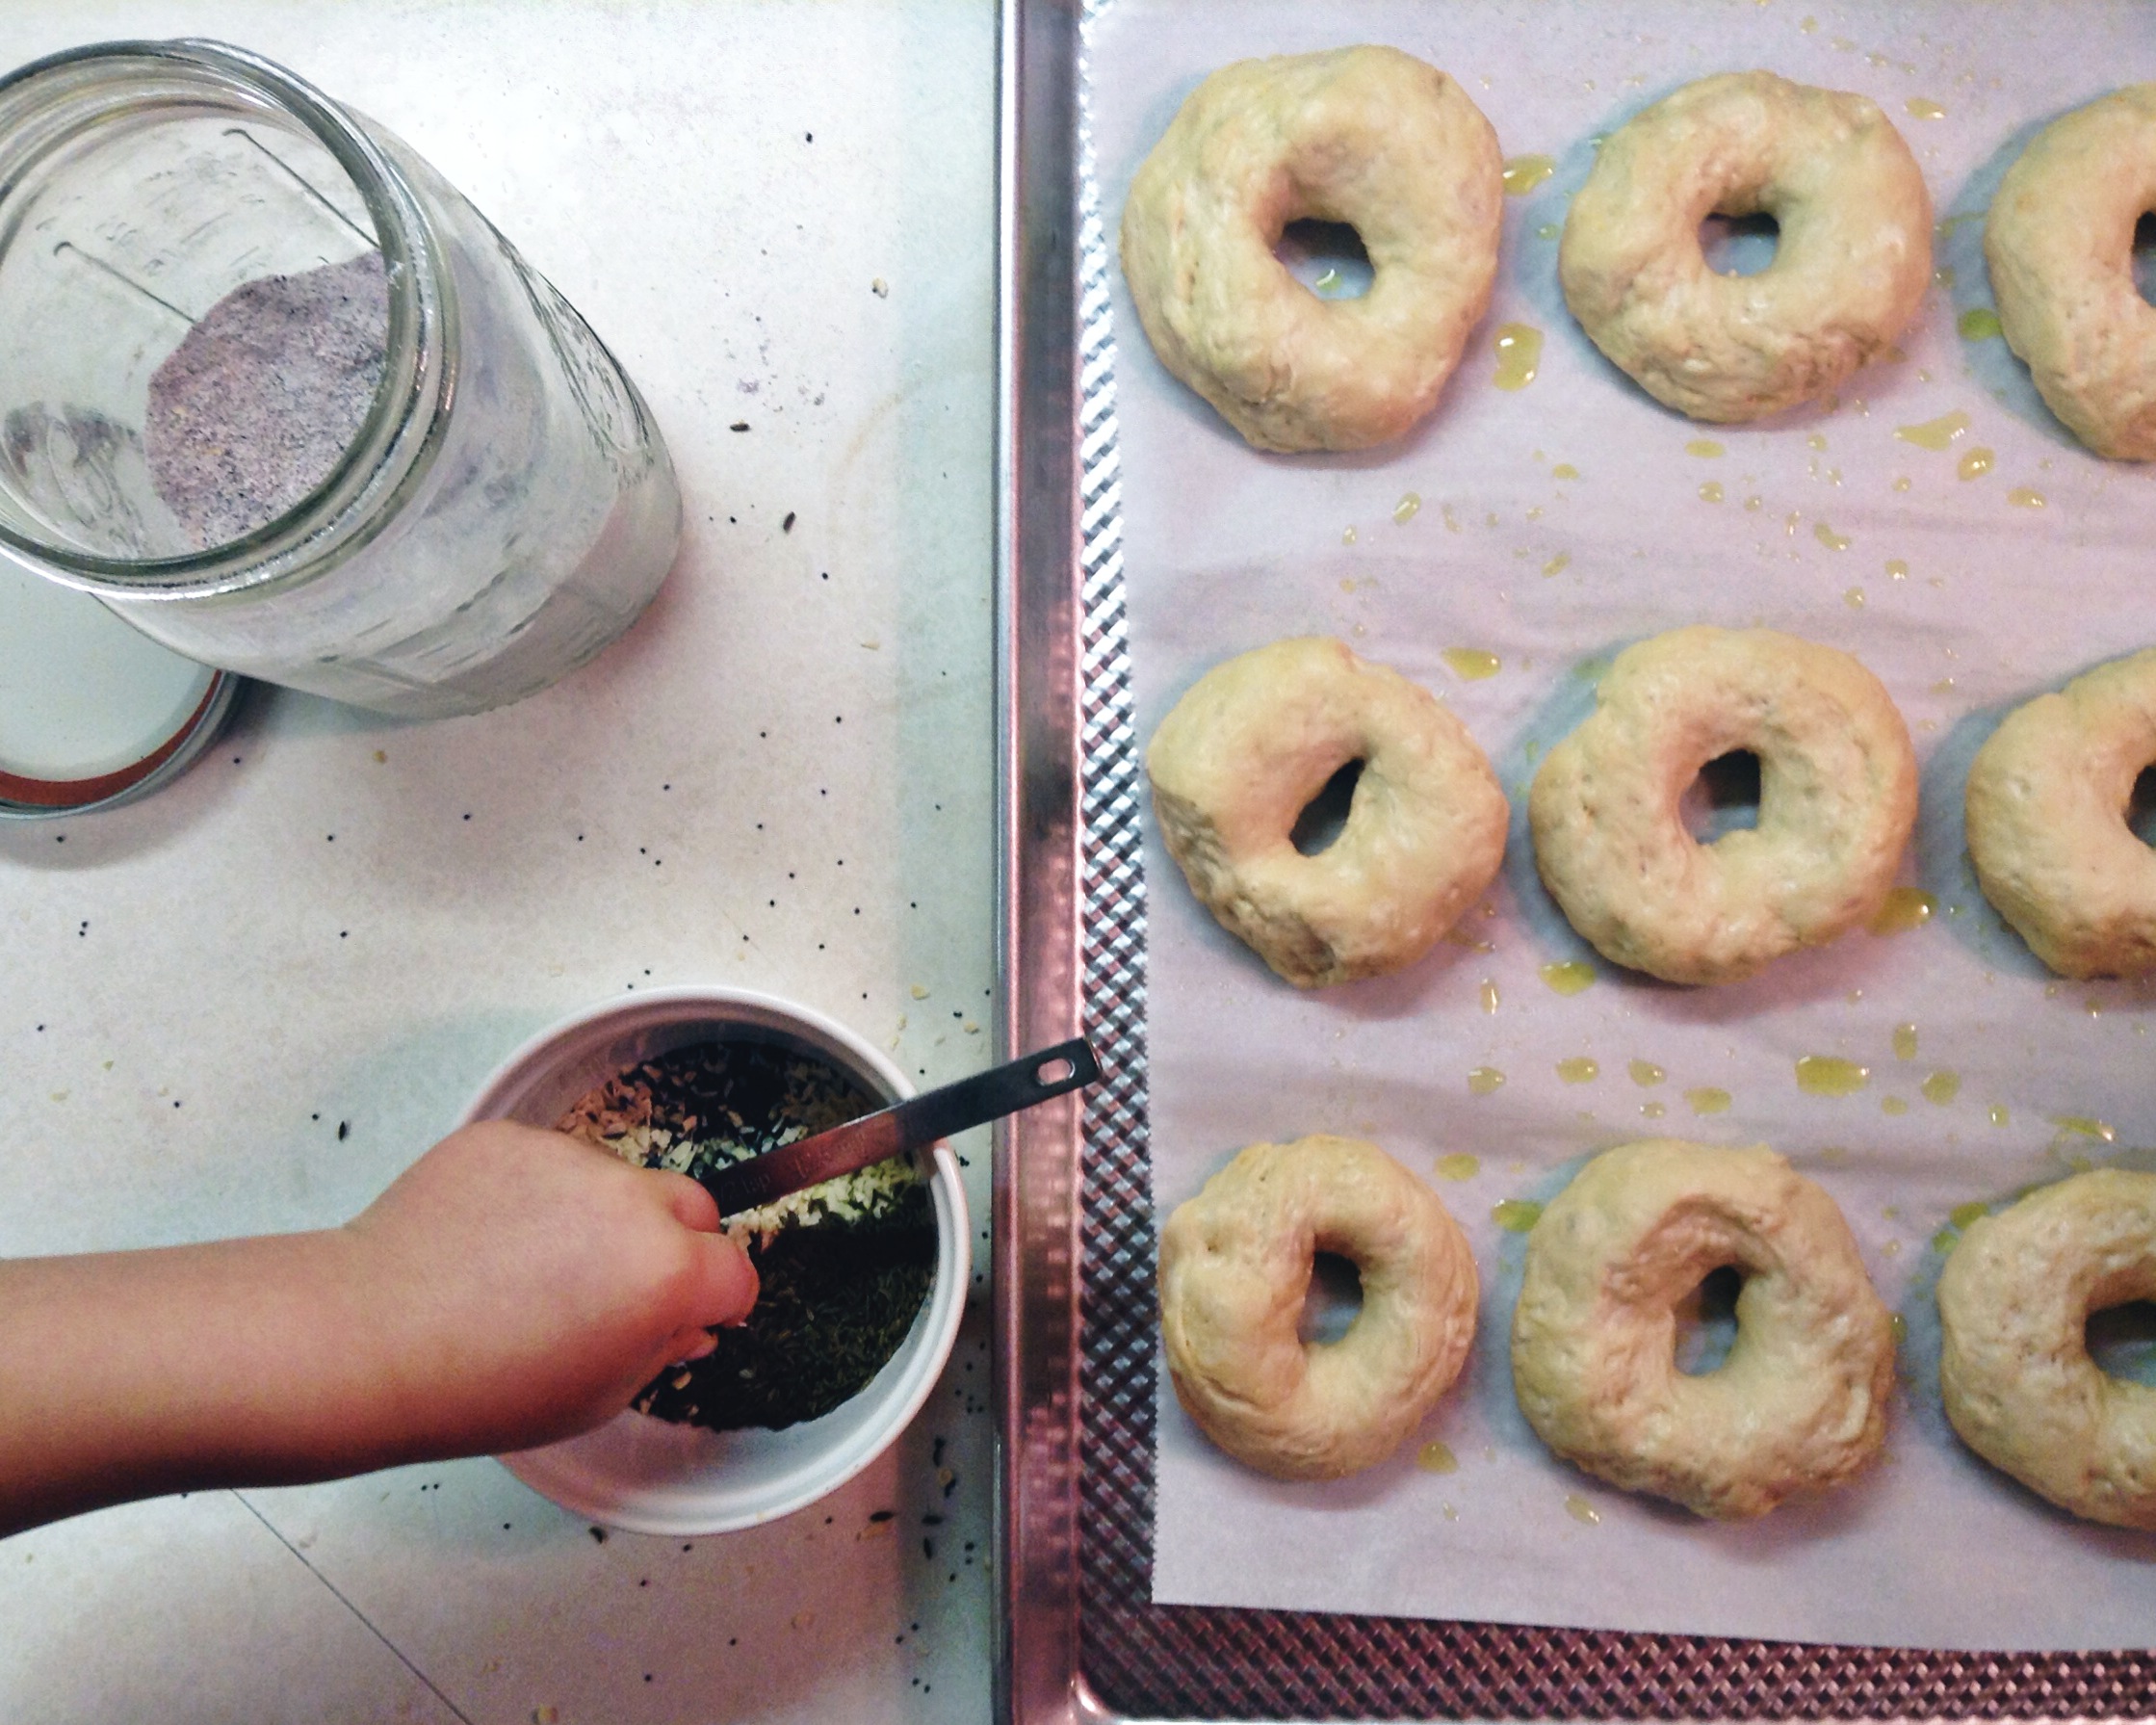
On occasion, I’ve added blueberries or cinnamon and raisins to the dough, but the overwhelming family favorite are everything bagels. A mix of sesame seeds, caraway seeds, poppy seeds, minced onion, and kosher salt sprinkled on the bagels when they are still wet from the boiling water, before baking. An assortment of bagels is not necessary when we are keeping them at home. Everything bagels are all they want.
The thing about making fresh bagels is getting the timing right. You have to decide (or just remember) that you want to make them early enough the night before so the yeast can do its thing. And you have to not be too tired to knead dough. Which means that between my motherhood-induced memory loss and the fact that my idea of an ideal night most nights is sitting down and not moving again until I walk to my bed, making bagels remains a once-in-a-while treat.
And lest you think I’m vying for a Pinterest Bread Baker of the Month award, let me make it clear that my motivation for making bagels is pretty much rather selfish. Fresh out of the oven bagels with the perfect combination of puff and chew are delicious and I want to eat them. That’s it. Enough motivation for me.
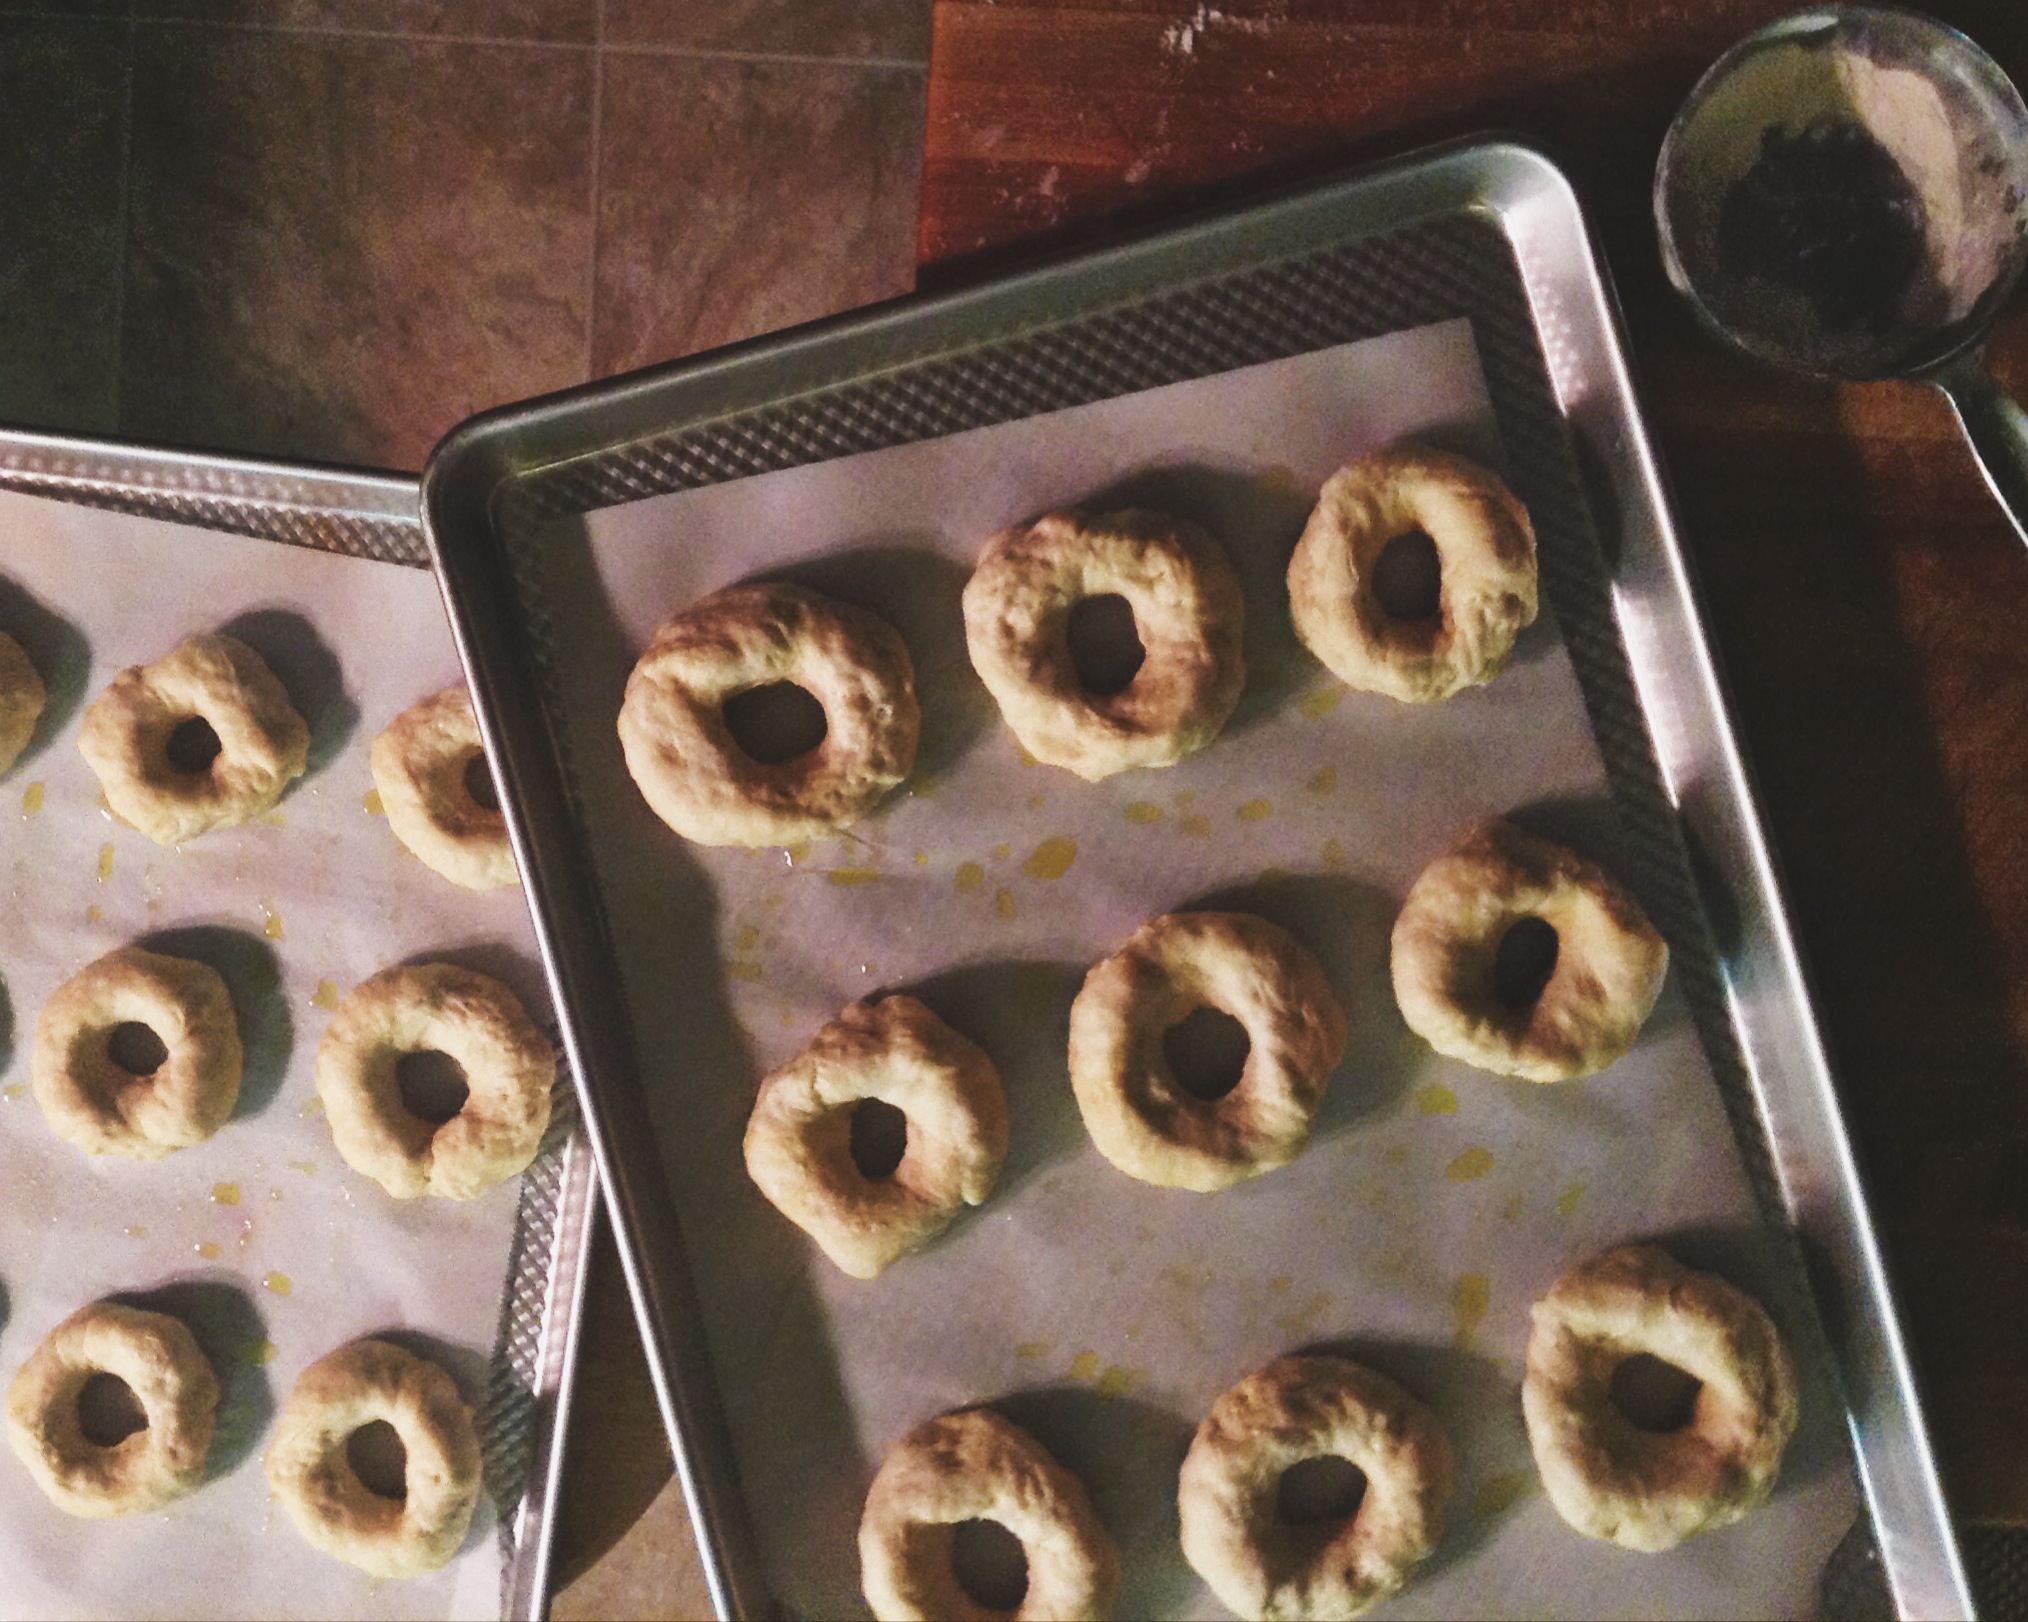
The bulk of the work in bagel making takes place the night before. It goes something like this: Mix flour, water and yeast. Let sit for 2 hours. Knead remaining flour and ingredients in. Keep kneading. A little more. (Bagel dough is dense!). Divide into 18 balls. Let rest for twenty minutes. Punch a hole in the middle of the balls and make a bagel shape. Place on pans. Cover with plastic. Let rest for another twenty minutes. Refrigerate overnight.
The first thing to do on bagel baking morning is crank the oven up to 500°. This takes a while, so it’s best to get it going as soon as possible. Then right after that, fill a large stockpot halfway with water, put it on the stove, and start heating it on high. The water needs to be a rolling boil.
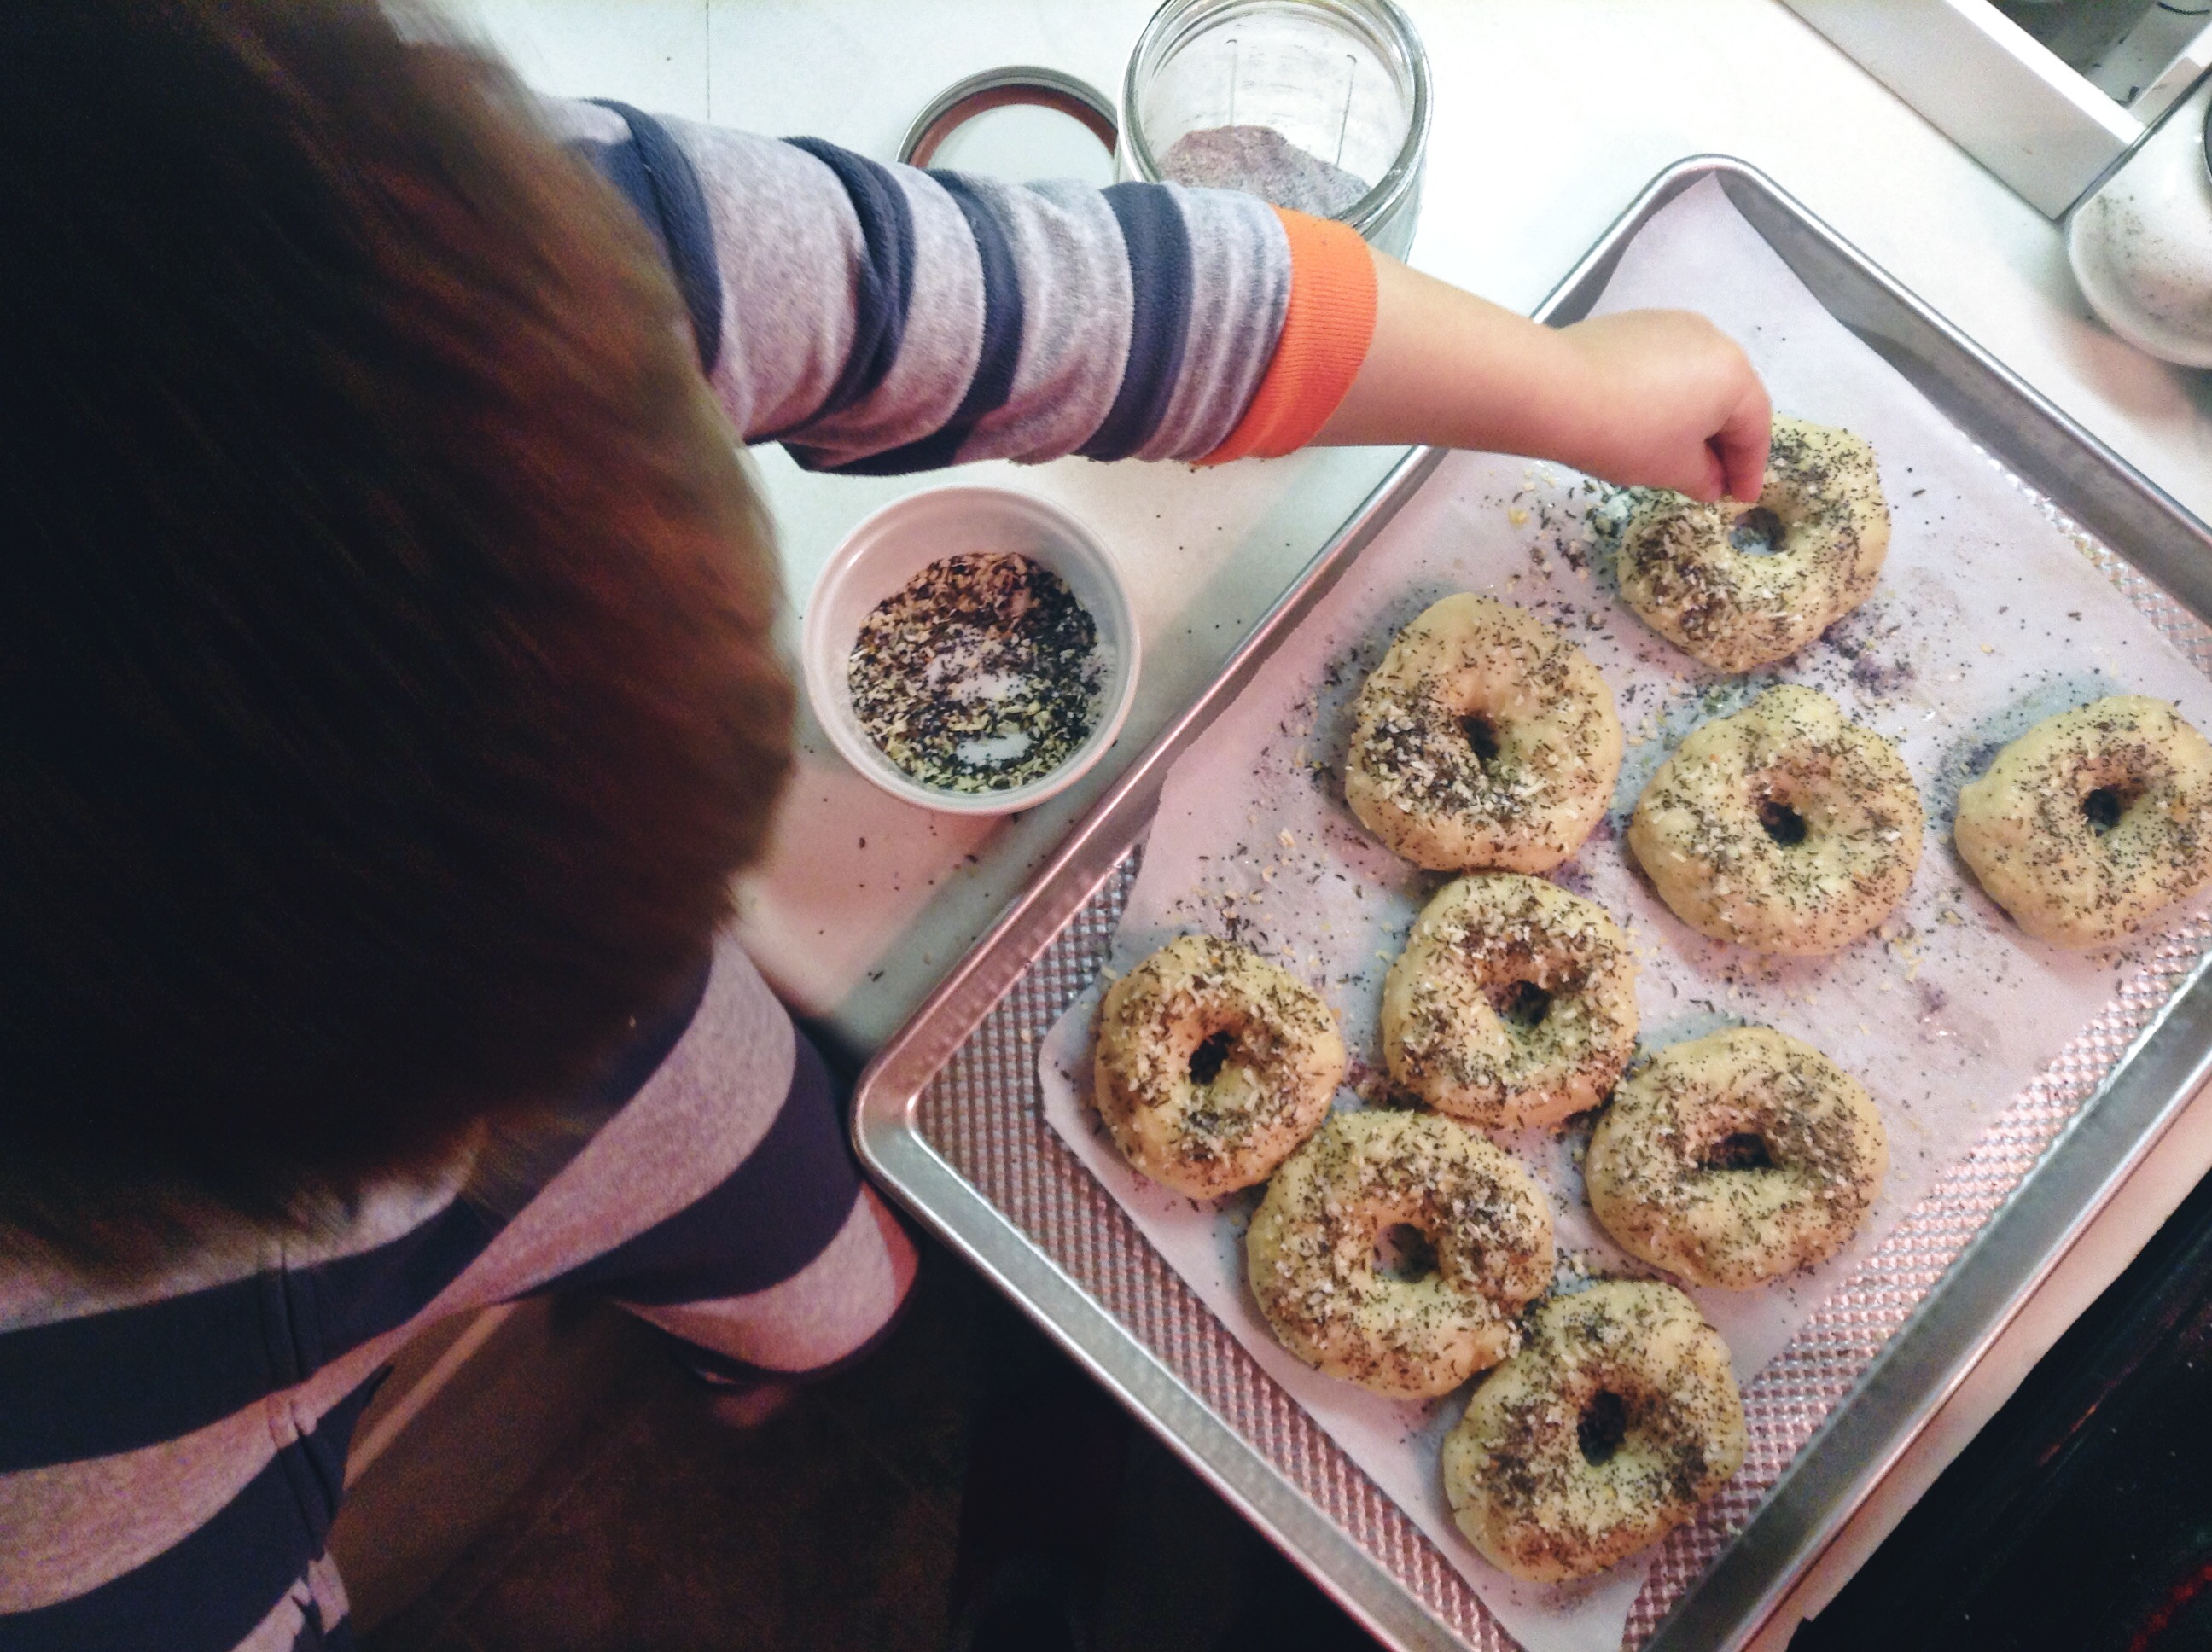
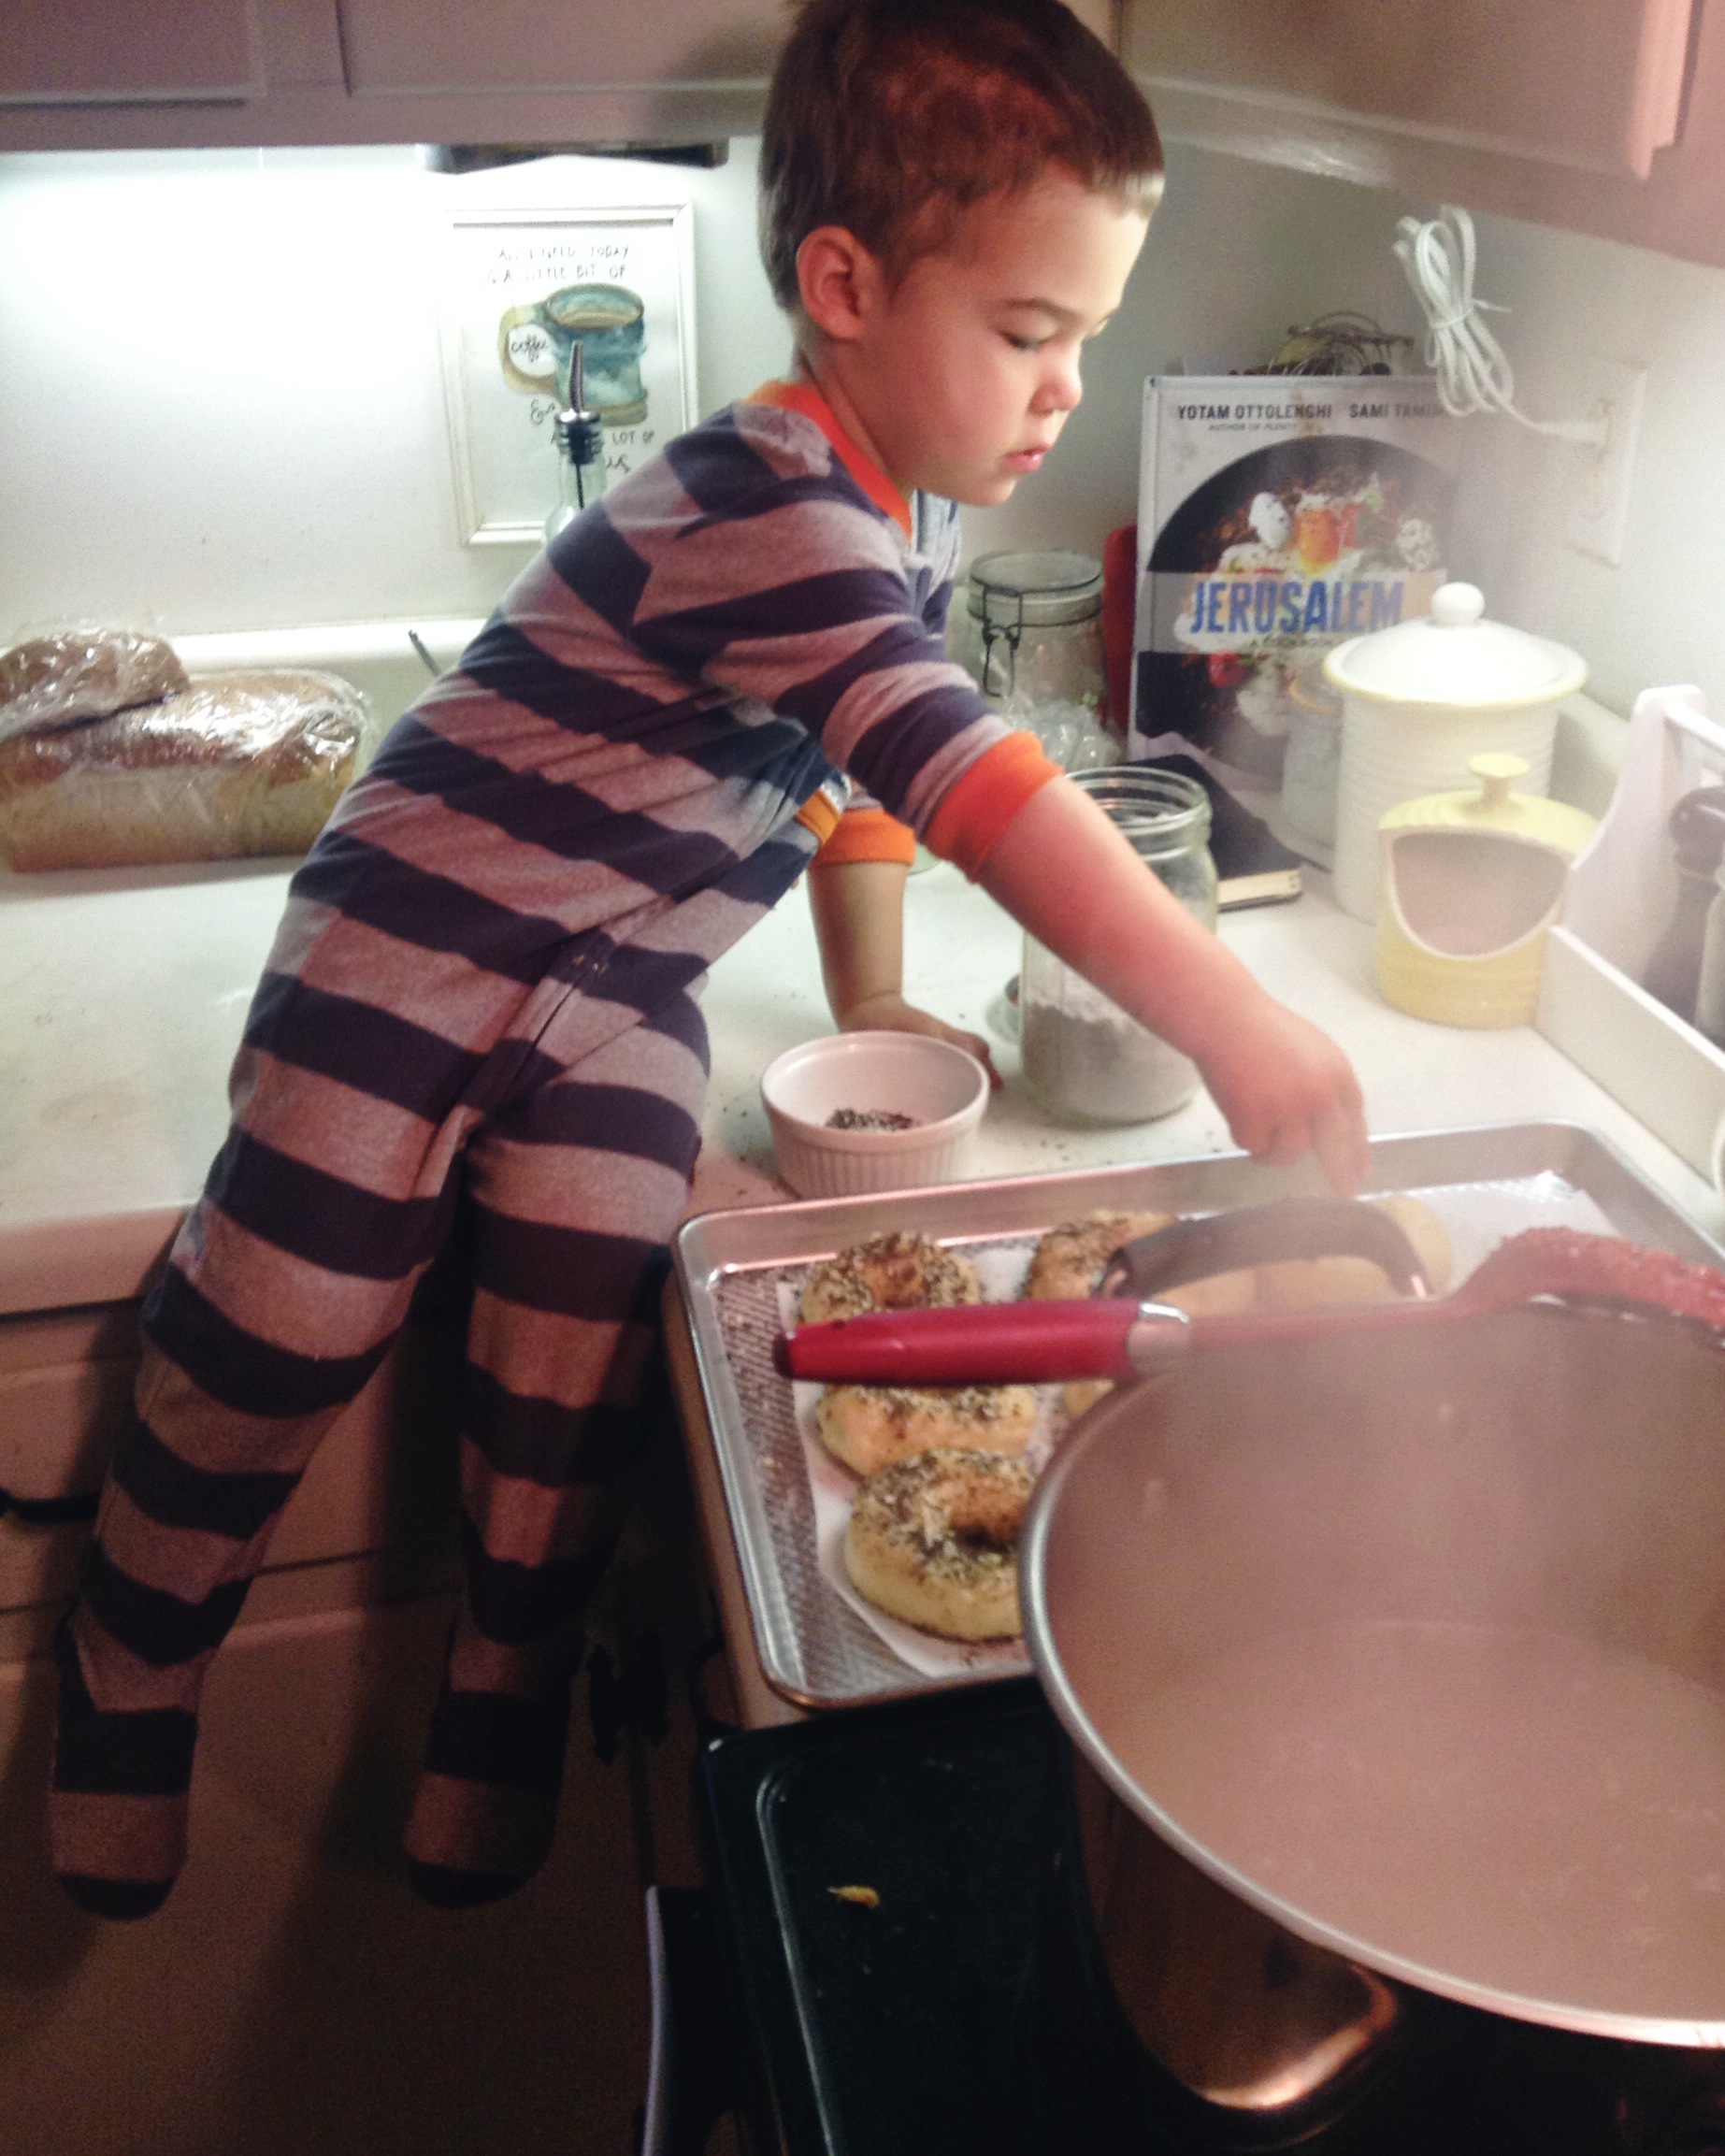
This morning ended up being a mini-date with my middle child. He woke up slightly earlier than normal, while it was still mostly dark outside and while the house was still quiet. We kept the lights dim and soaked up the early morning stillness together. I moved around slowly, sipping coffee, and stealing toddler kisses. He alternated between sprinkling the bagels and stealing pinches of seeds for himself.

Just as the rest of the house was stirring, our bagels were coming out of the oven. Since they only have to boil for about a minute and bake for ten, the process goes by rather quickly.
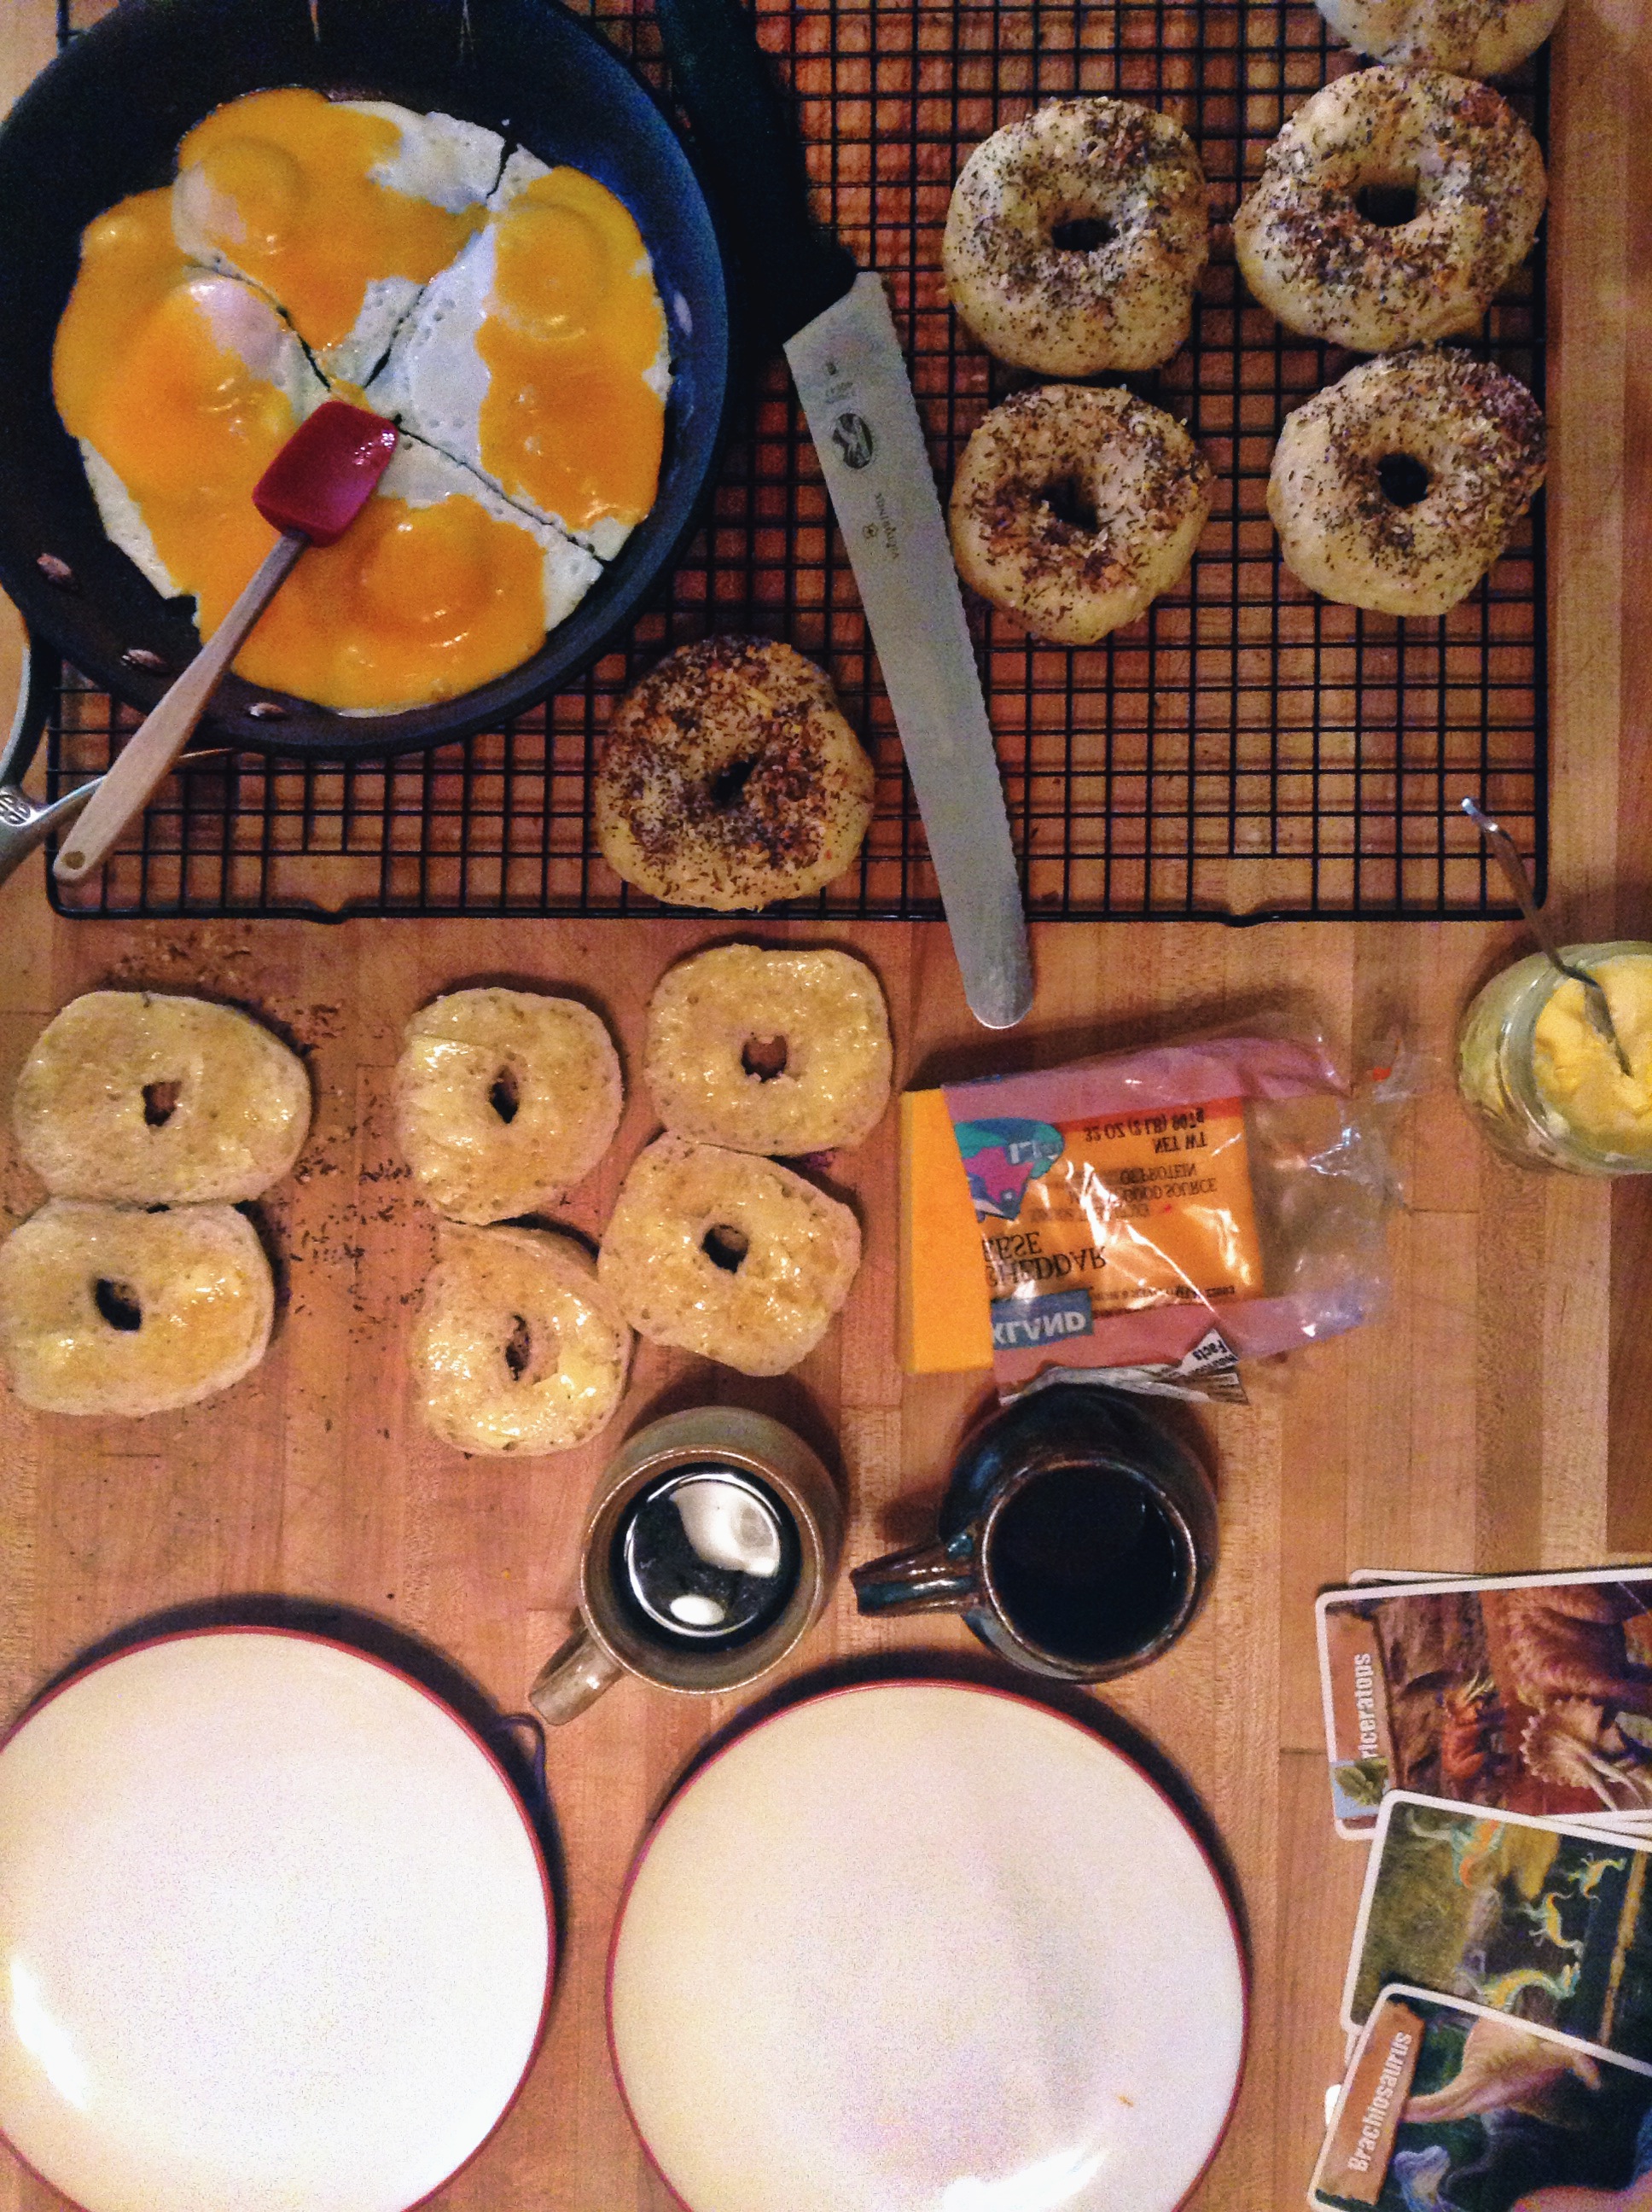
Fry some eggs. Slice some cheese. Butter some slices. And breakfast is served.

A few tips if you want to try making your own bagels too.
1. Give it a try! No special equipment is needed. The only special skill is being able to work some elbow grease into the dough.
2. Use bread flour. This is one of the most important tips I can share. I’ve tried to make bagels with other types of flour (all-purpose, fresh ground) but it does not work well. The bagel dough needs the high-gluten flour. Anything else will result in collapsed bagels. But don’t worry. Bread dough can be found at just about any grocery store you frequent.
3. The recipe above makes 12 bagels. I divide my dough into 18 pieces instead so that the bagels aren’t so large. I’ve also divided the dough into 24 pieces for when I’m bringing the bagels to share with friends.
4. Like I said, we love everything bagels. But we’ve also had bagels topped with cinnamon sugar or sesame seeds. Mixing raisins and cinnamon into the dough is another option. Or try blueberries. But if you use blueberries, you’ll likely need to add a little extra flour to counter the juice from the berries.
5. The recipe also calls for malt powder or syrup. This was a little harder to find, but my mother-in-law finally found a jar of malt syrup at Earthfare. It really adds to the classic bagel taste. My jar has lasted me over a year. You only need a little each time.
6. A good bread knife really comes in handy. We use this Victorinox one everyday for slicing bread, cheese, etc, and love it.
I’d love to know if you like to make bagels or if you give it a try!
After tasting your amazing bagels last weekend (they are a dream!) I finally ordered some malt syrup. Which was the one ingredient I didn’t have. I am looking forward to bagels for days! People you have to try these things. They look amazing, but taste a million times better than they look! Thanks Lisa!
I can’t wait to hear how they turn out for you Amanda!
We made your recipe for homemade pasta the other day and it was delicious!!! Excited to try this recipe out this weekend…even looked up a recipe for homemade cream cheese that I may attempt 🙂
So glad you enjoyed the pasta! Bagels are always a great idea too! 🙂
Every time you post a picture of your bagels, I get a huge craving for them! Thanks for posting the recipe! I’ve gotta try it!