

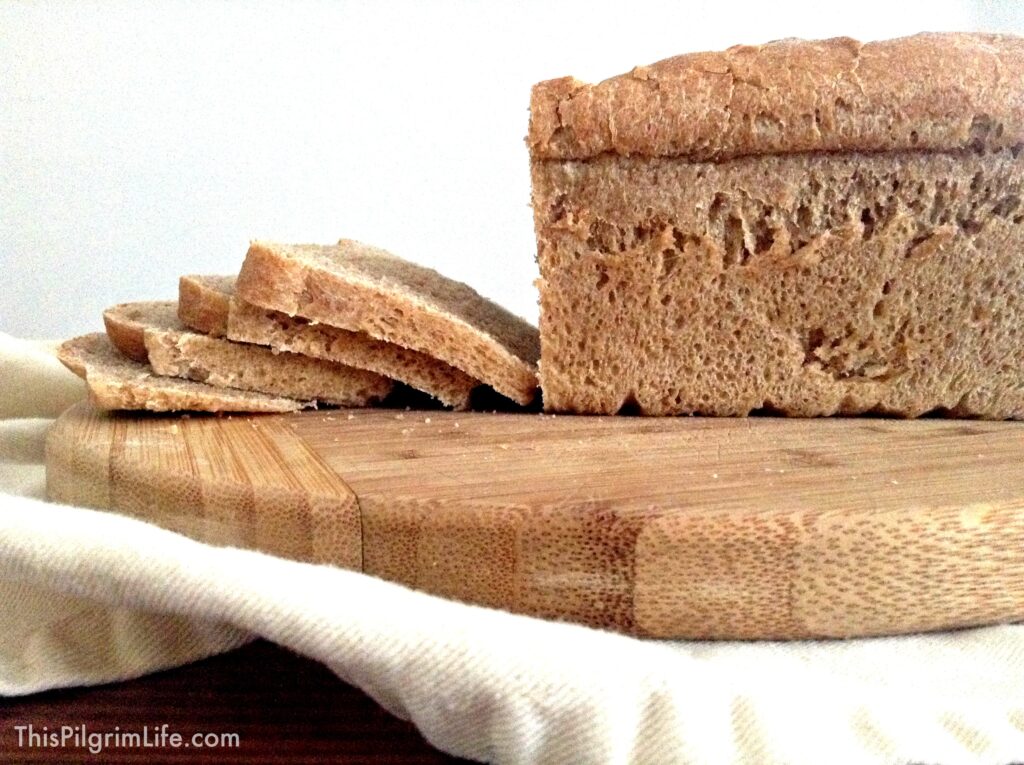
So now that your mouth is watering for fresh-from-the-oven, melt-your-butter-warm, homemade bread, let’s get started.
A couple of quick polls on Facebook made it clear that many of you are interested in making homemade bread, but unsure of where to begin or held back by the seemingly daunting task of dealing with yeast.
I’m not going to try and tell you that there is not a learning curve. As with so many things worth doing, the first few times you do something can be difficult and can take longer than you anticipated. But, the more you do it, the better and easier the process becomes.
I sincerely believe, that once you are armed with the right knowledge to get you started, everyone can successfully bake bread at home. This is where I come in.
I asked you what your biggest struggles are in baking bread, what concerns hold you back from trying, as well as any other questions you had. And while I’m not an expert baker, I do have a lot of experience baking bread for our family over the years and I want to share what I’ve learned and help where I can.
I’ve separated the post into three categories: basic tips, tricks I’ve learned, and our family’s favorite recipes, with a final note on finding time to bake.
If you have a question about something I didn’t get to, please ask me in the comments and I will try to help as best I can!
Bread Baking: Tips to get you started…
1. Types of flour.
The different bags of flour you find at the store actually do make a difference!
If you are new to baking bread, then I would suggest not altering the recipes. After you feel more comfortable with the ins and outs of baking, then you can try to personalize recipes based on what kinds of flour you want to use.
Common Choices:
- All-Purpose: Just like the name implies, this flour can be used for most bread recipes. I prefer to buy unbleached flour since it’s healthier and has no effect on the actual bread. If you use AP flour in place of pastry or cake flour in a recipe, sift it first to give it a lighter quality (similar to that of cake flour). I would not suggest subbing AP flour for all of the bread flour in a recipe (see next point).
- Bread Flour: This type of flour has a higher gluten content than all-purpose flour, which means that it gives dough more rising capability. I like to always have a bag of bread flour on hand for bagels and certain quicker yeast breads that need the extra help. Usually, if you sub out the bread flour called for in a recipe for another type of flour, your bread will not rise properly.
- Cake/Pastry Flour: This flour is lighter from being sifted many extra times (often ten or more). Unsurprisingly, many dessert recipes call for cake flour to achieve a lighter (less chewy and dense) crumb. Personally, I do not keep this type of flour on hand, but prefer to simply sift all-purpose flour a few times myself. I do make an exception, though, for my best old-fashioned pound cake.
- Whole Wheat: This flour is made from red wheat berries and retains some of the bran, making it both healthier (more nutrients) and giving it more of a wheat-y flavor. Using whole wheat flour will make your baked goods darker in color, and can make the end product more dense. I like to use half whole wheat flour on most recipes– nutrition without sacrificing too much rise. (White whole wheat is another great option if you want a lighter color and wheat taste in your bread. It’s perfect for homemade tortillas too.)
- Spelt/Kamut/Einkorn/Etc: There are many varieties of grains that can be ground into flour. Using different varieties will introduce different nutrients into your diet.
While I do still buy some of these 5 pound bags of flour, I also started grinding our own flour from whole wheat berries last summer. I use a WonderMill and a variety of grains. I plan to write a review and tips post for using a grain mill soon.
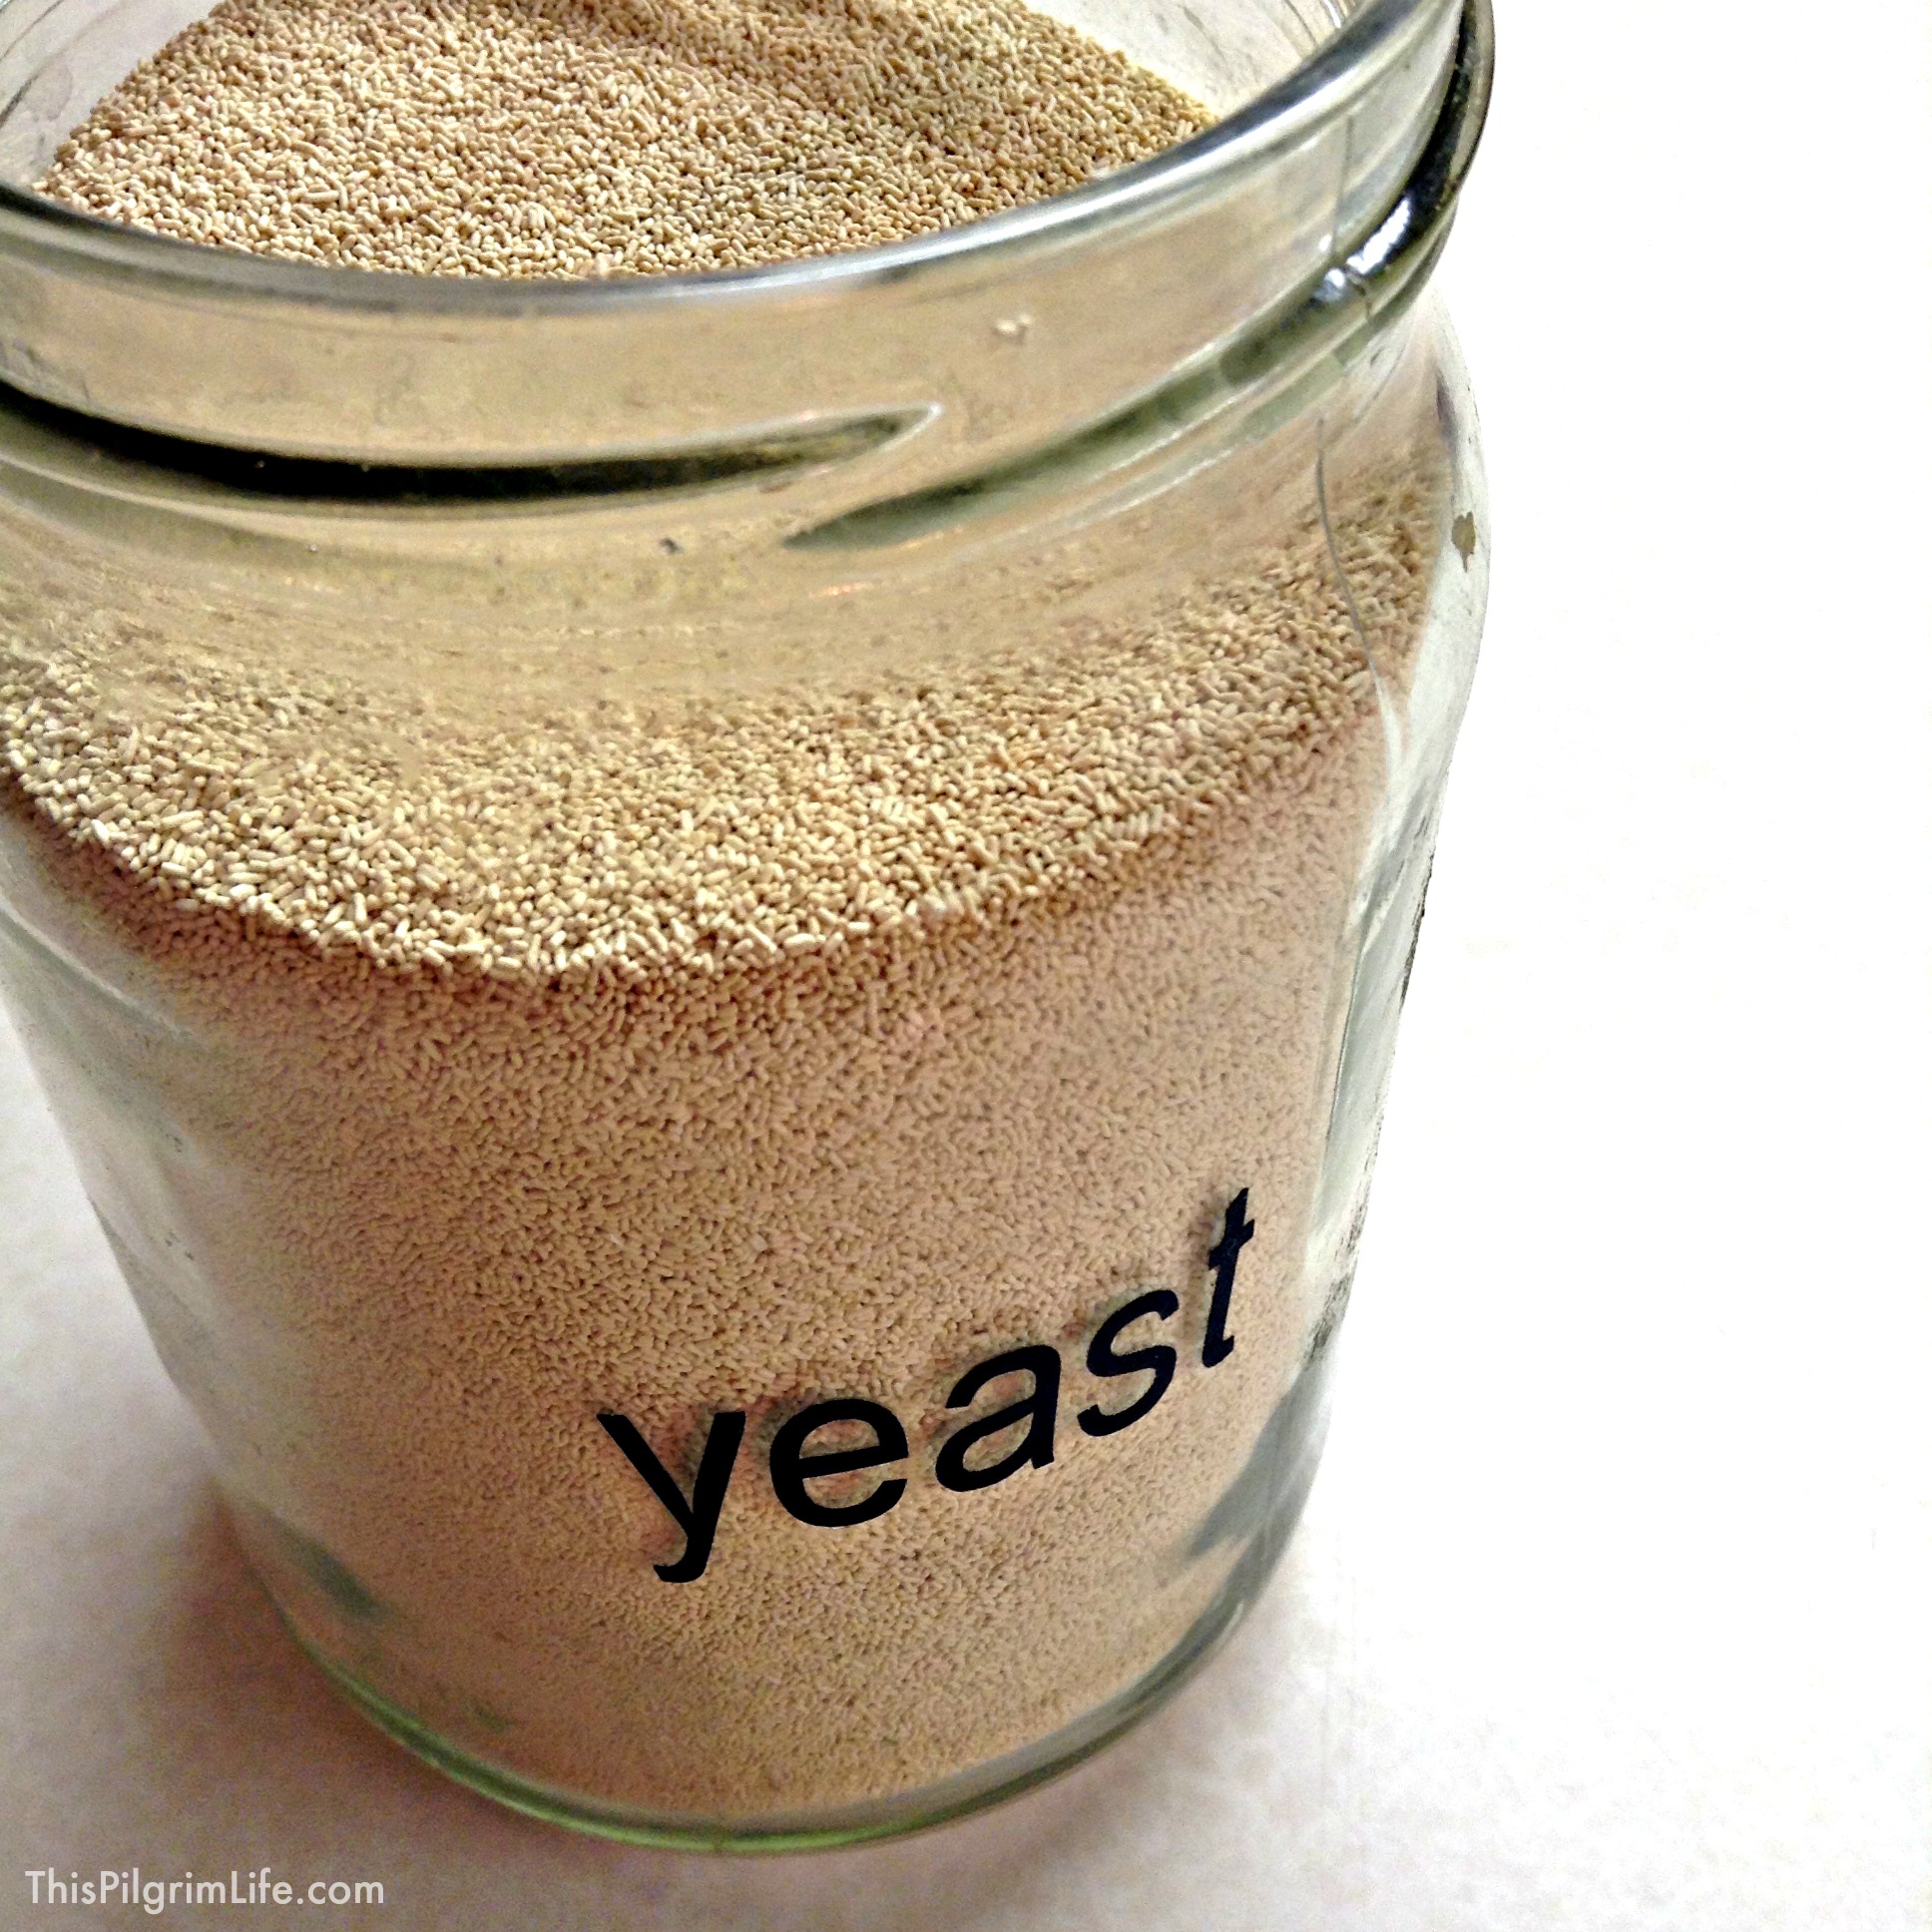
2. A word about yeast.
Yeast can be scary and intimidating, which is why it’s usually what keeps people away from attempting their first homemade loaves. With so many questions about where to find it, how much to use, how long to let it bloom, how long bread should rise, and so on, it’s no wonder.
But, once you learn a few things about this magical ingredient, you will be well on your way to baking with the best of them.
- Yeast + warm water = magic. Warm water is what makes the yeast start its thing. No need to heat water on the stove or in the microwave though. Hot water out of the tap is sufficient. You want it to be hot to the touch but not like it’s about to burn you.
- Salt and yeast are not friends. Don’t mix together your salt and yeast together in a bowl first, before adding the flour. Some recipes will call for the water and salt to be mixed first, others for the yeast and water to be combined first. Just keep them separated until you’re actually mixing the dough.
- Yeast and honey (or sugar) are friends. Sugar feeds the yeast. Use honey in recipes if you like, but don’t leave the sweetener completely out.
- Yeast is only so strong. This is a lesson I’ve learned over much trial and error. And it may take you a few times to get it just right with your bread too. Basically, yeast has a certain amount of rising capability and once it’s gone, the bread will fall. This means that you can let a dough rise too long, resulting in a collapsed loaf. Follow the rising times in the recipe. If you have a loaf that falls, try decreasing one of the rising times by about ten minutes next time.
- Buy it in bulk. This tip has nothing to do with yeast’s effectiveness, but more with keeping your grocery budget down. The little packets add up and if you are going to be baking bread (whether loaves, pizzas, pitas or whatever) consistently, it makes more sense to buy it in bulk. Earthfare has an amazing price on yeast in their bulk dry goods section. Costco also has a great price on bulk yeast.
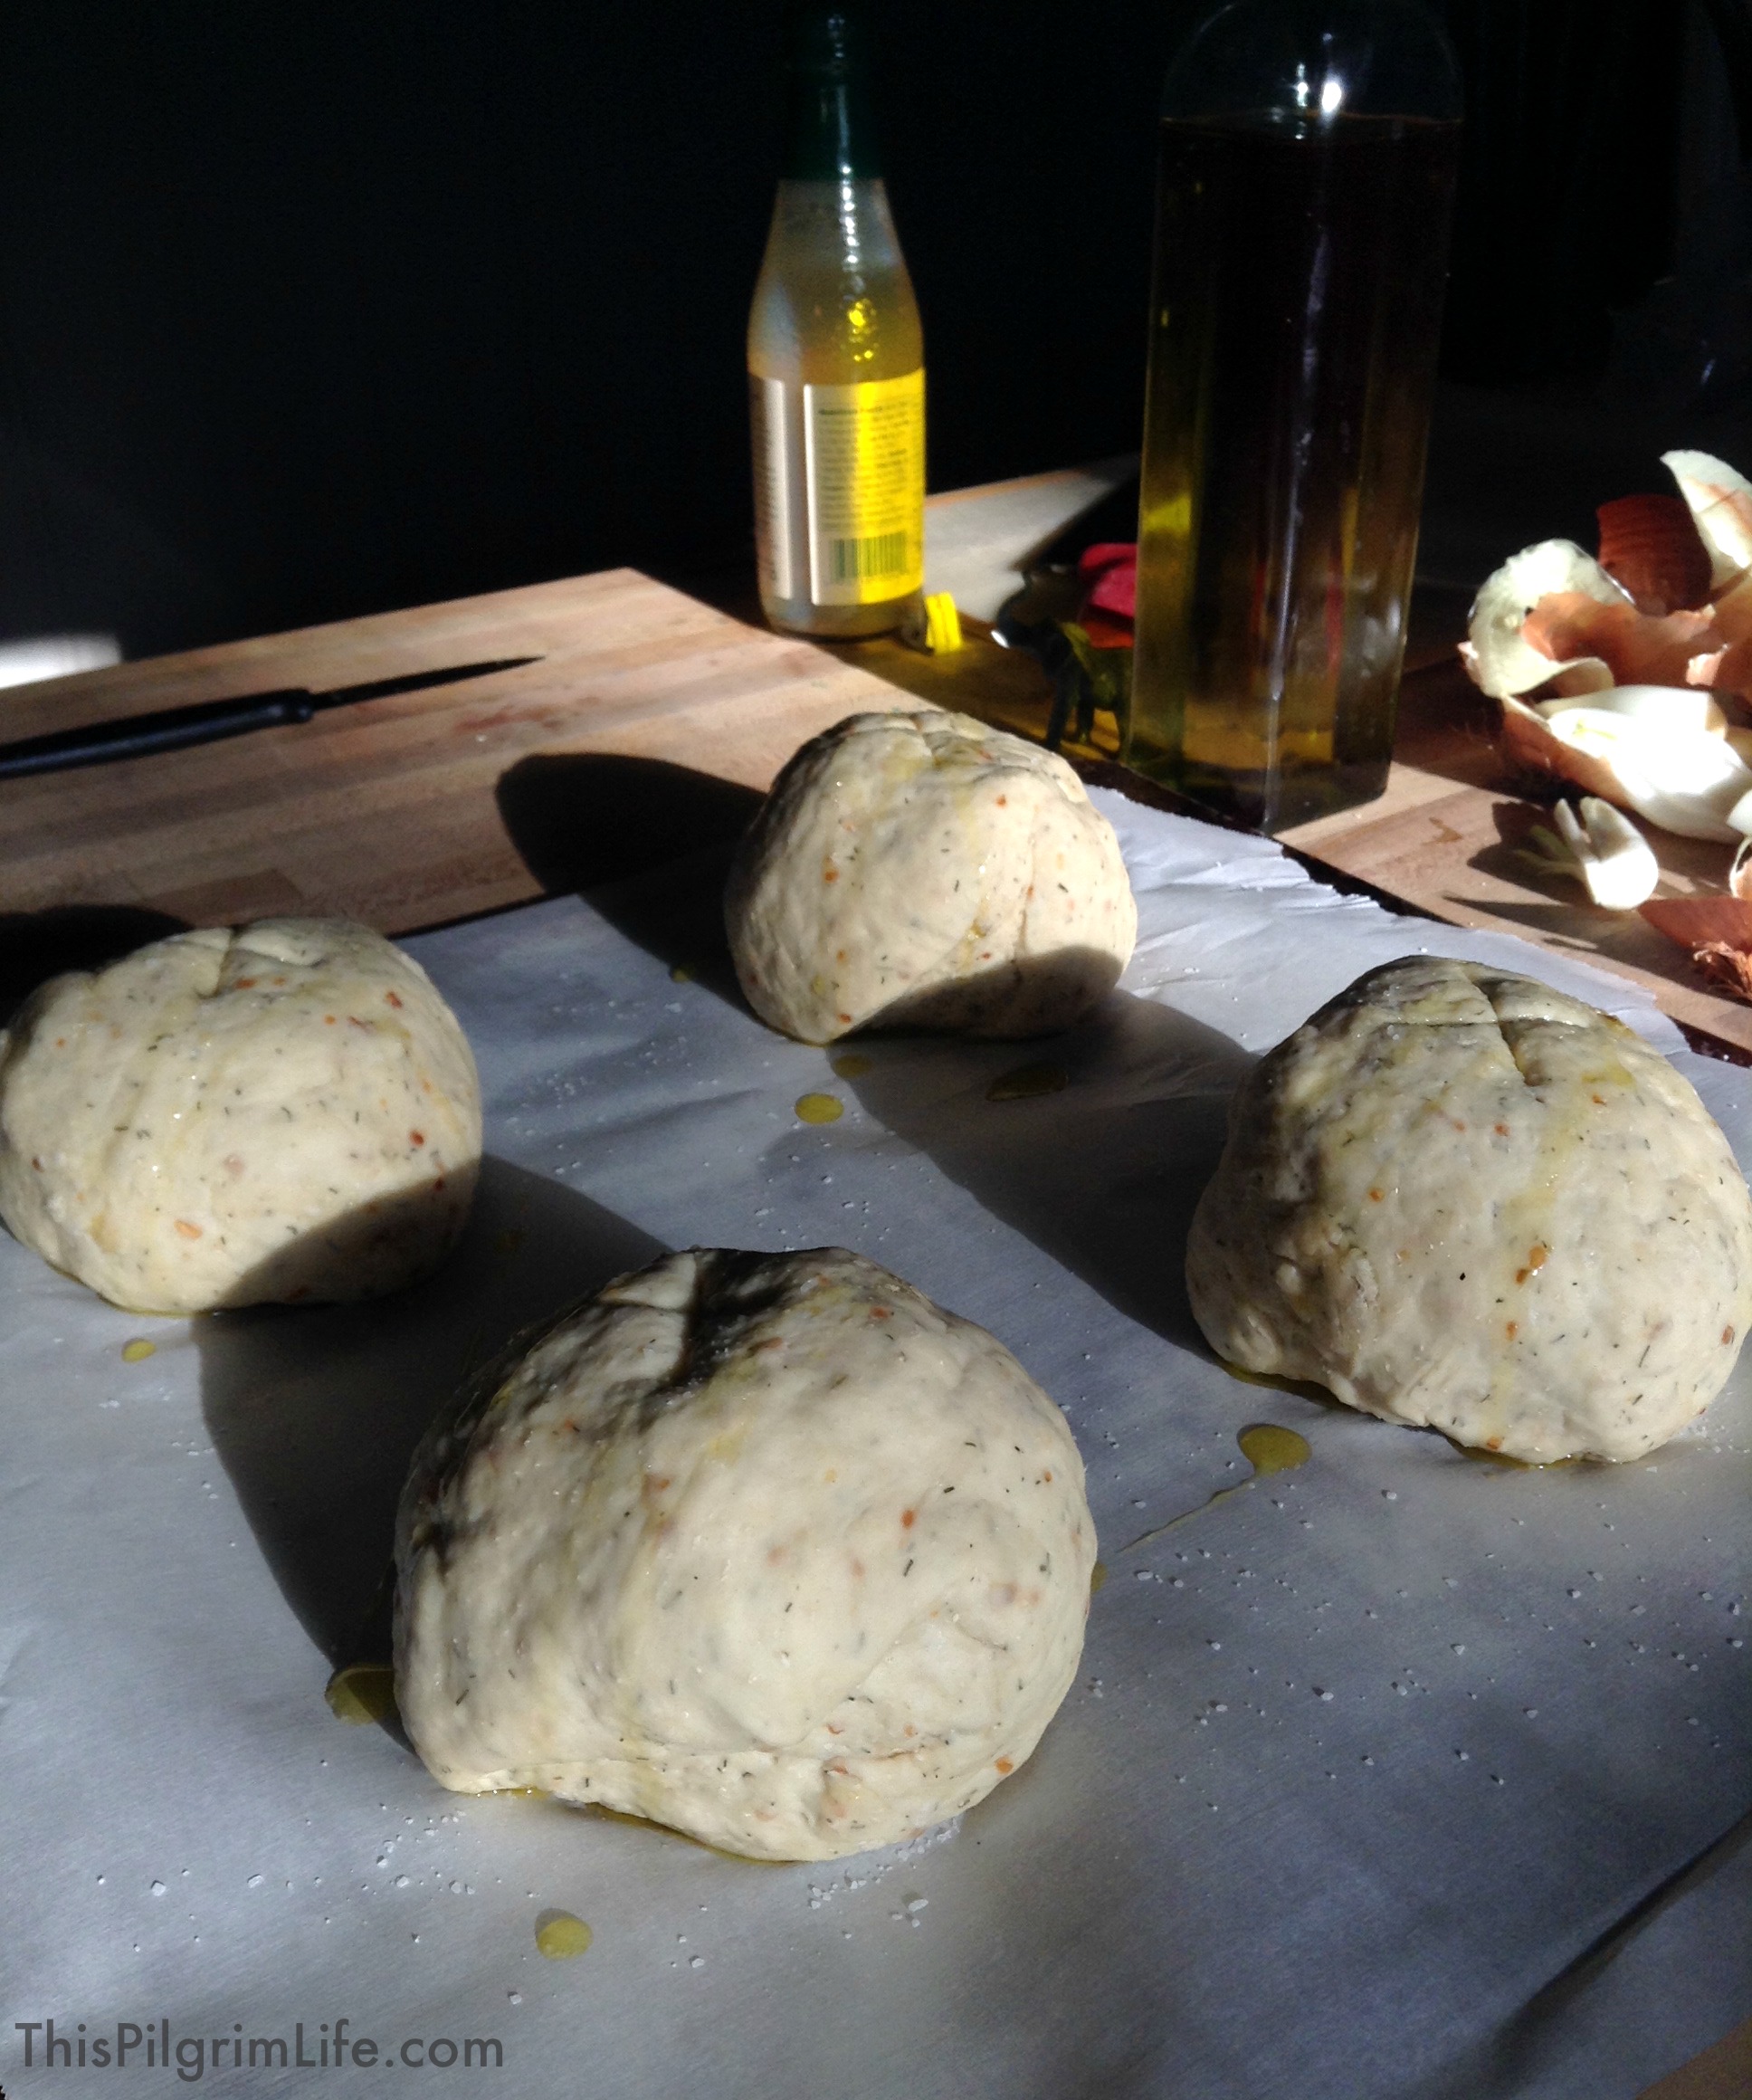
3. Kneading the dough.
A lot of you had questions about kneading the dough, which is understandable since directions to knead the dough for a certain amount of time can seem vague or unclear.
Kneading the dough helps to develop the gluten, making it an important step in making bread.
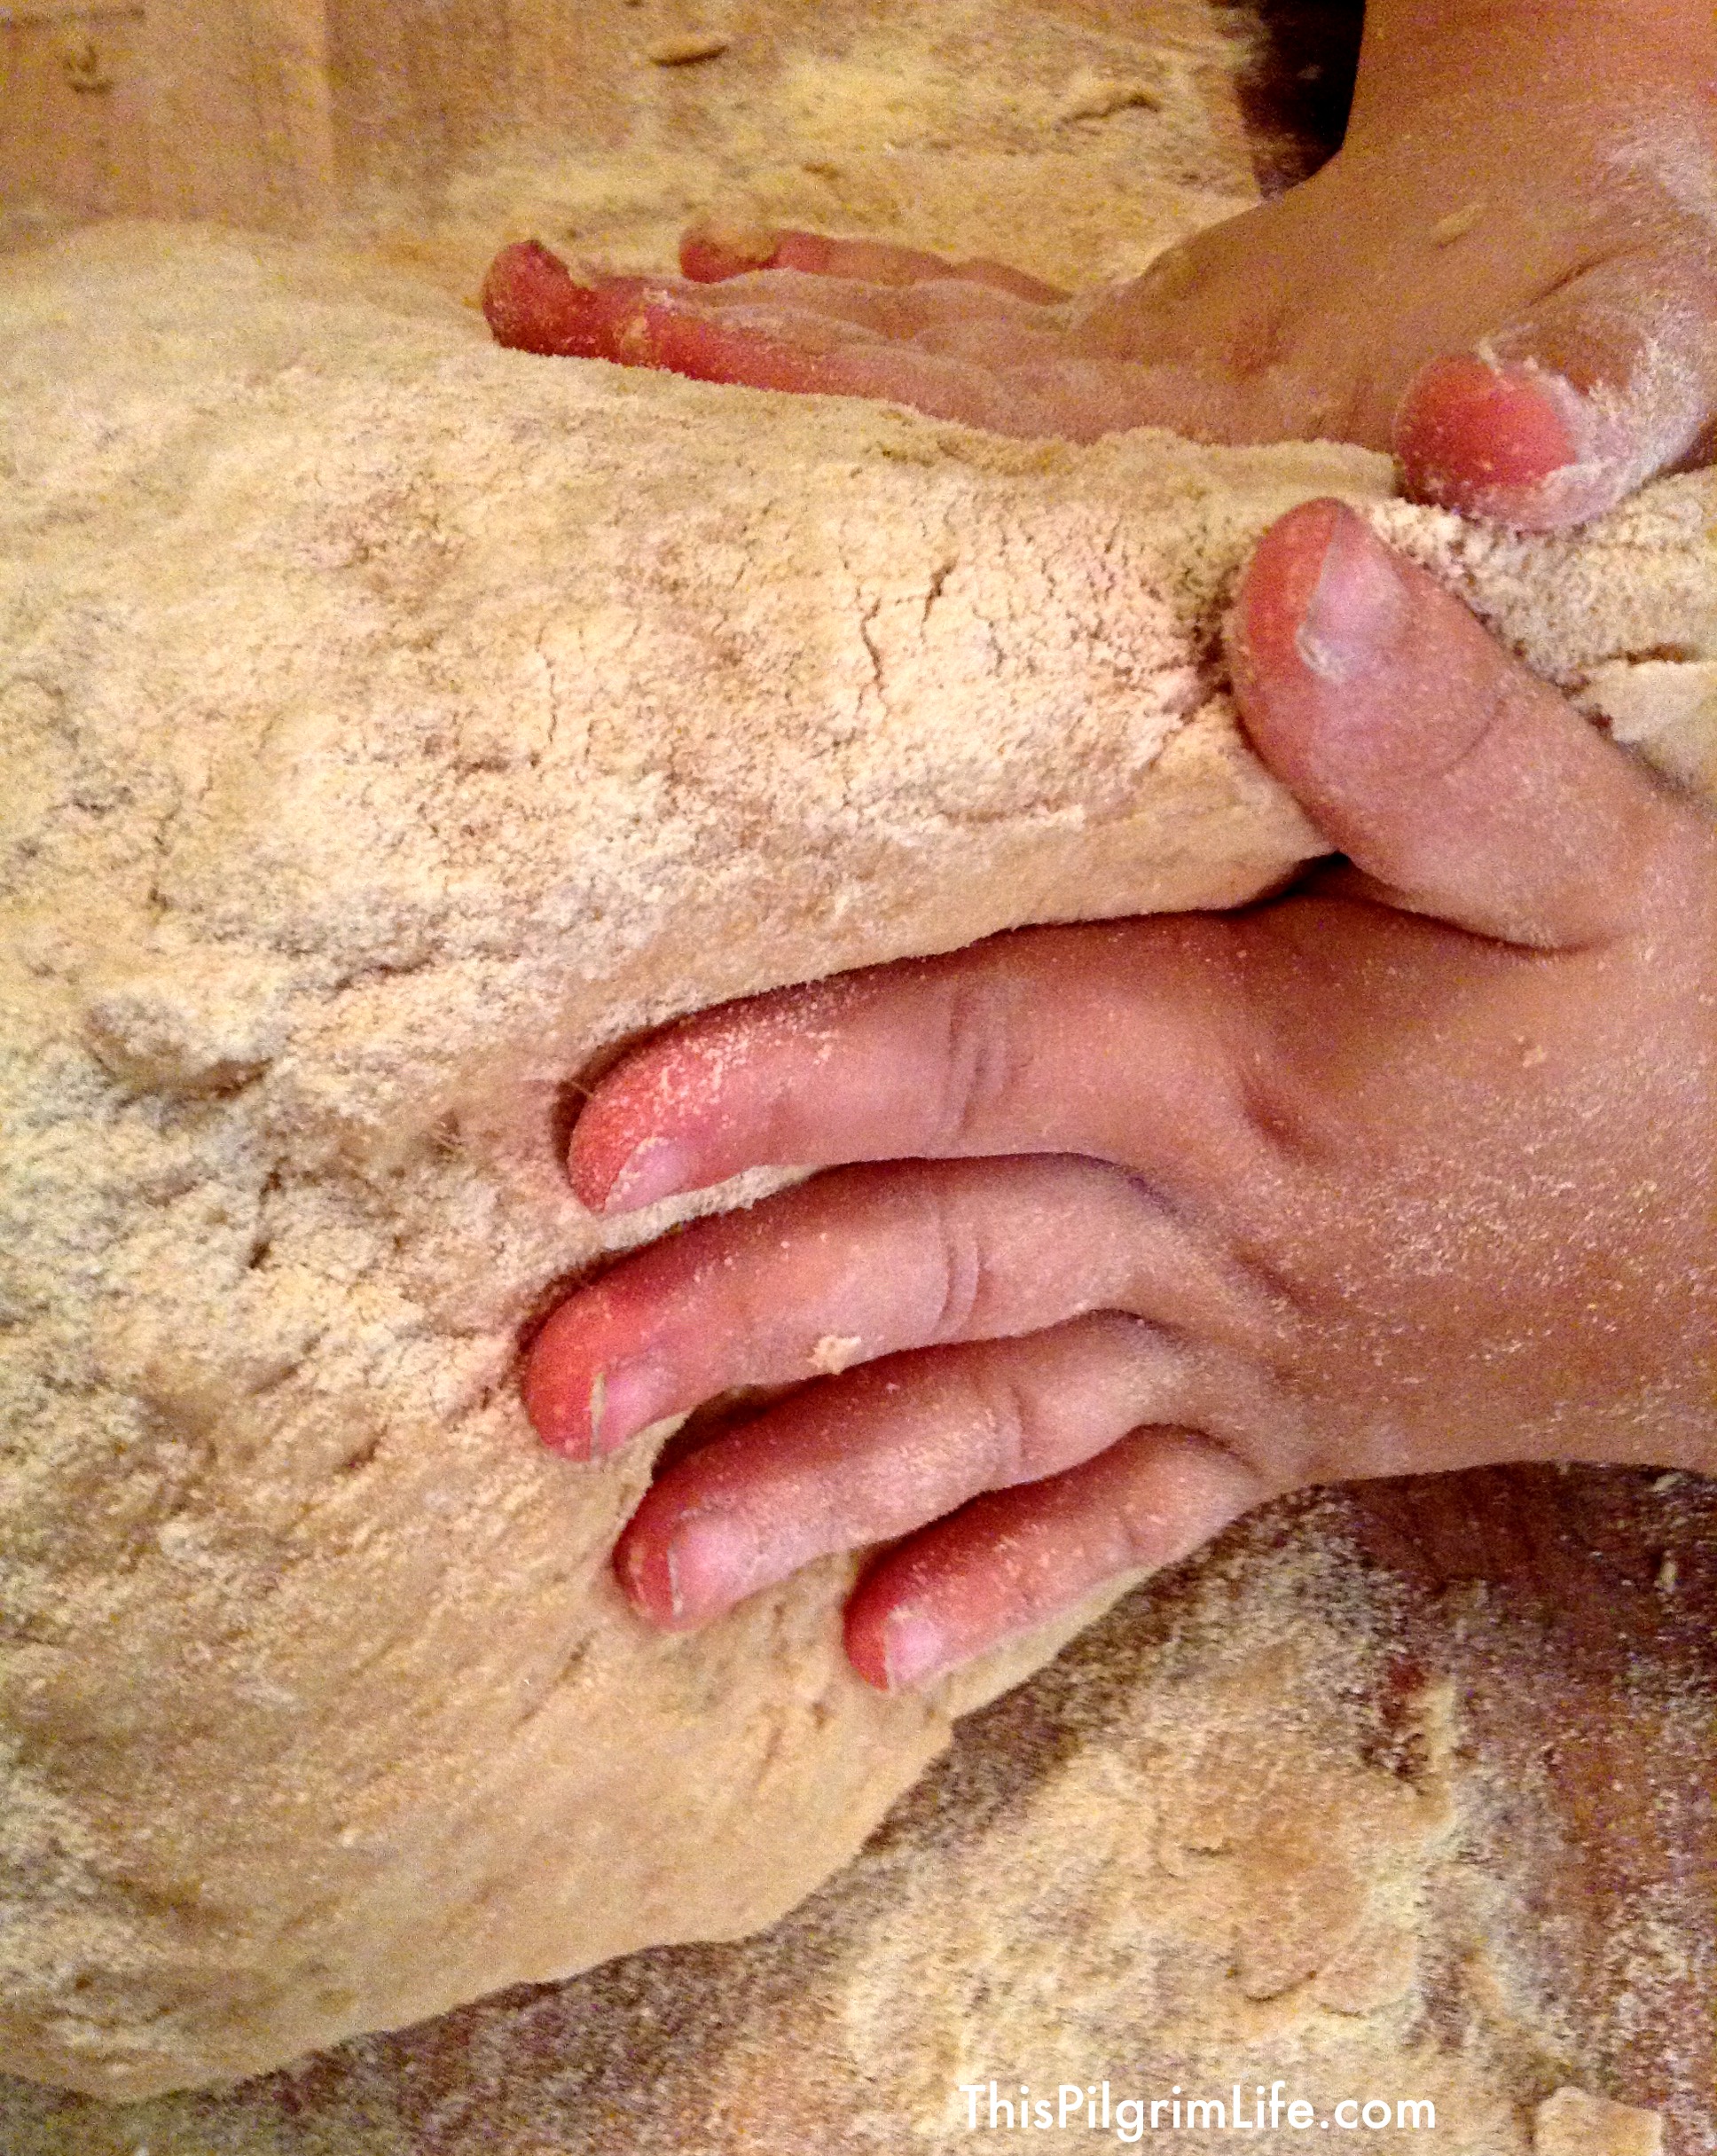
My personal preference is to knead the dough by hand, especially when my kids feel like helping in the kitchen because it’s a simple task for them to join in on. If you would rather use a stand mixer with a dough hook, follow the directions in the recipe. Basically, when you use a mixer, you want to mix in just enough flour so that the dough begins to pull away from the sides of the bowl and then let the mixer continue to knead the dough for about 5 more minutes. Often, recipes will then call for you to knead it for another 1-2 minutes by hand to be certain the dough is soft and well-blended.
Getting to know the right texture. The key to figuring out kneading dough is learning how the dough is “supposed” to feel. The amount of flour in bread recipes typically has a range of 2-3 cups (meaning a recipe will call for 6-8 cups of flour). Start with the lower amount and gradually add additional flour until the dough is no longer sticking to your fingers but is still soft and slightly tacky. If you can work the dough without it sticking to your hands or the counter, then you can stop adding flour. The end result should be a soft, pliable dough*.
The motions you knead. Kneading is essentially a rhythmic motion of pressing, folding, and rotating the dough. With the dough in front of you, press down so that you are stretching the dough away from you. Fold the dough in half, rotate it 90°, and press again in the same direction. As you are doing this, sprinkle flour across the top and underneath the dough. Repeat this motion until the dough is soft and no longer sticky.
*Bagels are an exception to this rule because the dough is a very firm dough in which you really have to work the total amount of flour in.
4. It’s all about the rise.
The rising times each dough requires depends on the type of bread and the recipe.
Many recipes will call for a first rise in a bowl until the dough is doubled in size. The way to know if the dough has risen enough is to lightly press the top of the dough with two fingers, if an indentation remains, it is done.
Placing the dough in a warm place can expedite the rise, often cutting the rising time in half. During the winter, I will turn on my oven for two to three minutes, then turn it off, and let my dough rise in the warm oven. You don’t want to let the oven get hotter than 200° for rising though.
As I mentioned in the note on yeast, you don’t want to let the bread rise too long. It’s tempting to push it and try to get your dough to rise a lot before baking it, but if it goes too long, it will fall when it is baking. This still happens to me. The bread has less height, but not less taste.
Try a recipe, follow the given time allotments, and make adjustments as needed. If you find a good recipe, stick with it and after making it a few times, you will figure out what works best for your kitchen and ingredients. (My favorite bread recipes are listed below).
5. Storing fresh bread.
IF you manage not to eat all the warm, fresh bready goodness as soon as you pull it out of the oven, then you need to figure out how to store it.
First, it’s important to let your bread cool before you try to put it in a bag or container. The steam and heat from the bread will get trapped and lead to soggy bread. If you have a wire cooling rack, place the warm bread on it and let the bread completely cool.
If I have a loaf of bread that I’ve baked before bed or that I need to transport somewhere while it is still warm, I wrap it in a cotton flour sack type towel.
After the bread has cooled, I will wrap it in plastic wrap, store it in a freezer bag, or keep it in a large plastic container. I also store all our bread out on the counter because it will be gone before spoiling is an issue.
Finally, I would not recommend storing different kinds of bread together, since their varying water contents might cause one to get stale more quickly.
6. Appliances to do the work for you?
I do not have a bread machine. My only experience with a bread machine was when my mom bought one on a whim when I was in high school. Our first loaf of bread was as hard as a brick and we didn’t try again.
So I can’t speak to how great (or not great) bread machines are. But I can say that I really don’t have any desire to get one either. I like to limit the appliances and kitchen tools in my kitchen to things that don’t take up excessive space and/or things that are real workhorses. (One exception to this is my grain mill, but as I use it at least every other day, it’s worth the space).
I think that the process of stirring the dough and kneading it with my hands is simple and enjoyable. The actual hands-on steps themselves also do not take a lot of time. Most of the time required is in the rising and the baking.
If you have a bread machine and love it, please comment and tell us about it!
Bread Baking: Additional tricks…
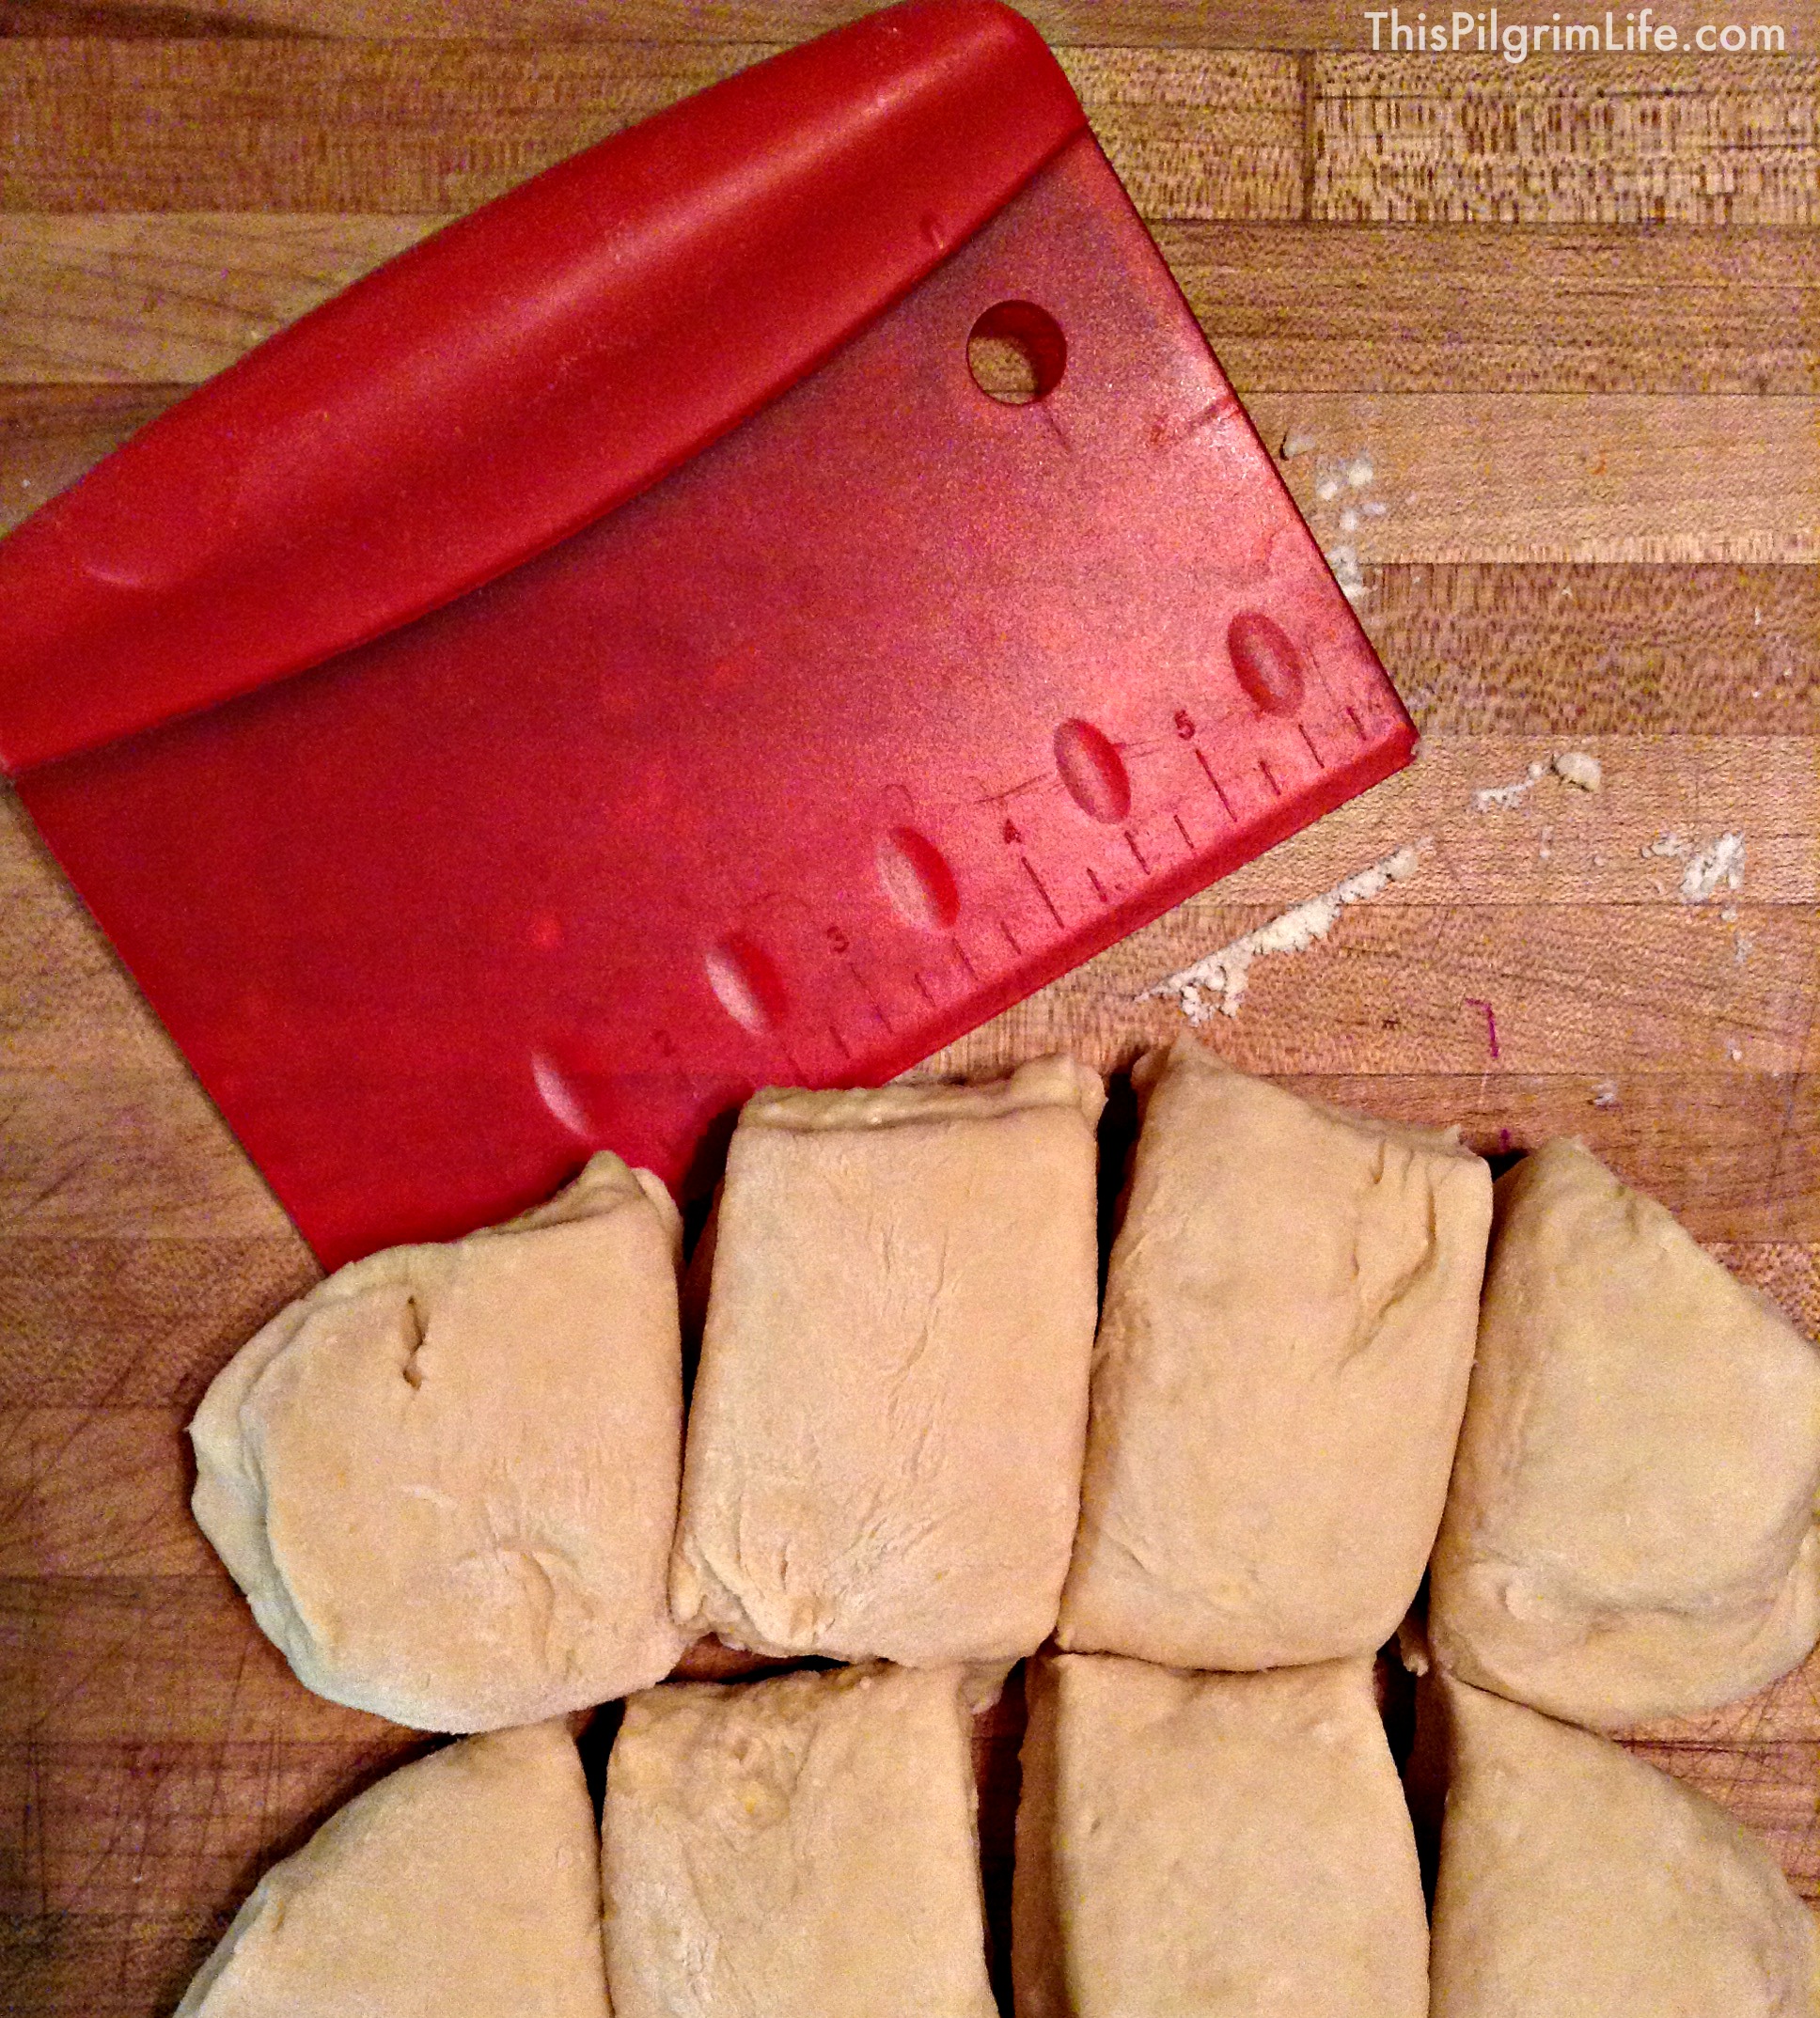
- Bread baking tools- My bench scrapers (pictured above) are my favorite tools to use when baking bread (along with many other uses). I use them to knead dough, divide the dough, and clean up when I’m done. (similar scraper)
- Dough Enhancers- Dough enhancers are important additions when baking with whole wheat flour. They can be ordered online or found in most health food grocery stores. Vital Wheat Gluten is a common enhancer as is ground ginger. (I have used this NutriMill Dough Enhancer for a couple of years and have had great success with it. It works well and only requires a tablespoon or two per batch of dough).
- Storing dough in the freezer- I don’t store dough in the freezer and can’t really speak to this, but I thought I might be asked so I wanted to include it here. I find that in the time it would take to thaw dough, I can make a fresh batch just as easily.
- Get your kids involved- Baking bread together is a great way to get kids involved in the kitchen. The stirring, kneading, and shaping are all excellent jobs for little hands.
- Testing the doneness. I have long since stopped relying on the “knock with your knuckles on the top of the loaf to hear if it sounds hollow” trick for testing if bread is done baking. Because what exactly does that sound like anyway??? Instead, I insert an instant read thermometer into the loaf and look for a reading of 180°. Much less ambiguous.
Bread Baking: Making the time…
This was one of the biggest things I heard from readers- that finding the time to make bread is the biggest obstacle. This is likely equal parts true and equal parts misconception. Yes, baking bread does take time. But no, it doesn’t have to be an activity reserved for those with heaps of free time.
I can’t stress enough that if you have only tried something once, especially if it involves learning a new skill, and then determine that it’s just not for you, then you likely have given up prematurely. If you really are interested in learning to make bread, you can find time to fit it into the rhythm of your life.
One of our most used bread recipes is for whole wheat sandwich bread. The recipe makes two loaves of bread, which is all I will need to make for our family for a week. The entire process takes 2 hours or less from start to finish. I can start it during breakfast, or during some other pocket of the day.
I think a misconception of those who make bread is that they are tied to their kitchens all day, everyday. But really, we don’t need bread with every meal, and when I do bake bread, I make enough to last several days. Moreover, as I have already mentioned, while baking bread does require you to be at home, it doesn’t mean that you have to babysit the dough the entire time.
A final thought about time. It’s important to know ourselves and what each season of life allows opportunity for. It is not holier to make your own bread, just tastier. There are seasons in which there is simply not time to prepare all your foods at home. If you want to bake bread, do it to enjoy the God-given gift of delicious food; do it to serve your family; do it to bless others. Don’t do it to live up to some nebulous idea of what a good wife/cook/mother should do.
Bread Baking: Some of our favorite recipes…
- Whole Wheat Sandwich Loaves ll This Pilgrim Life
- One Hour French Bread || This Pilgrim Life
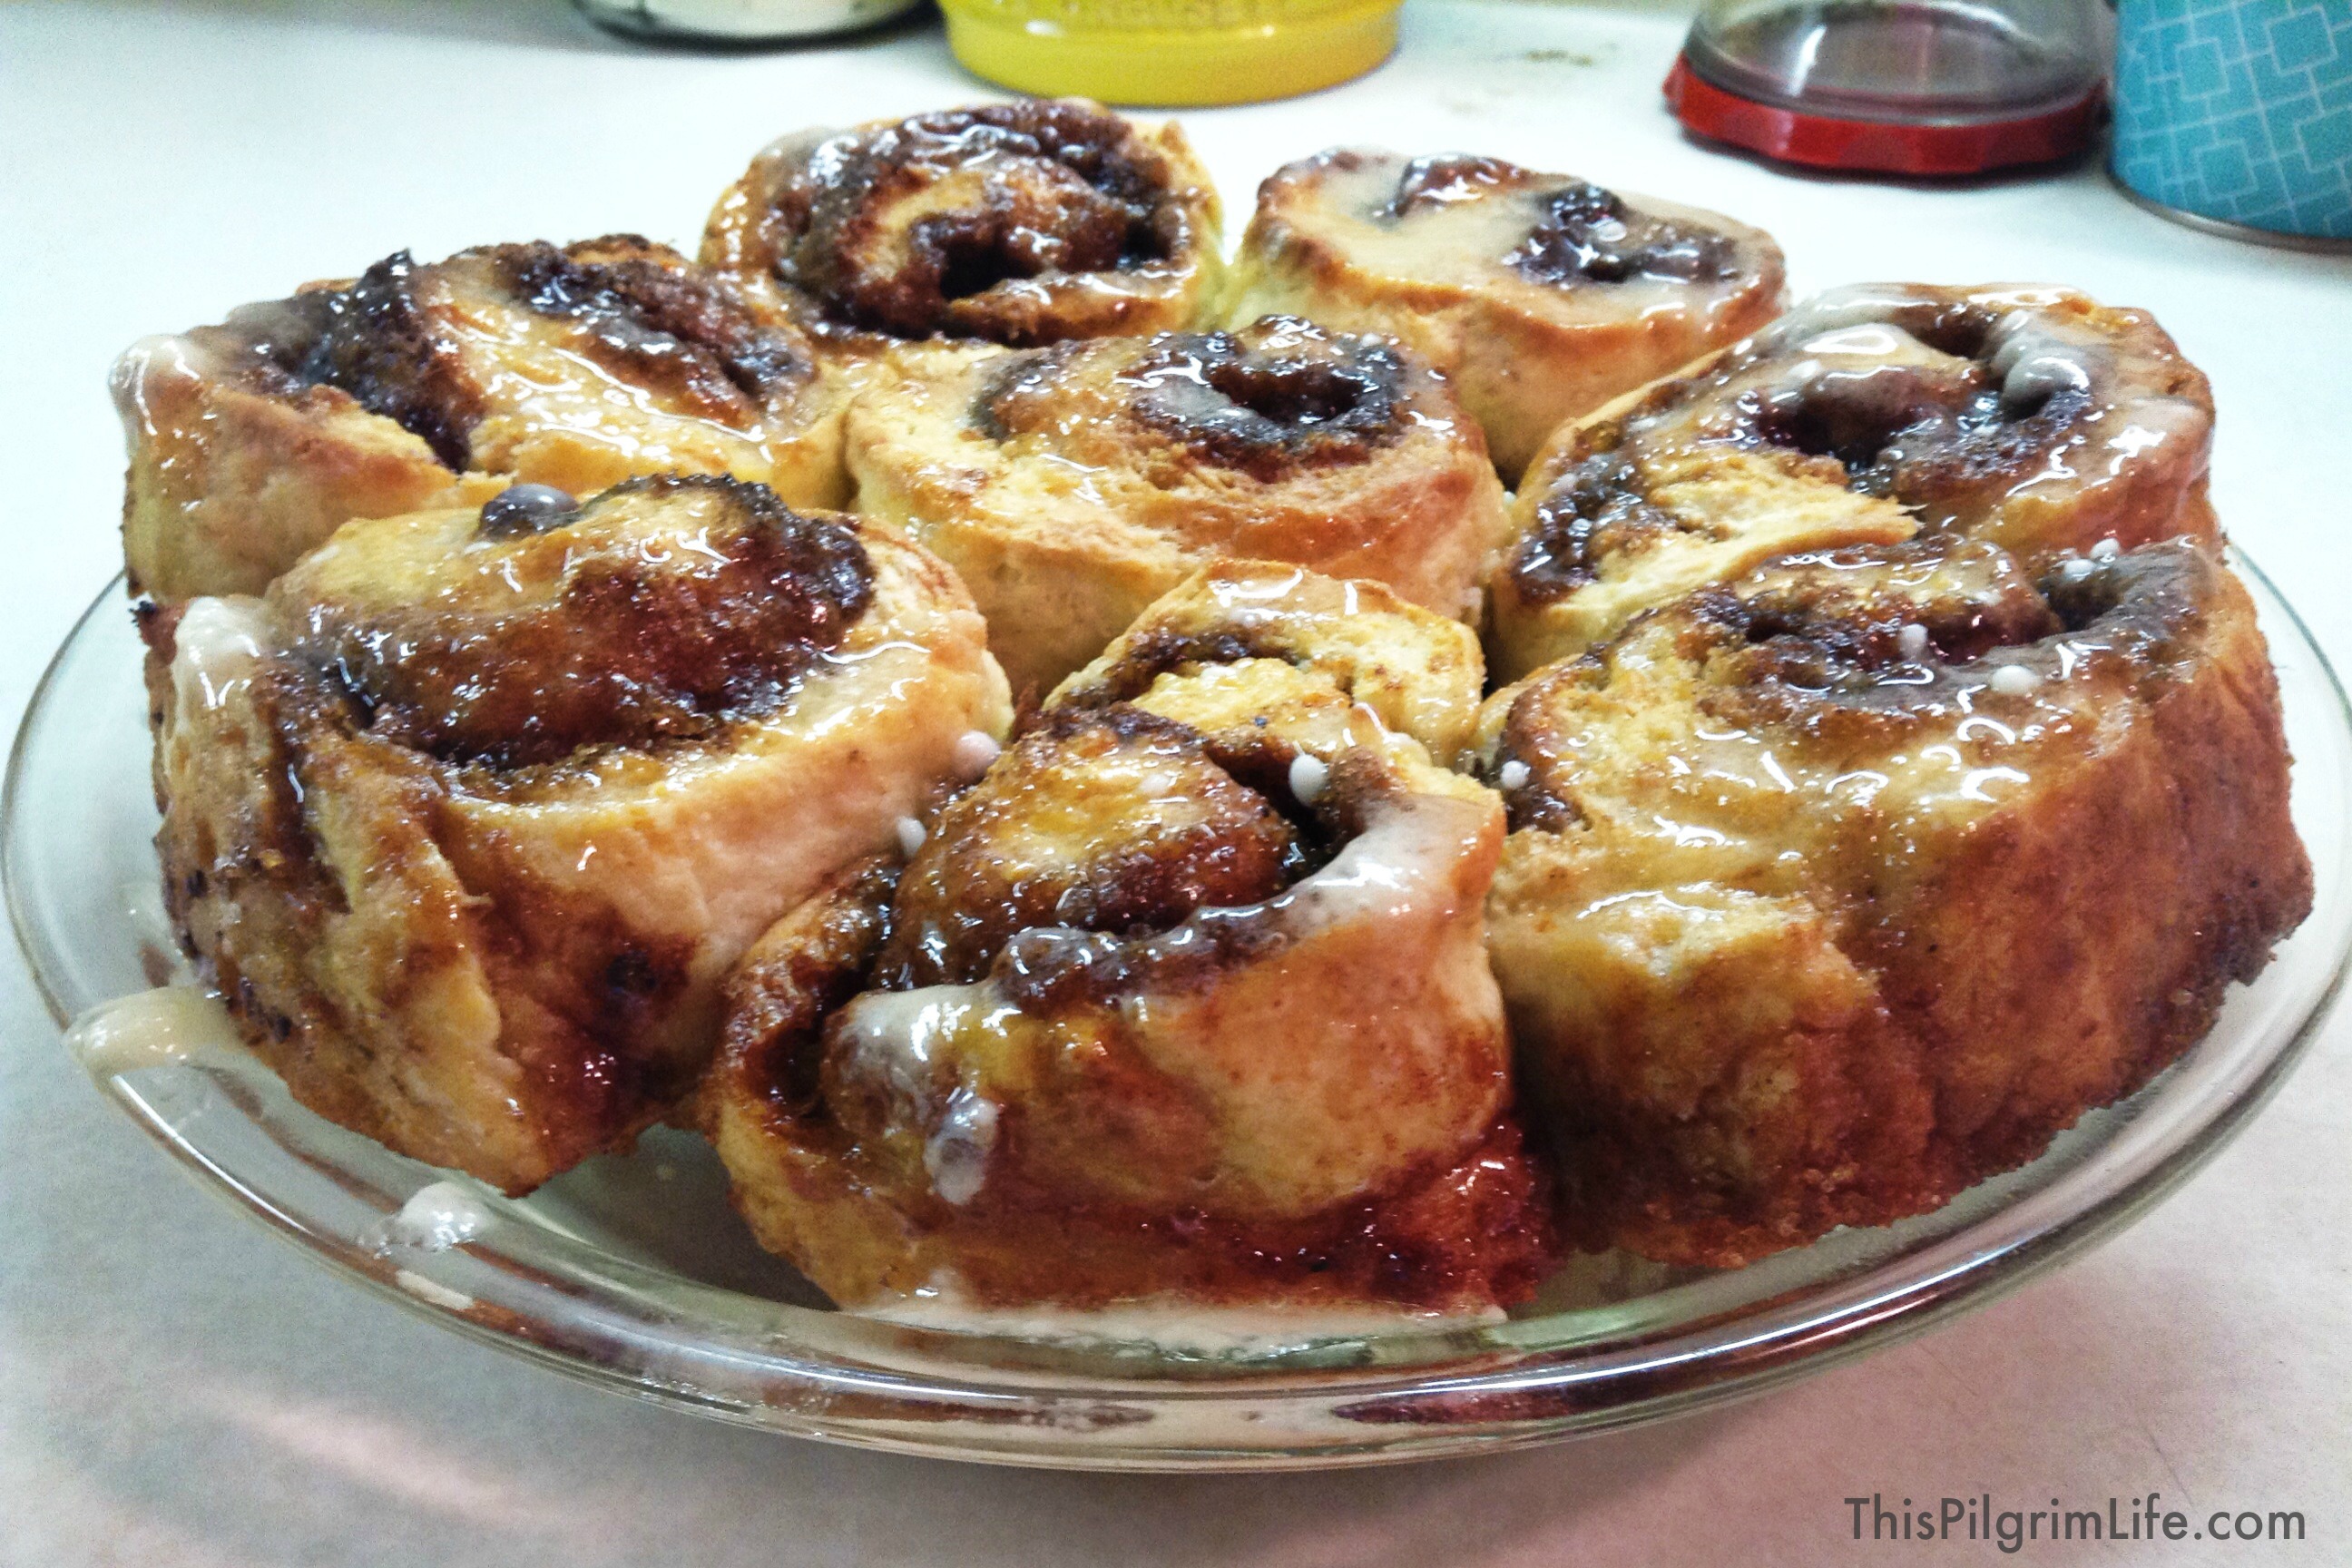
- Amazing Thirty Minute Cinnamon Rolls || This Pilgrim Life
- Three Cheese & Spinach Stuffed Breadsticks || This Pilgrim Life
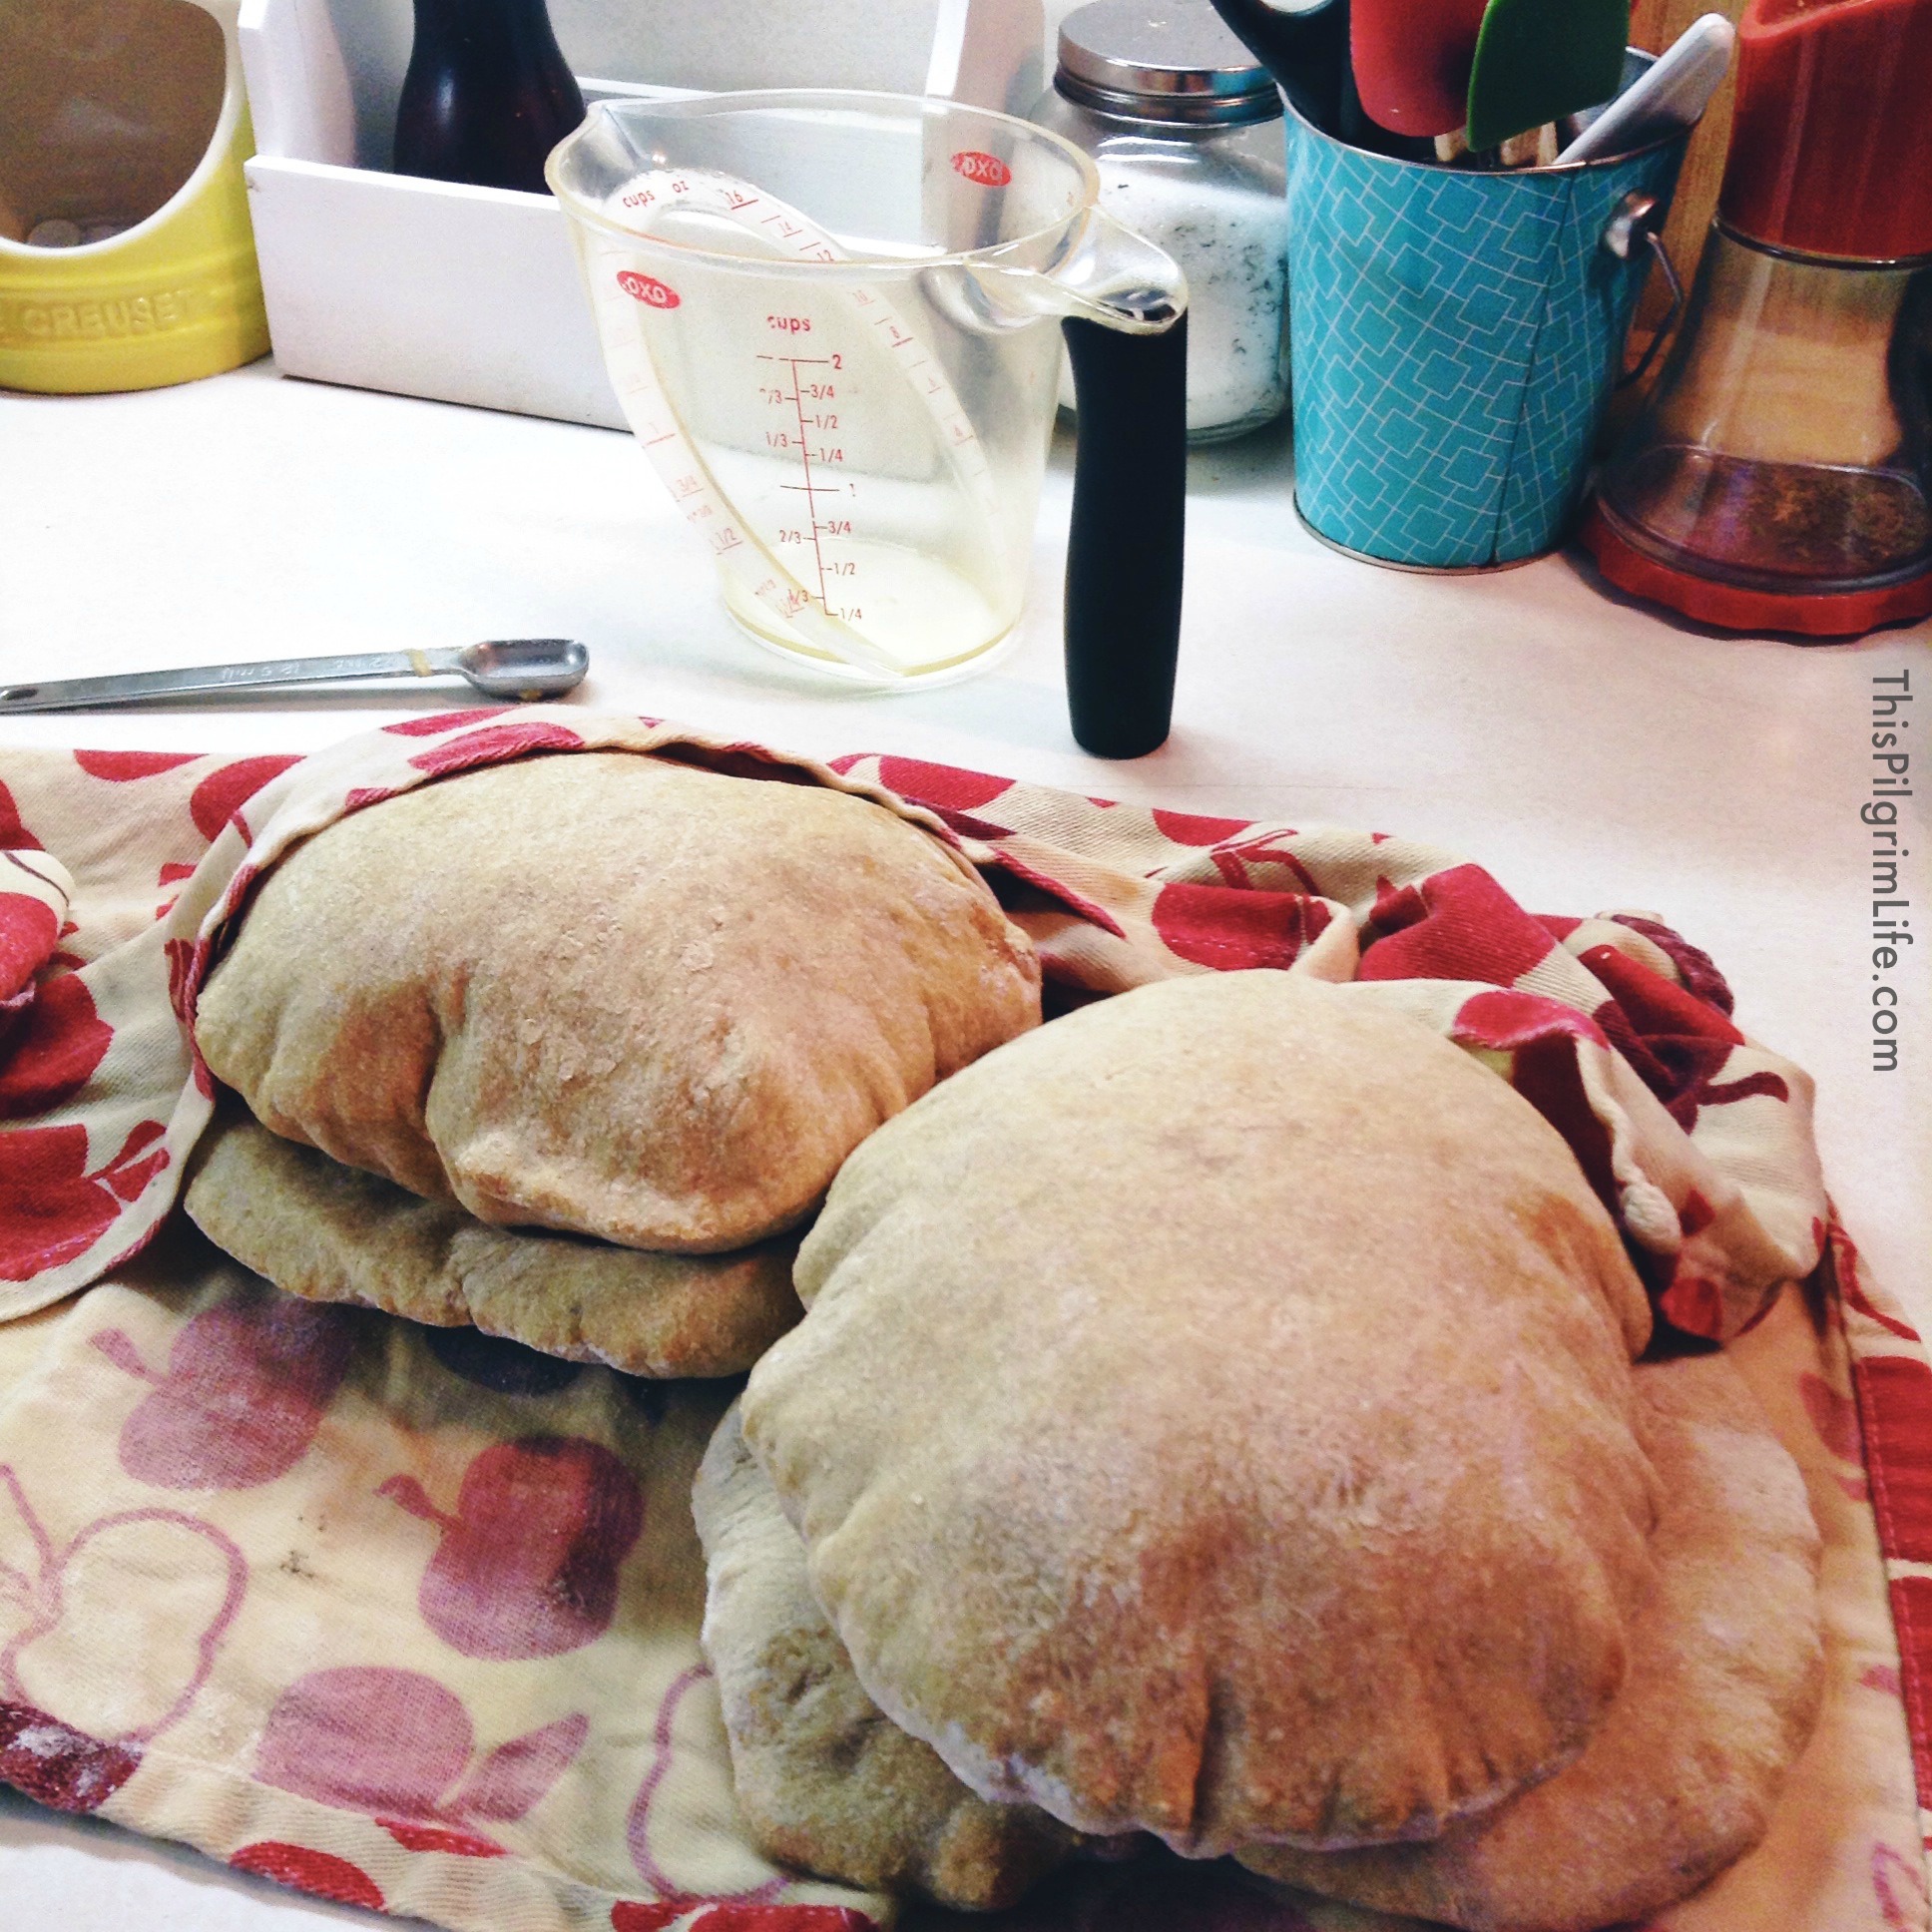
- Homemade Pita Pockets ll Tammy’s Recipes (I make the whole wheat version)
- Simple Thin Crust Pizza Dough ll This Pilgrim Life
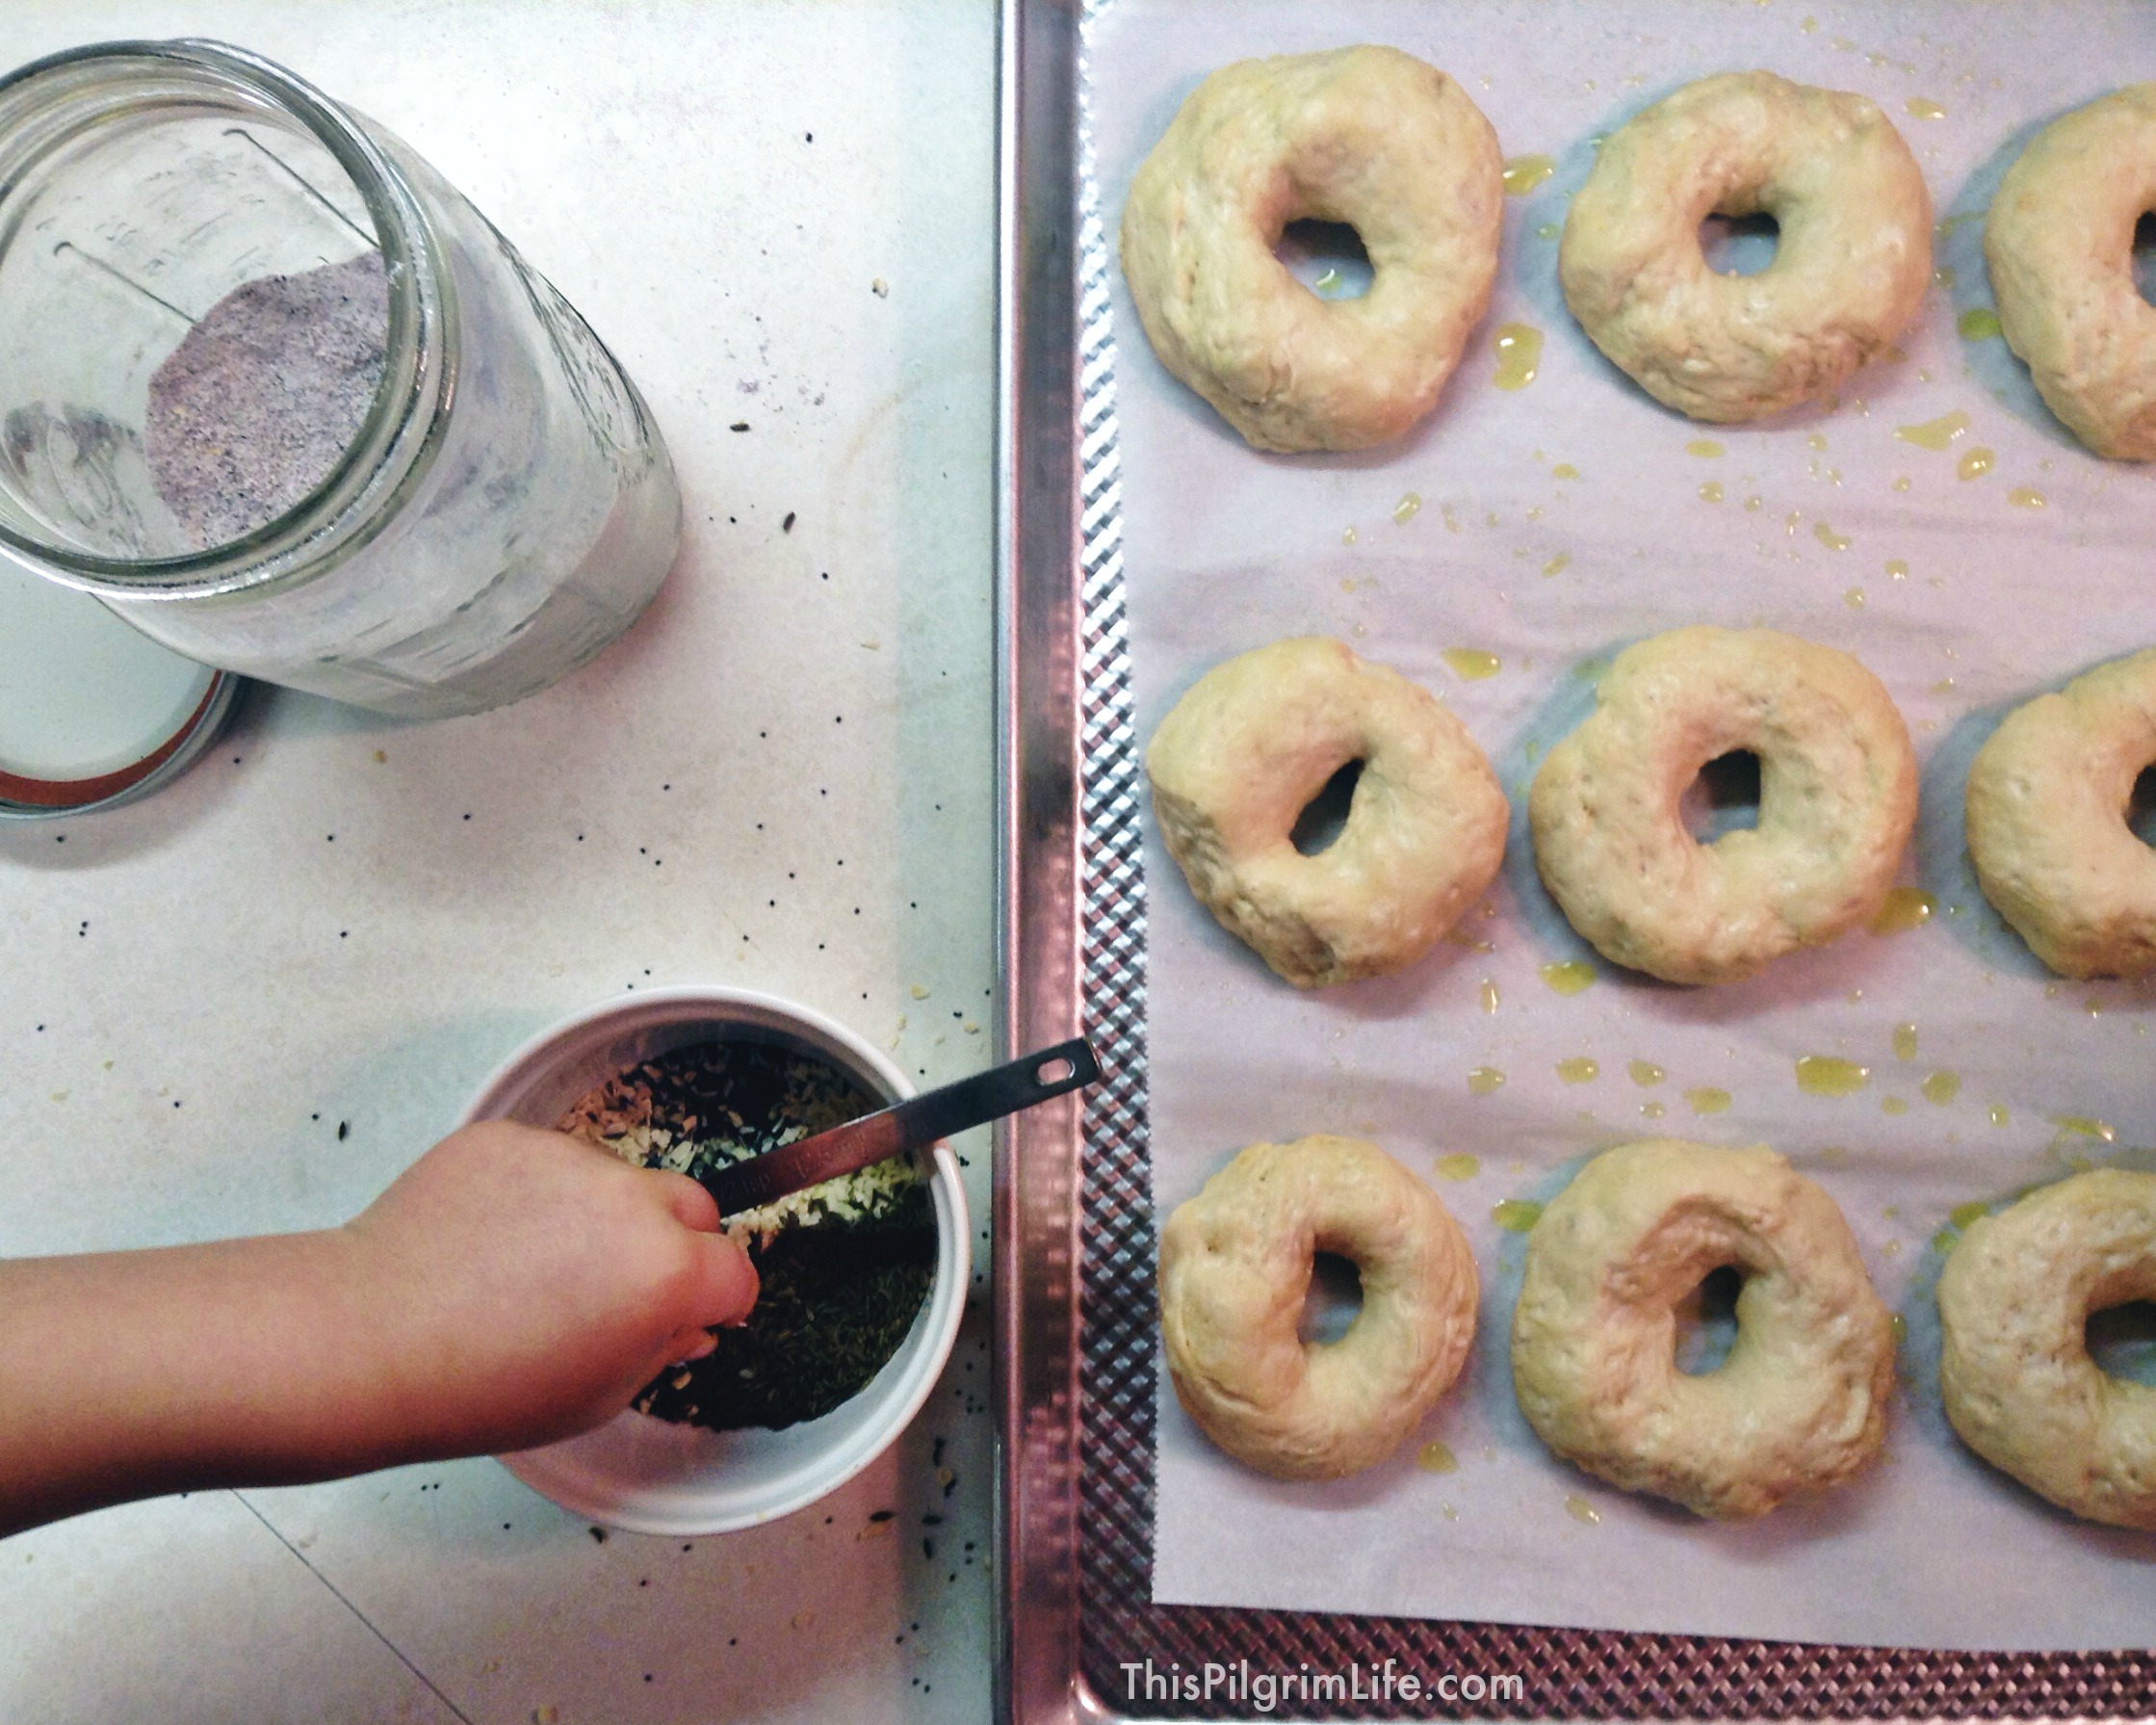
- Fresh Bagels ll The Fresh Loaf (These are the only bagels we eat now. They are SO good).
- Onion, Dill, & Sour Cream Bread Bowls ll Foodie with Family (I’ve only made these once but they were delicious!)
- 30 Minute Dinner Rolls ll Your Homebased Mom (we use these with cheeseburger sliders)
- Scratch English Muffins ll Or Whatever You Do (I haven’t tried these yet but I really want to soon!)
- Everything Bread ll Taste of Home (we’ve loved using this bread on special occasions for years)
And now it’s your turn! Did I miss anything? Do you have any other questions or tips you can share?
Thanks for reading {this very long post!} and for stopping by! I LOVE comments and really enjoy being able to interact in the comment section.
If you haven’t already, please like This Pilgrim Life on Facebook so you can participate in future discussions and see new recipes, posts, and ideas that I share there.
And if you love Pinterest like I do, you can follow along there too. Don’t forget to pin this post for future reference while you’re at it!
Wow such a great post with a lot tips of making bread, I will apply them next time I made bread. Thanks so much.
Thank you for sharing this useful information, The first time I went to the kitchen to make bread myself, all thanks to your guidance, I am very happy.
Thank you for the best recipe for homemade bread I have come across! Thanks for all the tips and explanations. Basically, I’m looking for someone to advise on the best bread roll or bun that can be made. I hope it would help me. Seriously, thanks for all these awesomeness.
Thank you for the best recipe for homemade bread I have come across! Thanks for all the tips and explanations.
Amazing an informative post. This article really helpful and informational. Our family can be eating fresh bread in the home. Thank you for sharing your amazing experience.
Wow! Great tips.Our family enjoys eating fresh bread in the home. What an amazing experience! These are such great tips. I should try it as soon as possible. By the way, thank you so much for sharing your amazing experience. I always like to read health tips and food recipe. I am very happy to get food guide.
Lisa, Do I need a dough enhancer if I use 1/2 wheat and 1/2 all purpose flour?
The dough enhancer is not mandatory, especially if you use some all-purpose flour.
Sadly, I do not have a bread machine either. I’m just lucky enough to buy my own bread from local bakeries. Although, it’s nice to have some home cooked bread every once in a while. I just wish that I would’ve appreciated my mother’s bread more when I was younger, because I definitely miss it now.