This post is part of the 31 Days to A Handmade Christmas series.
October has come and gone and November is just trucking along.
Tomorrow is Veteran’s Day which means it’s also my husband’s birthday. He definitely lucked out on birthday dates. Being born on a national holiday means never having to go to school on your birthday. Ever. That’s a pretty good deal. The rest of us lucked out too because remembering a birthday like 11-11 doesn’t get much easier.
As fast as the days and weeks are going, I’m not even going to try to think about how many more weeks there are until Christmas. I am excited, of course, but I haven’t made a single list yet! Unless you count all the lists I put together for this handmade holidays series. Then, yeah, I have a few.
Pretty soon, I will sit down with my cup of coffee or decaf tea (depending on the time of day) and put pen to paper, brainstorming gift ideas for all our loved ones. Most will be handmade. Some will be purchased. Many will be baked/mixed/cooked in the kitchen.
The nice thing about handmade gifts is that while there are projects that take a while to complete, others can be completed in a short amount of time. (These types of gifts are great for teachers, friends, and other groups of gift-recipients!)
This birds nest necklace is definitely in the short-amount-of-time category. Once you get the hang of it (give yourself a couple of practice runs), you can make a necklace in ten to fifteen minutes.
Plus, since you have to buy the materials in a quantities larger than you need for just one necklace, there’s no reason why you shouldn’t go ahead and make a few. In fact, you should definitely make a few, and then make one to keep for yourself!

Before I get to the tutorial on how to make these quick and simple and pretty necklaces (!), I need to ask a favor.
Please excuse the fact that all of these pictures were taken with my phone. And please excuse the fact that my fingernails are not nicely manicured, nor am I ever destined to be a hand model. The former is due to the fact that life is full and I’m busy getting the remaining handmade gift tutorials finished so they can be published in time. The latter is due to the fact that life is full and I just don’t care. So there’s that.
On to the tutorial…
Birds Nest Necklace Tutorial
Materials Needed:
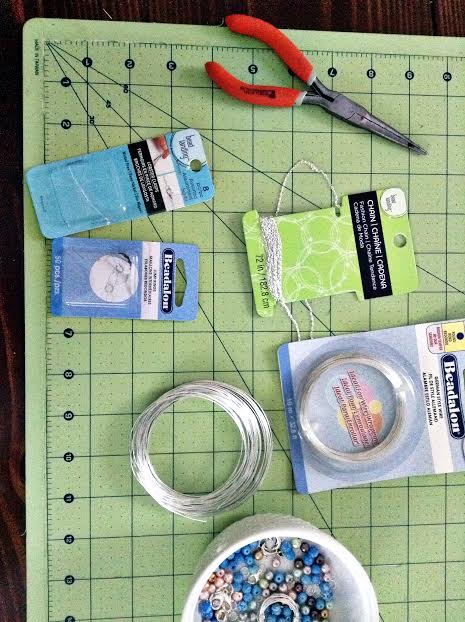
- Jewelry wire
- Small jewelry beads in whatever colors you want
- Jump rings (for the ends of the necklace)
- Lobster clips (or similar style fasteners)
- Small jewelry chain in a coordinating finish
Instructions:
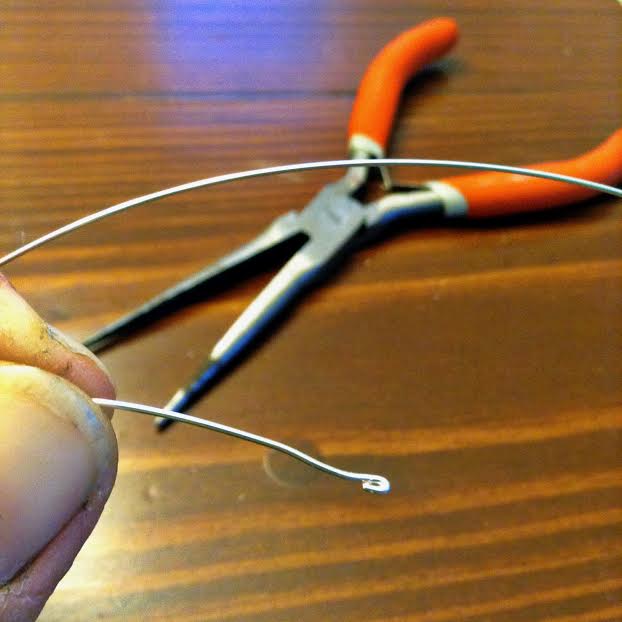
Cut a piece of wire 36 inches long.

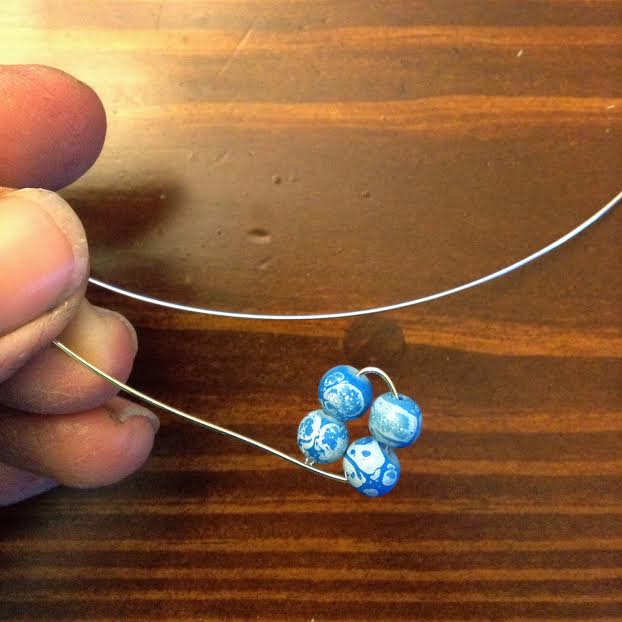
Using jewelry pliers, bend a small piece back on one end of the wire and squeeze it tight. This will keep the bead from falling off.
Add the number of beads you want on your necklace. Three or four beads look best, but you can do more or less as you like.
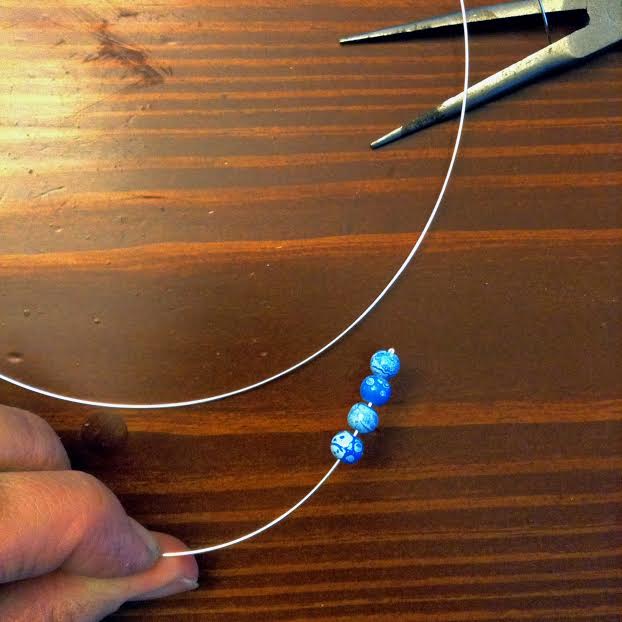
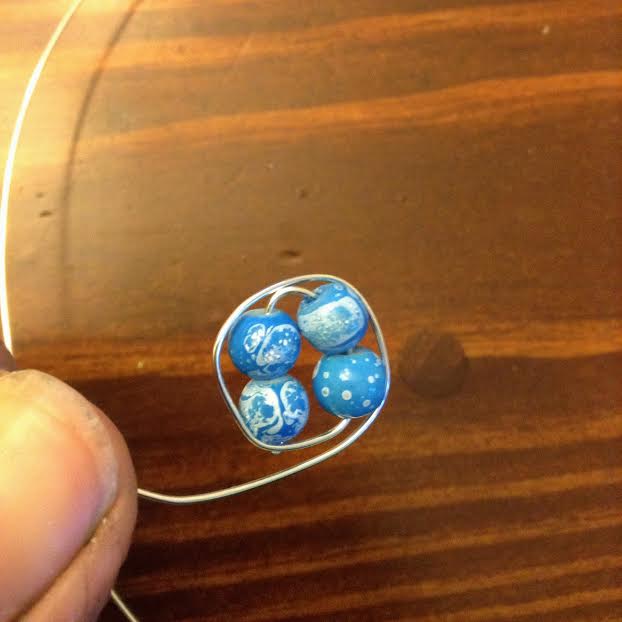
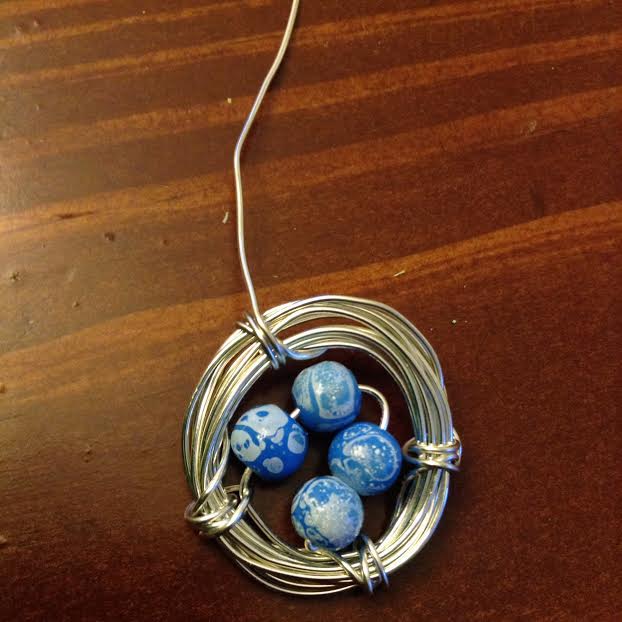
Curve the wire so the beads look like they are in a ‘nest’.
Begin wrapping the wire around the beads. I like the wire to be tight around the beads, but again, there’s room for personal preference. If you want a looser looking nest, you might need to cut a longer piece of wire in step one.
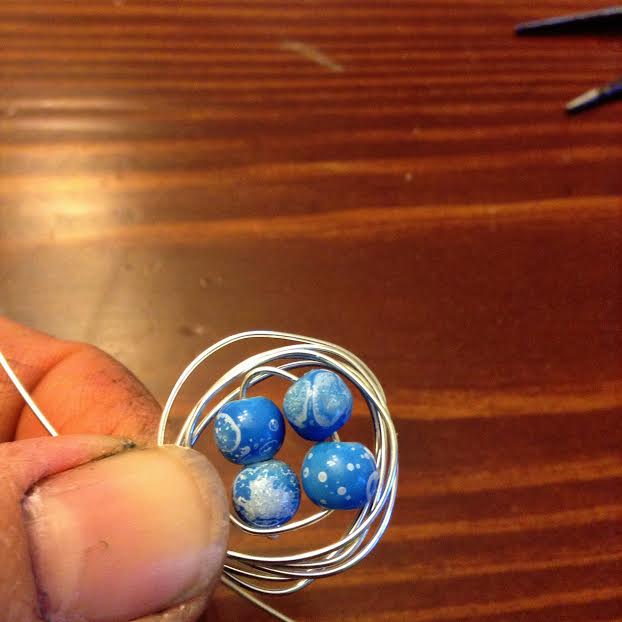
Continue wrapping the wire in circles around the beads forming the nest. Wrap until you have a tail of wire about ten inches long. (If the loops look a little messy, they will get tighter and look neater when you wrap the wire around them and pull tight in the next step).
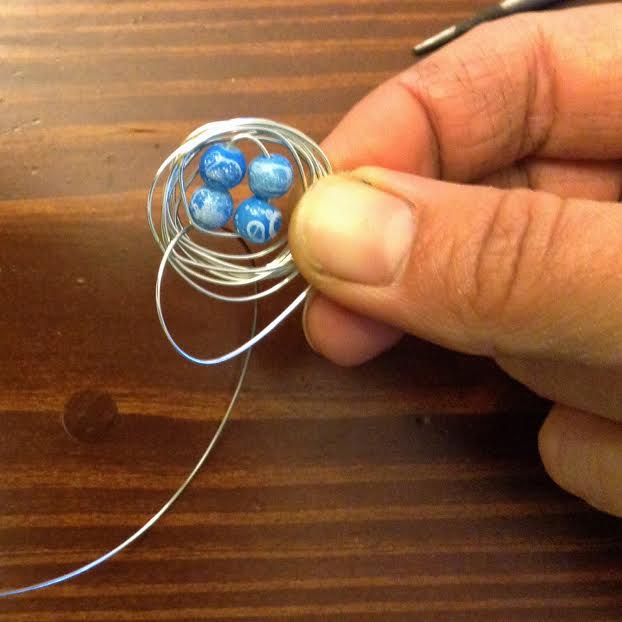
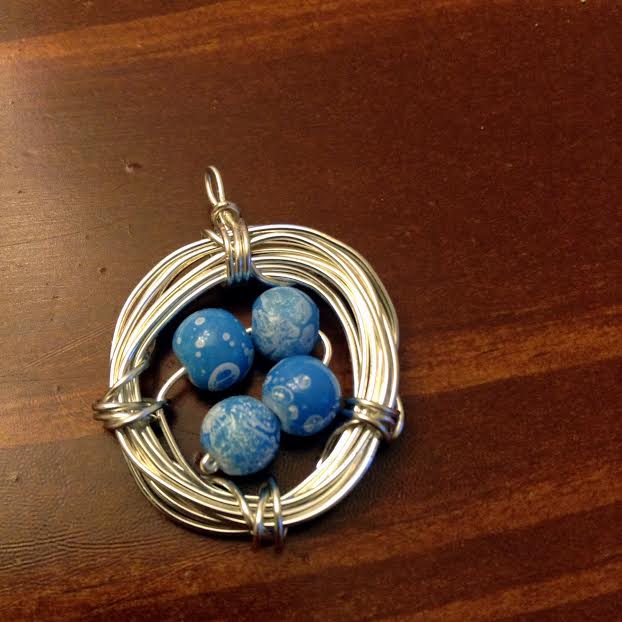
Feed the end of the tail through the center one on point of the nest. This will be the first of four wrapped points in the nest. Wrap it around all the wires in the ‘nest’ and pull tight. Wrap it around two more times, pulling tight. Curve the remaining tail a quarter of the way along the circle to the next point in the nest and wrap it around three more times again. Repeat once more. You should now have three points on ‘nest’ wrapped around.
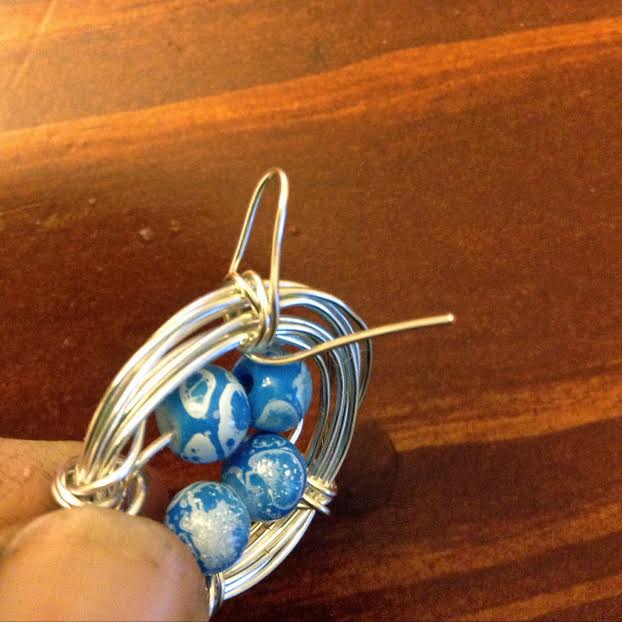
For the fourth and final point on the ‘nest’, wrap the remaining wire around two times. Then make a small loop above the point, loop the wire through the center again, then wrap it around the base of the loop and pull tight. Tuck the remaining wire in the back of the ‘nest’.

Cut a piece of chain 18 inches long. Feed one end of the chain through the loop you made at the top of the birds ‘nest’. Attach jump rings to both ends of the chains, then attach a clasp to one of the jump rings.
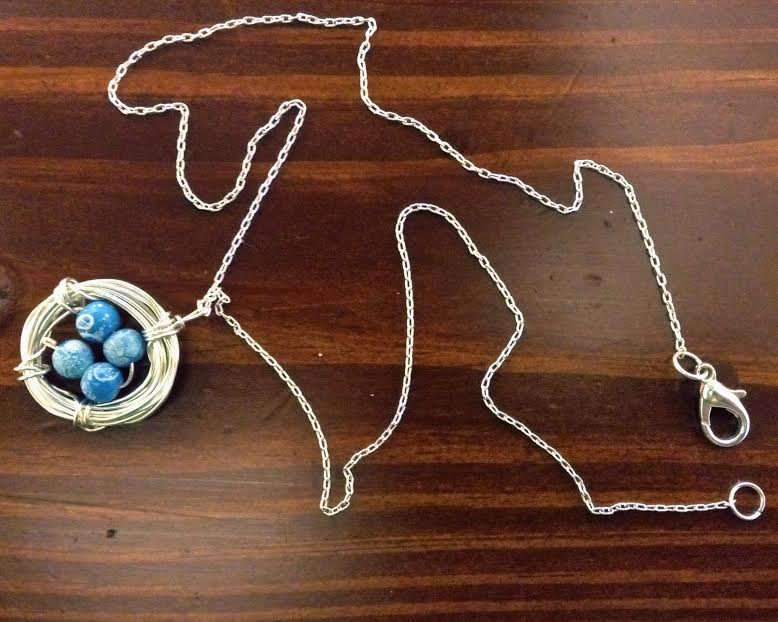
And you’re done! Now go make one for a friend, a sister-in-law, and of course, one for yourself too! After all, you already have the materials!
Want more handmade gift ideas?
Subscribe to This Pilgrim Life (on the right sidebar) and follow along on Twitter and Facebook To keep up with all the ideas in 31 Days to a Handmade Christmas.
You can also find a list of all the handmade gifts on the series page.
Leave a Reply